Tag: Riparazione di MacBook

  • Il WiFi del MacBook non si accende? Guida professionale alla sostituzione del chip Wi-Fi sui MacBook serie M

    Il WiFi del MacBook non si accende? Guida professionale alla sostituzione del chip Wi-Fi sui MacBook serie M

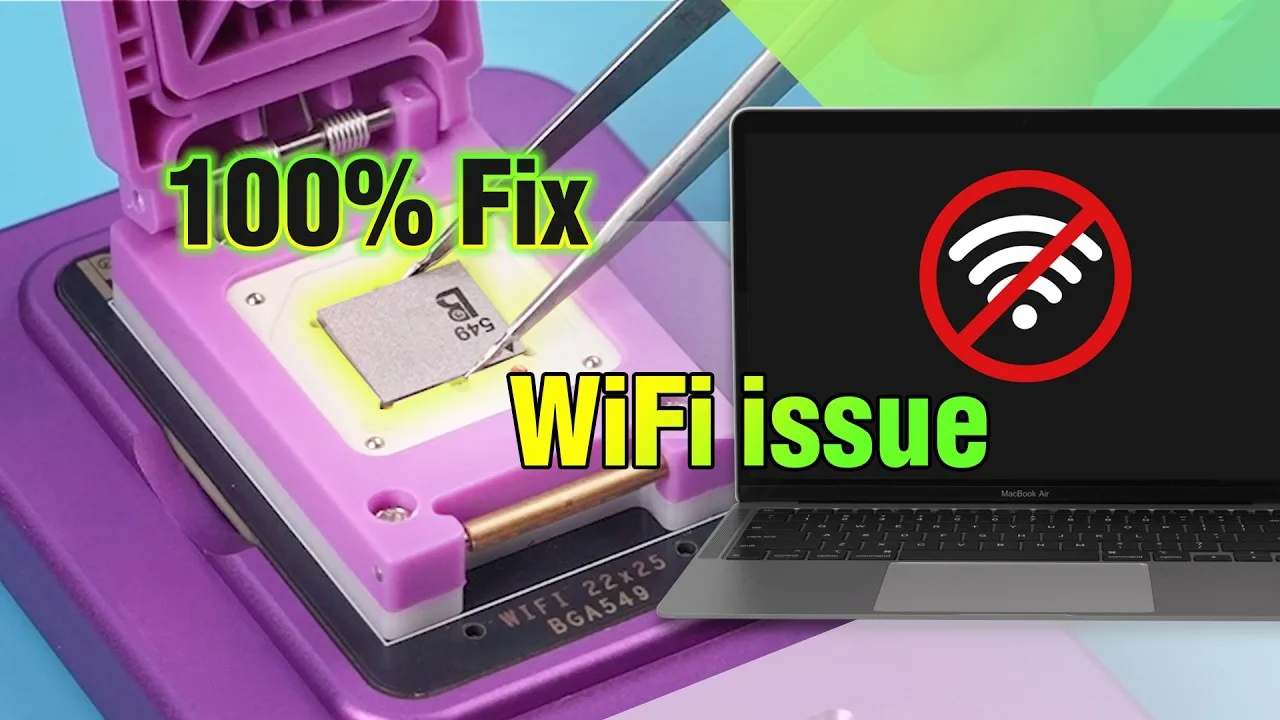
    Apple ha introdotto i MacBook con chip della serie M (come M1 e M2), caratterizzati da un'architettura interna più compatta e integrata. Un cambiamento fondamentale è la combinazione delle funzioni Wi-Fi e Bluetooth in un unico chip. Se da un lato questa integrazione migliora le prestazioni e l'efficienza, dall'altro rappresenta una sfida significativa per i tecnici addetti alle riparazioni: quando il chip Wi-Fi si guasta o il WiFi non si accende, la soluzione tradizionale autorizzata da Apple consiste nel sostituire l'intera scheda madre (logic board).

    Fortunatamente, REWA Tech ha sviluppato un nuovo metodo di sostituzione del chip Wi-Fi per i MacBook, che consente ai professionisti della riparazione e agli esperti del fai-da-te di risolvere il problema senza sostituire l'intera scheda. Questa guida fornisce un processo passo-passo per la diagnosi e la sostituzione di un chip Wi-Fi guasto su un MacBook Air con un chip della serie M, ripristinando la piena funzionalità wireless.

    Perché il Wi-Fi del MacBook non si accende?

    Quando il Wi-Fi di un MacBook si rifiuta di attivarsi, le possibili cause includono:

    • Guasto al chip Wi-Fi a causa di surriscaldamento, impatto fisico o difetti di fabbricazione.
    • Corruzione del firmware del chip Wi-Fi.
    • Danno da liquido che si ripercuotono sui circuiti circostanti il chip.
    • Disadattamento ECID quando si sostituiscono i componenti senza una corretta riprogrammazione.

    Sui MacBook della serie M, Wi-Fi e Bluetooth sono combinati in un unico chip, il che significa che se una funzione si guasta, entrambe possono smettere di funzionare. Questa guida si concentra su sostituzione del chip Wi-Fi a livello hardware.
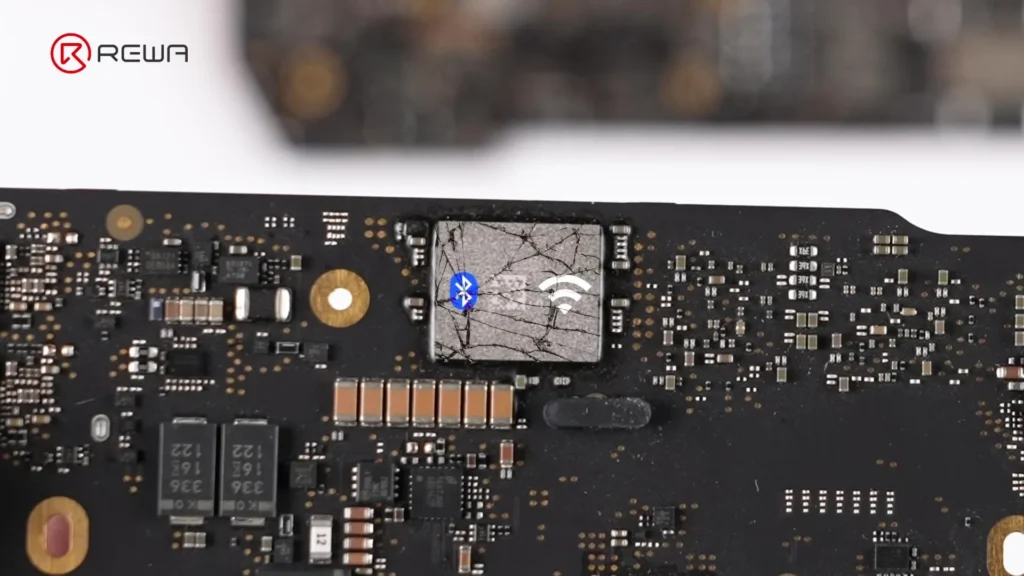
    macbook chip rotto

    Guida passo-passo: Come risolvere il problema del "MacBook Wi-Fi non si accende" sostituendo il chip Wi-Fi

    Fase 1: Diagnosi iniziale

    1. Confermare che l'opzione Wi-Fi è disattivata o non può essere attivata nelle Impostazioni di macOS.
    2. Escludere i problemi di software:
      • Riavviare il MacBook.
      • Ripristino della NVRAM/PRAM (per i modelli Intel; non applicabile alla serie M).
      • Aggiornamento di macOS alla versione più recente.
    3. Se il Wi-Fi continua a non attivarsi, eseguire una diagnosi con un software di riparazione o con parti di ricambio di qualità nota per confermare che Guasto al chip Wi-Fi.
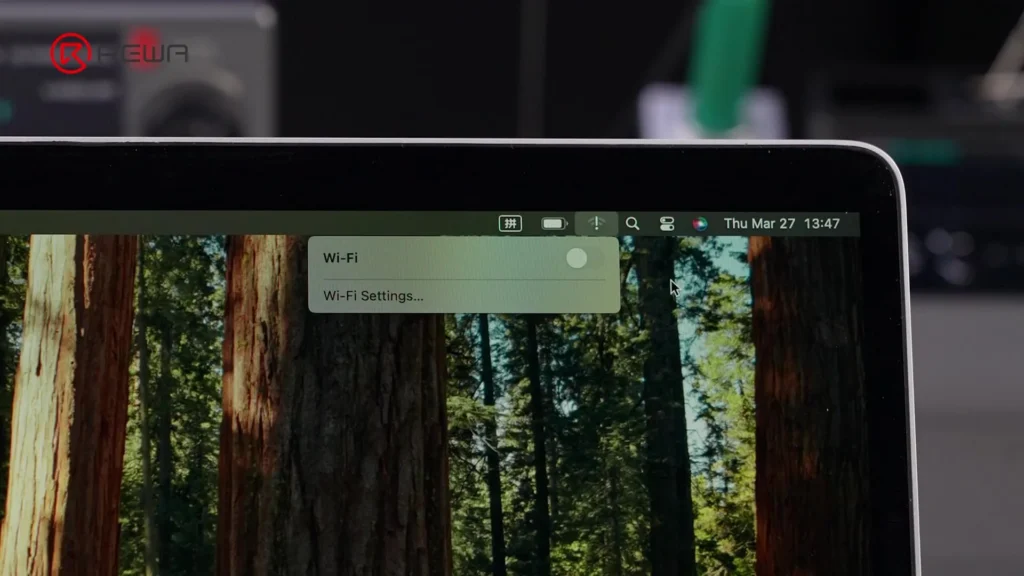
    Il wifi del macbook non si accende

    Fase 2: leggere l'ECID del MacBook e scollegare il chip Wi-Fi
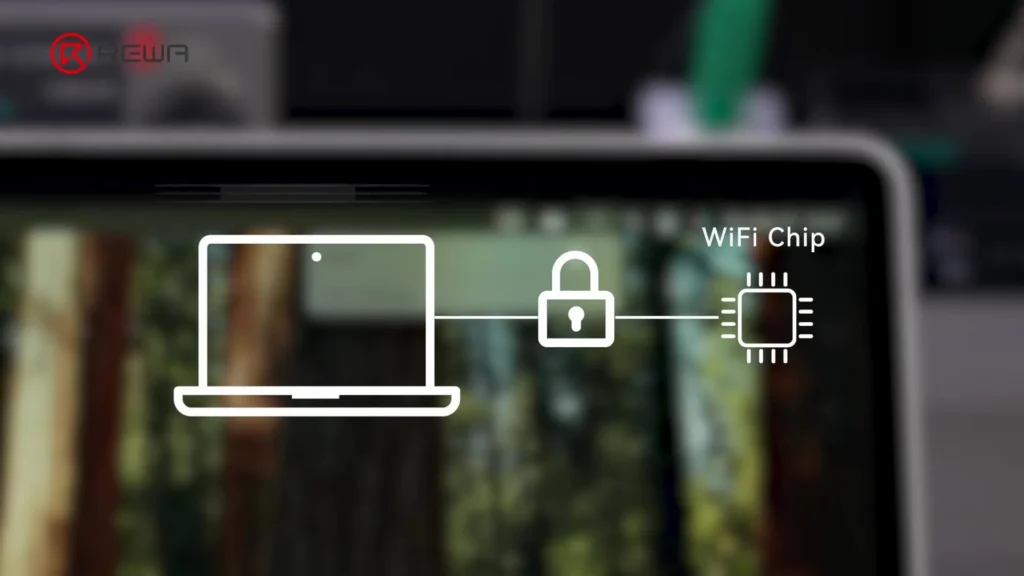
    macbook wifi non si accende riparazione

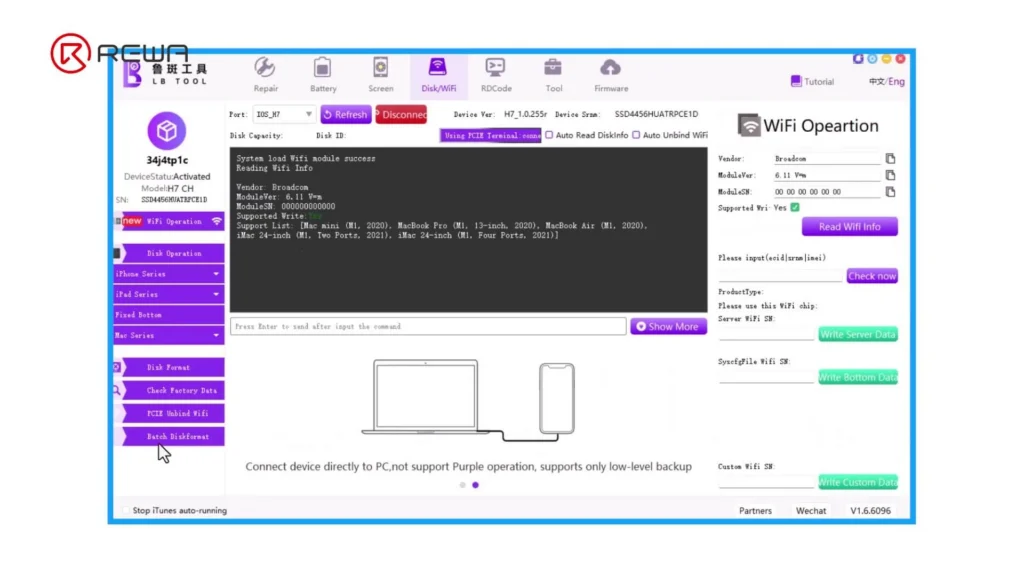
    ECID (ID chip esclusivo) è un numero di serie unico legato ai componenti del MacBook, compreso il chip Wi-Fi. Per installare un chip sostitutivo, è necessario sciogliere il vincolo il vecchio chip dalla scheda madre.

    1. Installare Software LuBan da un'unità flash.
    2. Avviare LuBan - richiede l'accesso a Internet.
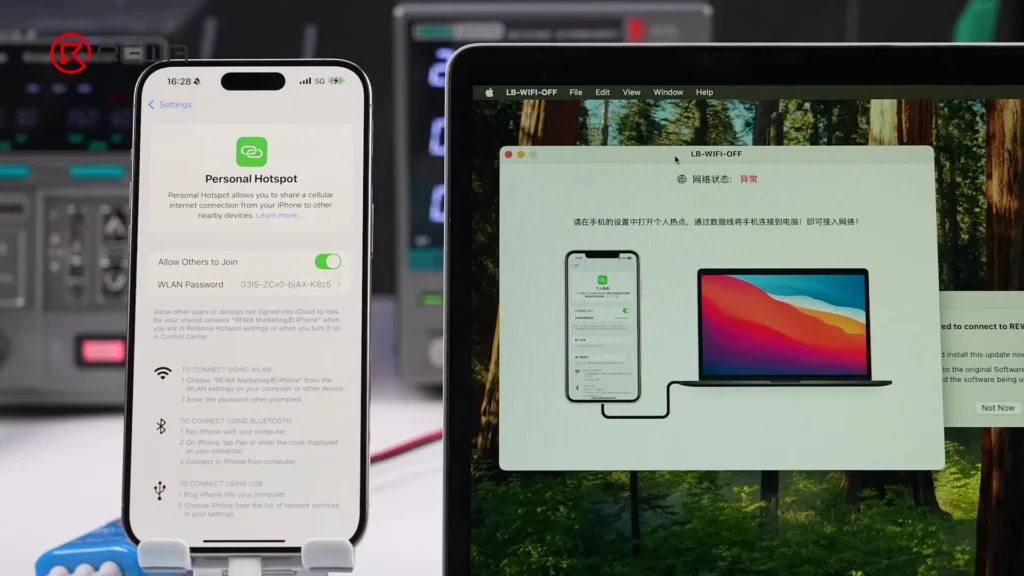
    3. Collegate il MacBook a Internet:
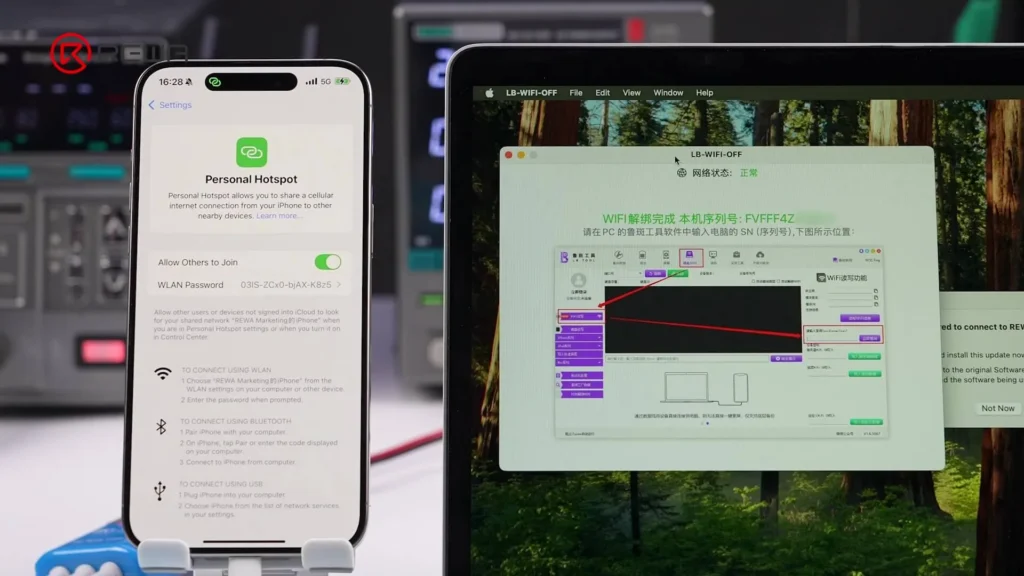
      • Utilizzare un hotspot telefonico tramite cavo USB (affidare il MacBook al telefono quando richiesto),
        o
      • Utilizzare un adattatore Ethernet.
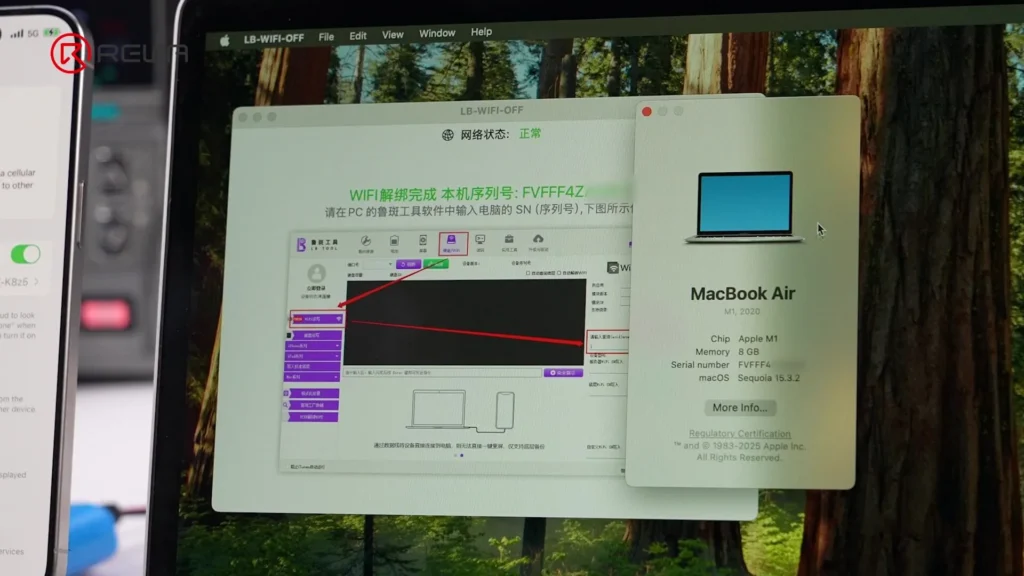
    4. Una volta collegato, LuBan si svincola il chip Wi-Fi esistente e legge l'ECID.
    5. Verifica dell'ECID in macOS Impostazioni per assicurarsi che corrisponda.
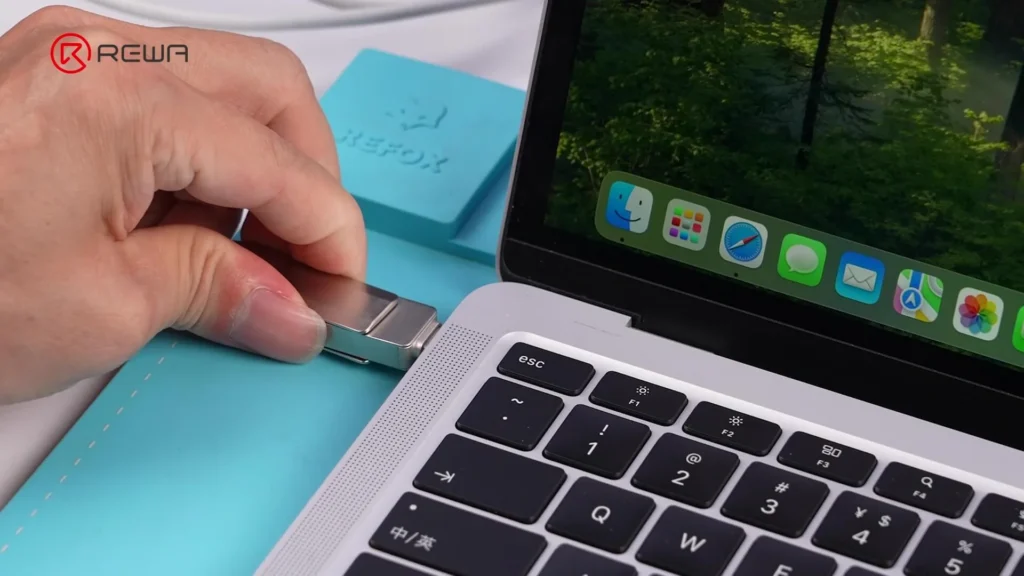
    Fase 3: smontaggio del MacBook

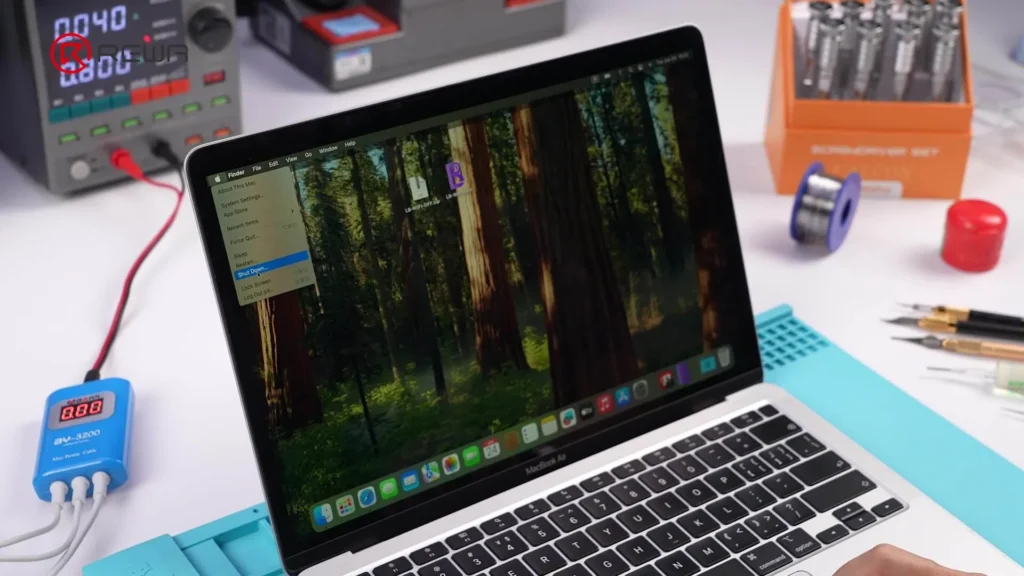
    1. Spegnere il MacBook.
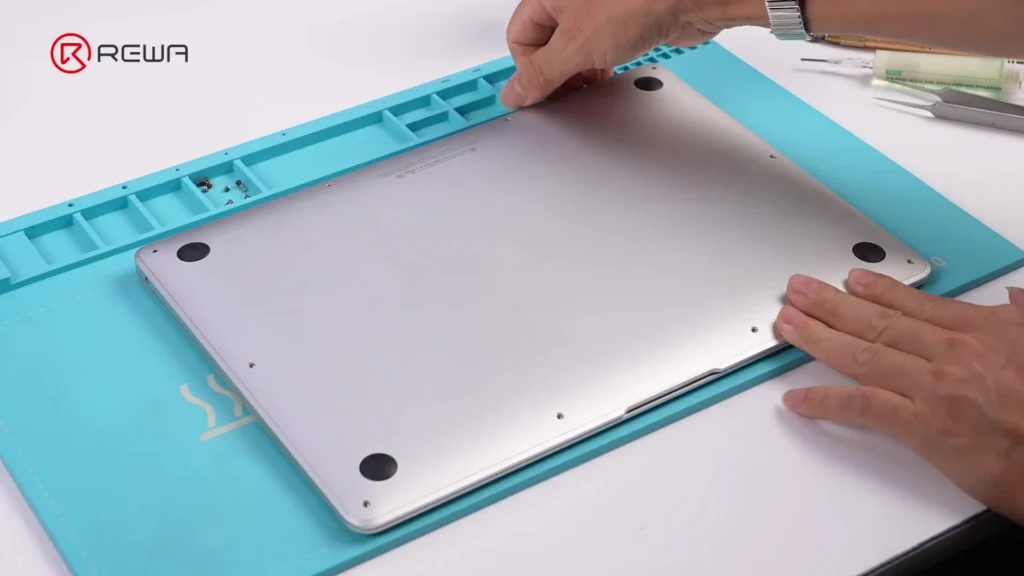
    2. Rimuovere il minuscolo viti e l'involucro.
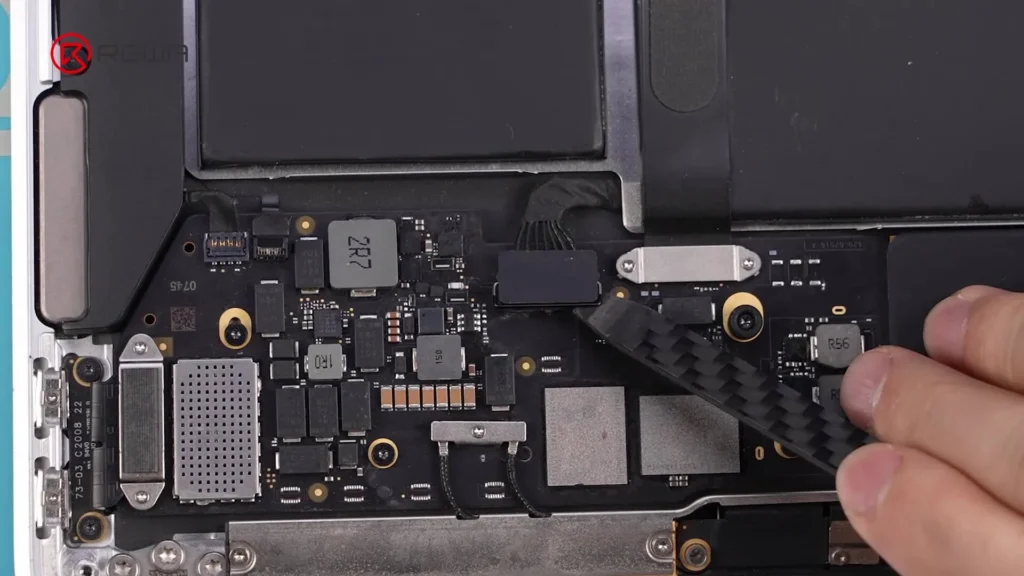
    3. Scollegare il cavo della batteria.
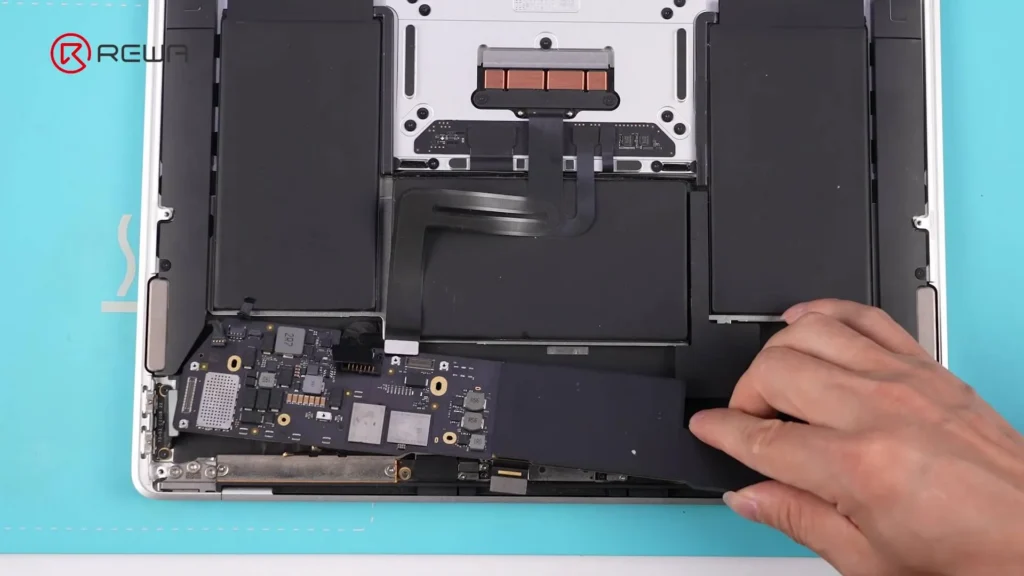
    4. Rimuovere il scheda madre:
      • Svitare tutte le viti di montaggio.
      • Rimuovere il dissipatore di calore.
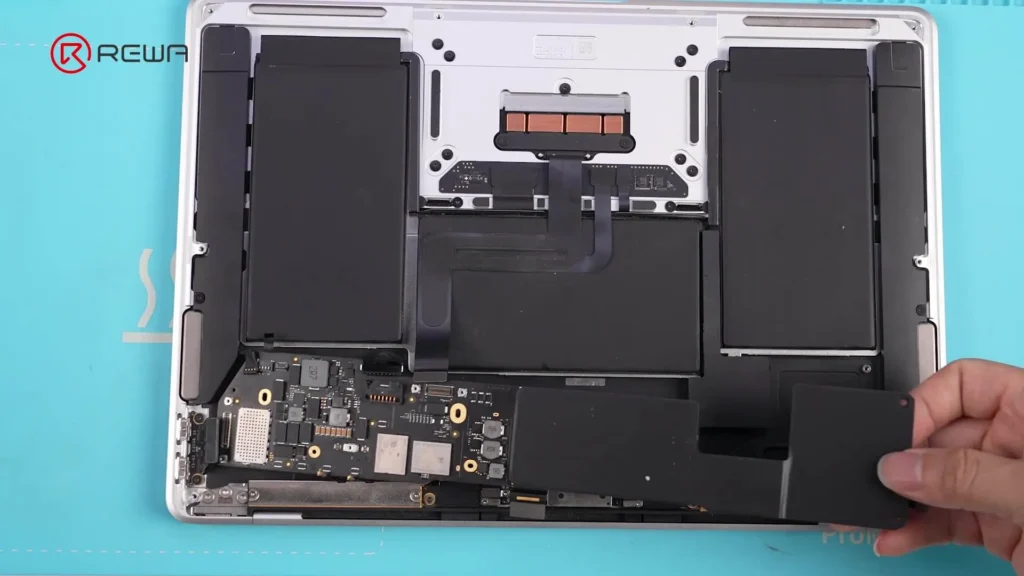
    Passo 4: rimuovere il chip Wi-Fi difettoso

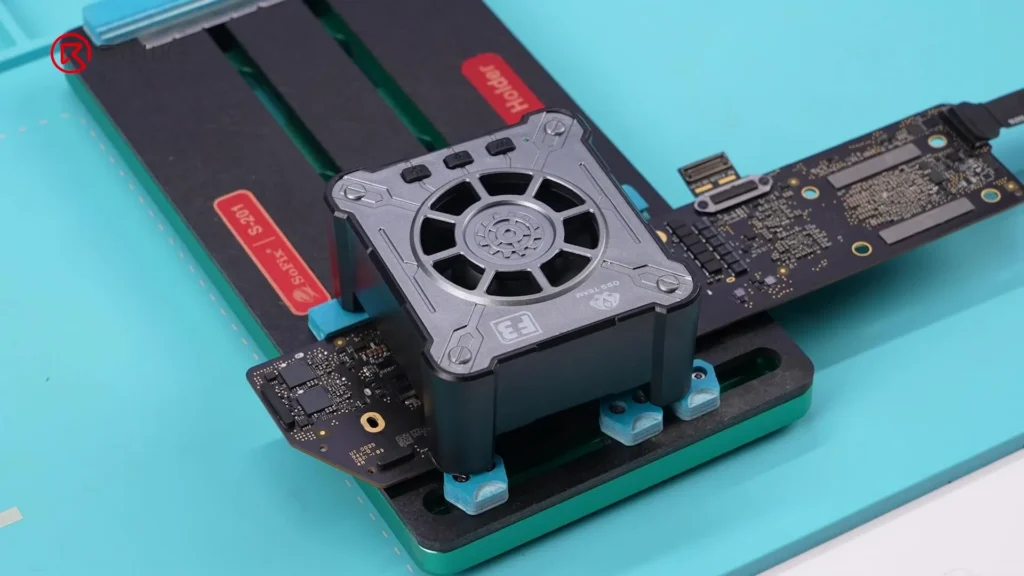
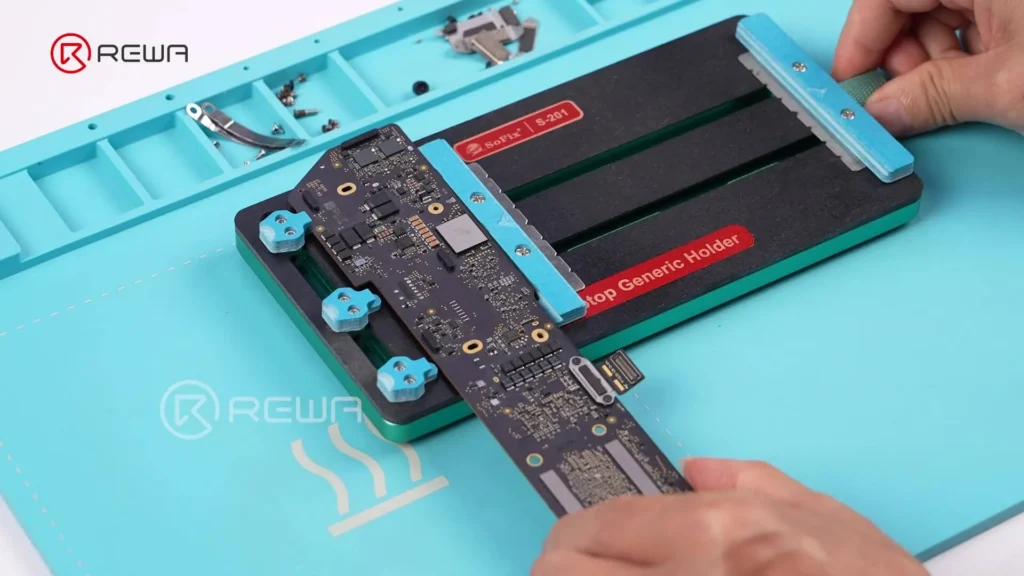
    1. Fissare la scheda madre con un Dispositivo per PCB.
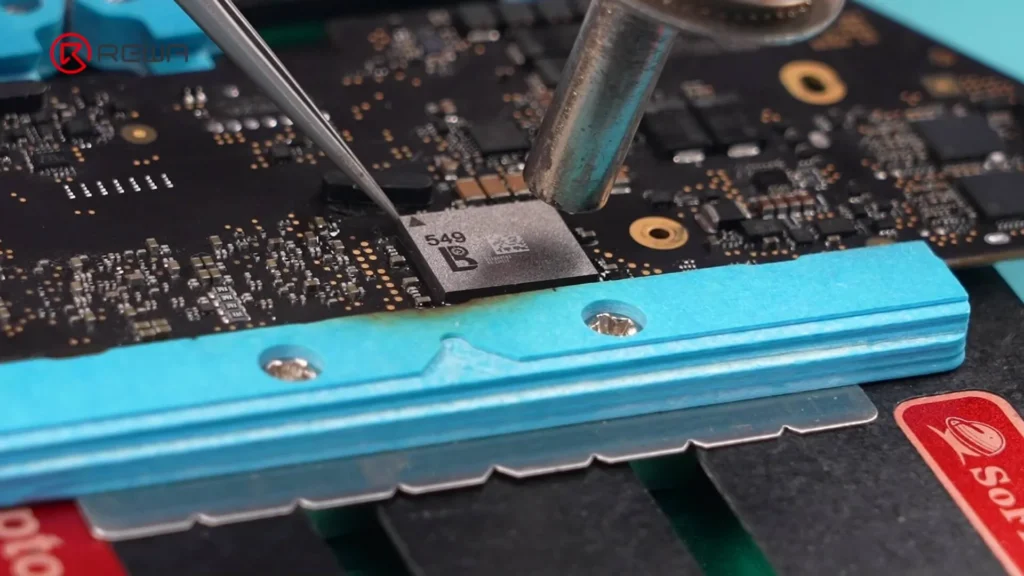
    2. Utilizzare un pistola ad aria calda per ammorbidire l'adesivo intorno al chip.
    3. Rimuovere delicatamente l'adesivo con una pinzetta. non riscaldare direttamente il chip.
    4. Applicare il calore in modo uniforme muovendo la pistola ad aria calda in modo da movimento in senso orario sul chip.
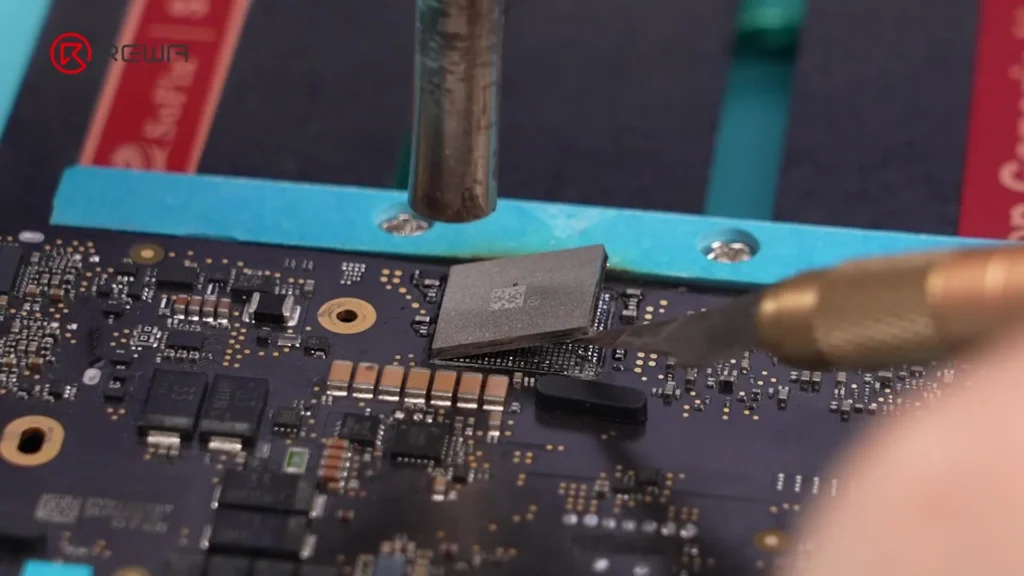
    5. Inserire un Strumento per fare leva sotto il chip e sollevarlo delicatamente.
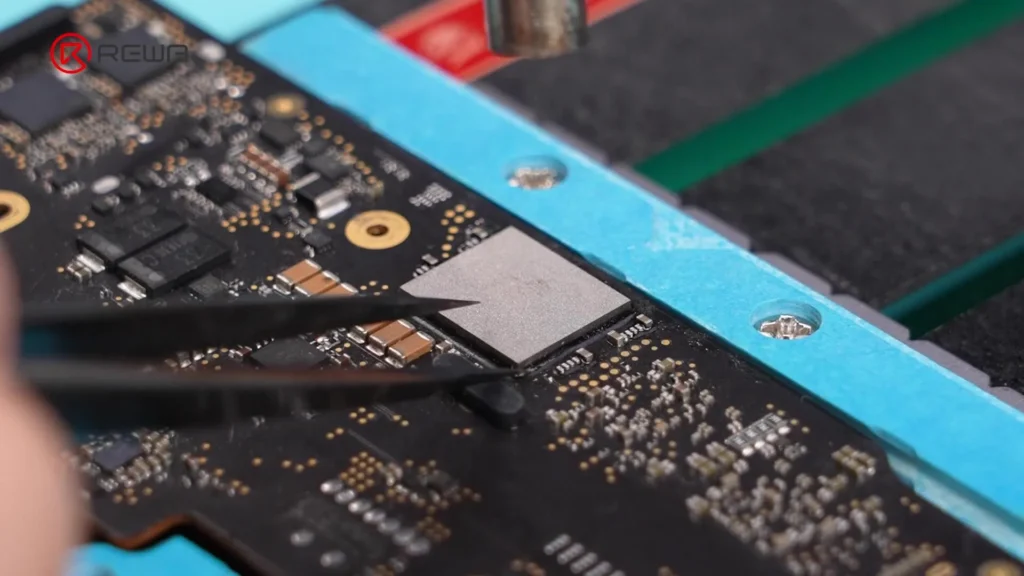
    Fase 5: preparazione dei pad di saldatura

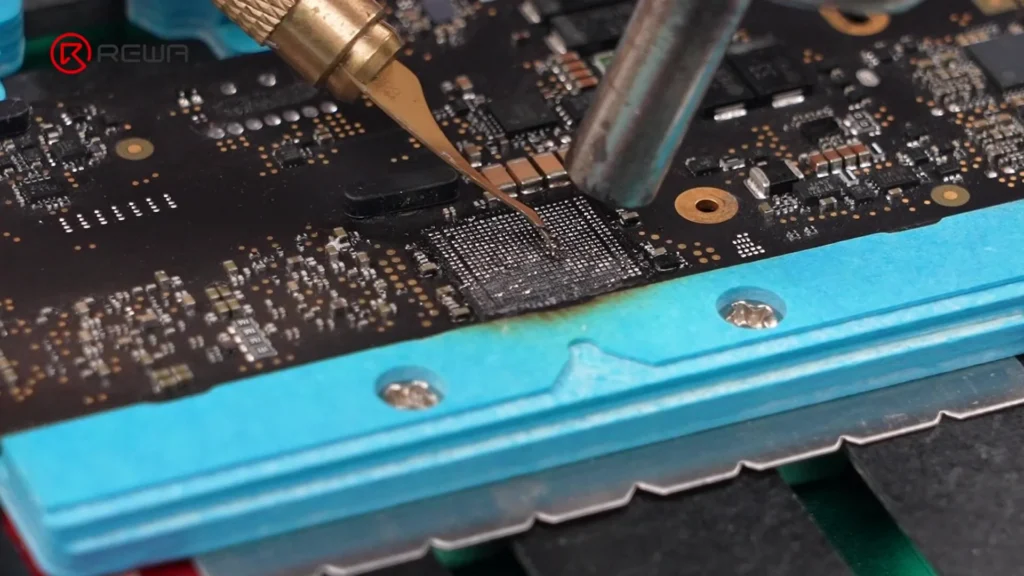
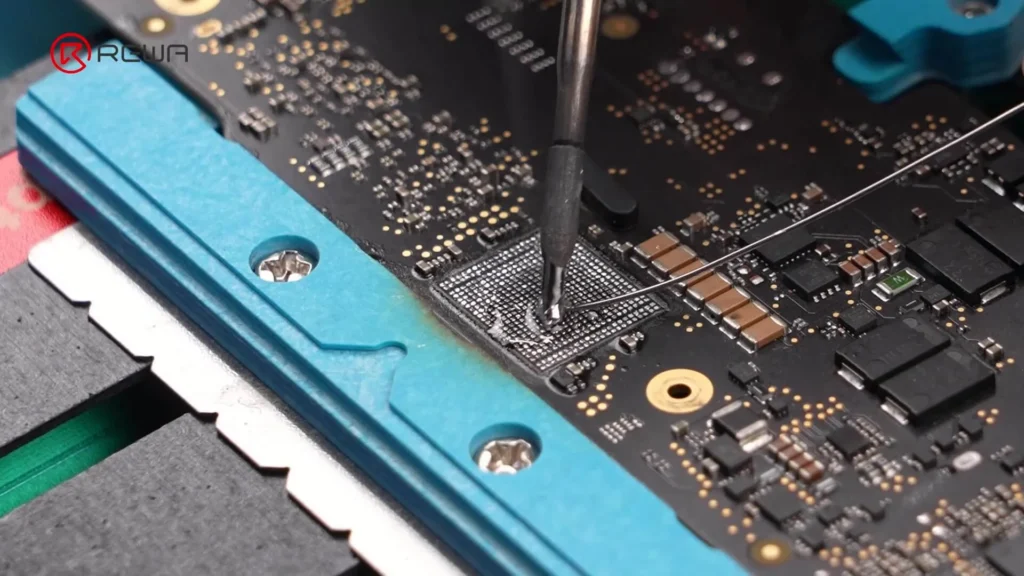
    1. Applicare flusso e saldatura a media temperatura per neutralizzare la saldatura ad alta temperatura sulle piazzole, riducendo così il rischio di reinstallazione.
    2. Riscaldare intorno alle pastiglie e rimuovere l'adesivo nero con un raschietto.
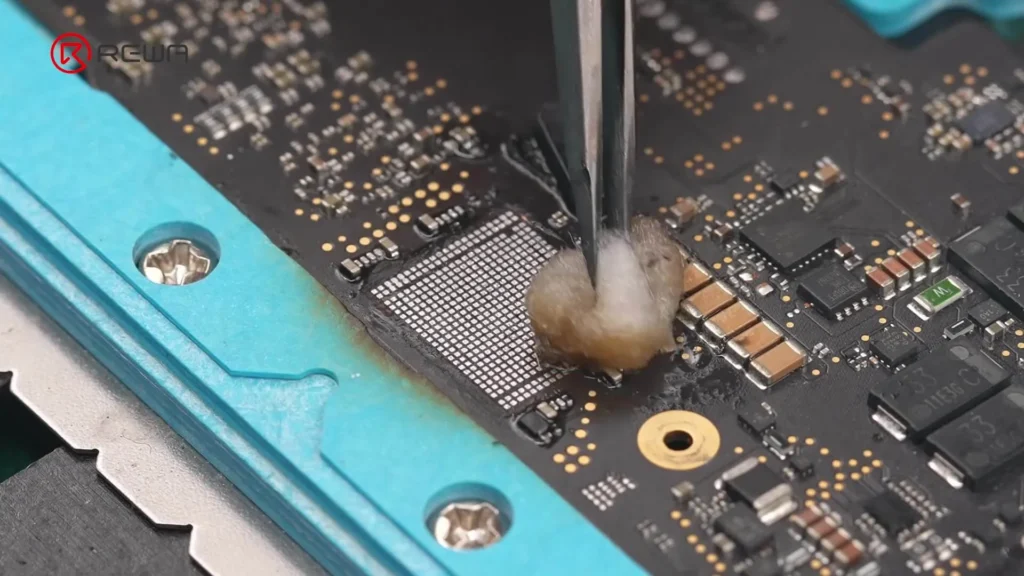
    3. Pulire i tamponi con Pulitore per PCB.
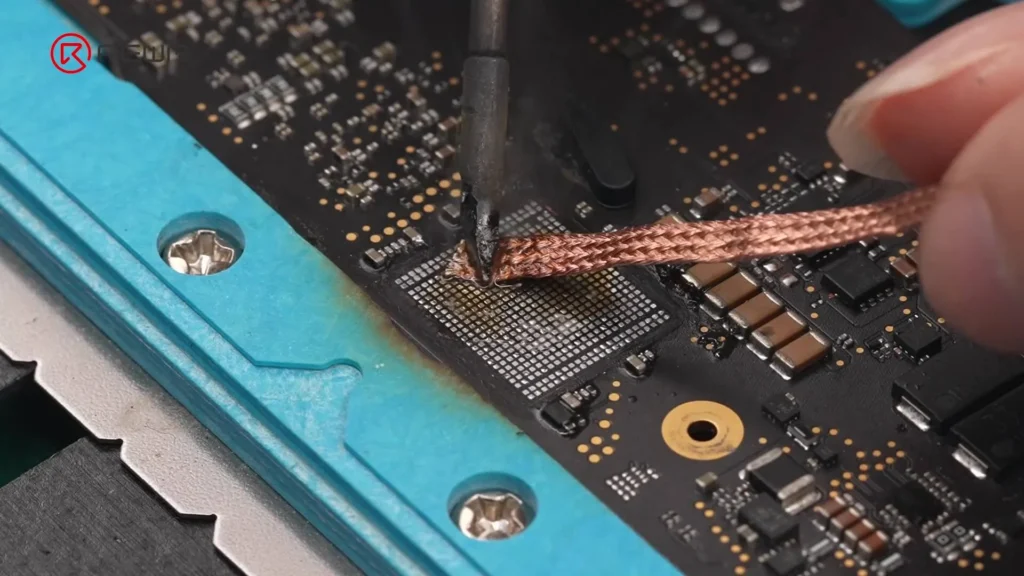
    4. Applicare nuovamente il flussante e utilizzare stoppino per saldatura per rimuovere tutti i residui di saldatura.
    5. Pulire i tamponi con Cotone inumidito per la pulizia dei PCB.
    Fase 6: Programmare il nuovo chip Wi-Fi

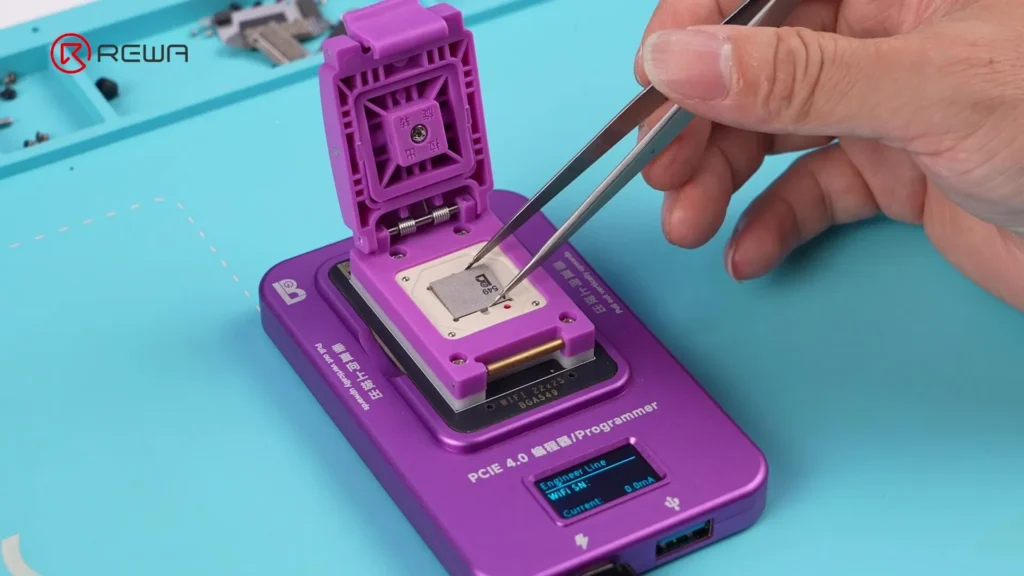
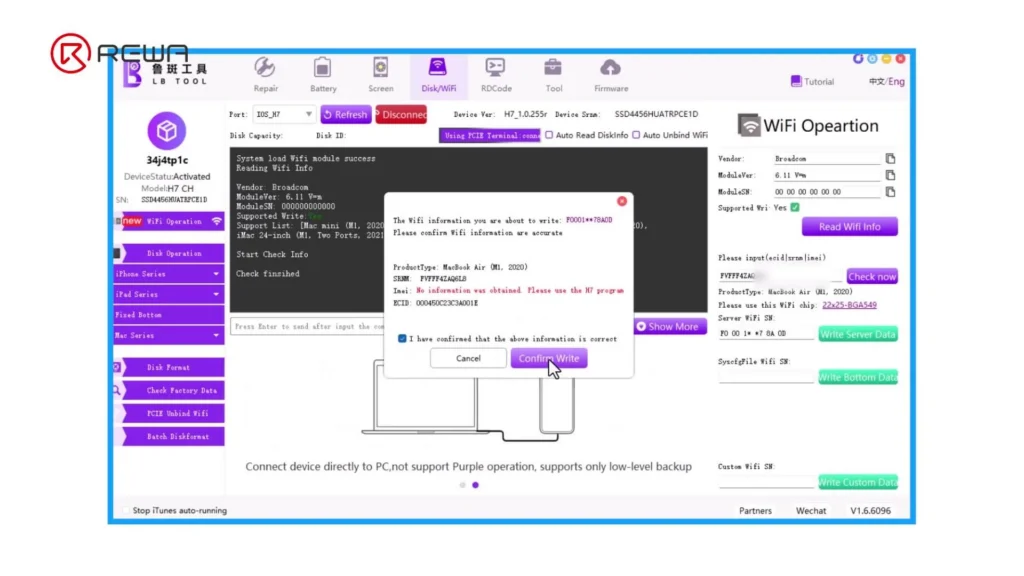
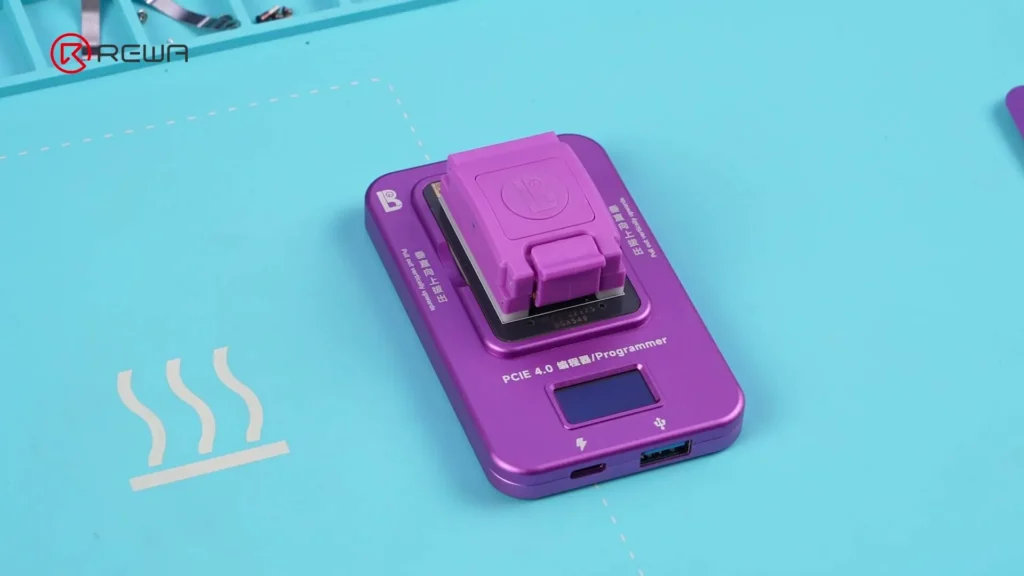
    1. Installare il Modulo di riparazione Wi-Fi per MacBook in un programmatore.
    2. Inserisci il nuovo chip Wi-Fi nel modulo.
    3. Collegare il programmatore a un computer che esegue Software LB Tool.
    4. Attendere che il software legga il nuovo chip.
    5. Inserire il ECID registrato in precedenza.
    6. Clicca su Controlla ora - i campi dei dati richiesti verranno compilati automaticamente.
    7. Clicca su Scrivere i dati del server → confermare → Confermare la scrittura.
    8. Attendere il completamento della scrittura: il successo viene indicato quando "PASSO" appare.
    Fase 7: Reballaggio e installazione del nuovo chip

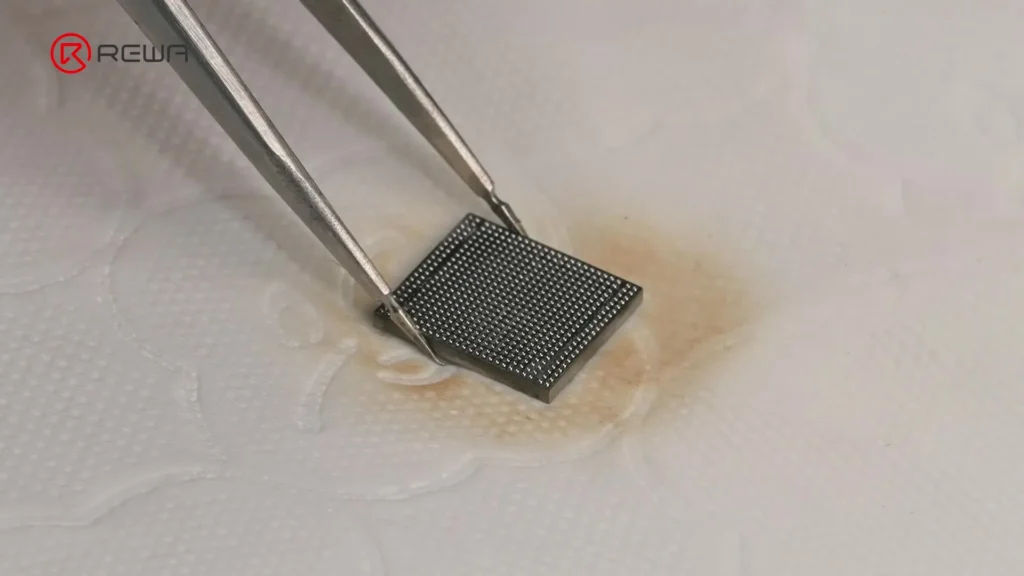
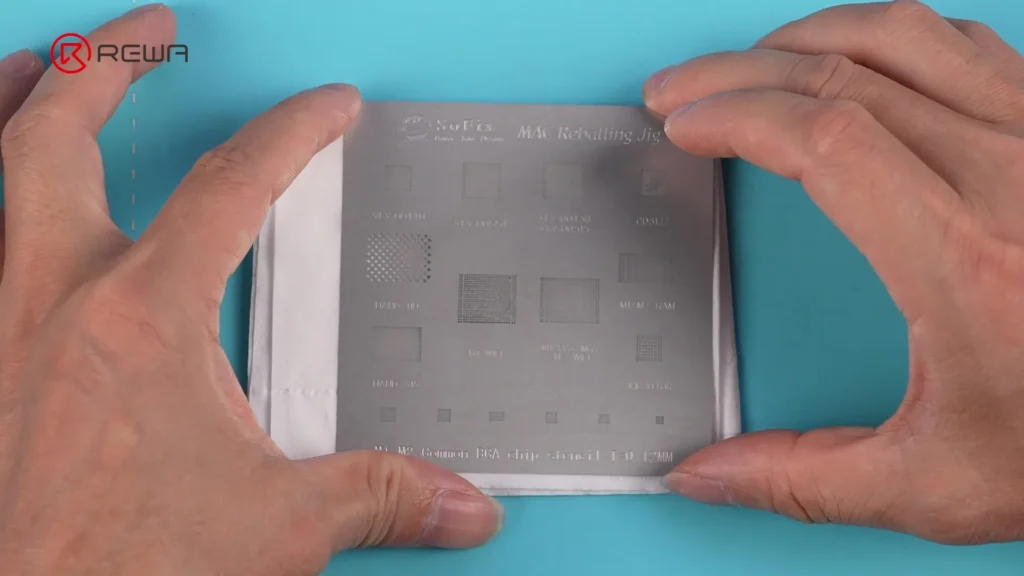
    Ribaltamento assicura che il chip abbia sfere di saldatura fresche e uniformemente distanziate per una connessione sicura.

    1. Allineare un stencil per saldatura con i pad del chip.
    2. Diffusione pasta saldante a media temperatura sopra lo stencil.
    3. Riscaldare con una pistola ad aria calda fino a formare delle palline di saldatura.
    4. Applicare il flussante sui pad del chip.
    5. Riscaldare brevemente le piazzole per lisciare le sfere di saldatura.
    6. Applicare il flussante sui pad della scheda madre.
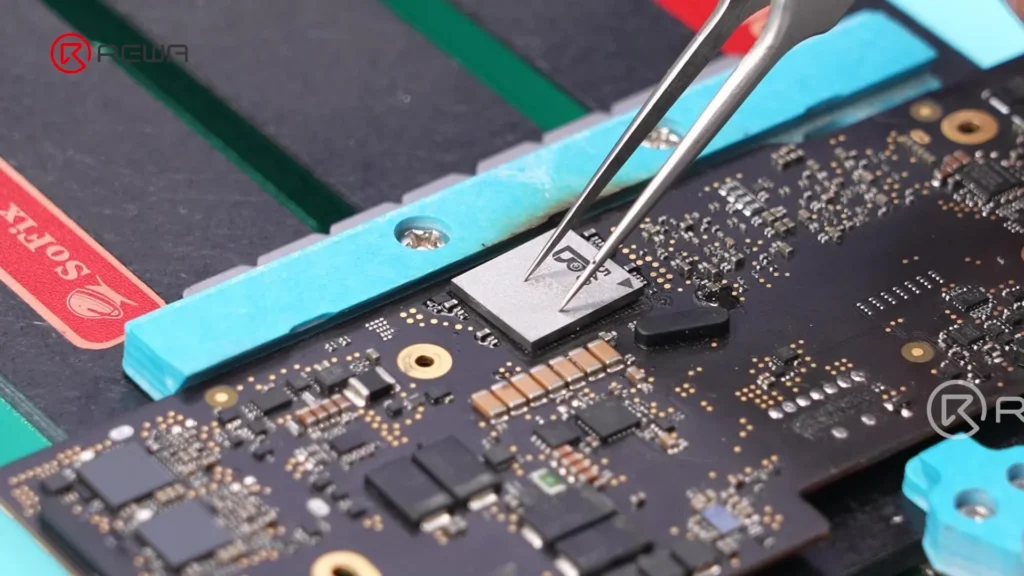
    7. Posizionare il chip con precisione utilizzando una pinzetta.
    8. Riscaldare in un movimento in senso orario per fissare i giunti di saldatura.
    9. Picchiettare delicatamente con una pinzetta per confermare la stabilità.
    10. Raffreddare rapidamente con un ventilatore.
    Fase 8: Prova e rimontaggio

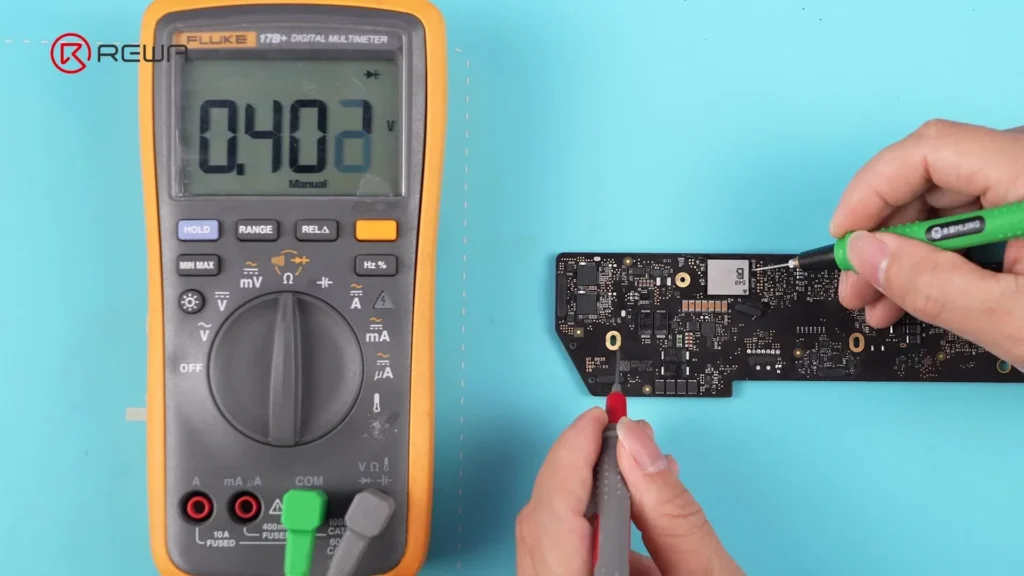
    1. Utilizzare un multimetro per testare i condensatori intorno al chip: le letture dovrebbero essere normali.
    2. Reinstallare il dissipatore di calore.
    3. Reinstallare il scheda madre.
    4. Ricollegare il cavo della batteria.
    5. Riattaccare il minuscolo.
    6. Collegare un caricabatterie per riattivare la batteria.
    7. Avviate il MacBook e controllate il Wi-Fi: ora dovrebbe funzionare.
    8. Verifica ECID rimane invariato.

    Elenco degli strumenti e delle parti

    Strumenti:

    riparazione del macbook wifi non funzionante

    Materiali:

    • Flusso
    • Saldatura a media temperatura
    • Pasta saldante
    • Pulitore per PCB
    • Tamponi di cotone

    Parti:

    • Nuovo chip Wi-Fi (compatibile con il modello MacBook)
    • Modulo di riparazione Wi-Fi per MacBook
    • Dispositivo programmatore (compatibile con LB Tool)

    Software:

    • Software LuBan

    Domande frequenti

    Cos'è l'ECID e perché è importante?

    L'ECID (Exclusive Chip ID) è un identificatore unico per i componenti del MacBook. Quando si sostituisce il chip Wi-Fi, l'ECID deve essere riscritto sul nuovo chip per garantire la compatibilità con la scheda madre.

    Posso eseguire questa riparazione senza strumenti professionali?

    No, questa procedura richiede strumenti di precisione, abilità di saldatura e un software specifico. Se si tenta di farlo senza l'attrezzatura adeguata, si rischia di danneggiare la scheda madre.

    La sostituzione del chip Wi-Fi è più economica della sostituzione della scheda madre?

    Sì, la sostituzione del chip Wi-Fi è decisamente più economica ed ecologica, in quanto evita di sostituire l'intera scheda logica.

    Questa soluzione ripristinerà anche il Bluetooth?

    Sì, poiché Wi-Fi e Bluetooth condividono lo stesso chip, la sostituzione ripristina entrambe le funzioni.

    Quanto tempo richiede la riparazione?

    Con gli strumenti giusti e l'esperienza, in genere sono necessarie circa 1-2 ore.

    Conclusione:

    Per anni, MacBook Il guasto del chip Wi-Fi comportava la sostituzione dell'intera scheda logica, un approccio costoso e dispendioso. Grazie al metodo innovativo di REWA Tech, è ora possibile sostituire il chip Wi-Fi/Bluetooth integrato nei MacBook della serie M, preservando la scheda originale e risparmiando notevoli costi di riparazione.

    Con gli strumenti, il software e le competenze corrette, i tecnici professionisti e gli esperti del fai-da-te possono ripristinare con successo la piena funzionalità wireless. Adottare sempre le precauzioni ESD, utilizzare flussante e saldature di qualità e garantire una programmazione ECID accurata per una riparazione duratura.
  • Riparazione della scheda logica del MacBook con REWA

    Riparazione della scheda logica del MacBook con REWA

    Negli ultimi anni, Apple ha continuato a far crescere la quota di mercato complessiva dei MacBook come produttore leader di PC Windows.

    Secondo gli ultimi dati, il MacBook rappresenta oggi quasi il 10% di tutti i PC attualmente in uso.

    Nel frattempo, anche il mercato della riparazione di questi dispositivi è cresciuto rapidamente nel corso degli anni.

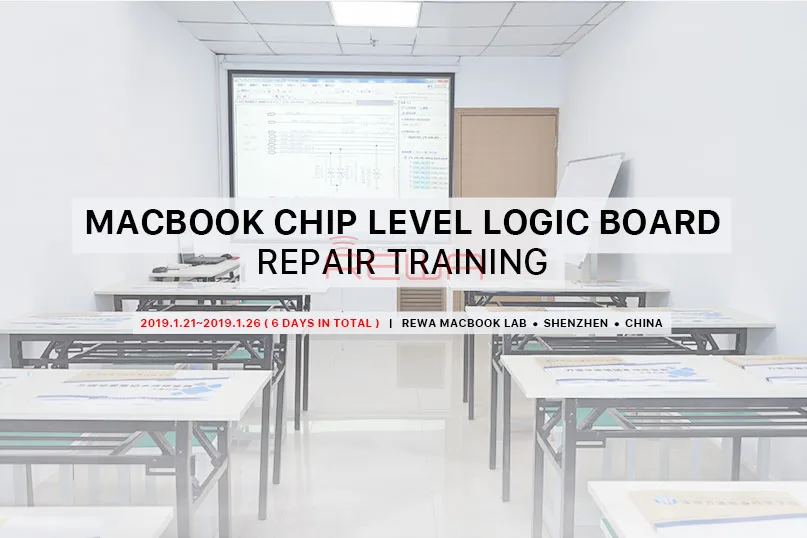
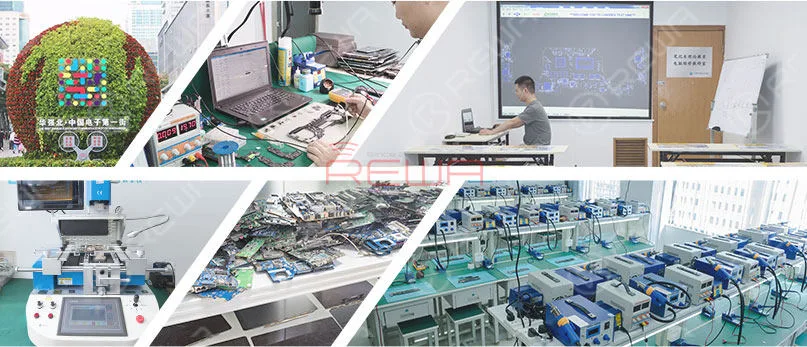
    Tuttavia, difficilmente si può accedere a Formazione sulla riparazione dei MacBook corsi a causa della mancanza di tecnici e scuole di riparazione.

    Ecco perché abbiamo realizzato questo progetto di formazione sui MacBook per aiutarvi a distinguervi dalla concorrenza e a raddoppiare i vostri profitti.

    Descrizione del corso:

    I corsi sono stati progettati per aiutare i tecnici nuovi ed esperti a padroneggiare tutti i livelli di riparazione dei MacBook e ad acquisire le conoscenze e le abilità pratiche da utilizzare immediatamente nella loro attività.

    Corso di formazione REWA per la riparazione della scheda logica del MacBook

    Programma del corso:

    Giorno 1: Introduzione ai modelli di MacBook e alla configurazione della scheda logica.
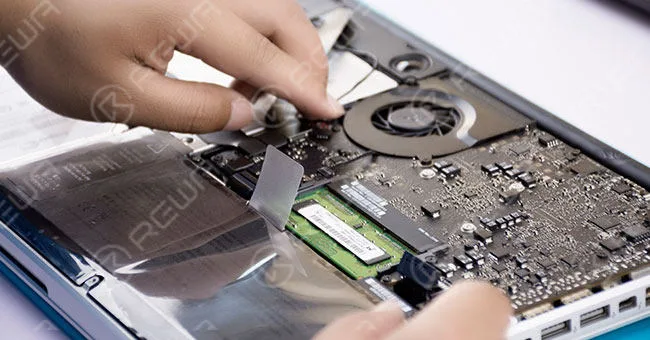
    Smontaggio e assemblaggio dello schermo. Sostituzione dei pezzi di ricambio del MacBook.
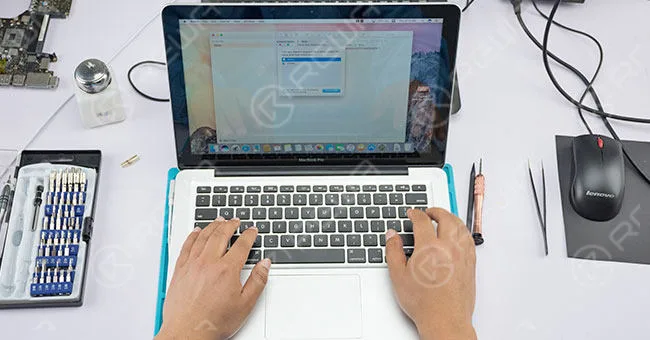
    Giorno 2: Introduzione alla sequenza di avvio del MacBook Pro A1502.

    Smontaggio e assemblaggio di chip SMC. Riparazione di circuiti integrati danneggiati da liquidi.

    Giorno 3: Introduzione alla sequenza di avvio di MacBook A1706, A1707.

    Sostituzione di chip BGA con BGA Rework Station.

    Giorno 4: Aggiornamento della RAM e della SDRAM di MacBook Air e MacBook Pro.

    Modifica delle impostazioni della scheda grafica su A1286. Saldatura e dissaldatura dei chip. Modifica del circuito della scheda logica.

    Giorno 5: Sblocco del firmware e del codice PIN per tutti i modelli di MacBook Air e Pro.

    Risoluzione dei problemi del MacBook in loco. Uso dell'oscilloscopio.

    Giorno 6: Problemi e soluzioni comuni del MacBook. Risoluzione dei problemi del MacBook in base alla misurazione della corrente.

    Durata del corso:

    21 gennaio 2019 - 26 gennaio 2019 (6 giorni in totale)

    Luogo di formazione:

    Laboratorio MacBook REWA, Shenzhen, Cina

    Costo della formazione: Solo 1499 dollari

    Il prezzo comprende i corsi, i materiali e la traduzione.

    I costi di vitto, alloggio e trasporto non sono inclusi.

    Termine ultimo per la presentazione delle domande:

    12 gennaio 2018 (posti limitati disponibili).

    Chiunque intenda migliorare le proprie capacità di riparazione del MacBook può seguire questo corso.

    Il corso vi fornirà le conoscenze avanzate su come riparare il MacBook.

    Candidatevi e iniziate a diventare esperti di riparazione di MacBook oggi stesso.

    Tutto è pronto, solo le vostre azioni ISCRIVITI ORA

    Per qualsiasi altra domanda, non esitate a contattarci all'indirizzo: training@rewatechnology.com

  • Power ON All MacBook with 1 Cable – MacBook Power Cable (BY-3200)

    Power ON All MacBook with 1 Cable – MacBook Power Cable (BY-3200)

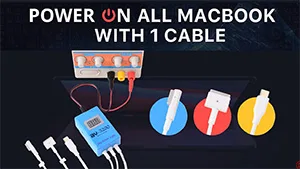
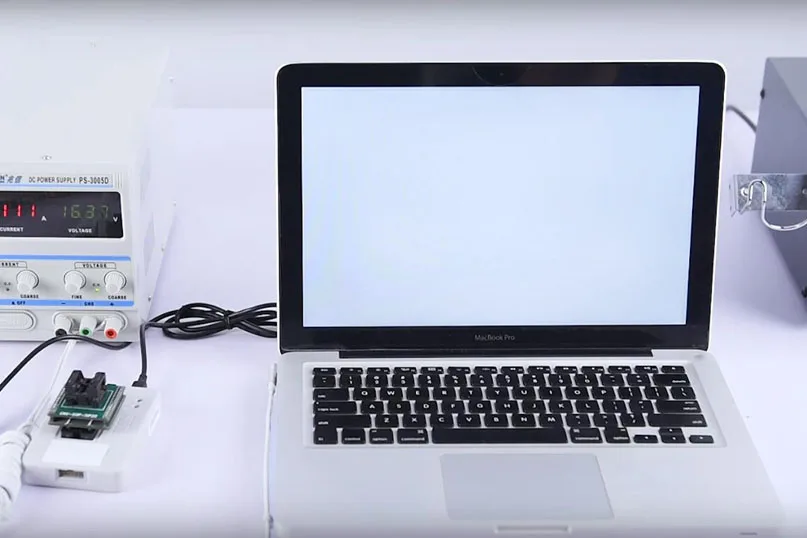
    Today, REWA Lab will introduce the MAC Power Cable (BY-3200), a boot cable product for MacBook repair. The BY-3200 features 3 interfaces (Type-C, T-style, and L-style) for the whole series 2008-2021 MacBook, providing power for different MacBook by simply connecting to a DC power supply. The BY-3200 mainly supports different power of fast charging, start-up and system entry with a single motherboard, boot current reading, etc.

    Recommended Items:

  • An Efficient Way to Diagnose MacBook Faults and Fix Serial Number (EBC-820)

    An Efficient Way to Diagnose MacBook Faults and Fix Serial Number (EBC-820)

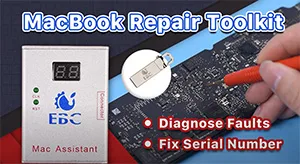
    In daily MacBook repair, motherboard component failure is the most common problem. For repair technicians, the most complicated process is not repairing, but finding the fault. In response to this situation, we introduce a MacBook repair assistant EBC-820 that can help repair technicians pinpoint the fault before repair. Check out this video and see how EBC-820 works!

    Prodotti consigliati in questo video:

  • MacBook LCD Only Repair – Easy Fix with Air Slice Tool

    MacBook LCD Only Repair – Easy Fix with Air Slice Tool

    The MacBook LCD repair is obviously more cost-effective than the replacement of the entire MacBook display assembly. However, single MacBook display replacement can be really difficult. It requires professional skills of technicians. Well, check our video today and you can see how the technician removes the display with just two pieces of Air Slice instead of the use of a Hot Air Gun. Which can greatly reduce the difficulty of MacBook screen replacement. 

  • Unlock Any MacBook(2010-2017) with This Awesome Tool

    Unlock Any MacBook(2010-2017) with This Awesome Tool

    We have introduced a fantastic MacBook unlock tool in our previous video. With the help of this MacBook Unlocking Tool, you can unlock all MacBook series (2010-2017). Moreover, all data remain the same after unlocking and there is no need for OS reinstallation. Still, some customers have got questions about how it works. Check our video today and you will find out how this MacBook unlock tool is applied to different MacBook models. 

  • MacBook Pro 2017 Wont Turn On Troubleshooting Guide

    MacBook Pro 2017 Wont Turn On Troubleshooting Guide

    Different from previous models in exterior design and interior logic board circuit construction, MacBook Pro 2017 A1708 is further difficult to be repaired. This time we will show you a complex MacBook won’t turn on repair case caused by multiple faulty components like capacitors, inductors etc.. If you are facing MacBook won’t power on problem, please check the video for MacBook pro fault troubleshooting guide.

  • Riparazione MacBook Air 2015 senza retroilluminazione

    Riparazione MacBook Air 2015 senza retroilluminazione

    MacBook Air no backlight and all you see is black screen? Typically, MacBook backlight not working issue is caused by the damage of backlight IC. However, the situation is much more complicated in this video. The damage of booster diode leads to the no backlight issue of MacBook Air. Check the video for the detailed diagnosis&troubleshooting process and bring your MacBook back to life.

  • Soluzione del chip EFI per la riparazione dello sblocco del MacBook

    Soluzione del chip EFI per la riparazione dello sblocco del MacBook

    Recently, REWA has received a batch of MacBook locked by hackers. Users might be confused by the definition of PIN lock and EFI firmware lock. And the way they might have affected the Macbook. With this blog we will share an EFI chip solution regarding to the MacBook unlock issue. please stay tuned for the next two chapters of MacBook unlock.

    Soluzione del chip EFI per la riparazione dello sblocco del MacBook

    Soluzione del chip EFI per la riparazione dello sblocco del MacBook

    The MacBook Pro requires PIN to login. Give the PIN a try, yet PIN failed.

    Soluzione del chip EFI per la riparazione dello sblocco del MacBook

    Power off. Then hold Option Key and power on. Another LOCK appears on the pop up window. We can draw the conclusion that the MacBook has been Locked by Hackers, since both two passwords failed.

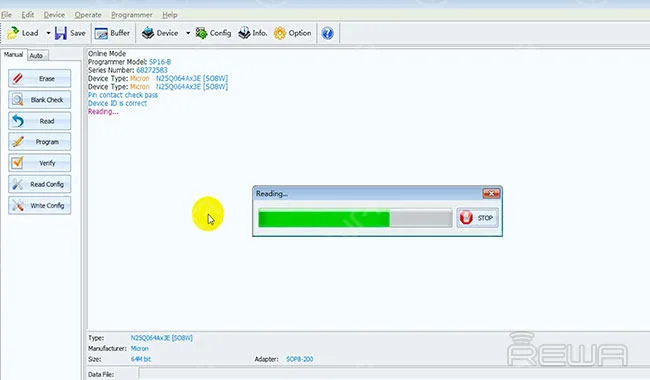
    Power off. Then hold Option Key and power on. Another LOCK appears on the pop up window. We can draw the conclusion that the MacBook has been Locked by Hackers, since both two passwords failed.

    Confirm the MacBook SN first.

    Remove the lower case and disconnect the primary battery.

    Remove the lower case and disconnect the primary battery.

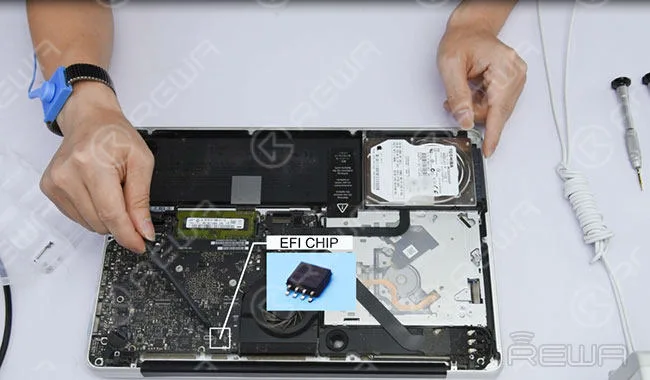
    Locate the EFI chip that stores information. This chip is the key to the unlocking process.

    Locate the EFI chip that stores information. This chip is the key to the unlocking process.

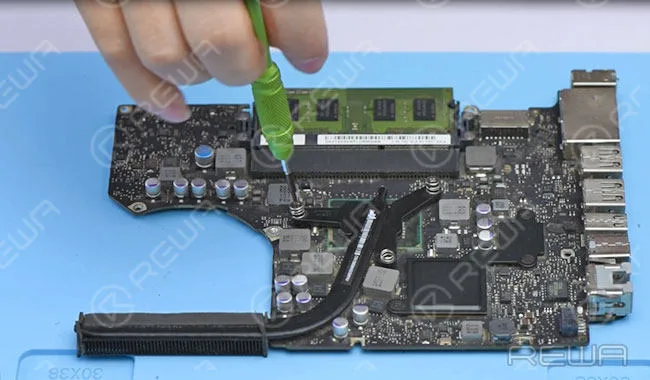
    Then take out the logic board and remove heat sink afterwards. (Logic board is removed from the MacBook to avoid damage to other components during the repairing process.)

    Then take out the logic board and remove heat sink afterwards. (Logic board is removed from the MacBook to avoid damage to other components during the repairing process.)

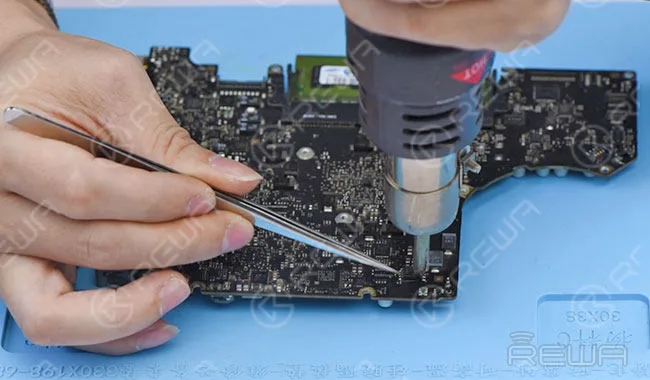
    Detach the EFI chip from the logic board and then clean the chip.

    Detach the EFI chip from the logic board and then clean the chip.

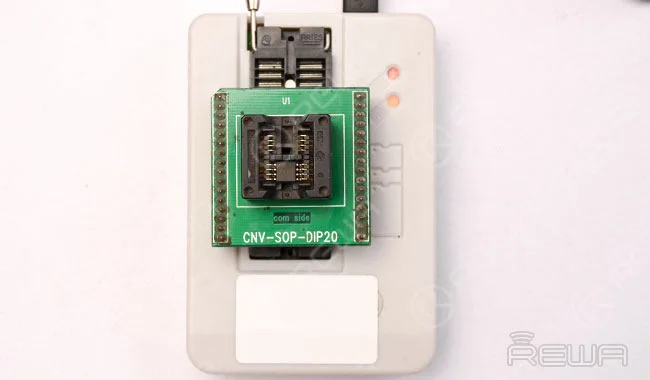
    Install the chip onto the unlock tool.

    Install the chip onto the unlock tool.

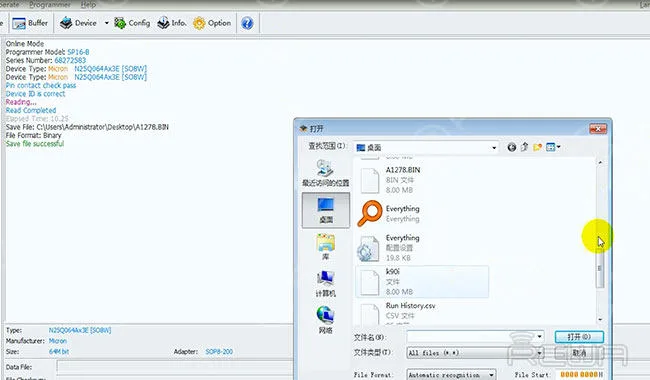
    Connect with the unlock software. Input the chip model number, then Read and backup chip data.

    Connect with the unlock software. Input the chip model number, then Read and backup chip data.

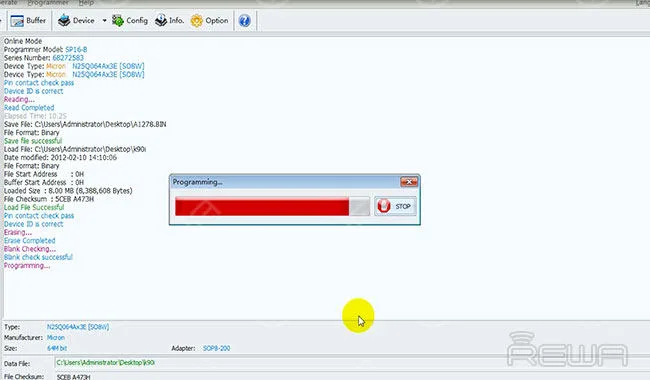
    Load a specific firmware data. Improper firmware may result in unsuccessful unlocking or slow system after successful unlocking.

    Load a specific firmware data. Improper firmware may result in unsuccessful unlocking or slow system after successful unlocking.

    Clear raw data, and write new data. Once finished, take down the EFI chip.

    Clear raw data, and write new data. Once finished, take down the EFI chip.

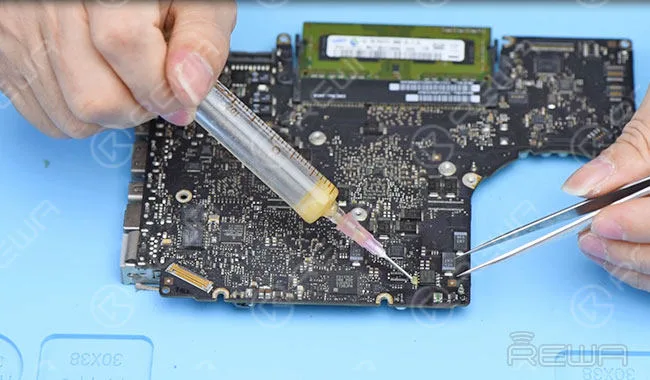
    Solder the chip to the logic board, then clean with PCB cleaner.

    Solder the chip to the logic board, then clean with PCB cleaner.

    Apply some thermal paste and install heat sink.

    Apply some thermal paste and install heat sink.

    Get the logic board installed.

    Get the logic board installed.

    Press DC Power button to power up.

    Press DC Power button to power up.

    Erase NVRAM and power up (press option+command+R+P+power button). MacBook unlocked successfully. OS X can be re-installed now.

    Erase NVRAM and power up (press option+command+R+P+power button). MacBook unlocked successfully. OS X can be re-installed now.

    Avviso:

    Load the specific EFI firmware that matches the MacBook model for unlocking process;

    There are two types of lock for MacBook, PIN and EFI firmware lock;

    Unlock MacBook does not affect the local data;Once locked, if the data hasn’t been erased, then the data remains the same after unlocking;

    Once locked, if the data has been erased, then you need to reinstall the system after unlocking.

    For more details on Macbook unlock Repair guide, please go to Canale YouTube di REWA.

    You can check out Macbook air ram upgrade guide.

  • MacBook No Display Repair

    MacBook No Display Repair

    Recently we noticed some complaints about MacBook air stuck in some peculiar issue during system boot. When your MacBook air is booting to a completely black screen, don’t be panic. REWA here presents you a quick fix for MacBook no display problem with some troubleshooting steps. This solution diagnosed the cause of MacBook black screen step by step and solve the issue by replacing the chip U7701. For more videos related to chip level motherboard repair tutorials, please subscribe our channel.

    Strumenti utilizzati: 

    • Ricambi per MacBook
    • Multimetro
    • Heat Resistant Insulation Pad
    • Pistola ad aria calda
    • Saldatore
    • Pasta saldante fluida per strisce BGA
    • Cacciaviti
    • Barra di plastica
    • Cinghia da polso antistatica
  • Come risolvere il problema dell'accensione del MacBook Pro

    Come risolvere il problema dell'accensione del MacBook Pro

    When your Macbook doesn’t turn on, your first guess should be your Mac has run out of battery. If it’s not the case, you need to search more other reasons. We might have browsed a series of posts or threads like MacBook Pro No Power on; MacBook Power Key Not Working; MacBook won’t turn on etc.. This problem usually relates to one of two things. Either the display is malfunctioning, which means the computer is on, and you just can’t see that it is, or there is some kind of power-related issue that is preventing it from turning on as expected. REWA LAB has been working on MacBook repair these days, and in this tutorial we look at the steps you need to take to fix your MacBook Pro 13” A1278 if it won’t turn on when pressing the power button. 

    Detail steps to teach you How to fix your MacBook Pro or Air won’t turn on :

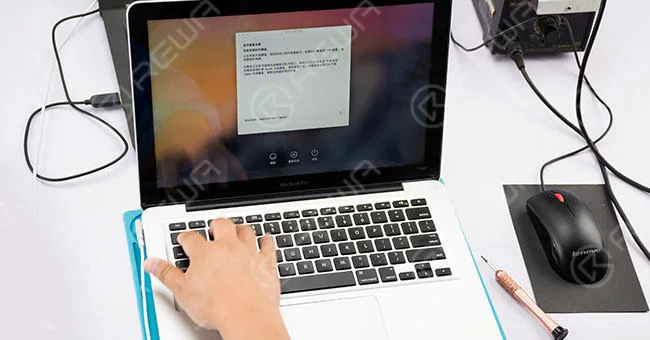
    1. Power Button Power Up Testing

    Power button power up-failed. Plug in AC adapter to power up- successful.

    2. Keyboard And Trackpad Testing

    Keyboard and Trackpad no function.

    Preliminary Diagnosis

    Trackpad and keyboard module broke down.

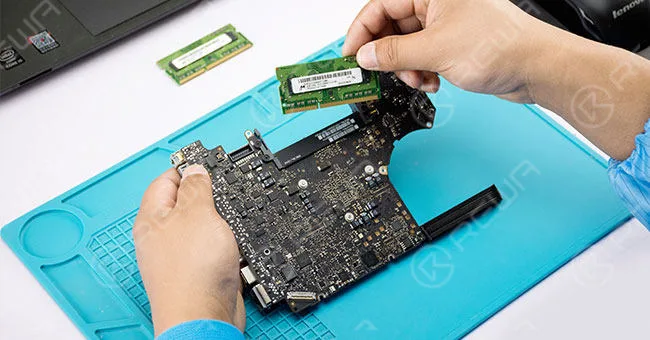
    3. MacBook Disassembling

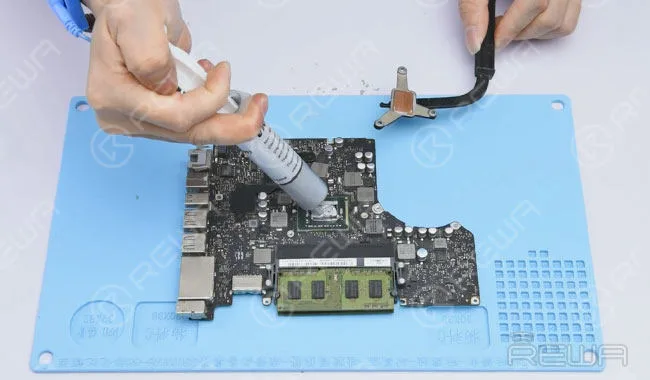
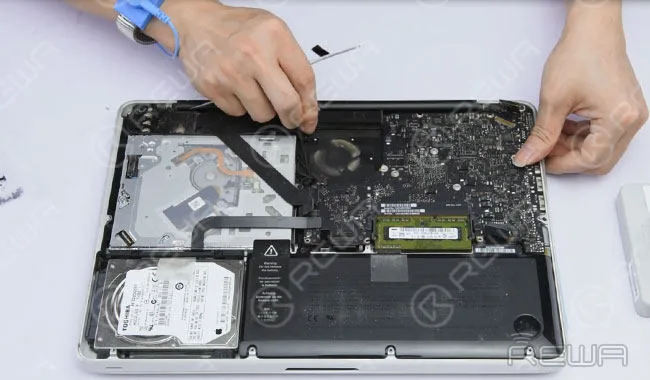
    Disassemble the MacBook and disconnect flex cables. Remove screws and detach the motherboard. Then remove the memory.

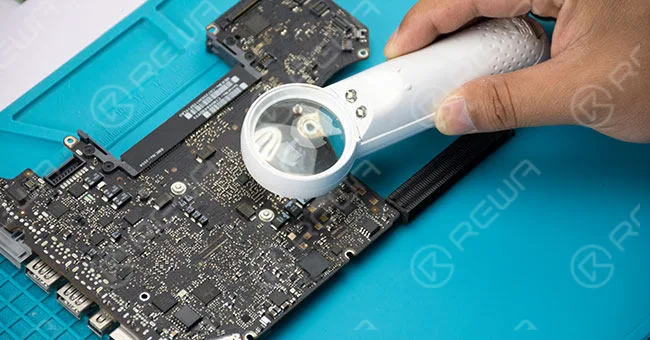
    4. Motherboard Superficial Inspection

    Motherboard superficial inspection with the help of a handhold magnifier.

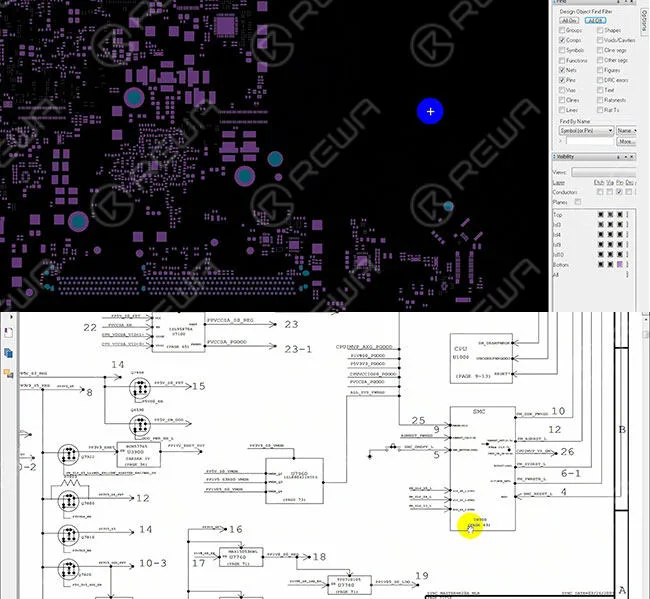
    5. Maintenance Drawing Referring

    Roll out the maintenance bitmap and the circuit diagram for reference. Roll out Motherboard framework drawing and motherboard power system architecture afterwards.

    6. Motherboard Voltage Testing

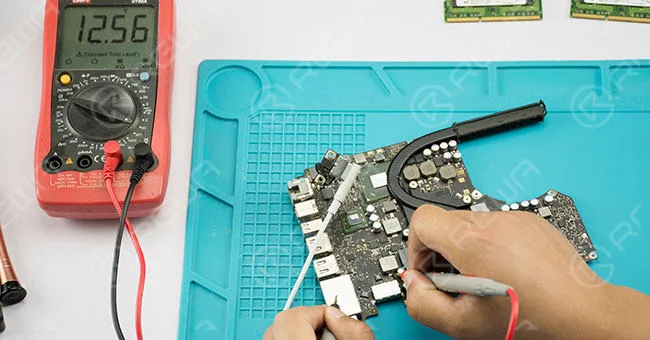
    Locate voltage 12.56 V, common point voltage 3.42V, voltage 5V, voltage 3.3V, voltage 1.5V, voltage 1.0V, voltage 0.9V, voltage 1.1V. Connect AC adapter and test them with digital multimeter – all display normal value.

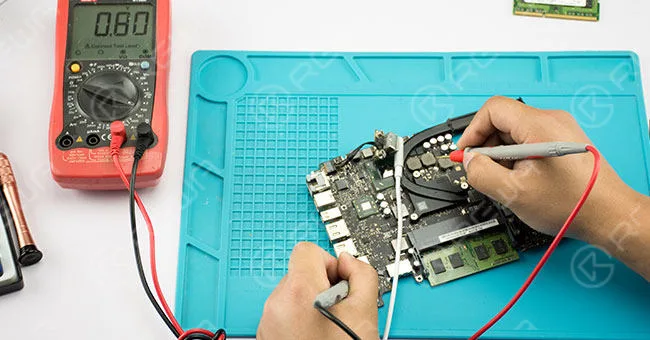
    Disconnect AC adapter and install the memory. Then connect AC adapter and test, voltage value jumps from 1.1V to 0.8V- normal circuit.

    7. Resistance Testing

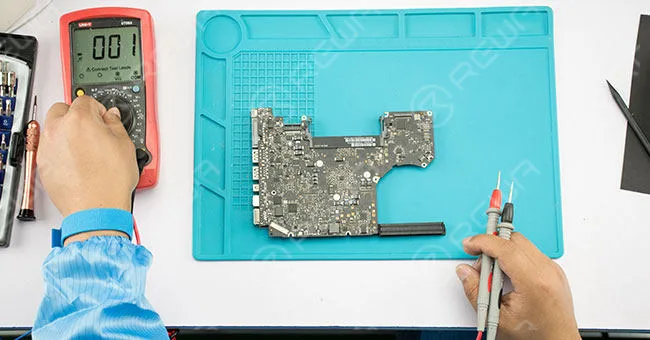
    Test keyboard port pins and peripheral component value with diode mode. Then connect AC adapter and test keyboard port power supply voltage with digital multimeter. Resistor R5704.1 displays no voltage (3.3V under normal circumstances).

    Diagnosi

    Analyze with the help of maintenance bitmap and circuit diagram – U5701 broke down.

    8. U5701 IC Replacing

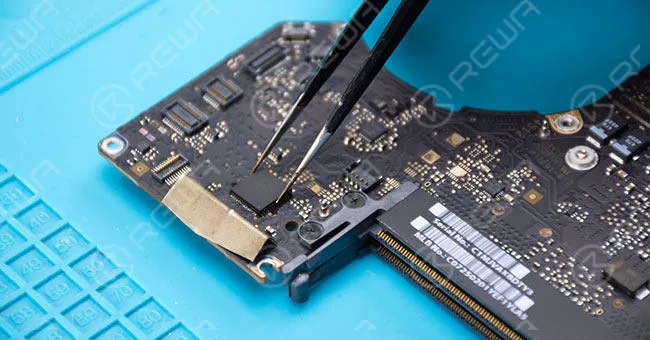
    Use a metal plate to protect keyboard port from high temperature, then take down the damaged U5701 IC with hot air gun. Apply some BGA paste flux to the bonding pad and align the new IC with hot air gun.

    After that, test R5704.1 with digital multimeter again – 3.3V (normal value).

    9. Assembling and Testing

    Assemble the MacBook. Power button power up-failed. Plug in AC adapter to power up- successful.

    Keyboard and Trackpad work normally.

    Diagnosi

    Keyboard power button no response  – keyboard need to be replaced.

    10. Keyboard Replacing

    Disconnect flex cables and detach the motherboard. Then detach the old keyboard and install a new keyboard.

    11. Assembling and Testing

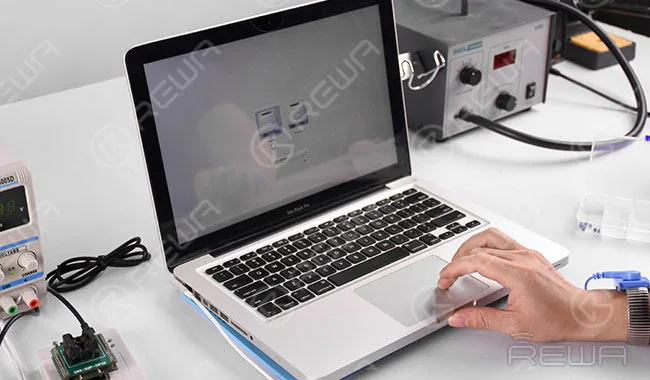
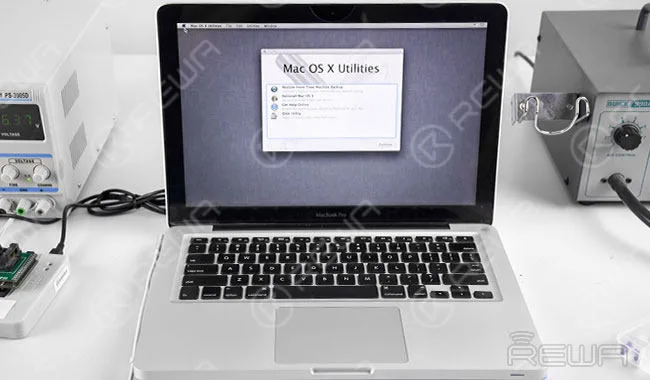
    Assemble the MacBook. Power button power up-successful. Keyboard and Trackpad work normally.

    12. Final Fault Diagnosis

    Keyboard and motherboard IC broke down resulted in the “not turning on” problem.

    Strumenti utilizzati:

    • Multimetro
    • Driver per viti
    • Pinzette
    • Pistola ad aria calda
    • Saldatore
    • Flusso di pasta BGA
    • Anti – static Glass Wiper
    • Filo di saldatura
  • Come risolvere il problema dell'accensione del MacBook Pro

    Come risolvere il problema dell'accensione del MacBook Pro

    “Every day starts, my eyes open and I reload the program of misery.

    I open my eyes, remember who I am, what I’m like, and I just go, ‘Ugh’.”

    You may have heard this famous sentence from a popular TV show or read it in a daily newspaper.

    We human beings start a day from opening our eyes, whereas computers start their day with the power button on their body.

    It is well known that Macs are well built and for the most part reliable.

    Still, they are computers and computers need to wake up before getting to work.

    However, we’ve noticed a number of “My MacBook Pro won’t turn on” posts, and solutions are not so easy to be found.

    Theoretically speaking, ‘MacBook Pro won’t turn on’ problem usually relates to one of two things.

    Either the display is malfunctioning, which means the computer is on, and you just can’t see that it is.

    Or there is some kind of power-related issue that is preventing it from turning on as expected.

    REWA LAB has been working on MacBook repair these days, and in this tutorial, we look at the steps you need to take to fix your MacBook Pro 13″ A1278  if it won’t turn on when pressing the power button.

    Power Button Power Up

    TestingPower button power up-failed. Plug in AC power adapter to power up- successful.

    Fix MacBook Pro

    Keyboard And Trackpad TestingKeyboard and Trackpad no function.

    Fix MacBook Pro Won't Turn On

    Preliminary  DiagnosisTrackpad and keyboard module broke down.

    Smontaggio del MacBook

    Disassemble the MacBook and disconnect flex cables. Remove screws and detach the motherboard. Then remove the memory.

    DiagnosisTrackpad and keyboard module broke down

    Motherboard Superficial Inspection

    Motherboard superficial inspection with the help of a handheld magnifier.

    Motherboard Superficial InspectionMotherboard

    Maintenance Drawing

    ReferringRoll out the maintenance bitmap and the circuit diagram for reference.

    Roll out Motherboard framework drawing and motherboard power system architecture afterward.

    Maintenance Drawing ReferringRoll out

    Motherboard Voltage Testing

    Locate voltage 12.56 V, common point voltage 3.42V, voltage 5V, voltage 3.3V, voltage 1.5V, voltage 1.0V, voltage 0.9V, voltage 1.1V.

    Connect AC adapter and test them with a digital multimeter – all display normal value.

    Motherboard Voltage TestingLocate voltage 12.56 V

    Disconnect AC adapter and install the memory. Then connect AC adapter and test, voltage value jumps from 1.1V to 0.8V- normal circuit.

    Disconnect AC adapter and install the memory

    Resistance Testing

    Test keyboard port pins and peripheral component value with diode mode.

    Then connect AC adapter and test keyboard port power supply voltage with a digital multimeter.

    Resistor R5704.1 displays no voltage (3.3V under normal circumstances).
    Resistance TestingTest keyboard port pins and peripheral component

    Diagnosi

    Analyze with the help of maintenance bitmap and circuit diagram – U5701 broke down.

    U5701 IC Replacing

    Use a metal plate to protect keyboard port from high temperature, then take down the damaged U5701 IC with hot air gun.

    Apply some BGA paste flux to the bonding pad and align the new IC with a hot air gun.

    DiagnosisAnalyze with the help of maintenance bitmap and circuit diagram

    After that, test R5704.1 with digital multimeter again – 3.3V (normal value).

    Assemblaggio e collaudo

    Assemble the MacBook. Power button power up-failed. Plug in AC adapter to power up- successful.

    After that, test R5704.1

    Keyboard and Trackpad work normally.

    Keyboard and Trackpad work normally

    Diagnosi

    Keyboard power button no response – keyboard need to be replaced.

    Keyboard Replacing

    Disconnect flex cables and detach the motherboard.

    Then detach the old keyboard and install a new keyboard.

    DiagnosisKeyboard power button no response

    Assemblaggio e collaudo

    Assemble the MacBook. Power button power up-successful. Keyboard and Trackpad work normally.

    Assembling and TestingAssemble the MacBook

    Final Fault Diagnosis

    Keyboard and motherboard IC broke down resulting in the ‘not turning on’ problem.

    Click to watch the video of MacBook Pro Won’t Turn on:

    • Strumenti e parti utilizzati:
    • Handheld Magnifier
    • Replacement Keyboard for MacBook Pro 13″ A1278
    • Multimetro digitale
    • Heat Resistant Insulation Pad
    • Pistola ad aria calda
    • Flusso di pasta BGA

    If you want to order the tools used in the video please go to  https://shop.rewa.tech/ For more details on repairing guide, please go to Canale YouTube di REWA .

    REWA LAB provides screen repair services as well as motherboard repair services for those in need.

    As for LCD refurbish machines, materials, demo videos and technical support, please feel free to contact us via service@rewa.tech or comment below.