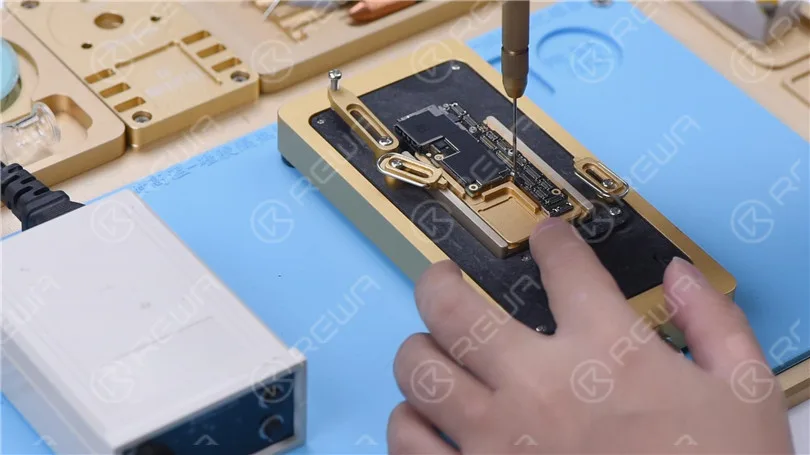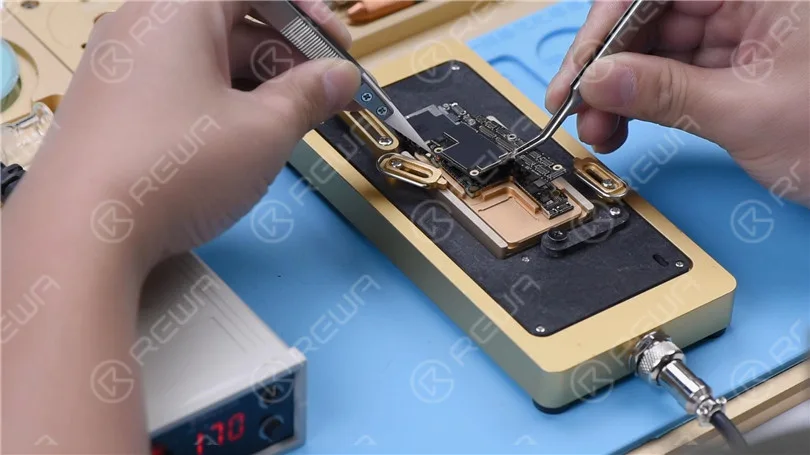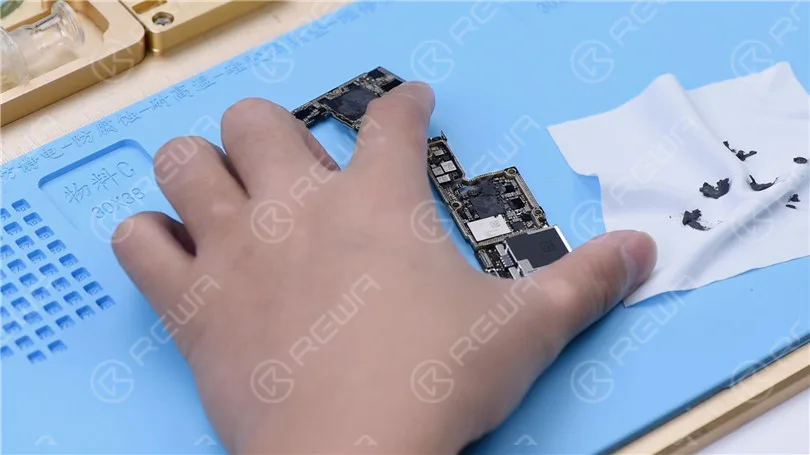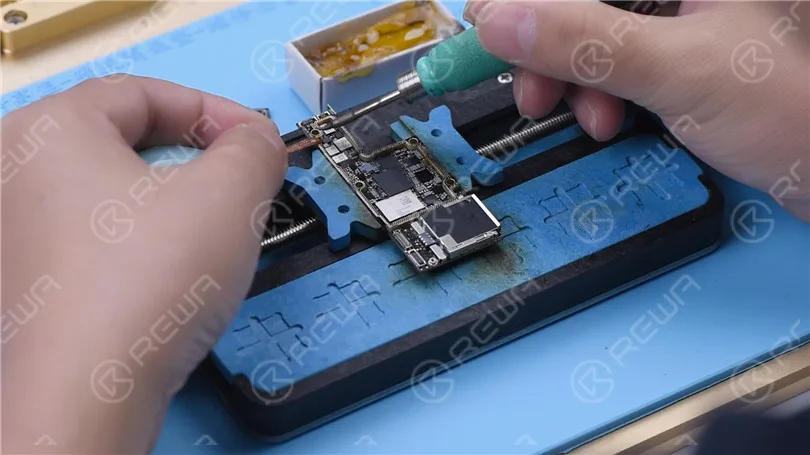
Tag: iPhone XS

  • Risolvi il problema dell'iPhone XS che non si accende con P12 (Programmatore NAND per iPhone 6 – iPhone 11 Pro Max)

    Risolvi il problema dell'iPhone XS che non si accende con P12 (Programmatore NAND per iPhone 6 – iPhone 11 Pro Max)

    NAND replacement is a common repair procedure in iPhone repair, whether for storage upgrade or fixing issues like not turning on caused by a damaged NAND. For NAND replacement, a NAND programmer is needed to read and write the NAND data.
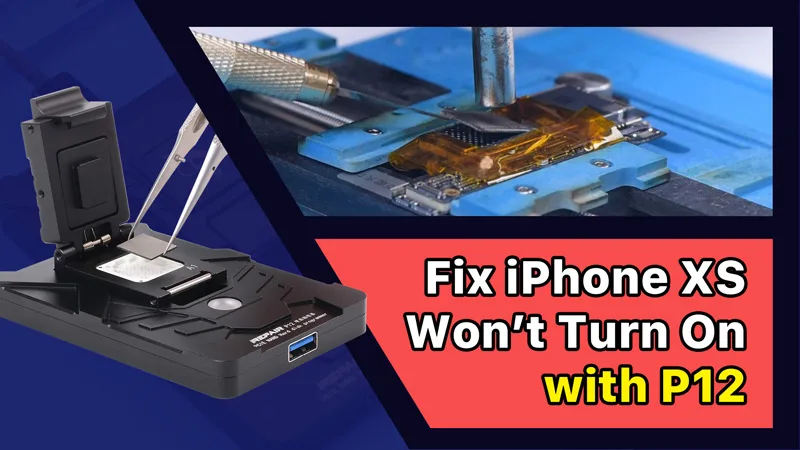
    Fix iPhone XS Won't Turn On with P12 (NAND Programmer for iPhone 6 - iPhone 11 Pro Max)

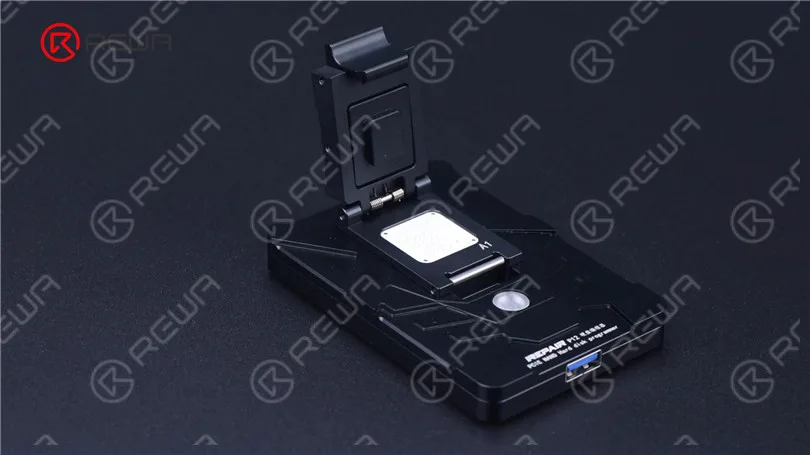
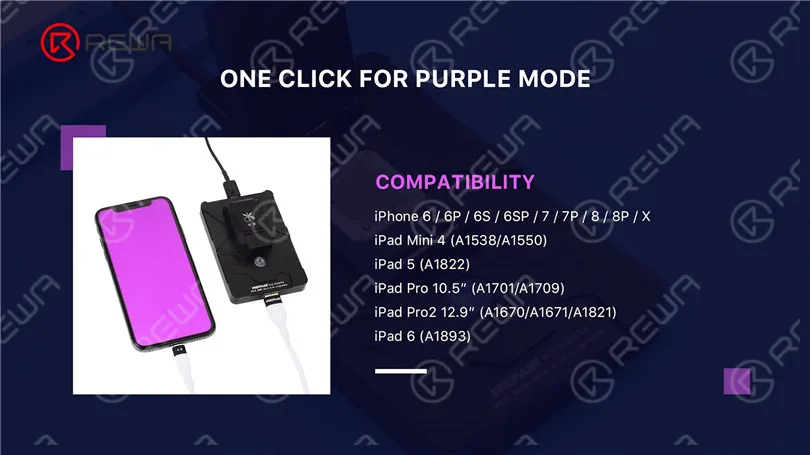
    Today we will repair an iPhone with the latest NAND programmer P12, Compared to other NAND programmers on the market, P12 supports a wide array of models, which includes NAND read & write and WiFi unbinding for iPhone 6-iPhone 11 Pro Max and some iPad models. What’s more, P12 can work without an internet connection and is free for use permanently.
    Fix iPhone XS Won't Turn On with P12 (NAND Programmer for iPhone 6 - iPhone 11 Pro Max)
    Fix iPhone XS Won't Turn On with P12 (NAND Programmer for iPhone 6 - iPhone 11 Pro Max)
    Fix iPhone XS Won't Turn On with P12 (NAND Programmer for iPhone 6 - iPhone 11 Pro Max)

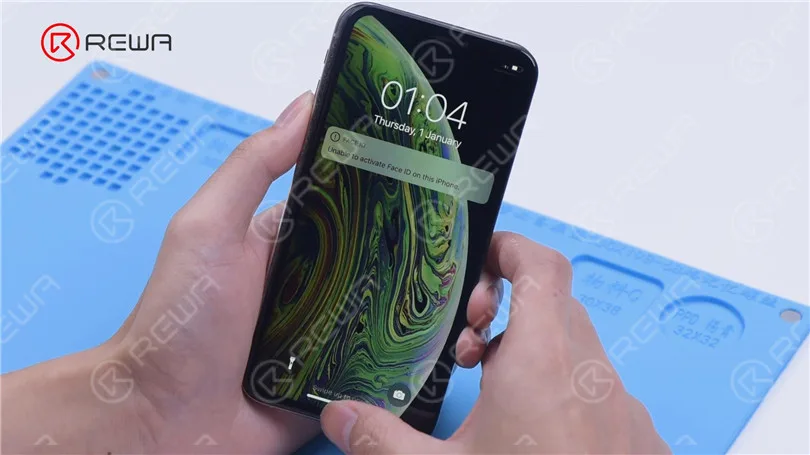
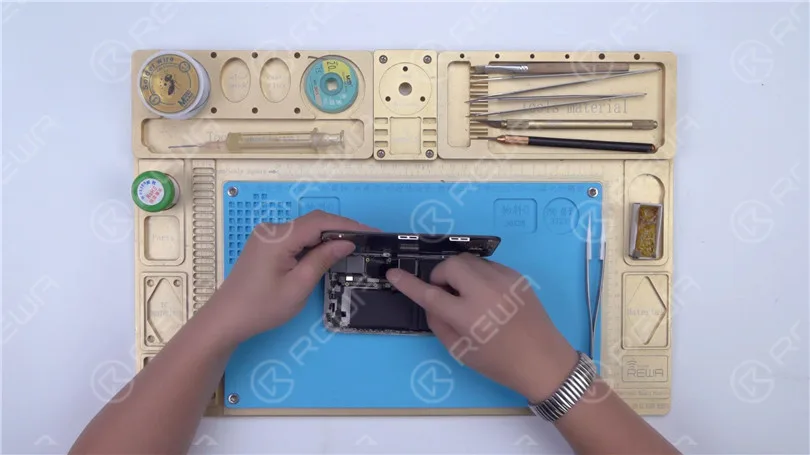
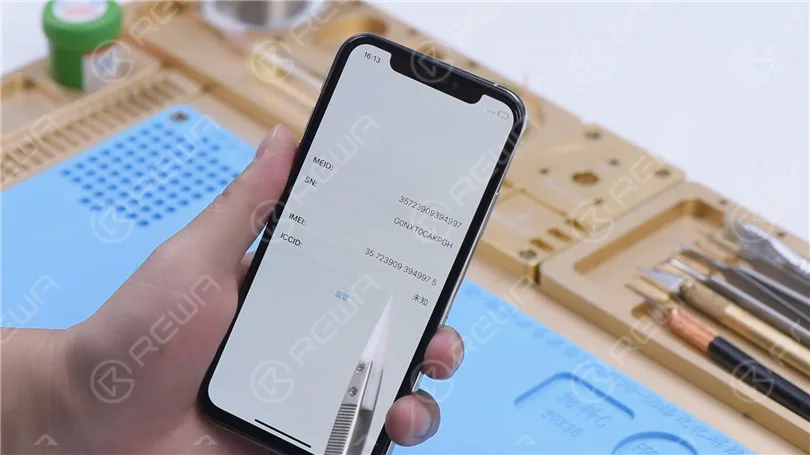
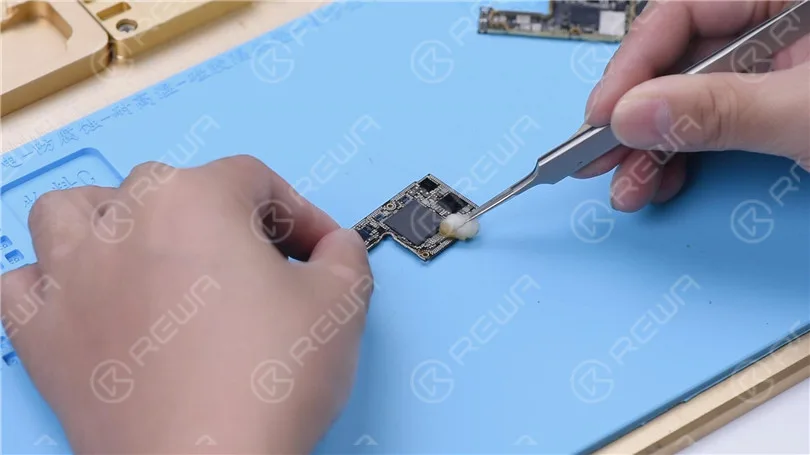
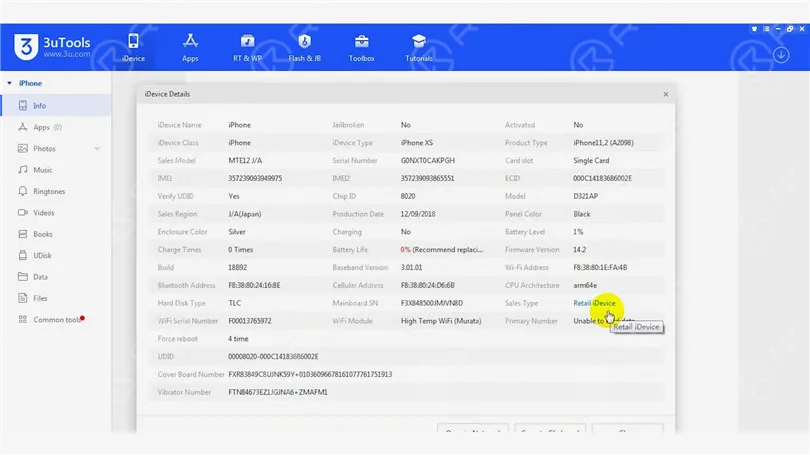
    Then we use P12 to fix an iPhone XS that won’t turn on. The iPhone XS is unable to boot up.
    Fix iPhone XS Won't Turn On with P12 (NAND Programmer for iPhone 6 - iPhone 11 Pro Max)

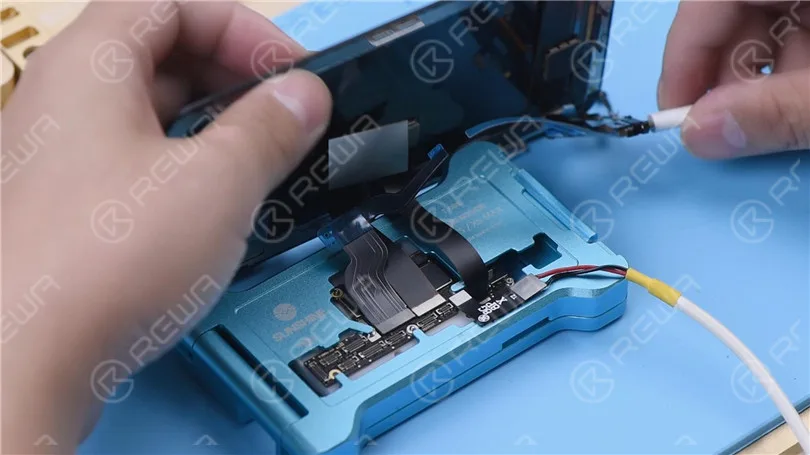
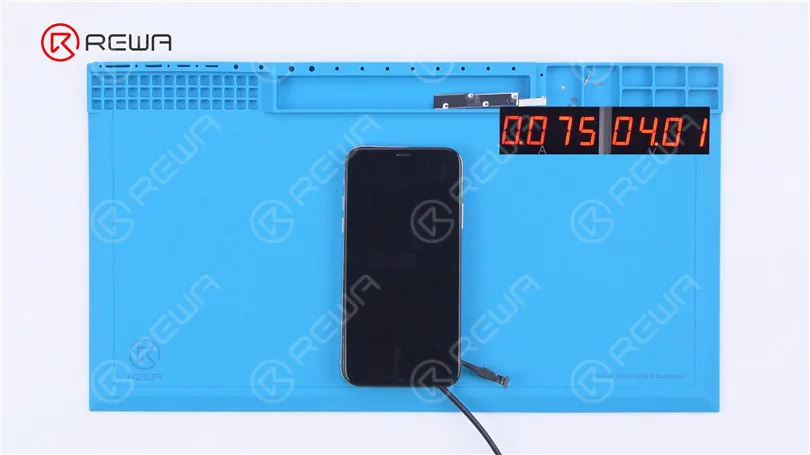
    Then we disassemble the phone for further testing. Connect the motherboard with Cavo di alimentazione. The boot current only has 75 mA. It can be preliminarily judged that the system is faulty.
    Fix iPhone XS Won't Turn On with P12 (NAND Programmer for iPhone 6 - iPhone 11 Pro Max)

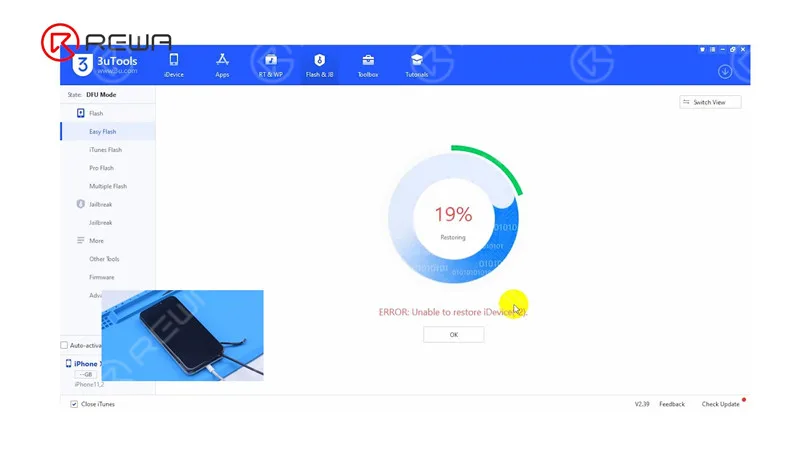
    Next, connect the phone with the computer. The phone is in DFU mode automatically. The flashing gets stuck at 19%. We can confirm now that the not turning issue is induced by faulty circuits related to the NAND.
    Fix iPhone XS Won't Turn On with P12 (NAND Programmer for iPhone 6 - iPhone 11 Pro Max)

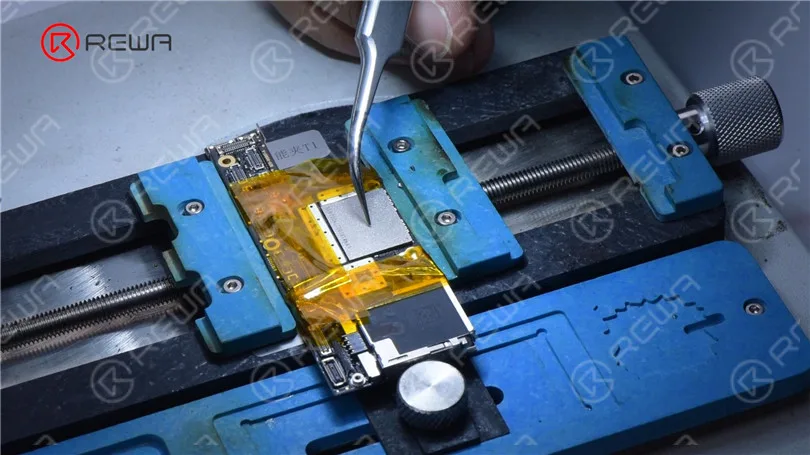
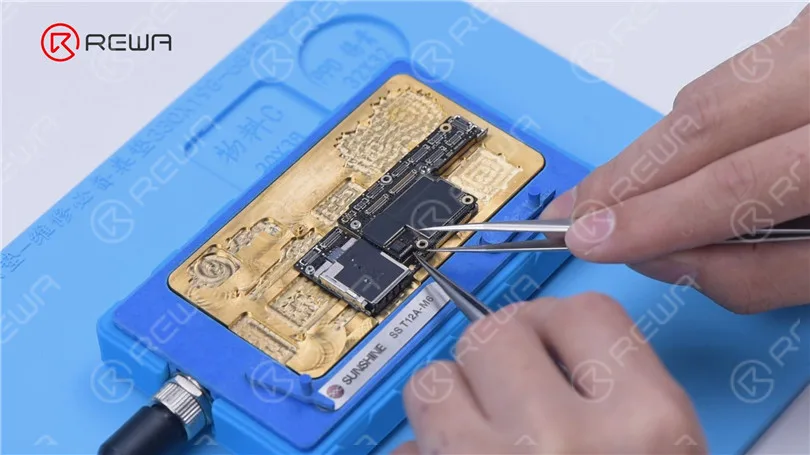
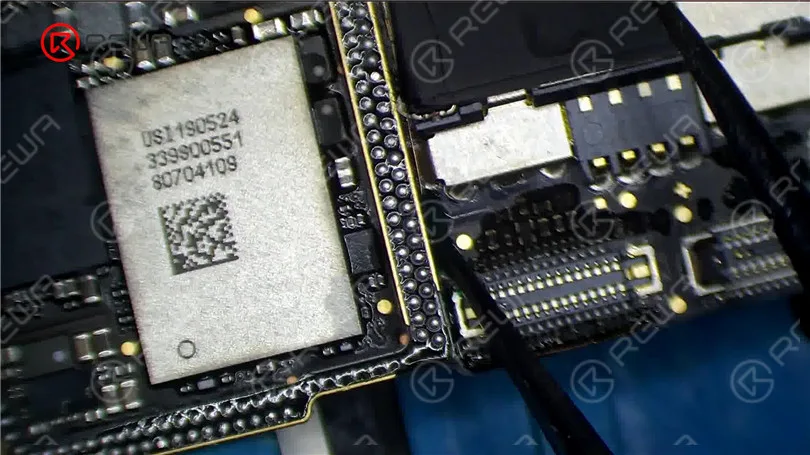
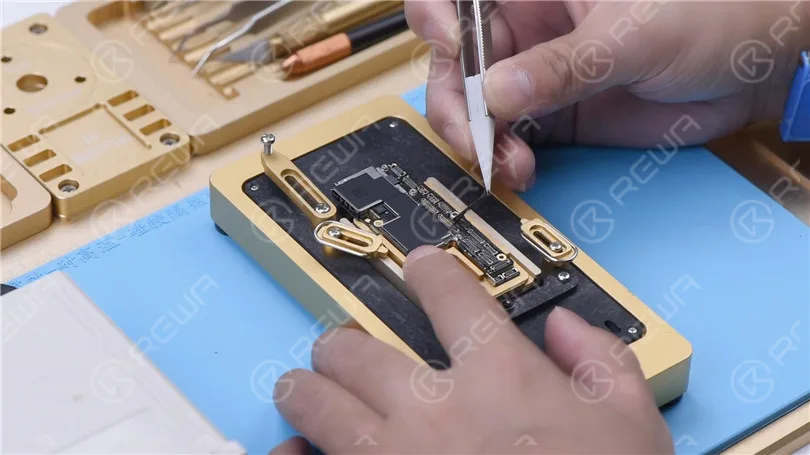
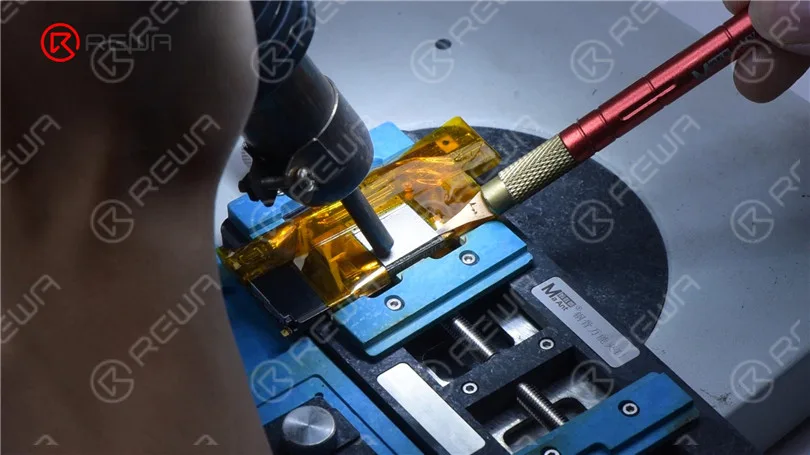
    The next step is to replace the NAND with a new one. Remove the display and detach the motherboard. Apply high-temperature tape around the motherboard. First of all, remove black adhesive around the NAND with Hot Air Gun at 280 °C.
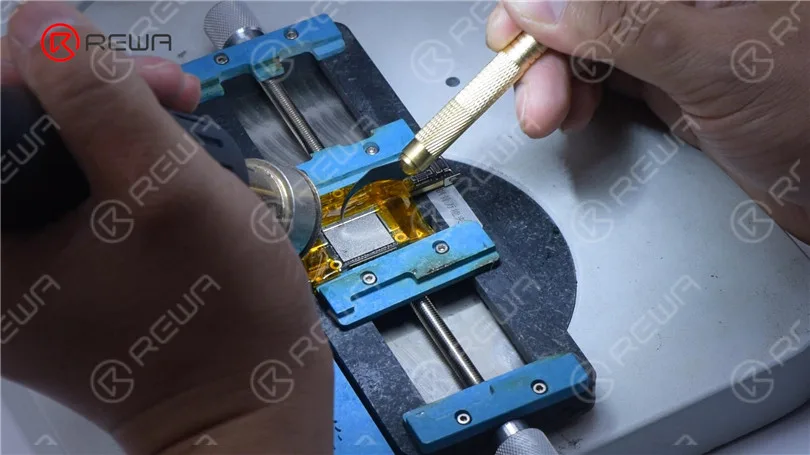
    Fix iPhone XS Won't Turn On with P12 (NAND Programmer for iPhone 6 - iPhone 11 Pro Max)

    Pry up the NAND with Hot Air Gun at 400 °C.
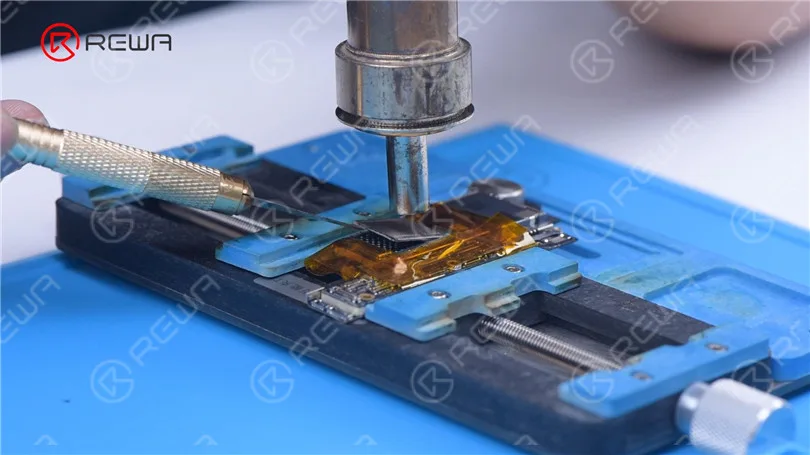
    Fix iPhone XS Won't Turn On with P12 (NAND Programmer for iPhone 6 - iPhone 11 Pro Max)

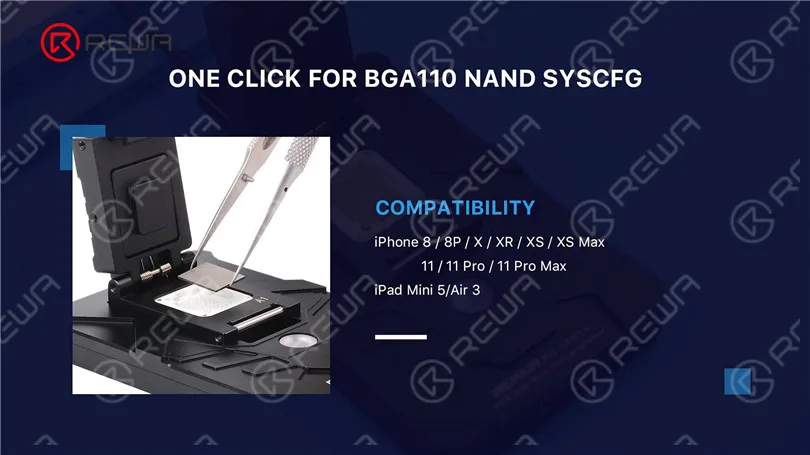
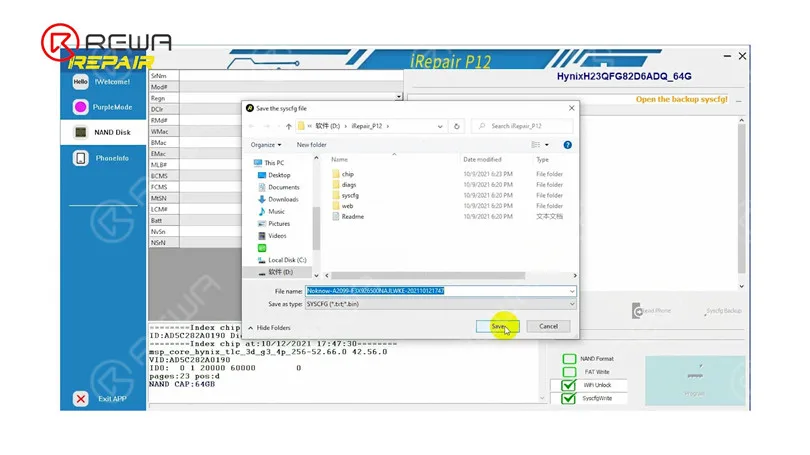
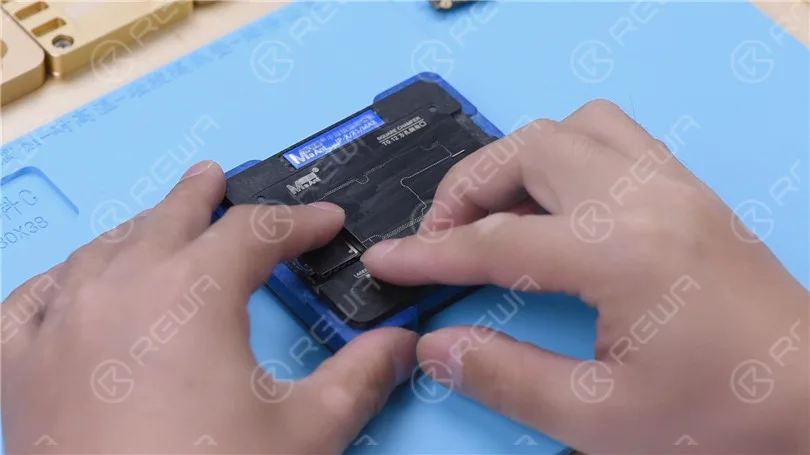
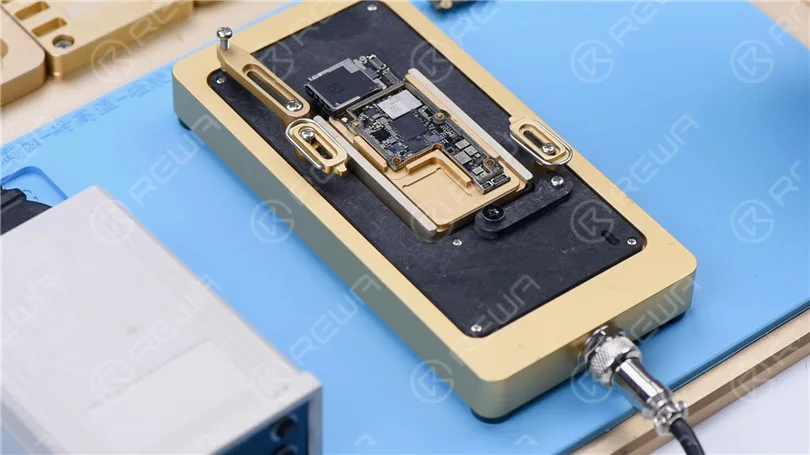
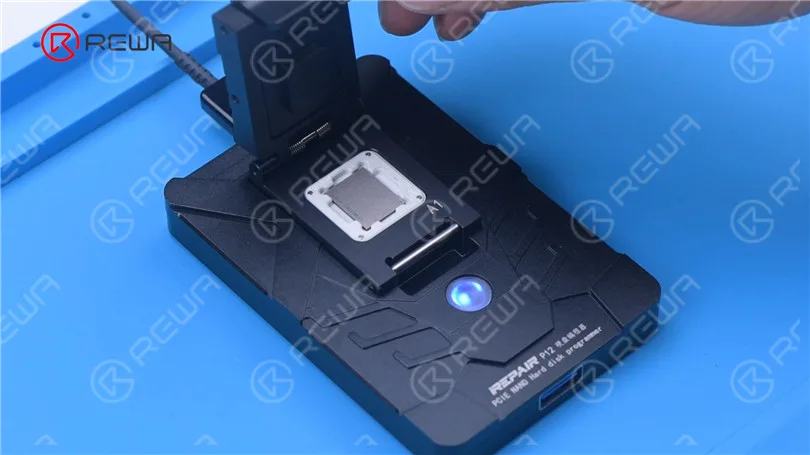
    Attach the NAND to P12. Please pay attention to aligning the NAND with the A1 pin. Click “Syscfg Backup”. Then save the data.
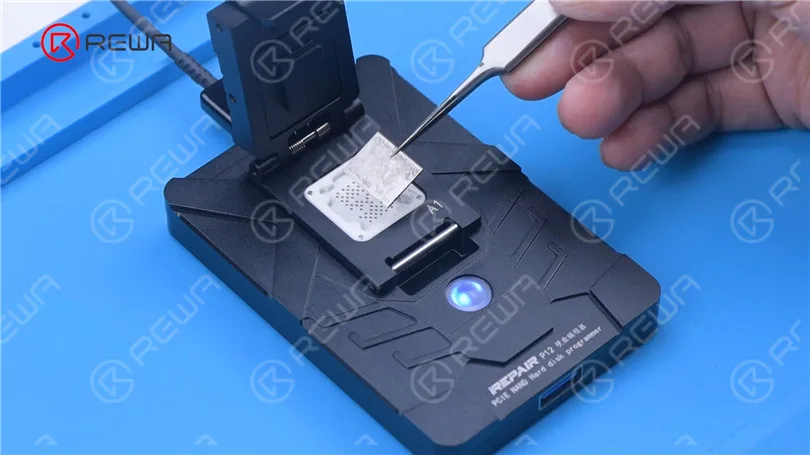
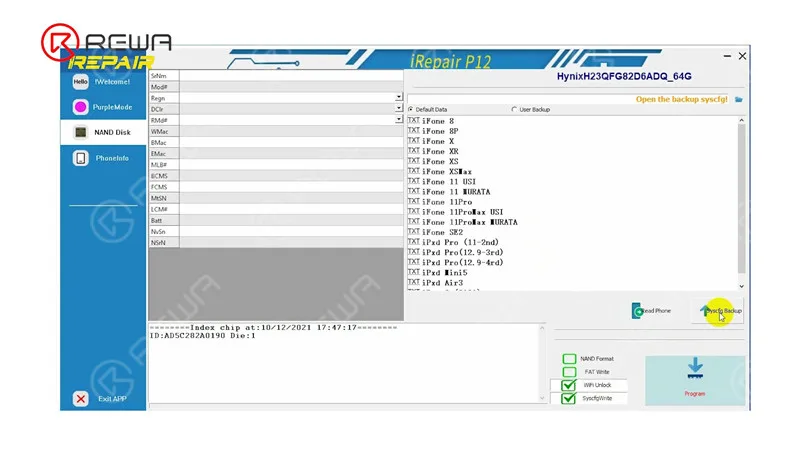
    Fix iPhone XS Won't Turn On with P12 (NAND Programmer for iPhone 6 - iPhone 11 Pro Max)
    Fix iPhone XS Won't Turn On with P12 (NAND Programmer for iPhone 6 - iPhone 11 Pro Max)
    Fix iPhone XS Won't Turn On with P12 (NAND Programmer for iPhone 6 - iPhone 11 Pro Max)

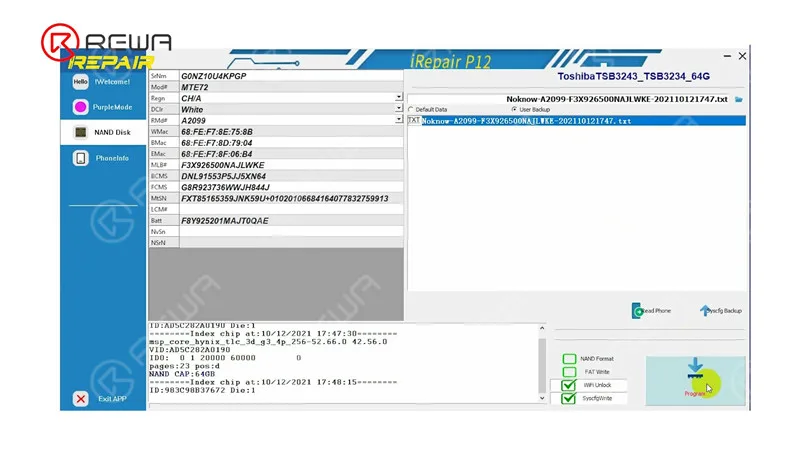
    Remove the NAND. Attach the new NAND to P12. Select “User Backup”. Tap “Program”.
    Fix iPhone XS Won't Turn On with P12 (NAND Programmer for iPhone 6 - iPhone 11 Pro Max)
    Fix iPhone XS Won't Turn On with P12 (NAND Programmer for iPhone 6 - iPhone 11 Pro Max)

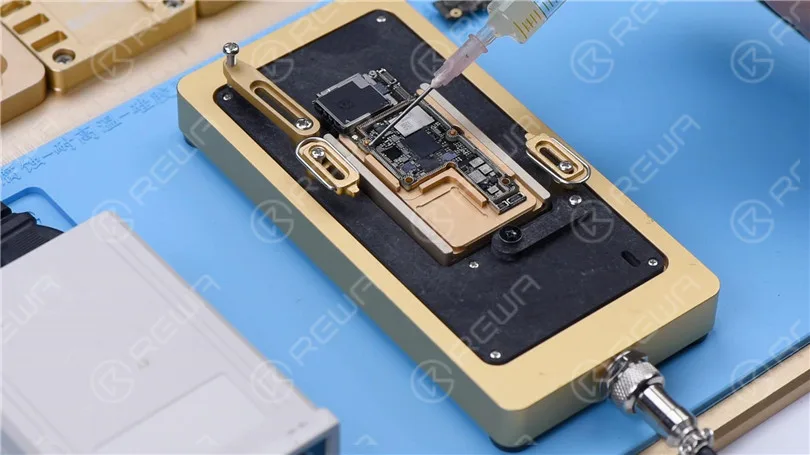
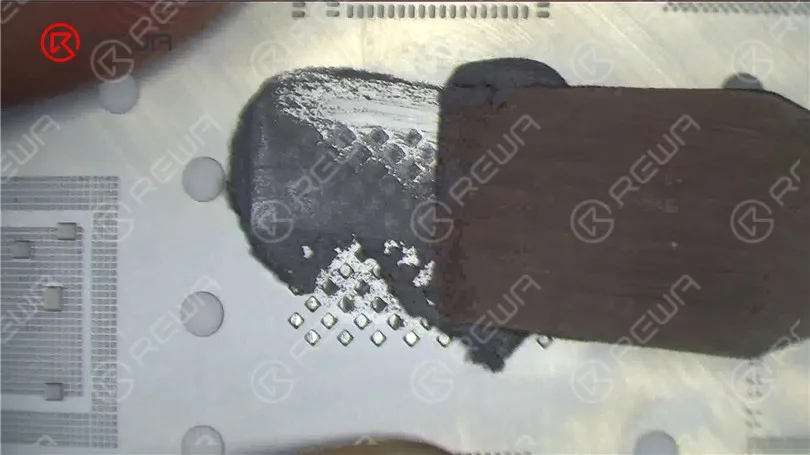
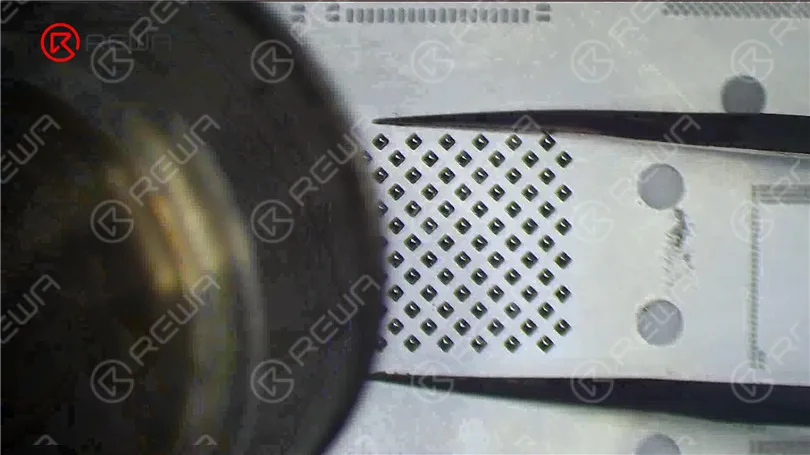
    Next, we reball the NAND with the written data. Place the reballing stencil in position. Apply a layer of middle-temperature Solder Paste evenly. Heat with Hot Air Gun at 340 °C.
    Fix iPhone XS Won't Turn On with P12 (NAND Programmer for iPhone 6 - iPhone 11 Pro Max)
    Fix iPhone XS Won't Turn On with P12 (NAND Programmer for iPhone 6 - iPhone 11 Pro Max)

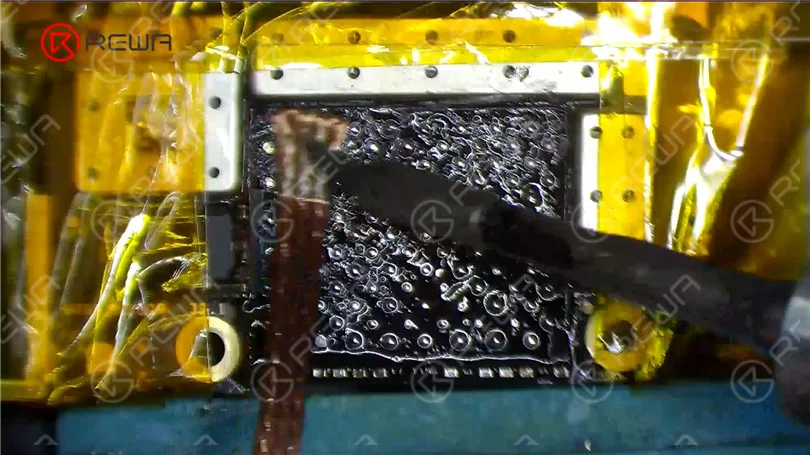
    Before NAND soldering, we need to remove tin on the bonding pads. Apply some middle-temperature Solder Paste with Soldering Iron. Clean the bonding pads with Soldering Iron and Solder Wick.
    Fix iPhone XS Won't Turn On with P12 (NAND Programmer for iPhone 6 - iPhone 11 Pro Max)

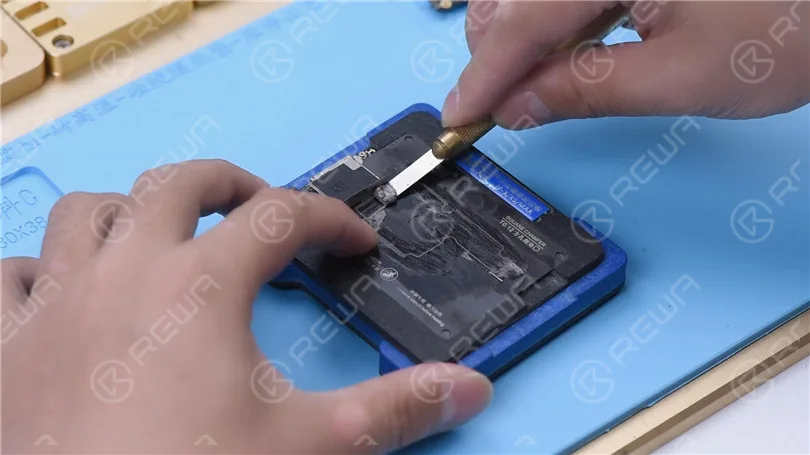
    Remove black adhesive on the bonding pads with Sculpture Knife. Then clean the bonding pads with PCB Cleaner. After cleaning, apply some Paste Flux

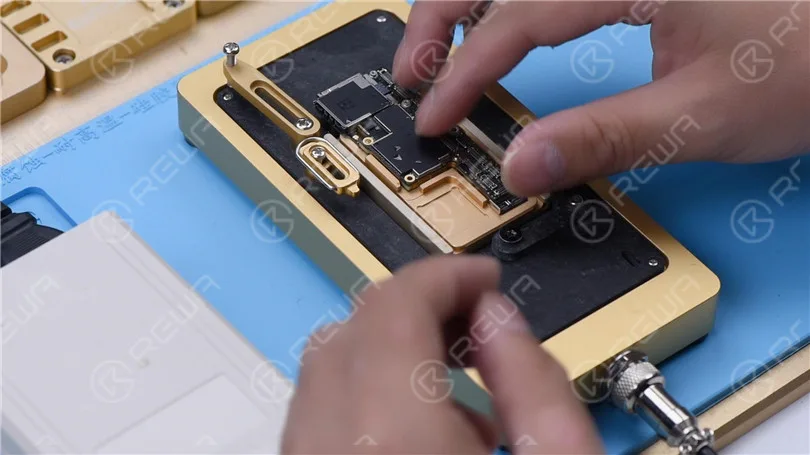
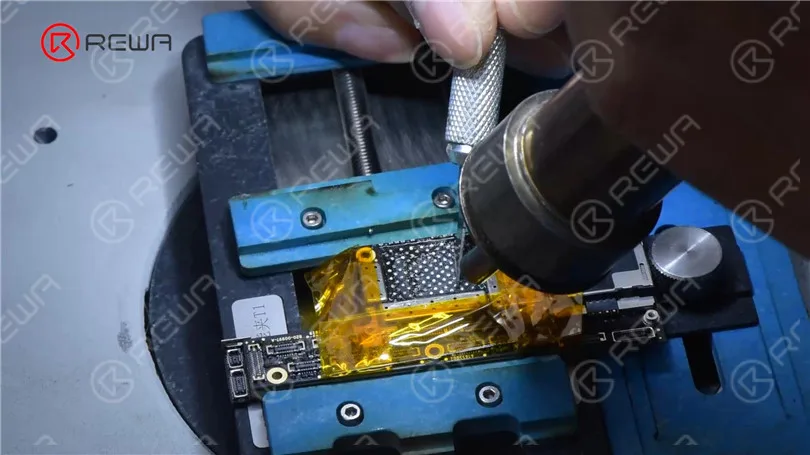
    Align the new NAND. Heat with Hot Air Gun at 380 °C to solder.
    Fix iPhone XS Won't Turn On with P12 (NAND Programmer for iPhone 6 - iPhone 11 Pro Max)
    Fix iPhone XS Won't Turn On with P12 (NAND Programmer for iPhone 6 - iPhone 11 Pro Max)

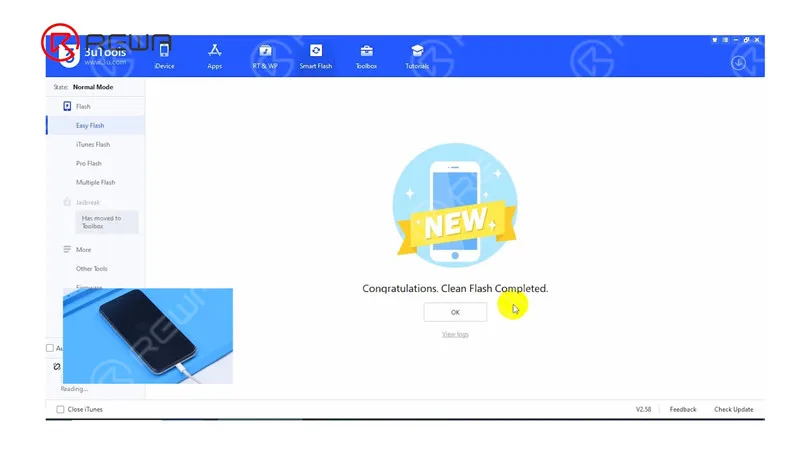
    Then we install the motherboard. Connect the phone with the computer to flash. The flashing has been successful.
    Fix iPhone XS Won't Turn On with P12 (NAND Programmer for iPhone 6 - iPhone 11 Pro Max)

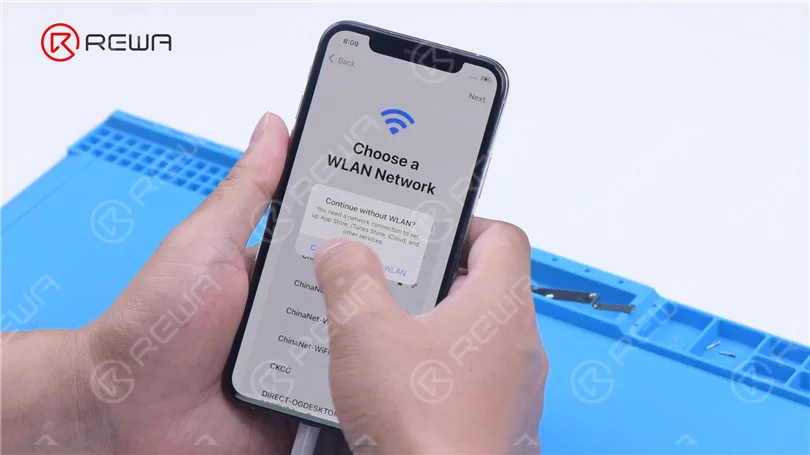
    The phone turns on normally. After activation, the phone also functions well.
    Fix iPhone XS Won't Turn On with P12 (NAND Programmer for iPhone 6 - iPhone 11 Pro Max)
  • Test completo di confronto degli schermi aftermarket di iPhone XS China

    Test completo di confronto degli schermi aftermarket di iPhone XS China

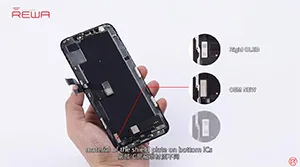
    iPhone XS China Aftermarket OLED Screens have emerged in the market, which falls into two types, the flexible one and the rigid one. As usual, REWA LAB has got samples right the first time and conducted strict comparison tests. We are happy to share with you the test result about the iPhone XS Aftermarket Screen in our video today.

  • How to Fix iPhone XS Unresponsive Touch Screen

    How to Fix iPhone XS Unresponsive Touch Screen

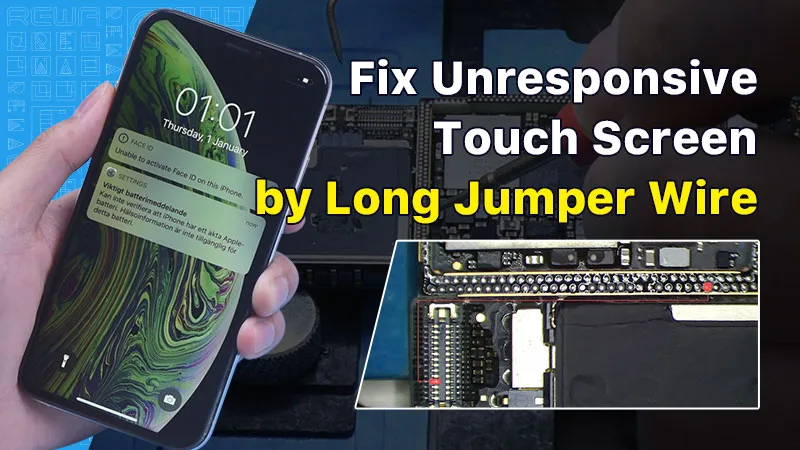
    In this guide, we will explore how to diagnose and repair an iPhone XS with an unresponsive touch screen. An unresponsive touch screen can be a frustrating issue, but by following the steps below, you can potentially resolve the problem.

    Ispezione iniziale

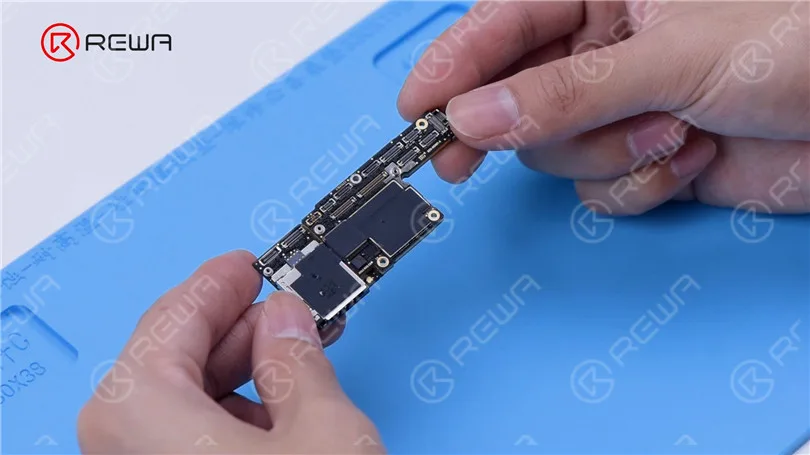
    The first step in diagnosing touch screen issues is to examine the iPhone’s motherboard. Check for any deformities or signs of water damage, as these can often be the root cause of touchscreen problems.

    How to Fix iPhone XS Unresponsive Touch Screen

    Initial Testing

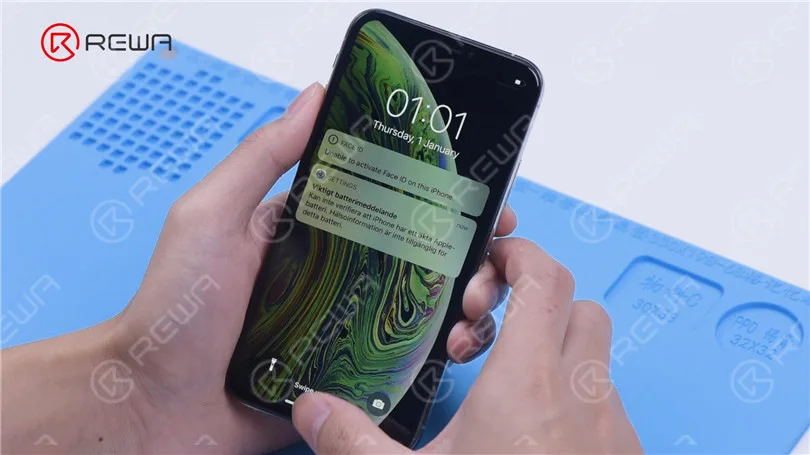
    After ensuring the motherboard is in good condition, install it and connect the display and battery. Power on the phone and check if the touch screen is still unresponsive.

    How to Fix iPhone XS Unresponsive Touch Screen

    Pinpointing the Problem

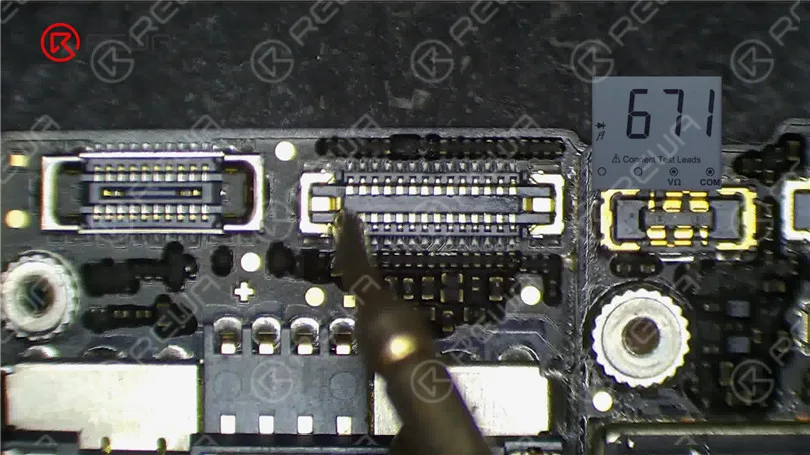
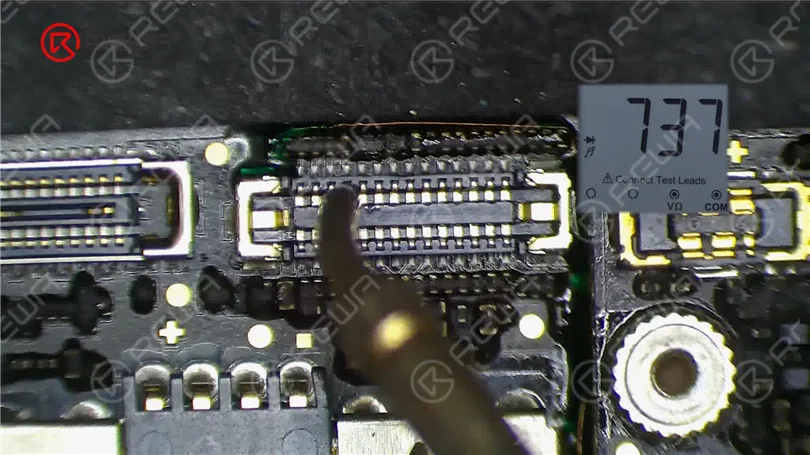
    If the touch screen is still not working, proceed to measure the touch connector. Pin 21 of the connector might be open-circuited, indicating a potential issue in the circuit connected to this pin.

    How to Fix iPhone XS Unresponsive Touch Screen

    Resistor Examination

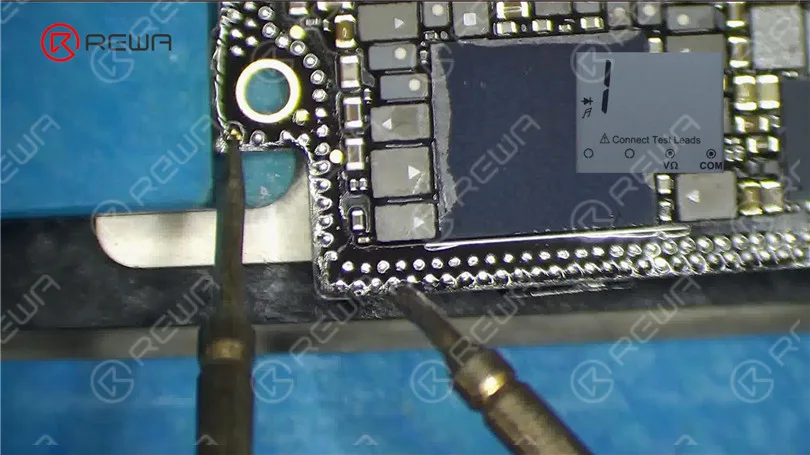
    Pin 21 connects to resistor R5842, which is a safety resistor. Test the resistor’s integrity using a multimeter. If the resistor is intact, the fault likely lies within the middle layer circuit.

    How to Fix iPhone XS Unresponsive Touch Screen

    Separating the Motherboard

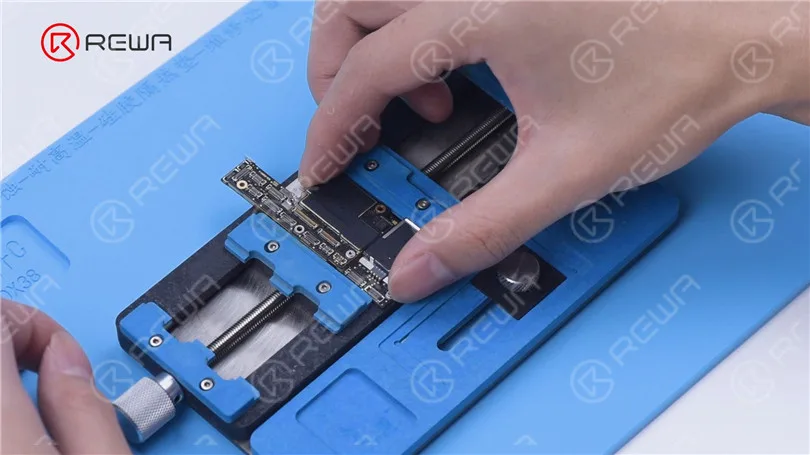
    To access the middle layer circuit, carefully separate the motherboard. Use a heating platform at 160°C, and once the adhesive softens, remove the logic board and signal board with tweezers.

    How to Fix iPhone XS Unresponsive Touch Screen

    Circuit Assessment

    Since the other end of the resistor connects to the power IC through the middle layer, start by checking the circuit on the logic board. Ensure that the resistance value is within the normal range.

    How to Fix iPhone XS Unresponsive Touch Screen

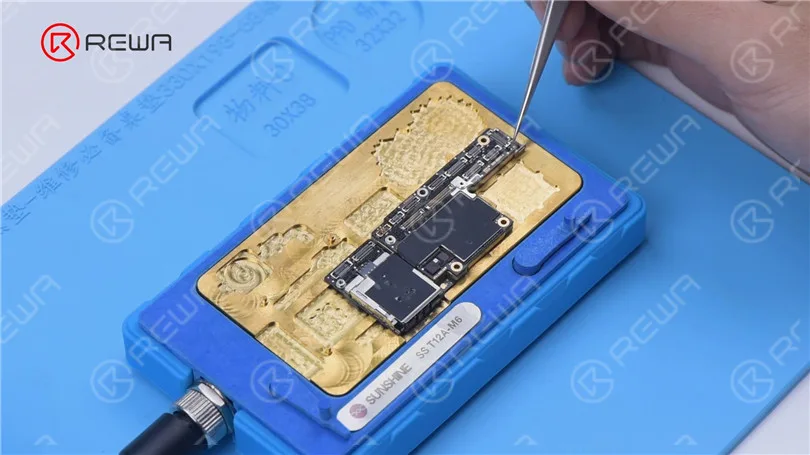
    Then we separate the motherboard. Put the motherboard on the 160 °C Heating Platform to heat. After about one minute, remove the logic board and signal board with tweezers. It can be seen that the motherboard has been separated before.

    How to Fix iPhone XS Unresponsive Touch Screen

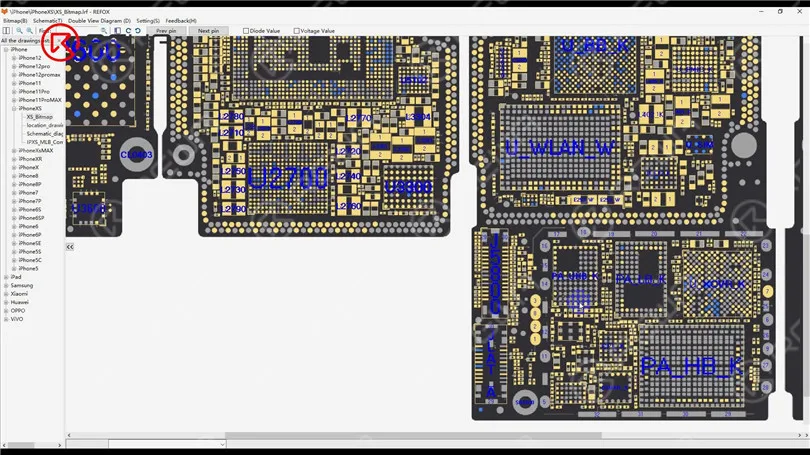
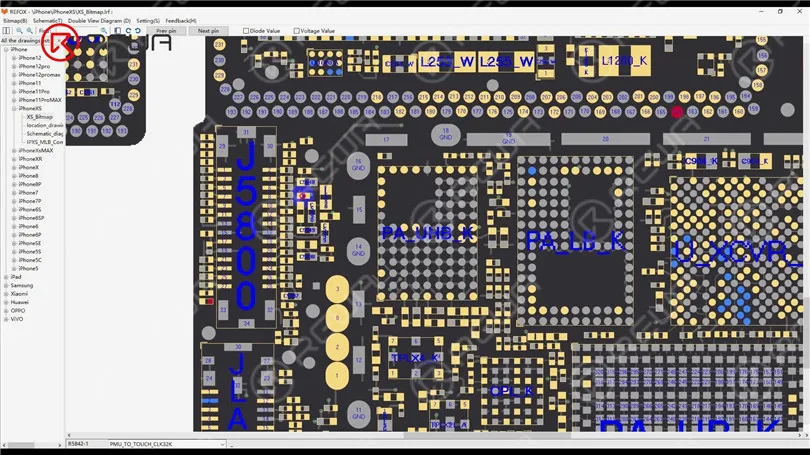
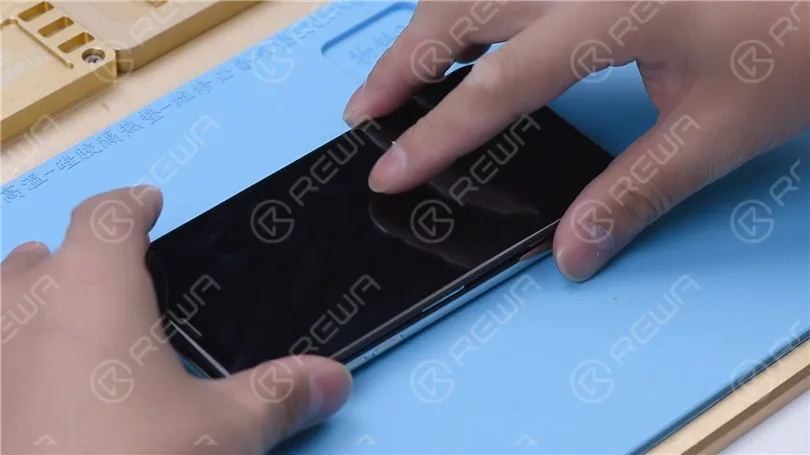
    Open the bitmap. The other end of the resistor is connected to the power IC through the middle layer. Therefore we need to measure the circuit on the logic board firstly. The value of resistance is normal.
    How to Fix iPhone XS Unresponsive Touch Screen

    Identifying the Fault

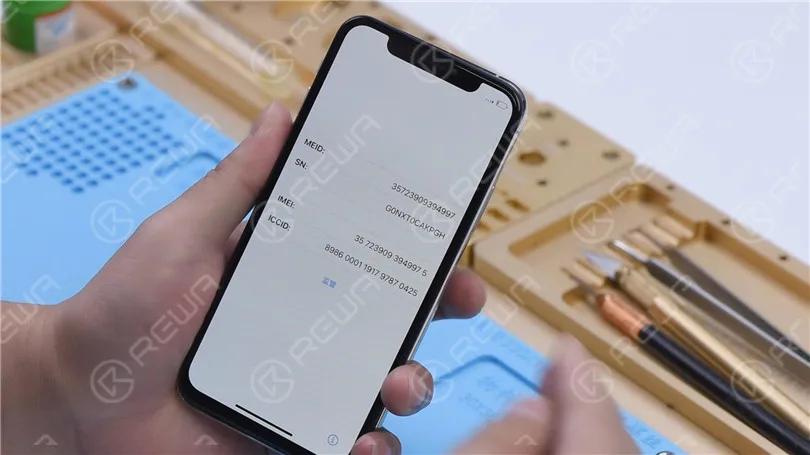
    Measure the circuit between the signal board and the touch connector. An open-circuit condition indicates a problem. To resolve this, you’ll need to perform a jump wire repair.
    How to Fix iPhone XS Unresponsive Touch Screen

    Jump Wire Repair

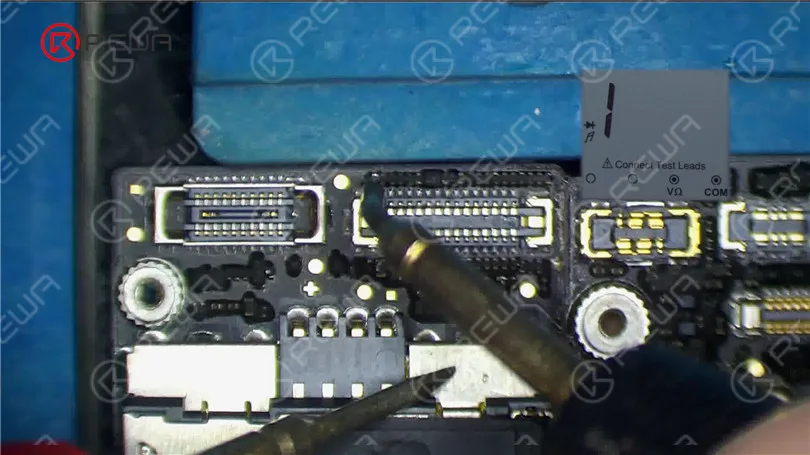
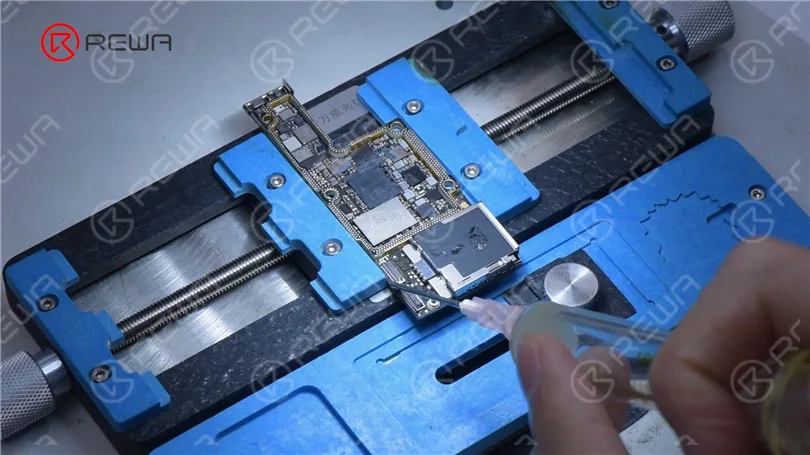
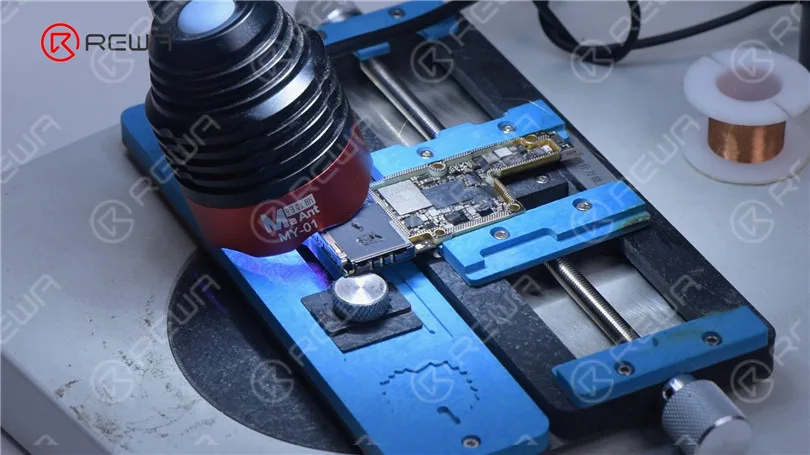
    Apply Paste Flux to the resistor and solder a copper wire to it using a soldering iron at 360°C. If the two ends are too far apart, secure the copper wire in place with Solder Mask. Use a UV Lamp to solidify the solder mask and then check for its stability.

    How to Fix iPhone XS Unresponsive Touch Screen

    Because the two ends are too far apart, we need to fix the copper wire in the first place. Apply some Solder Mask. Solidify with UV Lamp. Check if the solder mask is solidified with tweezers. Next, fix the remaining copper wire with Solder Mask.

    How to Fix iPhone XS Unresponsive Touch Screen

    Cut the copper wire. Solder one end of the copper wire to the signal board. Measure with the multimeter. The value of resistance is 0, which indicates that the circuit between the touch connector and signal board is connected. Solidify pads on the signal board with Solder Mask. Scrape to show the pads. Clean the bonding pads with PCB Cleaner.

    How to Fix iPhone XS Unresponsive Touch Screen

    Then we recombine the signal board with the logic board in a direct way. Put the signal board on the 160 °C Heating Platform to heat. Apply some Paste Flux to the bonding pad. Put the logic board in position. Press gently with tweezers during heating. After about a minute, remove the motherboard.

    How to Fix iPhone XS Unresponsive Touch Screen

    Reassembly and Testing

    Carefully recombine the signal board with the logic board using a heating platform at 160°C. Once the motherboard has cooled, measure pin 21 of the connector. If the resistance value is back to normal, you can install the motherboard for a final test. If all went well, the touch screen should now be fully functional.

    How to Fix iPhone XS Unresponsive Touch Screen
    How to Fix iPhone XS Unresponsive Touch Screen

    Conclusione:

    Repairing an iPhone XS with an unresponsive touch screen can be a complex process, but with the right tools and techniques, it’s possible to identify and fix the issue. If you’re interested in learning more about motherboard repair troubleshooting, you can check out REWA Academy’s comprehensive course package. Additionally, they offer live online repair courses for those seeking face-to-face interaction with experienced technicians. Feel free to explore a variety of repair topics and leave comments on subjects that interest you.

    For more repair techniques, visit Accademia REWA. It offers a comprehensive motherboard repair troubleshooting course package to enhance your repair skills.

  • Come ottimizzare la durata della batteria dell'iPhone XS

    Come ottimizzare la durata della batteria dell'iPhone XS

    Suggerimenti 1: Disabilitare l'aggiornamento in background delle app

    È possibile iniziare disabilitando l'aggiornamento in background delle app. Andate in Impostazioni > Generali > Utilizzo, registrando il tempo di standby e di utilizzo rimanente.

    Quindi disattivare l'aggiornamento delle app in background e bloccare il telefono per attendere 10 minuti. Quindi tornare a Impostazioni > Generali > Utilizzo.

    Vedrete che la durata della batteria aumenterà di almeno 10 minuti. Se non ci sono cambiamenti, è necessario disattivare una per una tutte le applicazioni in esecuzione in background.

    Andare su Impostazioni > Generali > Chiudi l'applicazione in background per visualizzare l'elenco delle APP. Disattivarle tutte.

    Suggerimenti 2: Disattivare le notifiche via e-mail

    Lo spam è come un virus al giorno d'oggi e molti utenti non riescono a tollerarlo ogni giorno. Potete provare a disattivare le notifiche e-mail. Andate in Impostazioni > Posta, contatti, calendario > Ottieni nuovi dati.

    È possibile disattivare queste funzioni. Oppure impostare ogni 15 minuti, 30 minuti o un'ora per consentire all'iPhone XS di controllare una nuova e-mail. In questo modo non si perderanno le e-mail importanti. Più lungo è l'intervallo, maggiore sarà la durata della batteria risparmiata.

    Suggerimenti 3: Disattivare le notifiche delle applicazioni

    Alcune app inviano notifiche. È possibile andare su Impostazioni > Notifiche per controllare in dettaglio. Fare clic su una qualsiasi applicazione dell'elenco per disattivarla e non ricevere le notifiche.

    Suggerimenti 4: Disattivare il download automatico

    Se si imposta l'aggiornamento automatico di musica, applicazioni e sistema dell'iPhone XS, si consuma molta batteria.

    Pertanto, una parte della durata della batteria può essere risparmiata da questa funzione. Andate in Impostazioni > iTunes Store e App Store per disattivare l'opzione Dati cellulare. Quindi l'iPhone XS verrà aggiornato con il Wi-Fi.

    Suggerimenti 5: Accorciare il tempo di blocco automatico della schermata

    Quando non lo si utilizza, lo schermo dell'iPhone XS impiega un po' di tempo a spegnersi. È possibile andare su Impostazioni > Generali > Blocco automatico.

    Impostate i valori minimi che potete accettare, il che può anche aiutarvi a risparmiare molta batteria con la premessa di usarla.

    Suggerimenti 6: disattivare AirDrop per salvare la durata della batteria di iPhone xs

    Nessuno ha bisogno che AirDrop sia sempre attivo. Quindi, quando ne avete bisogno, potete scorrere verso l'alto dalla parte inferiore dello schermo e aprirlo nel centro di controllo.

    Suggerimenti 7: Utilizzare sfondi e temi statici neri

    È possibile disattivare la luminosità automatica nello sfondo e nella luminosità, in modo che lo schermo sia sempre in uno stato più scuro, risparmiando molta batteria.

    Dopo tutto, abbiamo bisogno di una maggiore luminosità in caso di luce solare diretta. E questa situazione non si presenterà sempre.

    Suggerimenti 8: Disattivare l'effetto animazione

    Se non vi piacciono lo sfondo dinamico, le differenze visive e l'effetto 3D, potete anche disattivarli.

    È possibile impostare un fermo immagine come sfondo in Sfondo e Luminosità e disattivare l'effetto animazione in Generale > Ausiliario.

    Suggerimenti 9: Disattivare il GPS

    A meno che non sia necessario utilizzare la mappa, il GPS non è affatto utile e consuma anche molta energia.

    È possibile andare in Impostazioni > Privacy per disattivare il GPS, oppure mantenere le applicazioni che devono essere posizionate e disattivare le altre.

    Suggerimenti 10: disattivare Siri

    Se non si utilizza Siri, è possibile disattivarlo direttamente.

    Suggerimenti 11: Disattivare la vibrazione

    In Impostazioni > Suono, è possibile scegliere di disattivare la vibrazione e disabilitare la vibrazione della notifica delle nuove e-mail in Mail, risparmiando così molta batteria.

     Suggerimenti 12: Disattivare iCloud

    Andando su iCloud, si noterà che la sincronizzazione del cloud consuma molti dati e energia.

    Naturalmente, è possibile riaprire il backup sincrono di iCloud con il telefono collegato all'alimentazione, in modo da salvare i dati importanti.

    Se avete seguito i suggerimenti di cui sopra, la batteria dell'iPhone xs continua a scaricarsi rapidamente.

    È possibile che il problema sia la batteria. È possibile testare la durata della batteria nel negozio di riparazione più vicino.

  • Come risolvere il problema "Nessun servizio" su iPhone XS

    Come risolvere il problema "Nessun servizio" su iPhone XS

    Oggi condivideremo un caso sulla riparazione di un iPhone XS senza campo. Il telefono non aveva campo dopo essere caduto e non poteva essere attivato dopo un aggiornamento di sistema.

    Innanzitutto, ispezionare l'aspetto della scheda madre. La scheda madre non è deformata o danneggiata dall'acqua.

    Risolvere il problema "Nessun servizio" su iPhone XS

    Quindi installiamo la scheda madre sul telefono per effettuare il test. Colleghiamo il display e la batteria. Inseriamo la scheda SIM. Il telefono si accende. Tuttavia, l'ICCID non viene visualizzato, il che indica che la scheda SIM non viene letta.

    Risolvere il problema "Nessun servizio" su iPhone XS
    Risolvere il problema "Nessun servizio" su iPhone XS

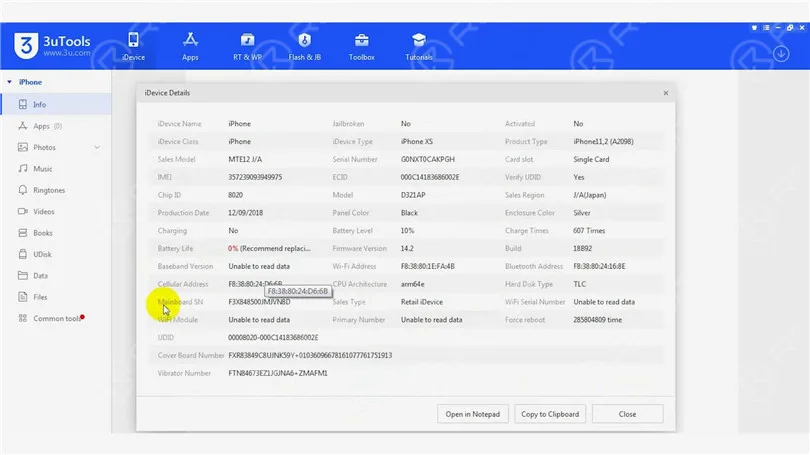
    Collega il telefono al computer. Apri 3uTools e visualizza i dettagli del dispositivo. 3uTools non è in grado di leggere i dati della versione di baseband e del modulo Wi-Fi.

    Risolvere il problema "Nessun servizio" su iPhone XS

    Poiché il telefono non aveva campo dopo essere caduto, si può presumere preliminarmente che la falsa saldatura dello strato intermedio possa causare il problema. Successivamente, dobbiamo separare la scheda madre. Metti la scheda madre sul Piattaforma di riscaldamento e stacca la schiuma.

    Risolvere il problema "Nessun servizio" su iPhone XS

    Per facilitare la rimozione della scheda madre dopo la separazione, avvita una vite sulla scheda madre. Taglia il nastro adesivo con un bisturi da scultore.

    Risolvere il problema "Nessun servizio" su iPhone XS

    Impostare la temperatura della piastra riscaldante a 180℃ per riscaldare la scheda madre. Quando la temperatura raggiunge i 180℃, premere la scheda dei segnali con un paio di pinzette. Stringere la vite per rimuovere la scheda logica con un altro paio di pinzette. Quindi spegnere l'alimentazione e rimuovere la scheda dei segnali.

    Risolvere il problema "Nessun servizio" su iPhone XS

    Rimuovere la pasta termica sulla scheda logica e sulla scheda del segnale. Fissare la scheda del segnale al supporto. Intingere la colofonia con il saldatore a 365℃ e la treccia dissaldante per rimuovere lo stagno sulla piazzola di collegamento. Rimuovere lo stagno sulla scheda logica con lo stesso metodo.

    Risolvere il problema "Nessun servizio" su iPhone XS
    Risolvere il problema "Nessun servizio" su iPhone XS

    Pulisci la scheda logica con il detergente per PCB e rimuovi la vite. Pulisci la scheda dei segnali con il detergente per PCB.

    Risolvere il problema "Nessun servizio" su iPhone XS

    Fissa la scheda dei segnali e la scheda logica al banco di collaudo. Collega lo schermo alla scheda madre con un cavo di estensione di test. Collega il cavo flex della porta di ricarica e il cavo di alimentazione. Quindi accendi il telefono collegandolo al computer.

    Risolvere il problema "Nessun servizio" su iPhone XS

    Apri 3uTools e visualizza i dettagli del dispositivo. È possibile leggere la versione della banda di base e il modulo Wi-Fi. Si può confermare che la falsa saldatura causa l'assenza della versione della banda di base.

    Risolvere il problema "Nessun servizio" su iPhone XS

    La prossima cosa che dobbiamo fare è ricombinare la scheda logica e la scheda del segnale. Metti la scheda del segnale sulla piattaforma di reballing. Posiziona lo stencil di reballing. Per evitare che la pasta saldante penetri nelle fessure della scheda madre, inserisci una piastra metallica.

    Risolvere il problema "Nessun servizio" su iPhone XS

    Applicare uno strato di pasta saldante a bassa temperatura. Rimuovere la pasta saldante in eccesso con una салviettina antistatica. Rimuovere lo stencil per reballing e la scheda dei segnali.

    Risolvere il problema "Nessun servizio" su iPhone XS

    Metti la scheda dei segnali sulla piastra riscaldante. Imposta la temperatura a 180℃ per riscaldare. Dopo che le sfere di stagno si sono formate, spegni l'alimentazione e raffredda la scheda dei segnali. Applica un po' di flusso in pasta. Allinea la scheda logica con la scheda dei segnali. Continua a riscaldare la scheda madre a 180 ℃. Quando la temperatura è salita a 180℃, continua a riscaldare per un minuto. Spegni l'alimentazione e raffredda la scheda madre per cinque minuti.

    Risolvere il problema "Nessun servizio" su iPhone XS
    Risolvere il problema "Nessun servizio" su iPhone XS
    Risolvere il problema "Nessun servizio" su iPhone XS

    Dopo il rimontaggio, installare la scheda madre sul telefono. Il telefono può essere acceso. Inserire la scheda SIM. L'ICCID viene visualizzato. Poiché il telefono ha un blocco di rete e non abbiamo una scheda SIM dell'operatore, non è possibile effettuare ulteriori test.

    Risolvere il problema "Nessun servizio" su iPhone XS
    Risolvere il problema "Nessun servizio" su iPhone XS

    Conclusione

    L'iPhone XS non aveva campo dopo essere caduto. 3uTools non riusciva a leggere la versione della banda di base (baseband) quando abbiamo collegato il telefono al computer. Attraverso la separazione della scheda madre e il test del telefono sull'apposito banco di prova, abbiamo confermato che il problema di assenza di campo era causato da false saldature nello strato intermedio della scheda madre. L'ICCID è tornato alla normalità e il guasto è stato risolto dopo aver ricombinato la scheda logica e la scheda del segnale.

    Si prega di visitare il nostro accademia per saperne di più sulle conoscenze relative alla riparazione di telefoni.

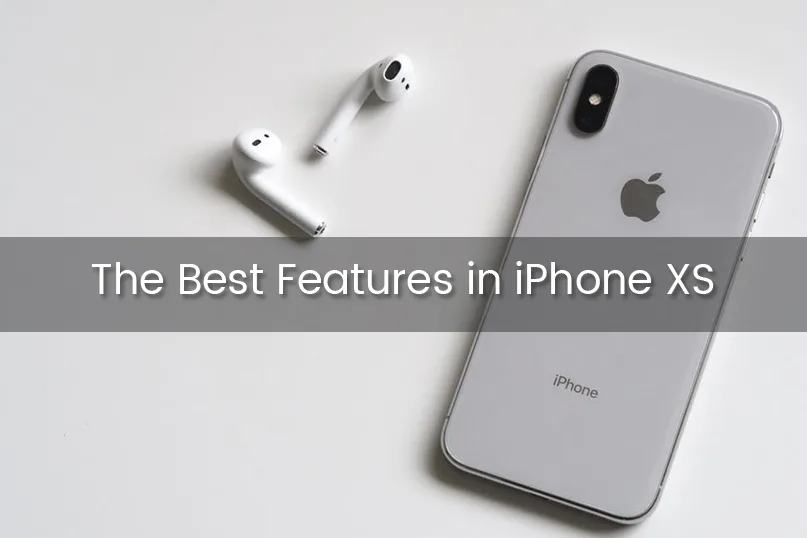
  • The Best Features in iPhone XS

    The Best Features in iPhone XS

    The dominance of Apple over other tech brands is due to the fact that it stays at least a couple of years ahead of its competitors, specifically if you spend a moment just talking about iPhone. There are a bunch of reasons behind the success of iPhone. But the newly-launched iPhone XS is exceptional good. Absolutely sensational.

    Is it over-garnishing? Maybe. But let me support my statement, and we’ll appreciate your opposition then.

    Apple Inc. has launched the iPhone XS, XS Max and XR on 12 Sep. Though, XS is an enhanced version of the iPhone X beginning at $999. And if you want to send iPhone from UK to India, go for a well-reputed iPhone shipping company.

    Unequivocally, choosing between these two is not as easy as falling off a log because there is not much difference. But depending upon the understanding of which elements you like and features, you can opt for XS or XS Max or the less costly XR.

    Here, we are going to take a closer look at the just-released iPhone XS. Let’s get into this –

    Unique Features in the latest iPhone XR. 

    Some of the unique features of iPhone XS are as under:

    12-megapixel Dual camera

    An enthusiastic 12-megapixel dual camera system gets more details to iPhone photos as claimed by the Apple. Users will be able to click more sophisticated portraits. If you spend a moment just talking about the video quality, it’s terrific as compared to the output given by any other smartphone out there in the market, Apple says. An add-on Face ID recognition system is something users might lay their eyes on. With faster and super secure Face ID recognition system, the new XS is equipped with the true depth camera. Face ID recognition system will help to unlock the device and accessing Apple Pay. That’s amazing. Isn’t it?

    The A12 ‘Bionic’ chip

    The advantage of this unique A12 Bionic processor is it will enable XS to run nine times faster than the older versions. According to a statement by Apple, the A12 Bionic chip will be able to handle 5 trillion operations per second. Truly amazing. No Ifs Ands or Buts about this. If compared to the previous A11, this new chip will consume 40 percent reduced power. The GPU inside the A12 Bionic chip is 50 percent quicker than the last year’s chip. Overall, this new chip’s addition will bring a bunch of improvements that the older processing systems were lacking. The saying goes, this A12 Bionic chip with first ever 7-nanometer mobile processor is the star performer, iPhone claims. Still less? No way.

    Screen size

    Another unique feature of the latest iPhone XS is the larger screen size it has. Apple offers the largest display (5.8 inches) ever offered in Apple smartphones in the latest iPhone XS. For the case of XS Max, add-on “cinematic” display for an ameliorated view of movies, video and games. Both the XS and XS Max got “Super Retina” display with the improved pixel density of iOS devices. Apple has left no stone unturned in the durability of this new boy XS. According to the company, the front and back glass layout now offered is sturdier than any other smartphone and is much more immune to scratches. Whoa. The brand knows that diversity is the spice of life. On that account, you can go for 6.1-inch iPhone XR or even 6.5-inch iPhone XS Max if you are after the large screen size.

    Battery life

    Battery life is a very important factor while shopping around for a smart phone. If a smartphone runs out of power in a very short time period then it is futile to give it a try. Every smartphone manufacturing brand is just focussing on the longer battery time and life. And Apple once again won the show here. Keeping a close eye on this, the new XS will have 30 minutes of extra battery life as compared to the ongoing iPhone X. And you know the amazing chapter of the story? It’s about the battery life the XS Max will offer, well-nigh 1.5 hours more. Can you believe that? If you talk about the iPhone X’s average battery time, it’s unbeatable 10 hours, 49 minutes on the battery test. If my memory serves me well, this time is nearly 1 hour greater than any typical smartphone. Still and all, the new iPhone XS is a perfect smartphone to buy if you want a phone that gets you through the day on a single charge. That’s tremendous.

    Waterproof tech

    One of the much-needed features in any smartphone is waterproof technology. Keeping a close watch on this factor, both the XS and XS Max are made waterproof. Both the smartphones are tested by the company in beer, wine, tea and other liquids. Apple declares that the aforementioned smartphones are much more repellent to water and dust damage as compared to the iPhone X. Both the iPhone XS and XS Max are offered with a bunch of fruitful additions but IP68 rated water, splash, and dust resistance is the best feature these smartphones are presented with. You can check out by throwing your phone in a swimming pool. I kid you not.

    More colorful OLED screens

    The OLED panel in this new iPhone is identical to the last iPhone X, with much the same 2,436 x 1,125 resolution as before but that’s not the case with iPhone XS Max. There is a sharper resolution in XS Max due to its larger OLED screen. Be that as it may, the new iPhone screens are much more colorful with 60 percent more dynamic range as stated by Apple.

    Faster Face ID

    The Face ID capability was introduced in last year’s iPhone for the first time due to which users are able to unlock the phone using a facial scan. Same is the case with the latest iPhone. Identical to the button free design of iPhone X’s home screen, the XS uses Face ID but at a very faster rate. According to Apple, new algorithms are applied in order to speed up the facial recognition process. Absolutely stunning. What are you waiting for?