Tag: apple watch 3

  • Rimuovere i graffi dall'iPhone 12 e dall'Apple Watch 3 con la macchina per smerigliare e lucidare REFOX

    Rimuovere i graffi dall'iPhone 12 e dall'Apple Watch 3 con la macchina per smerigliare e lucidare REFOX

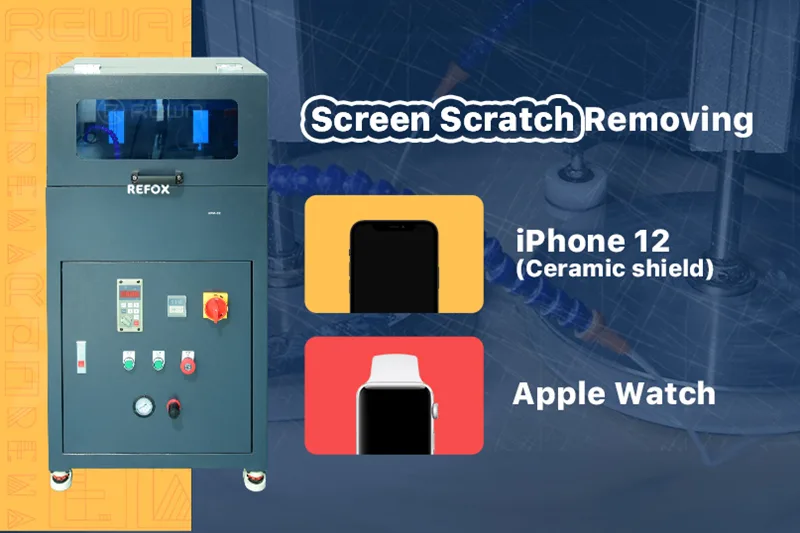
    La macchina per la smerigliatura e la lucidatura REFOX, appena selezionata da REWA, è diventata rapidamente la preferita dai ricondizionatori di telefoni e dai tecnici di riparazione di tutto il mondo. Le sue potenti capacità di smerigliatura e l'impressionante efficienza la rendono lo strumento ideale per la rimessa a nuovo di dispositivi come l'iPhone 12 e l'Apple Watch. In questa guida vi spiegheremo come utilizzare la macchina REFOX per rimuovere i graffi e riportare i vostri dispositivi a condizioni pari al nuovo.

    Test dei dispositivi

    Prima di iniziare il processo di ricondizionamento, è importante testare il display e la funzionalità touch dell'iPhone 12 e dell'Apple Watch.
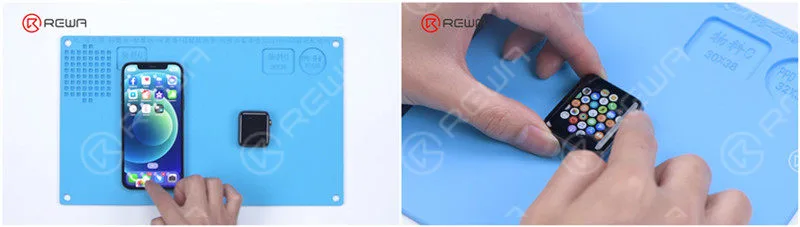
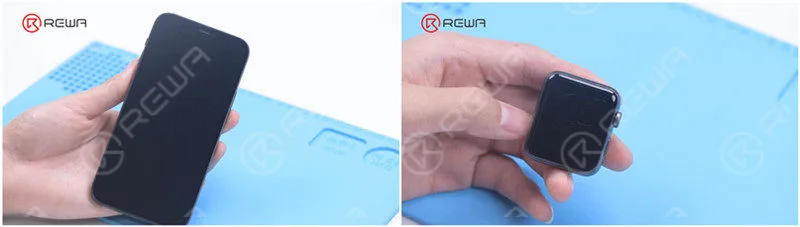
    Prova il display e il touch del telefono. Tutto bene. Testate il display e il touch dell'Apple Watch. L'orologio funziona normalmente.
    Ci sono graffi evidenti sul telefono e sull'Apple Watch.

    Nel nostro caso, entrambi i dispositivi funzionavano correttamente, nonostante avessero evidenti graffi superficiali.

    Impermeabilizzazione

    Il primo passo per rimettere a nuovo questi dispositivi è l'impermeabilizzazione. È fondamentale per evitare danni causati dall'acqua durante il processo di rettifica e lucidatura.
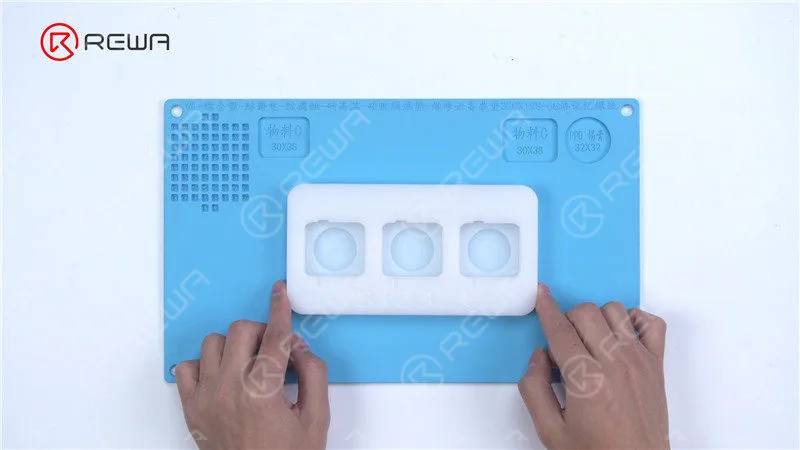
    Ottenete lo stampo speciale per Apple Watch. Lo stampo può molare e lucidare tre orologi contemporaneamente.

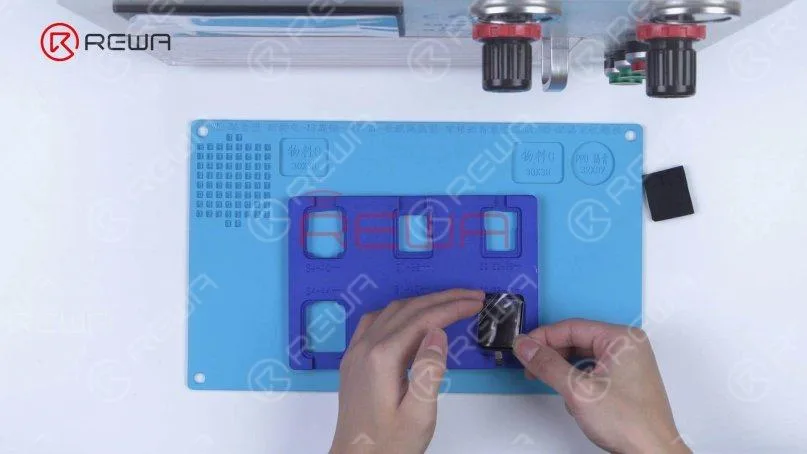
    Stampo per Apple Watch: Utilizzare lo speciale stampo che può contenere tre Apple Watch alla volta. Il telefono e l'orologio devono essere posizionati saldamente nei rispettivi stampi.
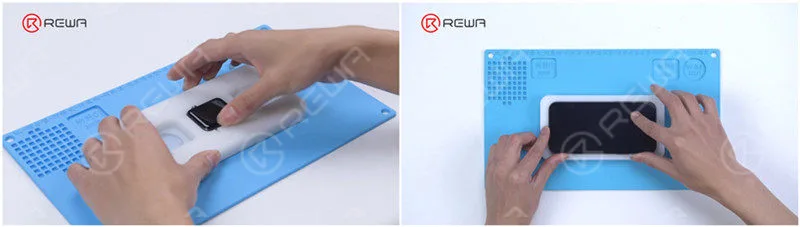
    Mettere il telefono e l'orologio rispettivamente nello stampo e preparare l'impermeabilizzazione.

    Dispenser automatico di adesivi: L'impermeabilizzazione è la fase più importante per la rimessa a nuovo dei dispositivi elettronici con la smerigliatrice e la lucidatrice. Se l'impermeabilizzazione non viene eseguita correttamente, può provocare danni da acqua al dispositivo. Nell'ultimo articolo, i nostri tecnici applicavano manualmente l'adesivo impermeabile. Per migliorare l'efficienza della rimessa a nuovo e ridurre le difficoltà operative, REWA consiglia una macchina completamente automatica. dispenser di adesivi per voi.
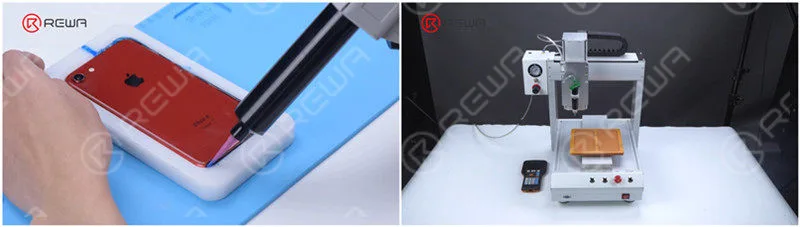
    distributore automatico di adesivi

    Fissare gli stampi alla piattaforma. La prima volta che si utilizza il dispenser, è necessario tracciare il disegno dei modelli di cellulare corrispondenti.
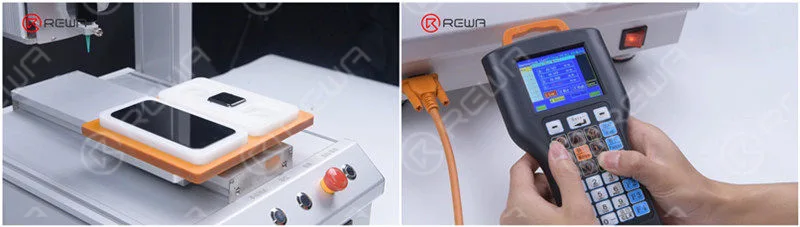
    distributore automatico di adesivi

    È conveniente salvare il disegno per utilizzarlo direttamente. Fare clic su reset al termine del disegno. Il dispenser torna al punto di partenza. Quindi si preme il pulsante di avvio e si inizia a erogare l'adesivo.
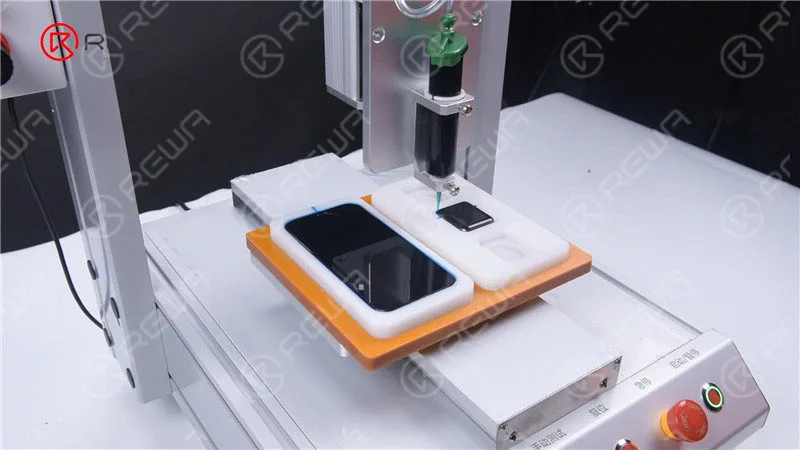
    distributore automatico di adesivi

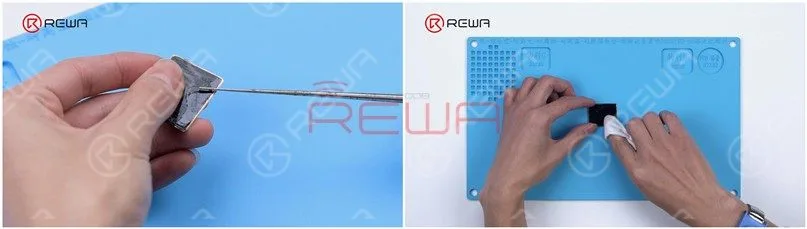
    Raschiare l'adesivo sul ricevitore con una lama. Dopo che l'adesivo è stato polimerizzato da una lampada UV, possiamo mettere le piastre dello stampo nella macchina per la rettifica e la lucidatura.
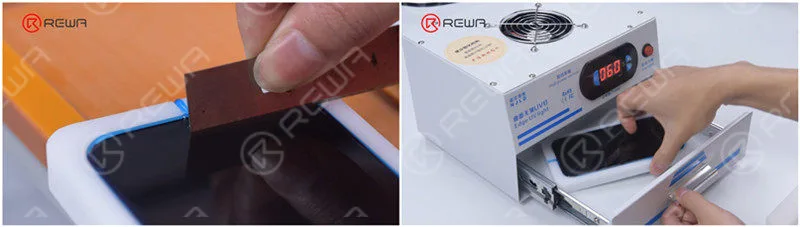
    Raschiare l'adesivo sul ricevitore con una lama. Dopo che l'adesivo è stato polimerizzato da una lampada UV, possiamo mettere le piastre dello stampo nella macchina per la rettifica e la lucidatura.

    Rettifica e lucidatura

    Ora che i dispositivi sono impermeabilizzati, è il momento di iniziare il processo di levigatura e lucidatura:

    Poiché i graffi sull'orologio e sul telefono sono profondi, abbiamo impostato il tempo di levigatura e lucidatura per 12 minuti. Premere il pulsante di avvio e di ripristino. La macchina inizia a lavorare
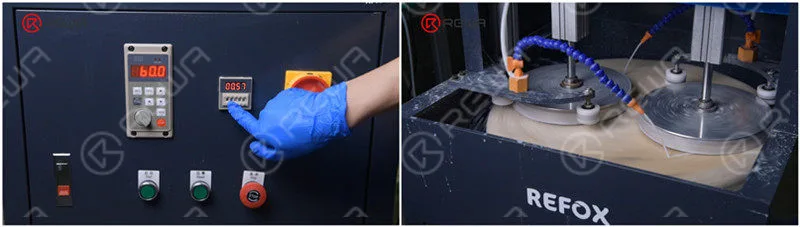
    Rimozione dei graffi di iPhone 12 (scudo in ceramica) e Apple Watch 3 mediante smerigliatura e lucidatura

    Dopo le prime operazioni di smerigliatura e lucidatura, l'Apple Watch con graffi profondi è stato rimesso a nuovo con successo, ma ci sono ancora alcuni piccoli graffi sull'iPhone 12.

    I graffi sono completamente scomparsi dopo la seconda molatura e lucidatura. Si può notare che l'iPhone 12 impiega più tempo a rimuovere gli stessi graffi rispetto alle altre serie di iPhone.
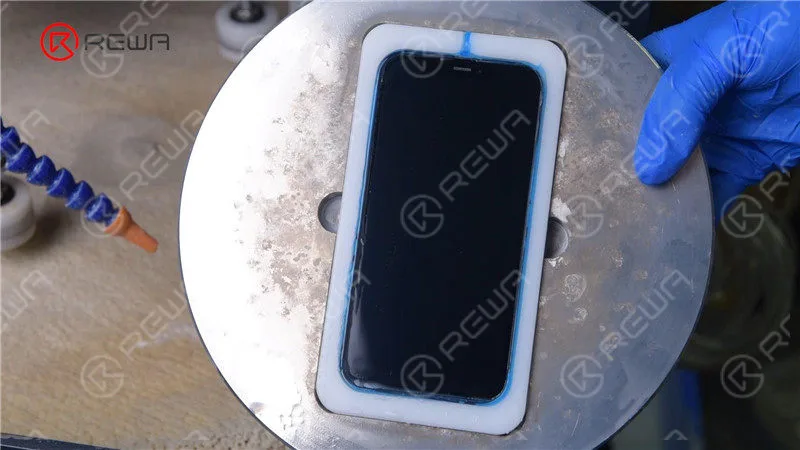
    Dopo la prima smerigliatura e lucidatura, l'Apple Watch con graffi profondi è stato rimesso a nuovo con successo, ma sull'iPhone 12 sono ancora presenti alcuni piccoli graffi.  I graffi sono completamente scomparsi dopo la seconda molatura e lucidatura. Si può notare che l'iPhone 12 impiega più tempo a rimuovere gli stessi graffi rispetto alle altre serie di iPhone.

    Poi stacchiamo l'adesivo impermeabile del telefono. Poiché sul ricevitore c'è meno adesivo, dobbiamo applicare nuovamente l'adesivo e solidificarlo per farlo cadere.
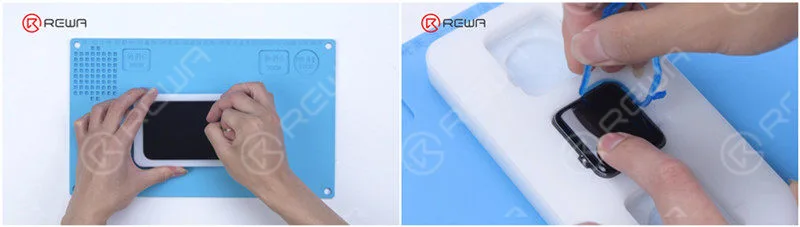
    Poi stacchiamo l'adesivo impermeabile del telefono. Poiché sul ricevitore c'è meno adesivo, dobbiamo applicare nuovamente l'adesivo e solidificarlo per farlo cadere.

    Rimuovere l'adesivo impermeabile dell'Apple Watch. I graffi sono spariti.
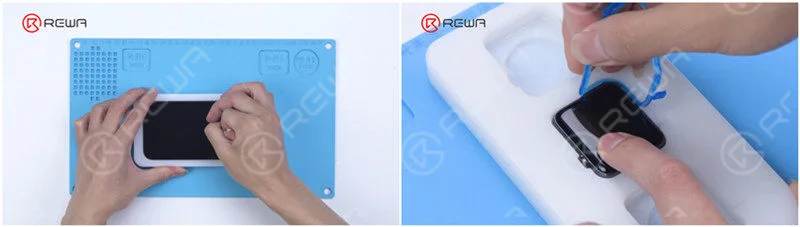
    Rimuovere l'adesivo impermeabile dell'Apple Watch. I graffi sono spariti.
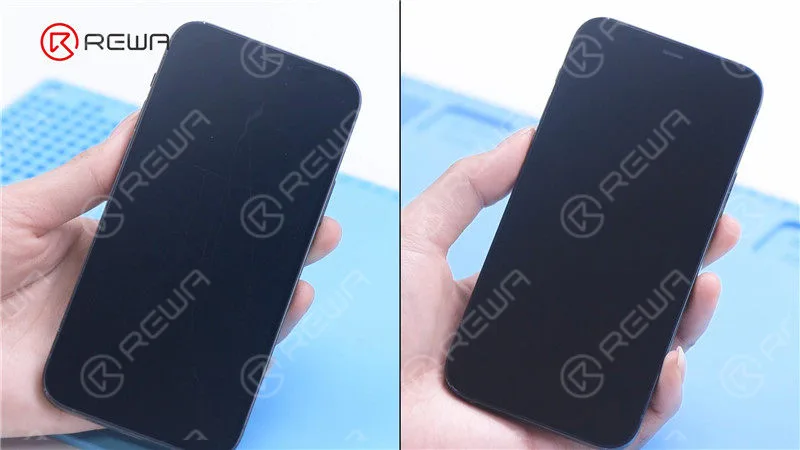
    Rimuovere l'adesivo impermeabile dell'Apple Watch. I graffi sono spariti.
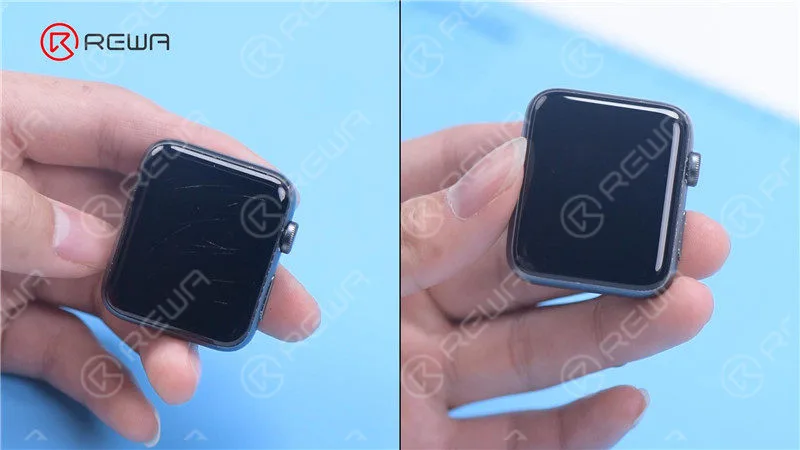
    Rimuovere l'adesivo impermeabile dell'Apple Watch. I graffi sono spariti.

    Test

    Accendere il telefono e l'orologio per eseguire il test. L'orologio e il telefono funzionano bene.
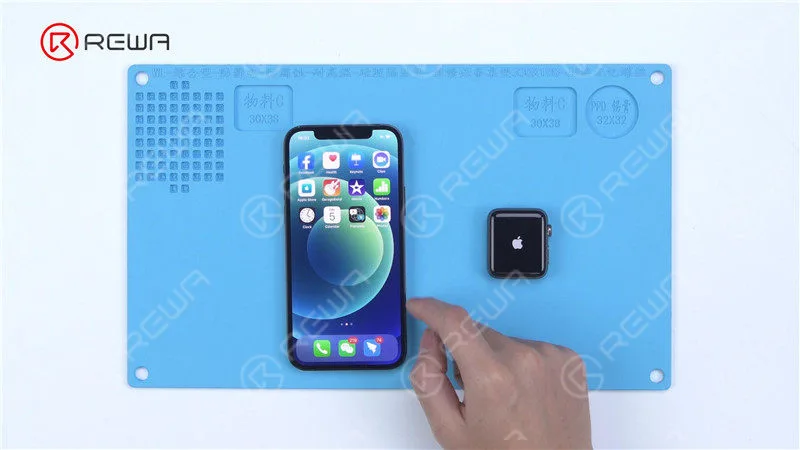
    Accendere il telefono e l'orologio per eseguire il test. L'orologio e il telefono funzionano bene.

    Effetto idrofobico

    Poi aggiungiamo l'effetto idrofobico allo schermo. Rivestire lo schermo con il rivestimento oleofobico e applicarlo in modo uniforme. Solidificare con un Lampada UV.
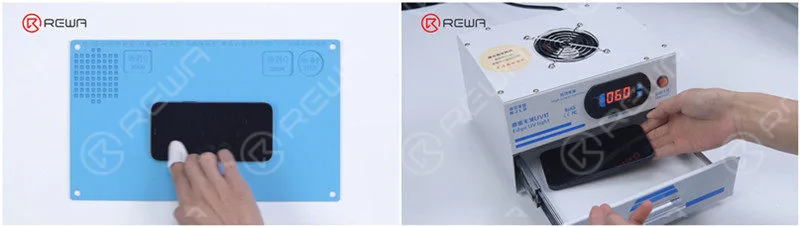
    Poi aggiungiamo l'effetto idrofobico allo schermo. Rivestire lo schermo con il rivestimento oleofobico e applicarlo in modo uniforme. Solidificare con una lampada UV.

    Lo schermo dell'orologio e del telefono ha riacquistato l'effetto idrofobico.
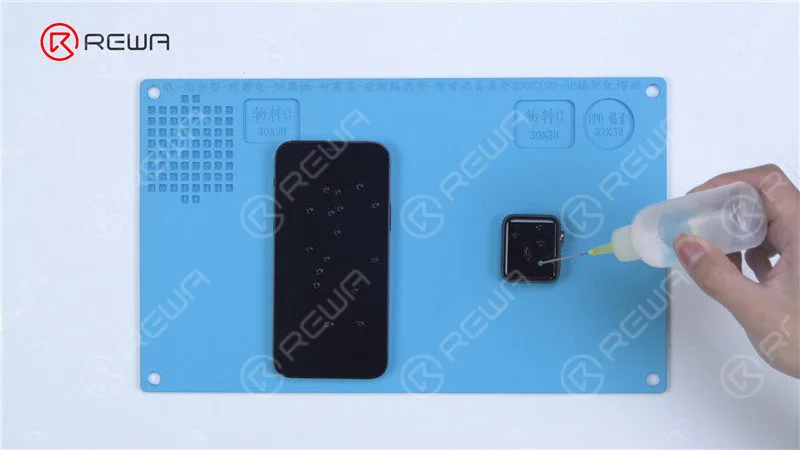
    Lo schermo dell'orologio e del telefono ha riacquistato l'effetto idrofobico.

    L'iPhone 12 e l'Apple Watch sono stati ricondizionati con successo.

    Sintesi

    I graffi sull'iPhone 12 sono diventati più difficili da rimuovere rispetto ai modelli precedenti a causa dello scudo in ceramica. Tuttavia, la macchina per la levigatura e la lucidatura è riuscita a rimuovere i graffi con grande efficienza. Inoltre, la macchina ha dato prova del suo talento rimuovendo con successo i graffi su un Apple Watch. Senza dubbio, la smerigliatrice e lucidatrice sarà la vostra prima scelta se volete ritagliarvi un posto nel settore del ricondizionamento.

    Più precisamente, il vecchio metodo per rinnovare lo schermo consiste nel sostituire il vetro anteriore, il che non è solo difficile ma anche costoso. Pertanto, la comparsa di una macchina per la lucidatura e la molatura può migliorare notevolmente l'efficienza della ristrutturazione e ridurre efficacemente i costi di ristrutturazione. Inoltre, il funzionamento è relativamente semplice.

    L'efficienza della macchina per la rettifica e la lucidatura è di fondamentale importanza. Attualmente esistono tre tipi di smerigliatrici e lucidatrici molto vendute. Una è la macchina del video che può molare e lucidare quattro telefoni contemporaneamente. Le altre due possono smerigliare e lucidare due e otto telefoni contemporaneamente. Potete scegliere il modello giusto in base al vostro carico di lavoro. REWA offre una soluzione completa per il rinnovo dello schermo e del vetro posteriore, che comprende tutti gli strumenti e i materiali di consumo. Se avete bisogno di una macchina per la molatura e la lucidatura, potete contattarci per saperne di più sui dettagli.

    Guardate il video completo qui sotto per vedere come rimuoviamo i graffi dell'iPhone 12 e dell'Apple Watch smerigliando e lucidando.
  • Apple Watch Series 3 Glass Replacement

    Apple Watch Series 3 Glass Replacement

    As a wearable device launched by Apple, the Apple Watch product line market shipments and share are growing day by day. The demand for screen replacement and battery replacement has accordingly increased. Since the price of the display assembly and other parts is very high, REWA LAB will show you how to replace the glass of the Apple Watch Series 3. The solution will be more economical than the replacement of the display assembly.

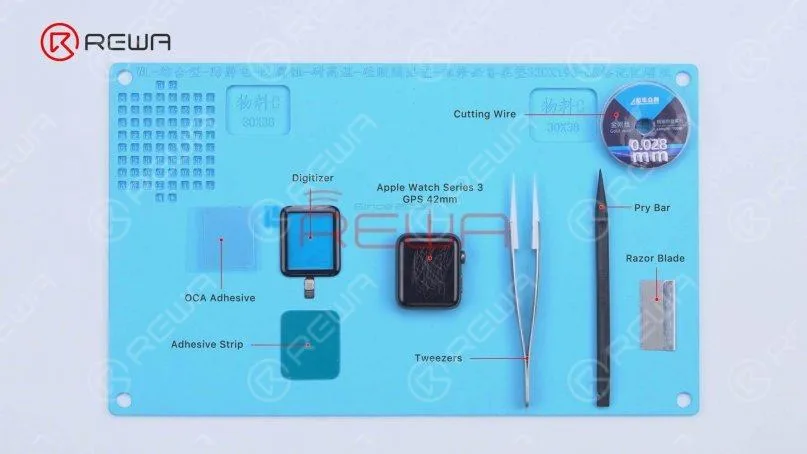
    The tools and supplies needed are digitizer, OCA adhesive, adhesive strip, cutting wire, tweezers, pry bar, and razor blade.

    The tools and supplies needed are digitizer, OCA adhesive, adhesive strip, cutting wire, tweezers, pry bar, and razor blade.

    Test dello schermo

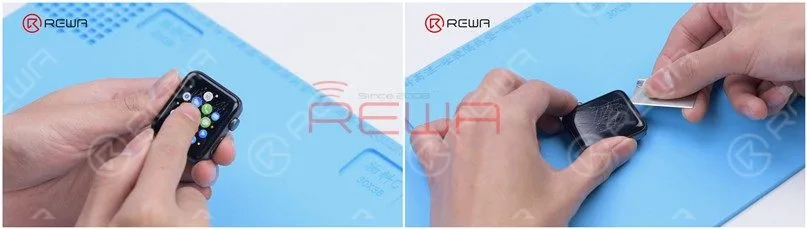
    First of all, test the screen. The touch, display, and Force Touch function well. Turn the watch off and pry the screen open with a Lama di rasoio slowly.
    First of all, test the screen. The touch, display, and Force Touch function well. Turn the watch off and pry the screen open with a Razor Blade slowly.Lift the screen. Please pay attention to the screen flex cables to avoid damage. It can be seen that three flex cables are connected to the motherboard.
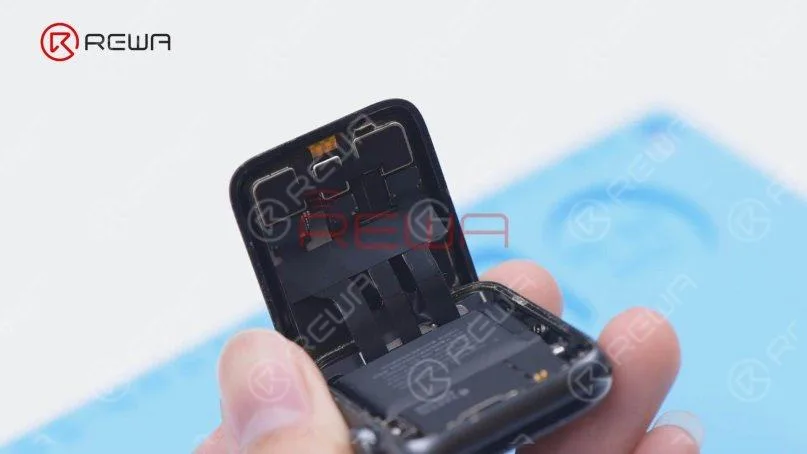
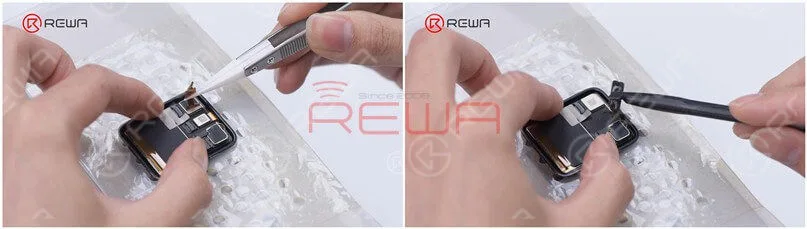
    Lift the screen. Please pay attention to the screen flex cables to avoid damage. It can be seen that three flex cables are connected to the motherboard.Peel off the tape covering the display flex cables with tweezers. Please do not damage the flex cables while peeling off. Then disconnect the flex cables.
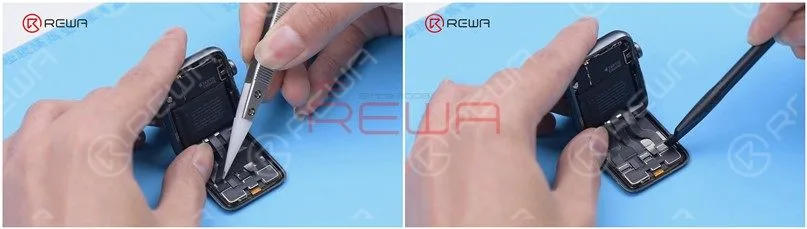
    Peel off the tape covering the display flex cables with tweezers. Please do not damage the flex cables while peeling off. Then disconnect the flex cables.

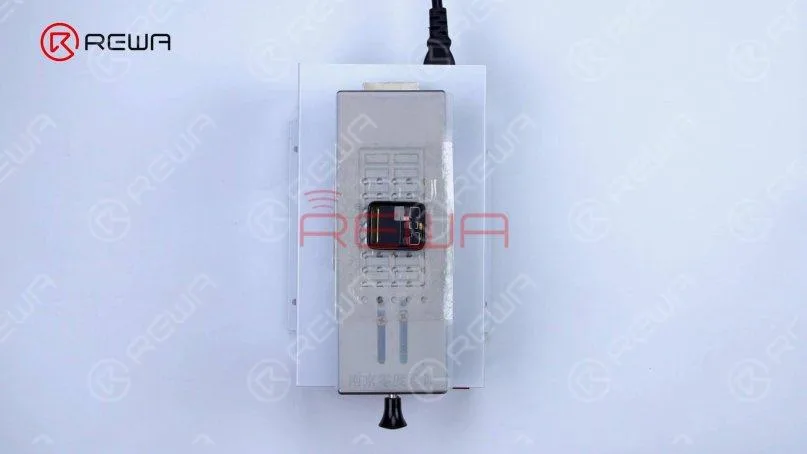
    Next, we need to pry up the connector of the touch flex cable. Put the screen on the Piattaforma di riscaldamento at 120℃ for 30 seconds. After heating, peel off the tape with tweezers and pry up the connector.

    Next, we need to pry up the connector of the touch flex cable. Put the screen on the Heating Platform at 120℃ for 30 seconds. After heating, peel off the tape with tweezers and pry up the connector.
    Next, we need to pry up the connector of the touch flex cable. Put the screen on the Heating Platform at 120℃ for 30 seconds. After heating, peel off the tape with tweezers and pry up the connector.

    Taglio del vetro

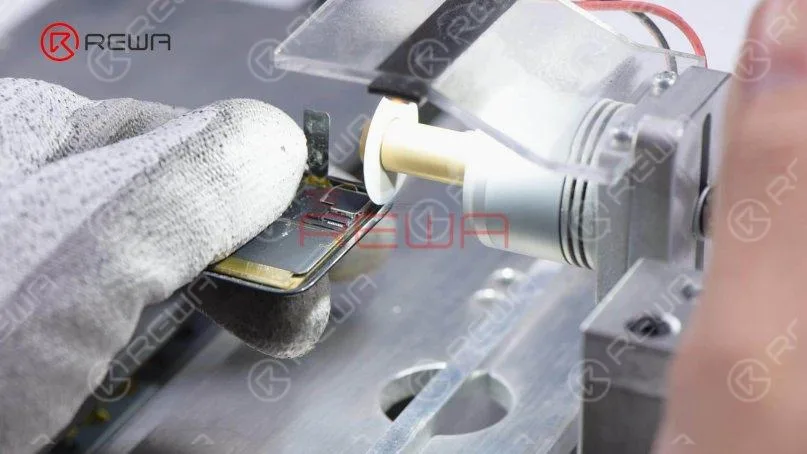
    Then we use the Cutting Machine to cut the glass. We need to cut both sides of the glass to get the cutting wire in. Please be careful during the operation.
    Then we use the Cutting Machine to cut the glass. We need to cut both sides of the glass to get the cutting wire in. Please be careful during the operation.We can see that a side of the glass has been cut off and the bottom has broken too.
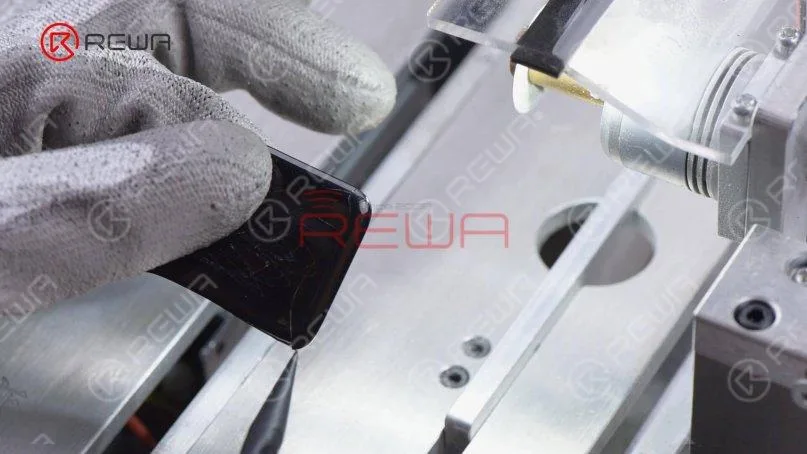
    We can see that a side of the glass has been cut off and the bottom has broken too.Then we cut the other side. Lastly, polish the corners. A point well mentioning is that the difficulty of replacement will be reduced if the glass is broken.
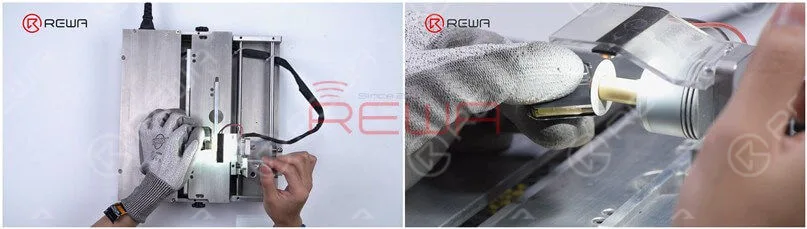
    Then we cut the other side. Lastly, polish the corners. A point well mentioning is that the difficulty of replacement will be reduced if the glass is broken.

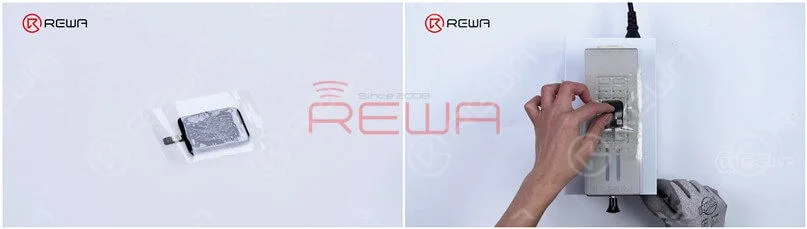
    Separazione del vetro

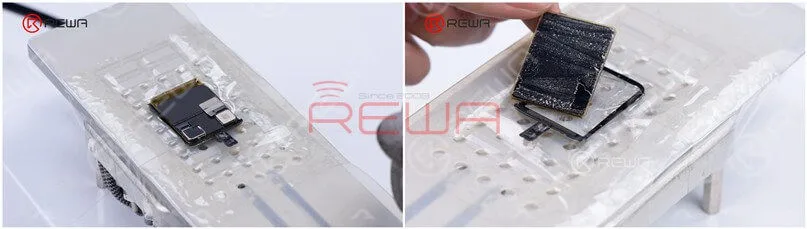
    Tape the screen. Then put the screen on the Heating Platform and start the suction.
    Tape the screen. Then put the screen on the Heating Platform and start the suction.Next, separate the glass with Cutting Wire. Pull the Cutting Wire slowly and the glass is successfully separated.
    Next, separate the glass with Cutting Wire. Pull the Cutting Wire slowly and the glass is successfully separated.

    OCA Removing

    Then we remove the OCA adhesive with the Electric Adhesive Removing Tool and clean the OLED with N-hexane.
    Then we remove the OCA adhesive with the Electric Adhesive Removing Tool and clean the OLED with N-hexane.Install the OLED to test. Since the touch panel has been separated, we only need to test the display function. The display function is normal. Clean the OLED completely with N-hexane.
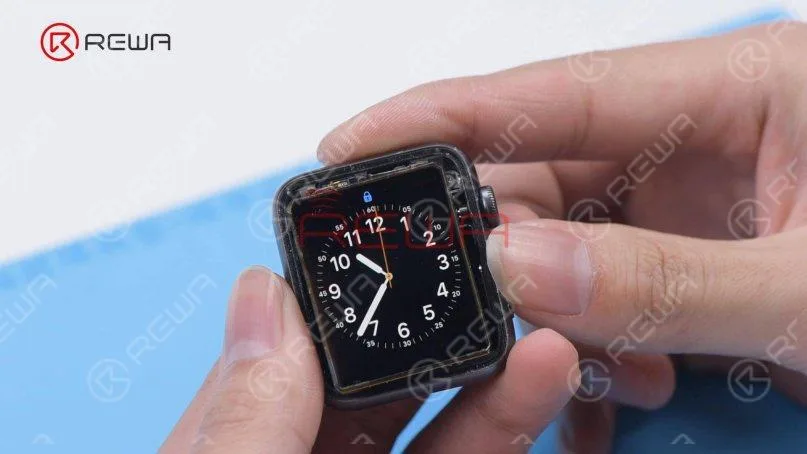
    Install the OLED to test. Since the touch panel has been separated, we only need to test the display function. The display function is normal. Clean the OLED completely with N-hexane.

    Laminazione

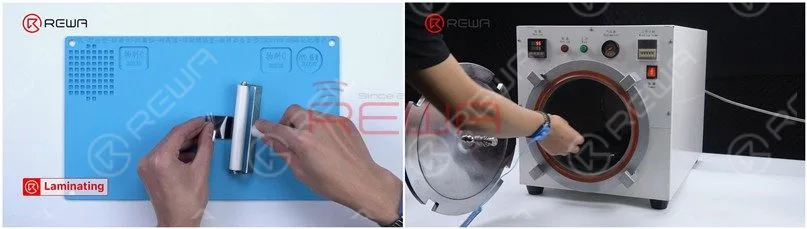
    Attach the OCA adhesive to the OLED with Laminating Roller and put the OLED into the Macchina per la rimozione delle bolle for 3 minutes.
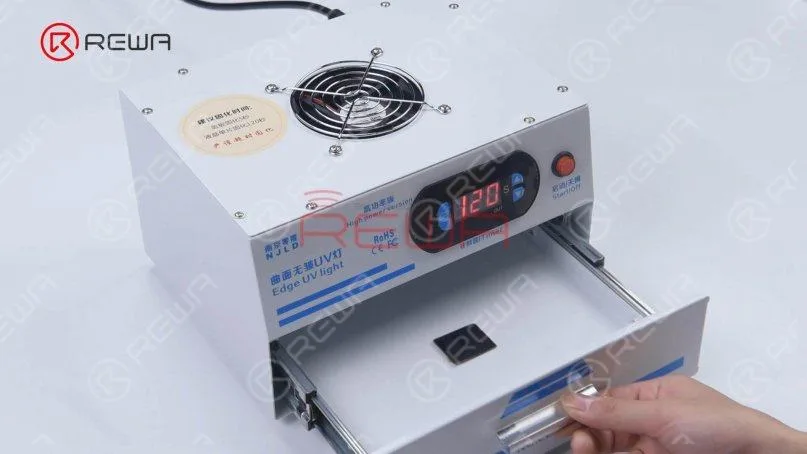
    Attach the OCA adhesive to the OLED with Laminating Roller and put the OLED into the Bubble Removing Machine for 3 minutes.Take the OLED out and put it into the UV Lamp for Curing OCA Glue for 5 seconds.
    Take the OLED out and put it into the UV Lamp for Curing OCA Glue for 5 seconds.Stick a corner of the OLED with Easy Tear Sticker and peel off the OCA protective film.
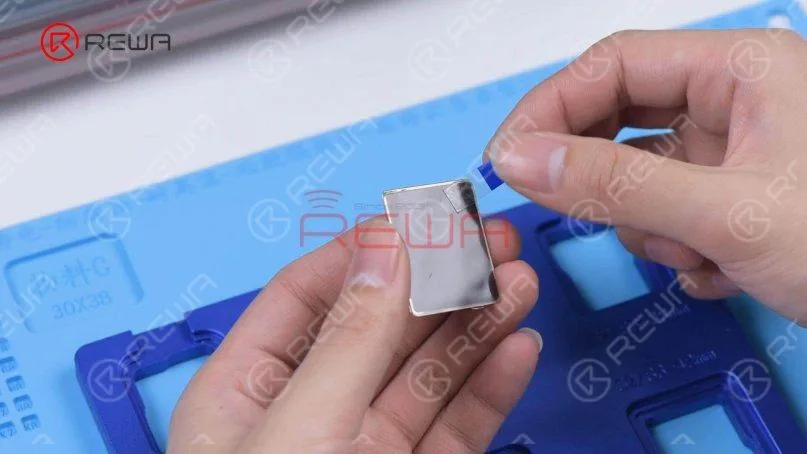
    Stick a corner of the OLED with Easy Tear Sticker and peel off the OCA protective film.Attach the OLED to the Laminating Mold. Stick a corner of the Apple Watch Series 3 digitizer and peel off the OCA protective film.
    Attach the OLED to the Laminating Mold. Stick a corner of the Apple Watch Series 3 digitizer and peel off the OCA protective film.Align the digitizer with the OLED.
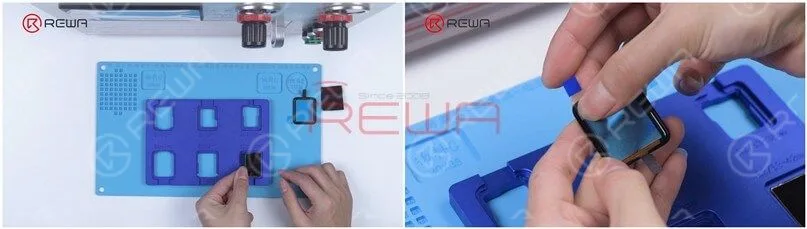
    Align the digitizer with the OLED.Detach the screen and put the screen on the Laminating Sponge. Then put the screen into the Macchina di laminazione and press “LCD laminate start”.
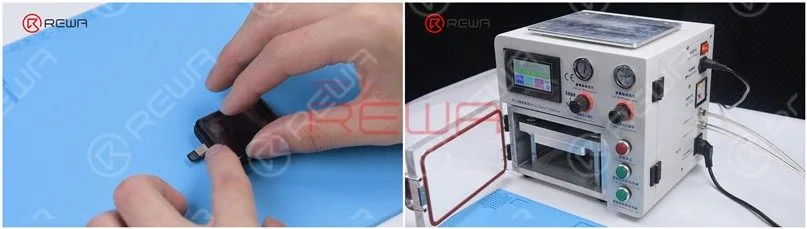
    Detach the screen and put the screen on the Laminating Sponge. Then put the screen into the Laminating Machine and press “LCD laminate start”.Take the screen out and there are still bubbles on the screen. Put the screen back into the Bubble Removing Machine for ten minutes and the bubbles are gone.
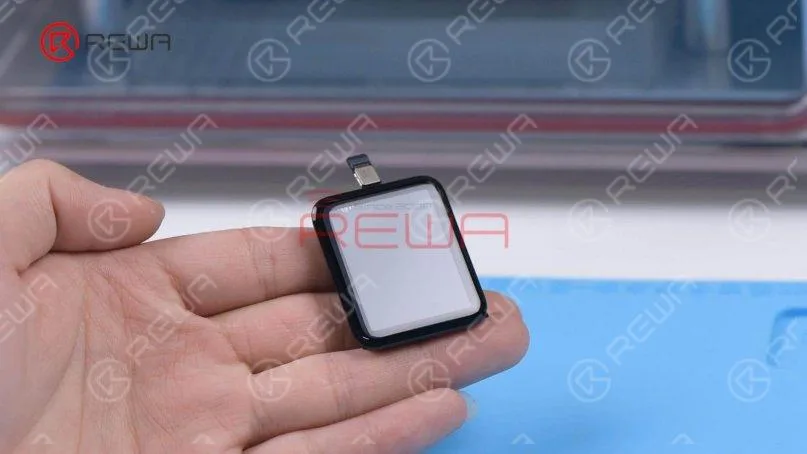
    Take the screen out and there are still bubbles on the screen. Put the screen back into the Bubble Removing Machine for ten minutes and the bubbles are gone.Put the screen back into the UV Lamp for two minutes. Then we connect the screen to test. The function of the display and touch is good.
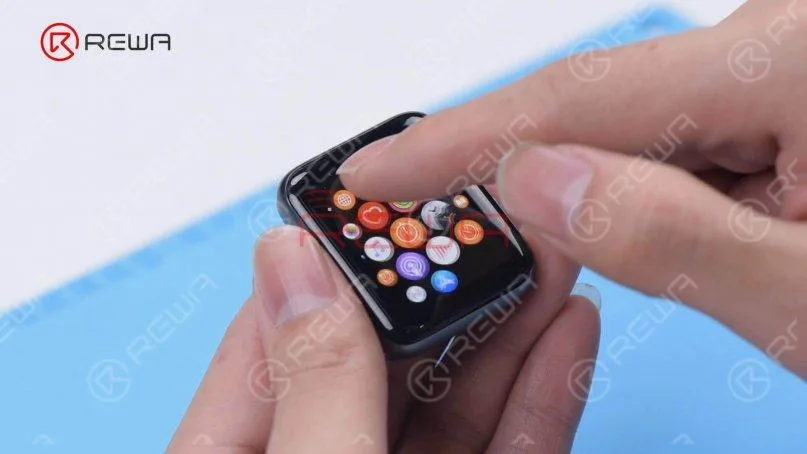
    Put the screen back into the UV Lamp for two minutes. Then we connect the screen to test. The function of the display and touch is good.Lastly, we install the screen on the watch. Attach the adhesive strip to the frame and peel off the protective film.
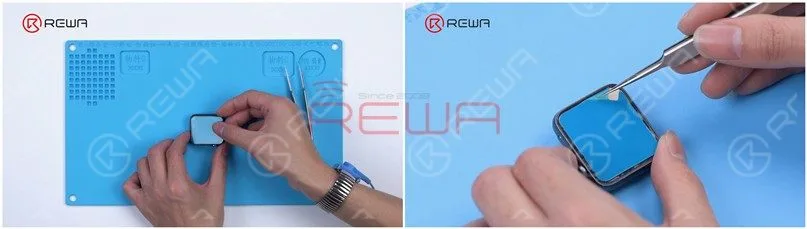
    Lastly, we install the screen on the watch. Attach the adhesive strip to the frame and peel off the protective film.Connect the screen and turn on the watch. The watch is turned on and all functions work well.
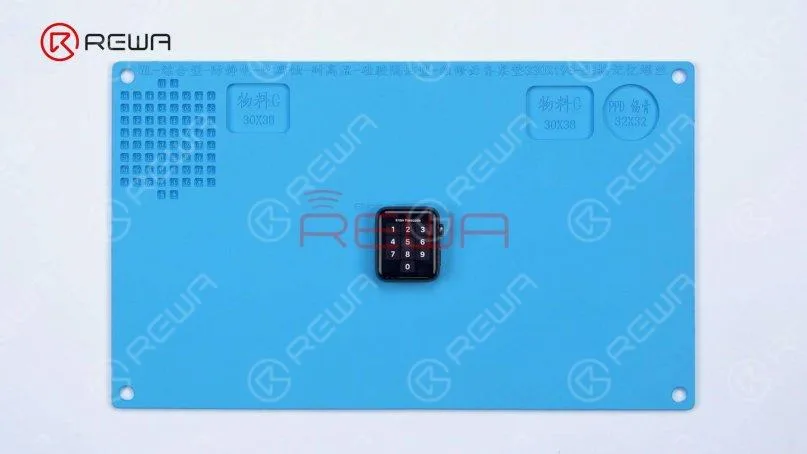
    Connect the screen and turn on the watch. The watch is turned on and all functions work well.Feel free to visit our online shop for Apple Watch parts and repair tools.Watch the video below to get a detailed Apple Watch Series 3 Glass Replacement guide.