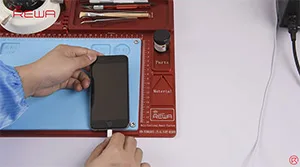
iTunes Error 9 often appears when processing firmware update or system restores by iTunes. Several reasons are attributed towards the problem, and we have already posted a solution for iPhone error 9 fixes related to the NAND Flash error before. Here this video shows a different solution regarding iPhone 6 error 9 without removing CPU. With the help of our newly developed CNC chip grinding machine, this job can be done even safer and quicker without damaging the logic board and nearby chips.
Étiquette : réparation de l'iphone 6
-
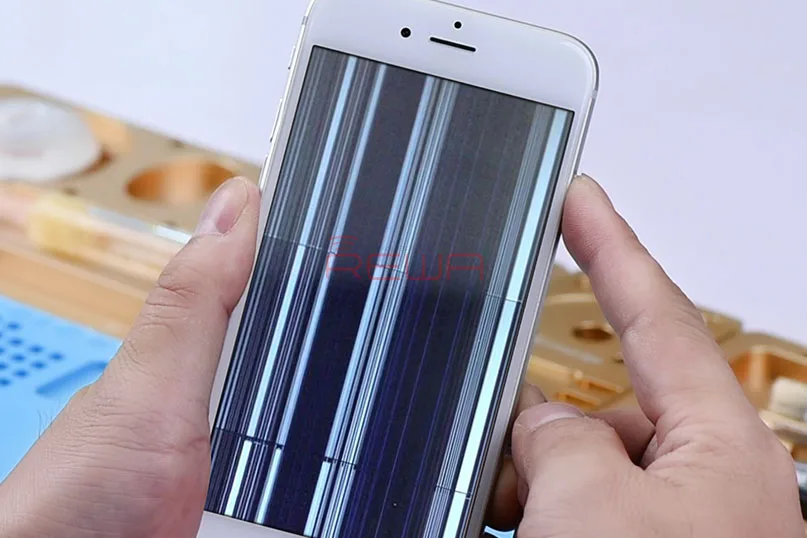
Comment réparer l'écran vacillant de l'iPhone 6
Le client dit que son iPhone 6 a commencé à faire défiler les pages, à ouvrir des applications tout seul, et que l'écran clignote après la réparation, au cours de laquelle l'écran est remplacé, ainsi que le contrôleur d'écran tactile et le processeur d'écran tactile. Et cela se produit de manière aléatoire.
Allumez l'iPhone 6 et testez-le. L'écran clignote comme décrit. Le problème du multi-touch sur l'iPhone provient généralement d'un signal perturbé ou d'une alimentation instable du circuit intégré de l'écran tactile. Par conséquent, mesurez l'alimentation de PN5V7_SAGE_AVDDN, PP5V7_SAGE_AVDDH, PP5V1_GRAPE_VDDH, PP1V8_GRAPE sur le circuit intégré du contrôleur de l'écran tactile et sur le circuit intégré du processeur de l'écran tactile à l'aide d'un oscilloscope. Toutes les tensions d'alimentation sont normales.
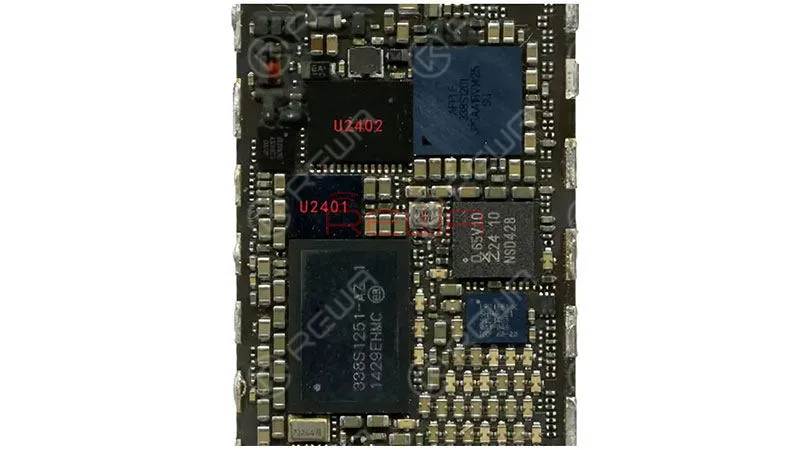
Continuer à mesurer la valeur de la diode entre le connecteur de l'écran tactile et U2402. La valeur est à nouveau normale. Nous mesurons ensuite la valeur de la diode entre les condensateurs de couplage du contrôleur d'écran tactile U2401 et du processeur d'écran tactile U2402. La valeur est toujours normale.
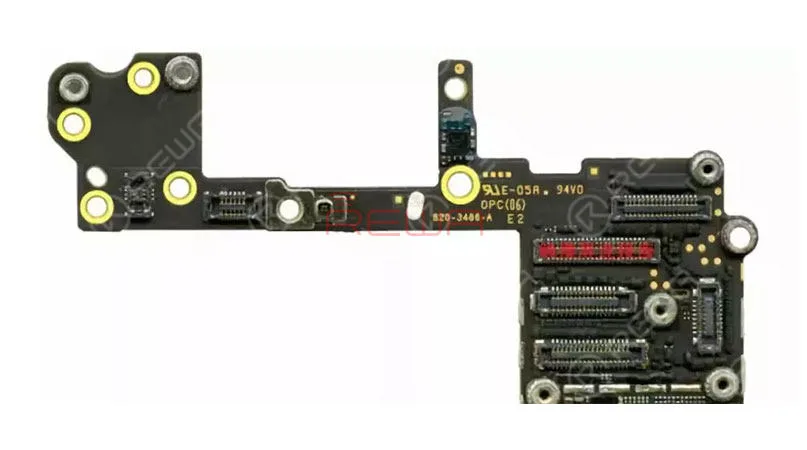
Sur la base de ces éléments et de la description du client, nous concluons que le problème peut être lié aux circuits intégrés de remplacement de l'écran tactile. D'après notre expérience, la maladie tactile causée par le circuit intégré du contrôleur de l'écran tactile se traduit par un écran tactile qui ne fonctionne pas du tout. Le dysfonctionnement du circuit intégré du processeur de l'écran tactile n'entraîne qu'une absence de réponse partielle ou aléatoire de l'écran tactile. Le processeur tactile peut donc être la pièce défectueuse. Nous avons donc remplacé le circuit intégré du processeur de l'écran tactile à l'aide d'un fer à souder. À notre grande surprise, le dysfonctionnement persiste lorsque nous testons l'iPhone 6 après l'avoir remplacé. Nous pensons qu'il n'y a qu'une seule possibilité pour causer la maladie tactile - l'interférence d'un certain signal à haute fréquence. La puce NFC située à côté du processeur de l'écran tactile est la plus probable, car les signaux à haute fréquence qu'elle émet interrompent les conditions de fonctionnement normales des circuits intégrés de l'écran tactile.
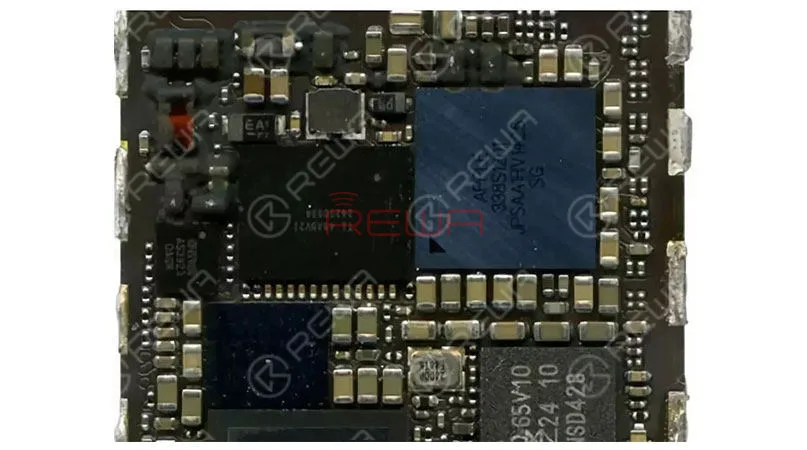
L'étape suivante consiste à remplacer la puce NFC par une nouvelle et à la tester. Et finalement, le défaut a été éliminé.
Conclusion :
Le problème tactile de l'iPhone 6/6 Plus est un problème très répandu dû à un défaut de conception de la carte logique. Ce problème se traduit par la perte du toucher de l'iPhone et par l'apparition d'une étrange barre grise clignotante en haut de l'écran. Pour résoudre le problème, il est généralement nécessaire de remplacer les circuits du contrôleur tactile par des circuits neufs. Pour cette réparation, les circuits intégrés liés à l'écran tactile ont été remplacés auparavant. Le problème se situe donc au niveau de la puce NFC. Remplacez-la par une nouvelle et le problème sera résolu. Si vous avez d'autres questions ou d'autres problèmes avec votre iPhone 6 ou d'autres appareils, n'hésitez pas à nous contacter.
REWA propose des pièces de rechange pour téléphones portables depuis 10 ans. Notre mission est de fournir des outils et des pièces de réparation de téléphones portables de bonne qualité à des prix abordables. Nous économisons votre argent et vous expliquons comment démarrer une entreprise de réparation, améliorer votre compétitivité - formation à la réparation de la carte logique de l'iPhone de REWA. Pour la vente en gros/au détail de pièces et d'outils pour téléphones portables : shop.rewa.tech. En ce qui concerne la formation à la réparation des téléphones portables, vous pouvez contacter training@rewatechnology.com à tout moment.
-
How To Fix A Water Damaged iPhone 6
Have you ever dropped your iPhone in the bath, the sea or even worse, the toilet? Did you go swimming but forgetting putting your iPhone 6 in the pocket aside? Water damage is commonly seen with iPhone series, which can result in different issues. You are likely to lose the data in your iPhone after the liquid damage, too. Then, take the following cases to recover your iPhone data.
For our iPhone 6 water damage case today, we start the repair work from moldy components. As it is often suggested that we should always begin with simple, then complex. However, the problem remains unresolved. Run further measurement and the faulty position is finally confirmed. We can complete the repair work by replacing faulty components. Also, we have posted iPhone Water Damage Repair – Ultrasonic Applied, worth to take a look.
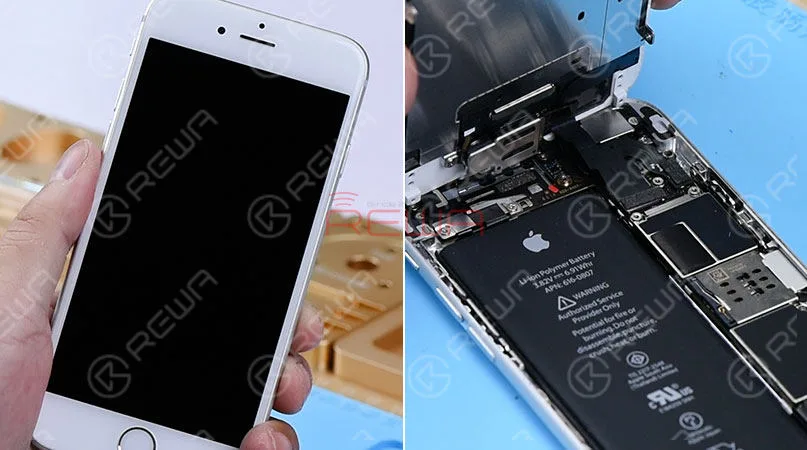
iPhone 6 Won’t Turn On – Water Damaged Repair Press power button. It shows the phone won’t turn on. Then we take apart the phone and see clearly that the water damage indicator is red. Which indicates that the phone has been water damaged. Continue to disconnect the battery, and connect the battery connector with DC Power Supply. Press power button, the phone turns on with Apple logo. However, the screen goes black after 15 seconds and cannot access the system normally.
Current reading on the ammeter jumps to 510mA and then stay still. Which is abnormal? Normally, iPhone won’t turn on after water damage and accompanied with abnormal boot current issue is caused by short-circuited traces due to water damage of the board. So we need to further check the logic board. Since parts of the logic board bear obvious signs of water damage.
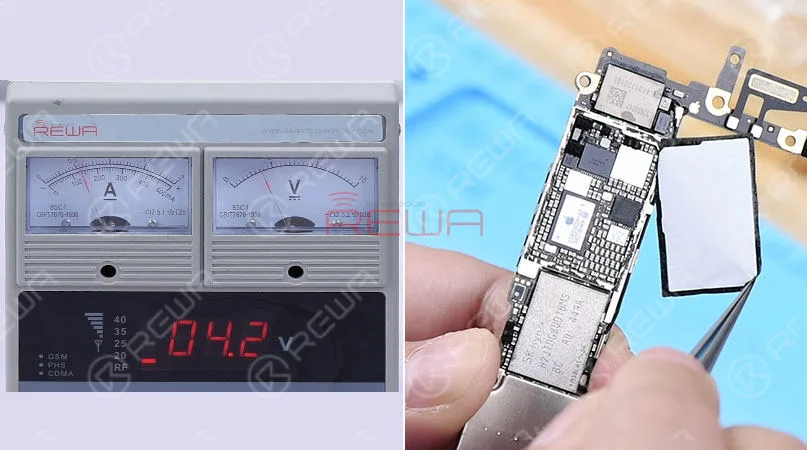
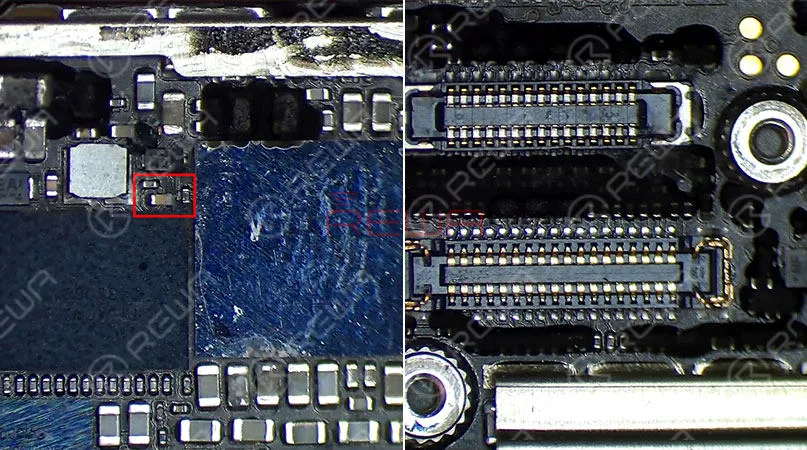
The first thing we do is to clean the logic board with PCB Cleaner. Once done, connect the battery connector with DC Power Supply and power up with trigger signal.
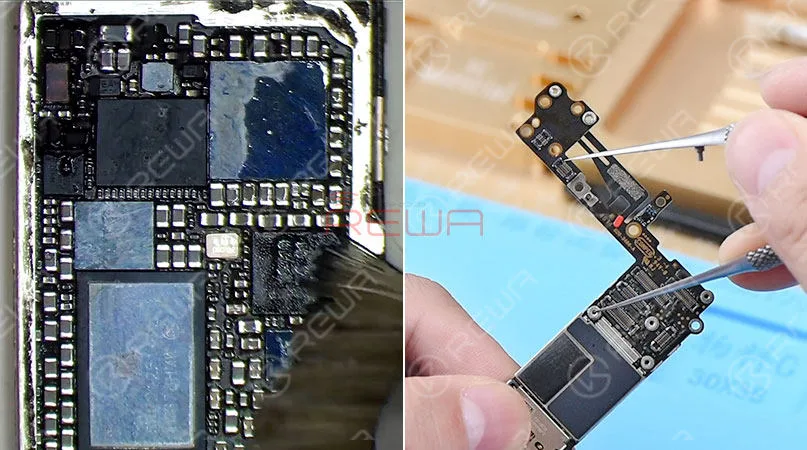
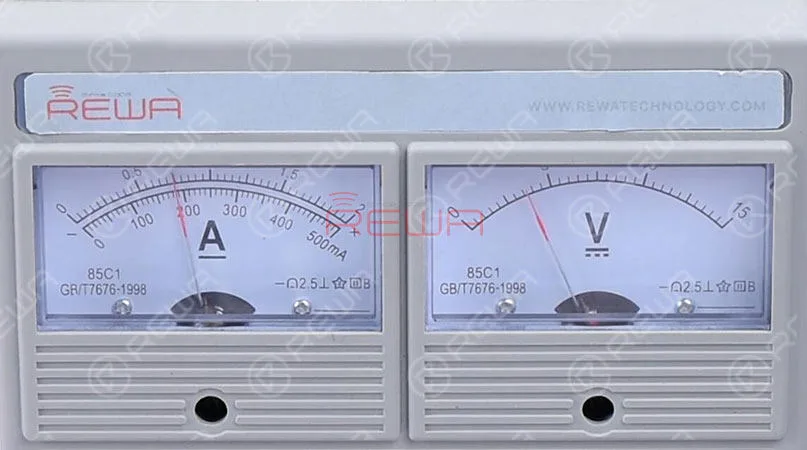
Current reading on the ammeter jumps to 220mA and then stay still. Which is still abnormal? So our previous cleaning of the logic board is not thorough enough. And we need to detach those moldy ICs and run thorough cleaning.
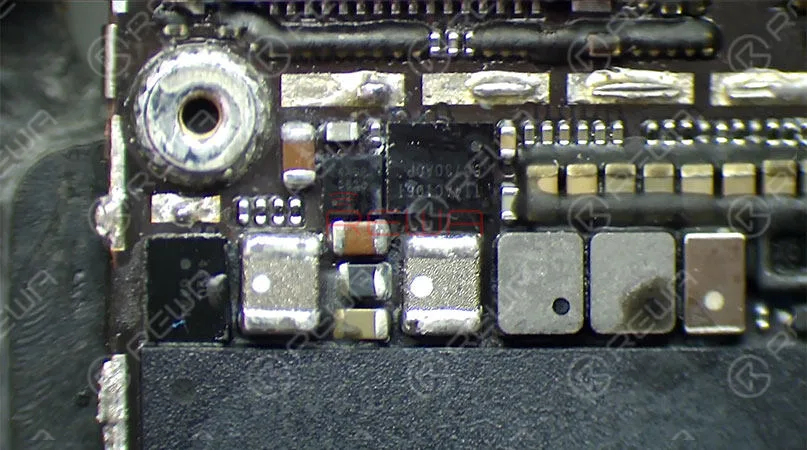
First, remove the shielding plate with Hot Air Gun. We can see clearly that U1501 and U1503 bear obvious moldy signs.
Heat with Hot Air Gun, and detach U1501 and U1503 from the board. Then apply some Paste Flux and remove tins. On the bonding pad with Soldering Iron. Once done, turn the logic board over. Heat with Hot Air Gun, detach the two moldy components, U2402 and U0900 from the board. We can see clearly that area under U2402 has got seriously mildewed. Our initial judgment is that the fault is related to the seriously moldy area.
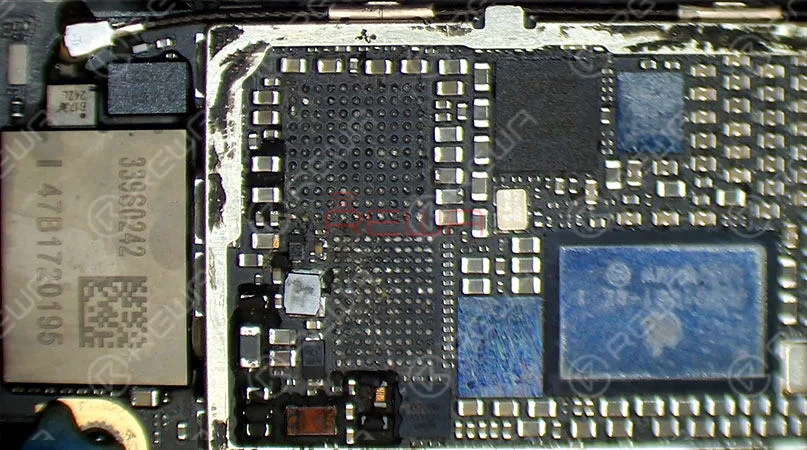
Apply some Paste Flux to the bonding pad. Then remove tins on the pad with Soldering Iron. Be careful with the components around when operating. If any of them got dislocated, we need to solder it promptly.
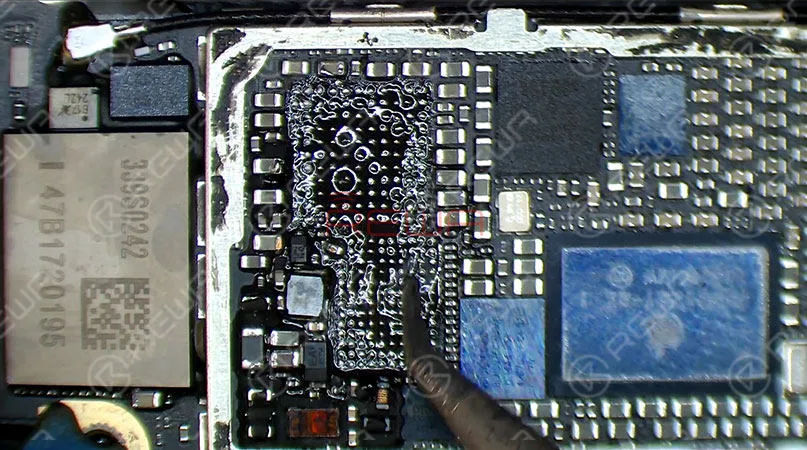
Continue to remove tins with resin-soaked Solder Wick. And clean with PCB Cleaner afterward.
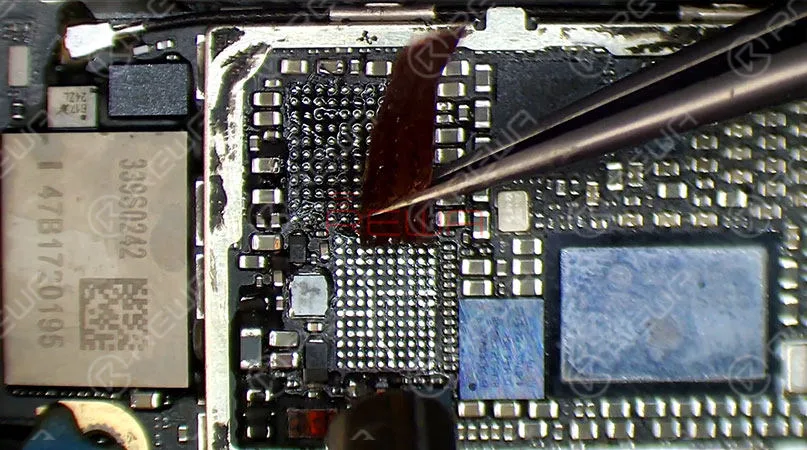
Apply some Paste Flux to the bonding pad, and align new ICs to the right place respectively. Then solder with Hot Air Gun.
Tips: put it in the right direction
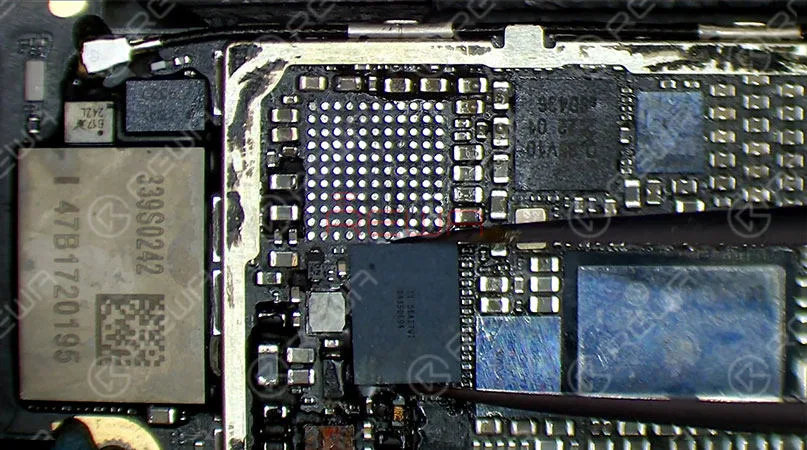
With Paste Flux overflowing and IC sinking continue heating for 5s. Also, treat U1501 and U1503 with the same steps. Once finished, clean with PCB Cleaner.
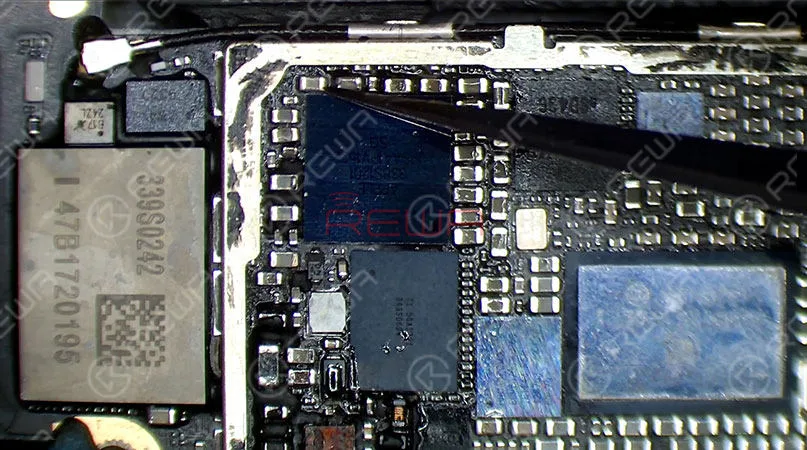
Now we can assemble the phone and test. Get the logic board and display assembly installed. Connect the battery connector with DC Power Supply. And press power button to power on, the phone turns on normally. iPhone 6 Won’t Turn On Caused by Water Damage issue fixed perfectly.
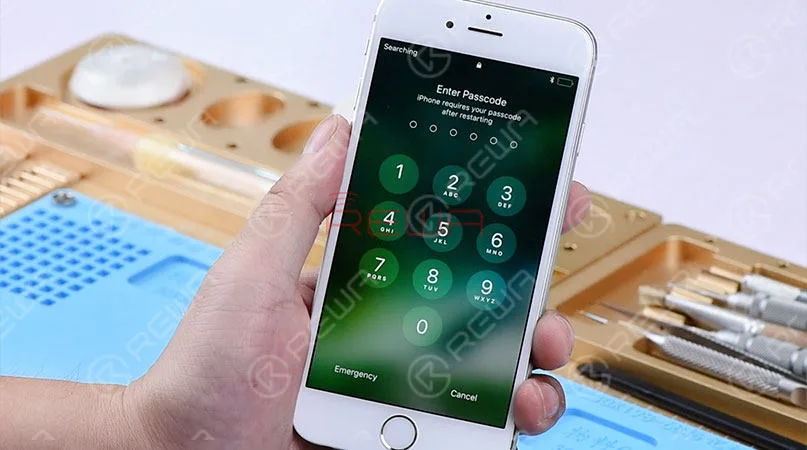
Des conseils chaleureux : faire remonter complètement le téléphone après confirmation de l'élimination de la panne
Now, check our video for more details about Fix a Water Damaged iPhone 6. Any questions please comment below or click “Ask a question” button to show your mind.
Last but not least, attaching a quick list of what you should and should not do when your iPhone has water damaged. Hopefully, these bullet points will get you on the right track in those precious first few moments.
What to Do If You Drop Your iPhone in Water
Turn it off immediately.
Remove the case to allow air to circulate.
Remove any accessories (headphones, card readers, etc.).
Blot away as much excess water as possible using paper towels.
Put it in a warm, dry, non-humid place.
Wait at least 48 hours before trying to turn it on again.
Back up your data immediately if it starts working.
What NOT to Do If You Drop Your iPhone in Water
Plug it into a wall socket or your computer.
Put it in the oven.
Blow a hair dryer on it.
Place it on top of a radiator.
Use rice.Rice is not a drying agent. It might even make the situation worse; the fine powder can get into your phone and turn the water into goop.
Shake it or rotate it. If your phone only took a brief bath, you don’t want water to get into parts that are still dry.
Press the Home button.
Any of these steps could cause further damage to your wet iPhone.
Maybe you have noted the repair tools that we have used in the video, want to get them? Just come to our magasin en ligne. iPhone replacement parts and cell phone repair tools with wholesale price.
-
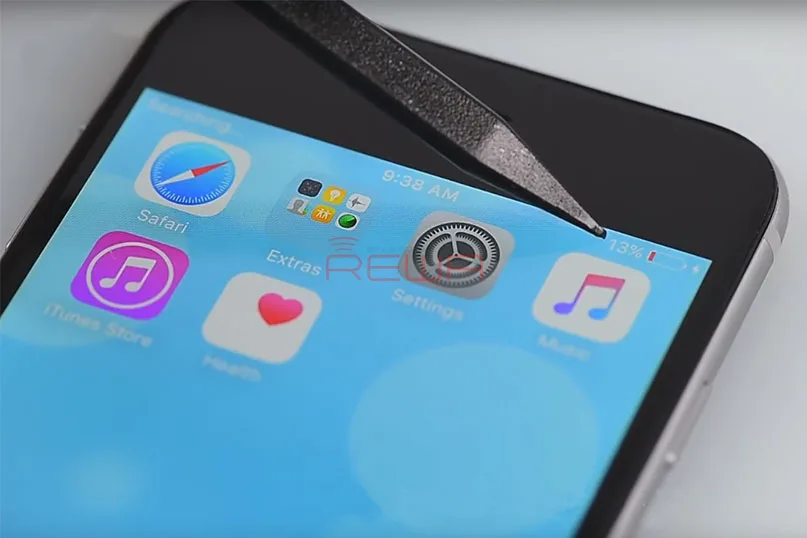
Que faire lorsque votre iPhone 6 ne se charge pas
Have you met this situation that the battery power becomes less after charged one hour? This is something quite a few users complained about. While you may think that have to replace a new battery, that usually isn’t the case. So, what is causing this problem? Maybe the charging port is full of dirt or the cables may be damaged. Also, a software or hardware issue can cause this problem. Now, we have listing four common ways and a professional solution. As following.
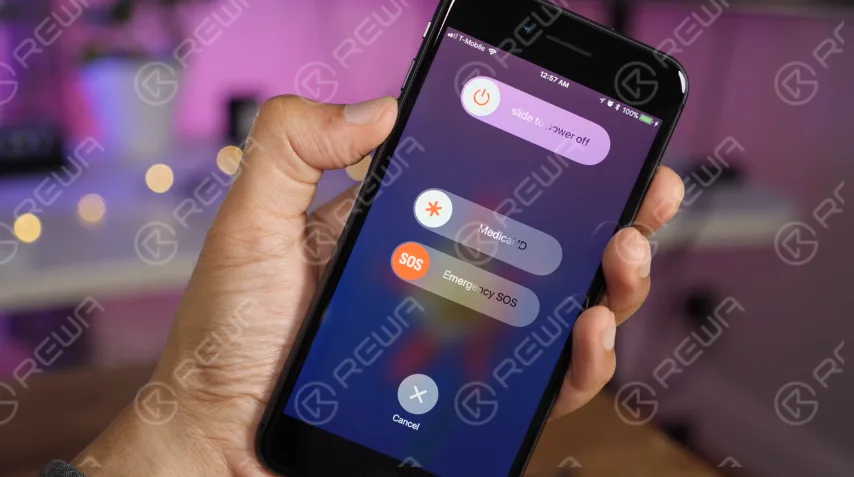
Restart iPhone
For most non-professionals, the most common fix for issues on any computer/phone has always been to restart the device. Sometimes a program can be stuck or could be causing another issue or bug and cause kinds of types of frustration and confusion. Try restarting your iPhone first before going on to more intensive fixes.
Update iOS
When you upgrade your device, the issue will probably be gone. So if there is upgrade software, make sure you have been got. Come with following to do this.
- Go to Settings
- Tap General
- Tap Software Update
- Tap Download and Install
Clean the iPhone’s charging port
If there are any obstructions, the cable won’t be properly placed into the charging port, thus, the device won’t charge. In this case, you need to clean the charging port. In order to do this, you will need some suitable tools, such as a toothpick or a small needle. Remove all the obstructions, but make sure to do it carefully to avoid any damage.
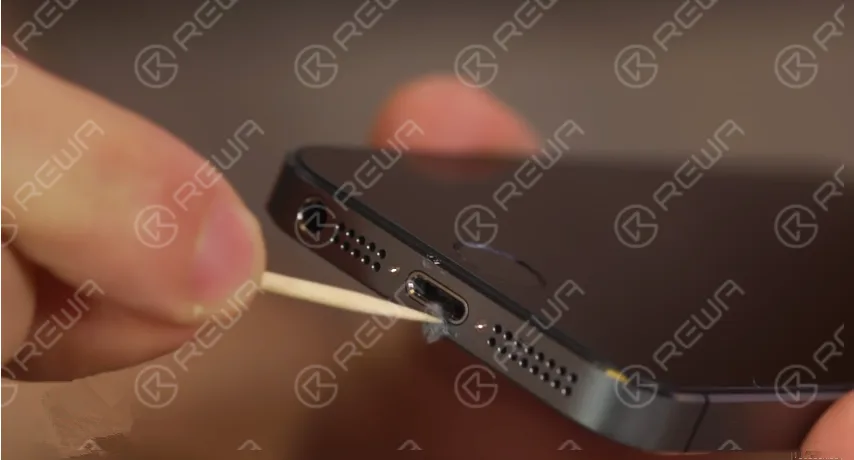
Try another charging and USB port
If the issue still can’t be solved after cleaned the charging port, then you can try another wall charger or use another USB cable. Plug the cable into the USB port in your computer. Maybe that will make a difference.
With these ways to fix iPhone 6 won’t charge, you will probably solve the issue. If not, then it may be a hardware issue. Let’s follow REWA step by step video recording to fix iPhone 6 not charging with logic board.
Charging fault analysis
Connect ZXW to a computer, open PCB diagram software, Charging voltage input PP5V0_USB, battery voltage PP_BATT_VCC, Battery electric quantity detection BATTERY_SWI_CONN
Connect U1401, Tigris charger, USB control IC, overvoltage protection signal, U1700 damage can result in not charging, reboot and connect computer failure etc.
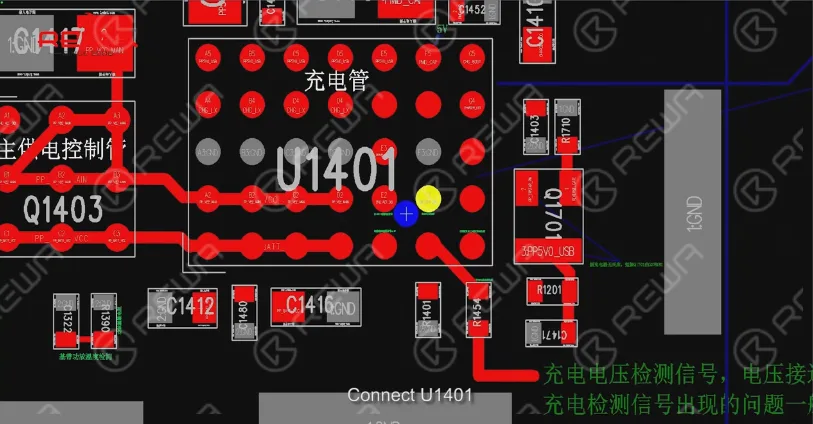
Charging fault detection
Ouvrir iPhone 6 screen , take down the screen, pull up the battery connector from logic board. The voltage is about 2.0V after measurement through stitch battery is ok.
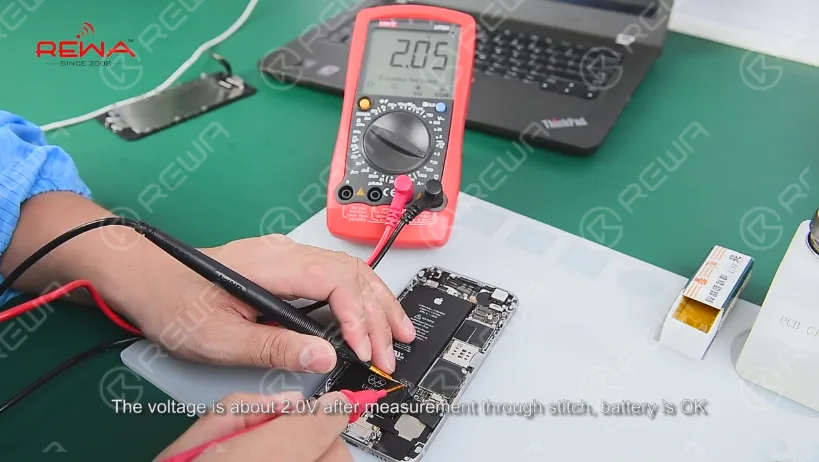
Plug to charger, the voltage is 0.5V(normal 1.8V – 4.2V) after measurement through FPC connector, the logic board can’t charge.
Repair: Take out the logic board, fix the logic board with PCB holder. Blow the shield cover with 320℃ air hot gun and take off it.
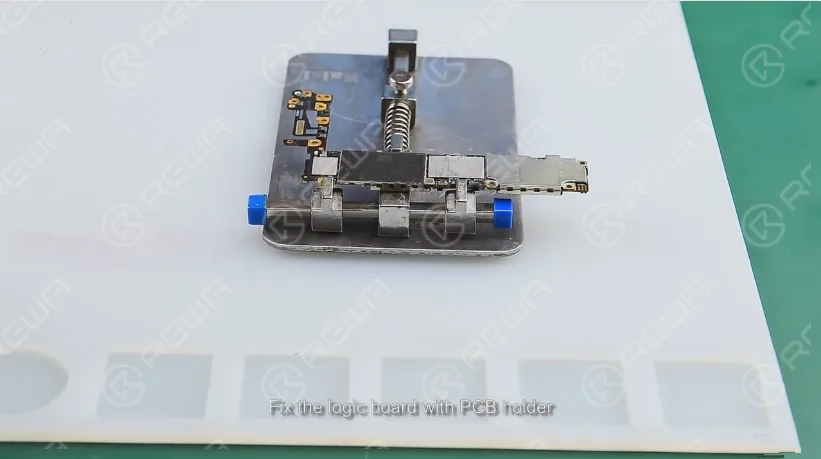
After blowing for 1 minute at 240℃, scrape off the black adhesive.
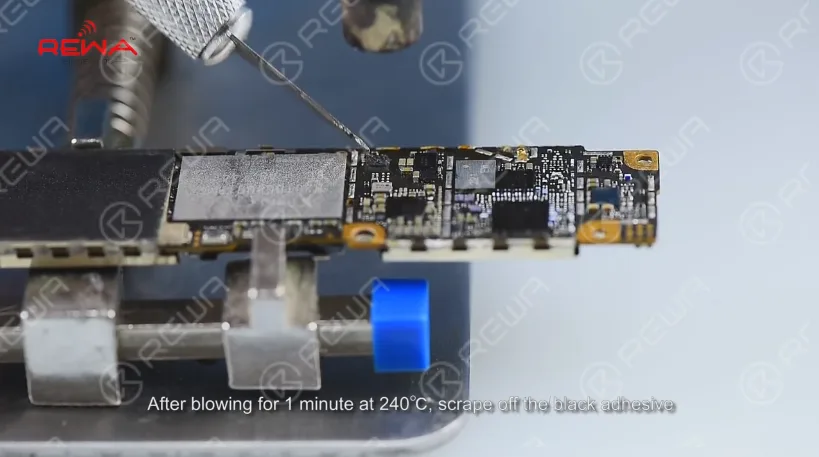
Blow the Bonding Pad for 1 minute at 300℃ until the tin melts. Pry the chip with sculpture knife, apply some Paste Flux, remove the tin on bonding pad, apply some rosin on the Solder Wick and slick Bonding Pad.
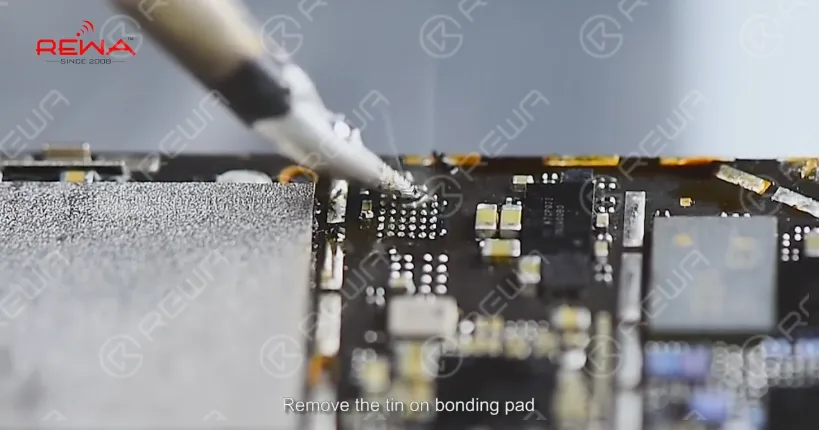
Clean the Bonding Pad with PCB Cleaner, align the new chip in right direction through stitch.
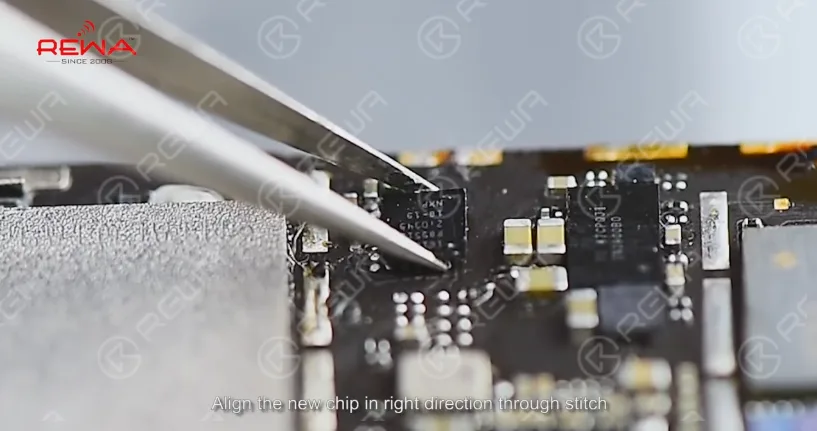
Blow the chip with hot gun for 1 minute at 280℃. Install the logic board after cool down
Detection and troubleshoot
Plug in charge, the voltage ranges between 1.8V and 4.2V indicating charging IC works properly, install the LCD and charge, after 1 hour the battery can charge properly.
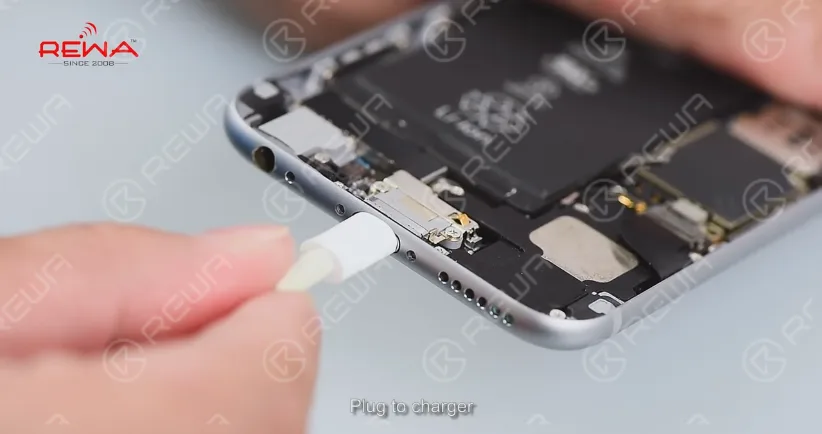
Make sure you bookmark this page so it will be easier for you to find it in the future when you need help. If you have any problems please comment at below or directly email to service@rewa.tech . We will try to reply in time.
Click to watch the video and repair your iPhone 6 not charging by DIY
If you are interested in the tools used in the video, please go to our magasin en ligne to order. Each replacement part has gone with REWA’s strict tests and systematic packing process, so each cell phone spare part is of guaranteed performance and low price.
-
iPhone 6 Keeps Searching For Signal – Logic Board Repair
iPhone 6 keeps searching for signal? There are many possibilities for the causes of iPhone showing “searching” issue. As soon as they see “Searching”, a lot of people assume the built-in antenna on their iPhone is broken and head straight for the Apple Store. While it’s true that a defective internal antenna can cause the iPhone searching problem, it is by no means the only cause. You may try to figure it out by replacing a new SIM card, restarting the phone or resetting the network.
What if these do not work? This video introduced a logic board solution to fix iPhone 6 constantly searching for network. Let’s check the video for the detailed tutorial.
How To Fix An iPhone That Says Searching
We’ll walk you through the process of troubleshooting an iPhone that says iPhone searching for network, and help you fix the problem, if it can be fixed.
We structure our articles with the simple fixes first, and then we move on to the more complicated fixes if and when they become necessary. If we discover there really is a hardware problem with your iPhone, you can watch our video and we will steps to teach you how to repair your iPhone keeps searching for service.
1.Turn your iPhone off turn on again
This is a simple and necessary steps, when you turn on your iPhone again and then you need to check if your iPhone can search the signal?
2. Update your carrier settings
Sometimes wireless carriers release software updates that change the way your iPhone interacts with the cellular network. Sometimes, these updates fix problems that can cause your iPhone to say “Searching…” all the time.
3. Reset Network Settings
Reset Network Settings restores your iPhone’s cellular data configuration back to factory defaults. It’s an easy way to eliminate the possibility that an accidental change in the Settings app is preventing your iPhone from connecting to the network.
4.Fix Problems With Your SIM Card
All iPhones have a tiny SIM card that wireless carriers use to identify specific iPhones on their network. Your SIM card gives your iPhone your phone number – it’s what tells your carrier you’re you. SIM card problems are a common reason why iPhones say “Searching for service”.
If these steps are not solve your iPhone keeps searching for service, so it means your hardware is broken, you can watch our video to help you solve this question.
Tools we have used
-
Réparation d'un iPhone 6 qui ne s'allume pas – Meulage et remplacement du PMIC
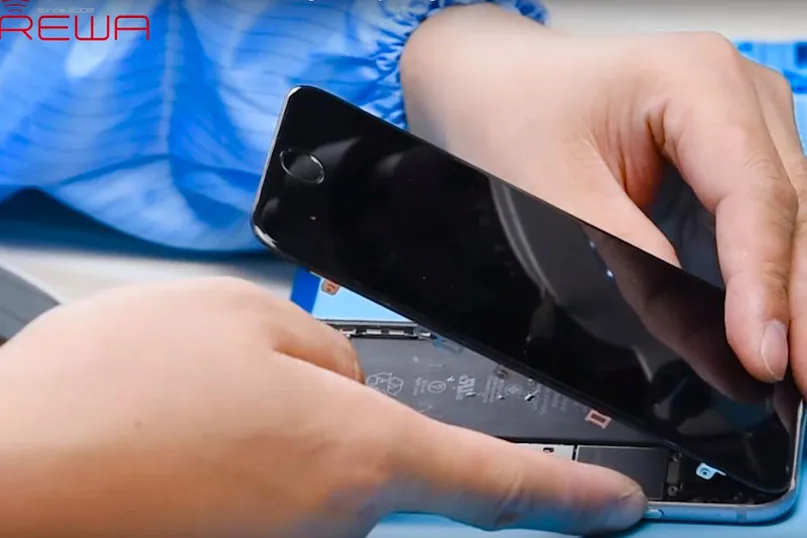
Generally speaking, the normal booting process of iPhone goes like this. Power key goes first, then the Apple logo appears between ten and twenty seconds. After the Apple logo appears, the iPhone will boot back up normally. Recently, some clients complained about the iPhone won’t turn on issue after holding the power key – no Apple logo, just black screen.
It is possible to find different causes and to find different solutions. In this blog, REWA offers a logic board repair solution regarding the iPhone 6/6S won’t turn on issue. Please feel free to leave a comment below if you have a different opinion.
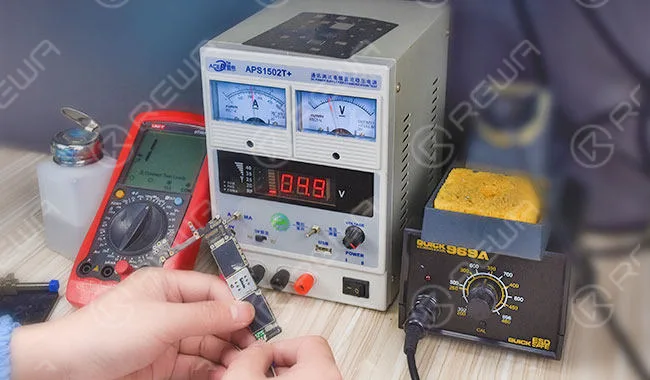
iPhone 6 Won’t Turn On Brief IntroductionThe iPhone 6 won’t turn on normally after holding the power key. Run detection process and we find that the logic board comes with leak current as 900mA and the PMIC is over-heated. Whereas capacitance around the PMIC shows no short-circuit. Therefore we can draw the conclusion that the PMIC is damaged and need to be replaced with a new one.
Diagnostiquer
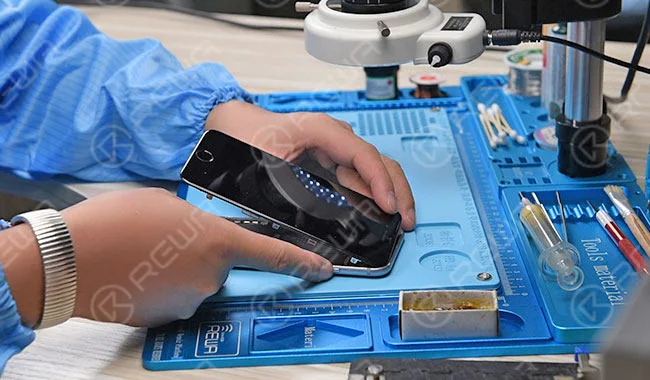
Power key power up, the phone cannot boot normally
Connect the phone with the DC power supply, the booting current jumps to 900mA, which is an abnormal value.
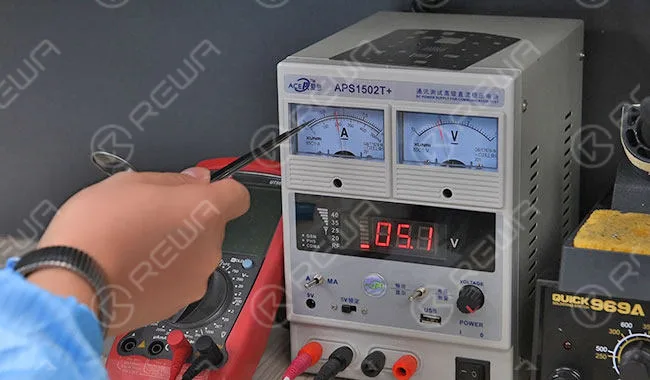
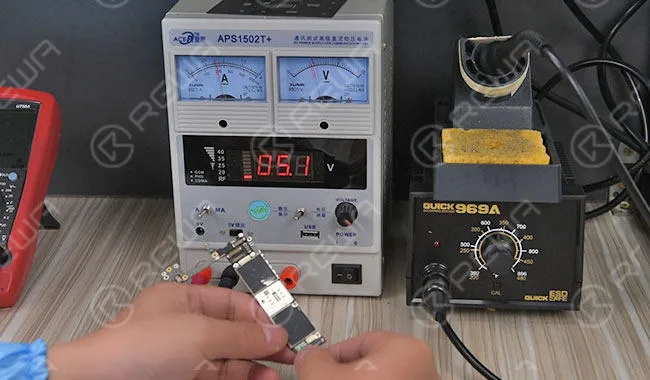
Take out the logic board and connect the logic board with the DC power supply. The logic board displays with leak current as 900mA.
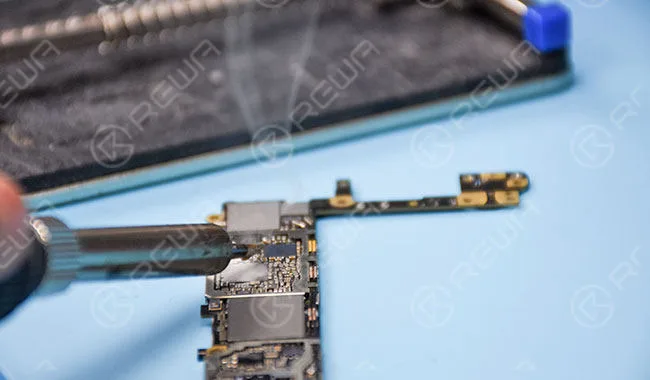
Dip some rosin with soldering iron to smoke the logic board power IC and components around. After that, connect the logic board with the DC power supply. The rosin starts to melt quickly, which indicate that the power IC is being over-heated.
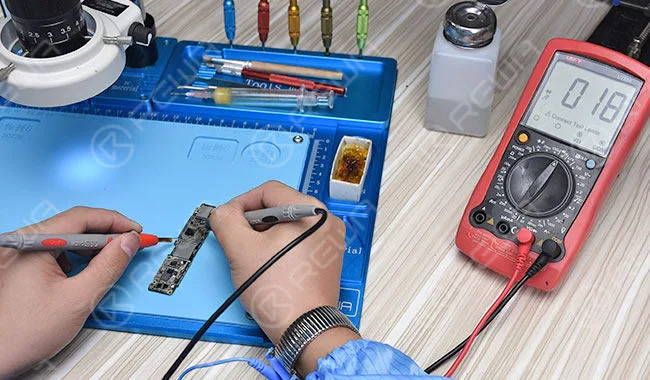
Test
capacitance around power IC – No short-circuit. We can draw the conclusion that power IC is leaking away electricity.
Notes
Remove 6s power IC with hot air gun can be a real risk, that’s why we recommend CNC chip grinding machine here.
Grinding
Put the iPhone 6s logic board on the corresponding iPhone 6s mold and set grinding program.
Click and clear numerical value of x-axis and y-axis. Move the milling cutter of the grinding machine to the corresponding power IC grinding area. Adjust the numerical value of z-axis and move the milling cutter until it touches the surface of power IC. Then clear numerical value of z-axis.
Start grinding. Once the bonding pad coming out evenly, the grinding process is finished.
Take out the logic board and use a sculpture knife to clear up black adhesive residue.
Reballage
Since tins of the new power IC come with a high melting point, we need to clean the tins with soldering iron at first.
Then reball the power IC with BGA reballing stencil.
Soldering
Apply some BGA paste flux to the bonding pad and align the power IC to the right place, mind the direction. Blow it with a hot air gun at 260 degrees.
Essais
Once the logic board is cooling enough, connect the logic board with the DC power supply. Boot with the startup signal triggered by the tweezer. Booting current displays normally, fault cleared.
Assemble the phone and test. iPhone boots and works normally.
For more details on iPhone 6s Won’t Turn On Repair guide, please go to Chaîne YouTube de REWA . Or watch iPhone 6S won’t turn on fix video . You can also contact us for support:
PRÉ-VENTE Skype : rewatech Email : service@rewa.tech
APRÈS-VENTE Skype : support-rewatech E-mail : support@rewatechnology.com
Outils utilisés
-
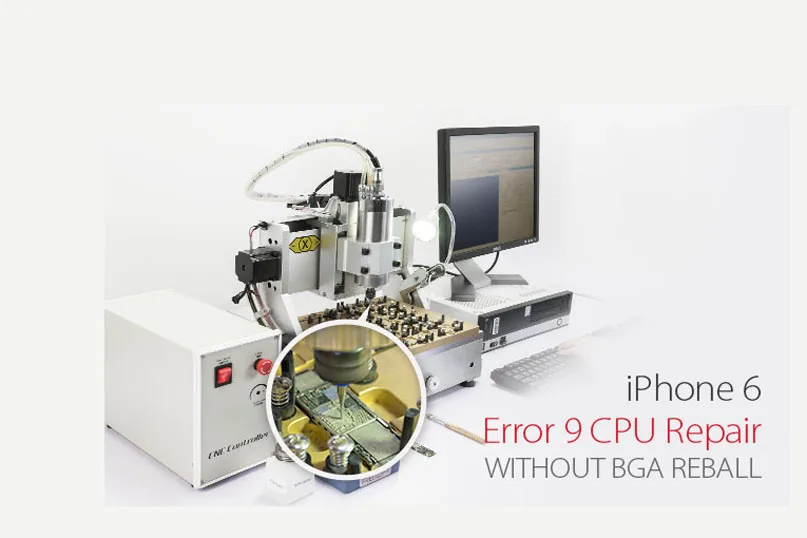
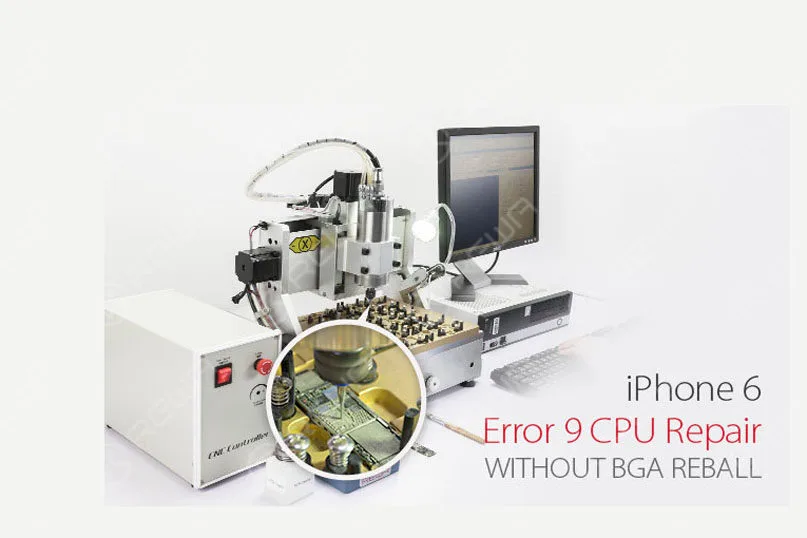
Réparation du processeur iPhone 6 Erreur 9 sans reballage BGA
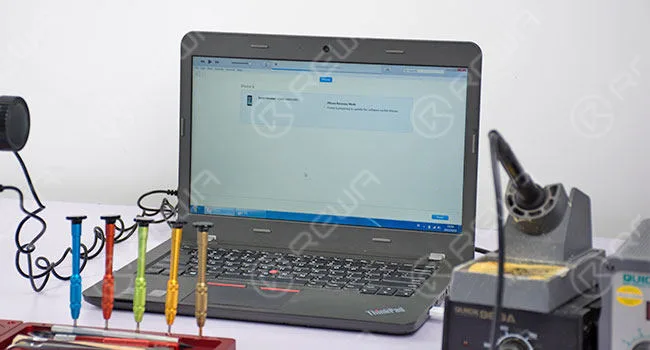
Avez-vous déjà rencontré des problèmes d'erreur 9 sur l'iPhone 6 ? (consultez cet article pour savoir : Que signifient tous ces codes d'erreur iPhone) Il est bien connu une fois que l'erreur 9 de l'iPhone 6 apparaît lors d'une mise à jour du micrologiciel ou d'une restauration du système via iTunes, le fonctionnement normal est perturbé. Et si cela se produit fréquemment, ce sera difficile à gérer. Plusieurs raisons sont attribuées au problème, et les soupçons principaux concernent la Flash NAND erreur comme l'a illustré notre précédent blog iPhone 6 Keeps Restarting? – Fix Error 9 14 40. Cette fois, REWA propose une solution totalement différente concernant la réparation du processeur pour l'erreur 9 de l'iPhone 6, causée par un soudage insuffisant dans le BGA du processeur. À l'aide de notre machine de meulage de puces CNC nouvellement développée, le retrait de la puce peut être sûr et rapide sans endommager la carte mère et les puces voisines. Si vous avez des avis et des solutions différents, veuillez laisser un commentaire ci-dessous. Réparation du processeur pour l'erreur 9 de l'iPhone 6 sans reballage BGA 1. Démontage du téléphone Le téléphone est bloqué en mode de récupération lors de la tentative de démarrage. Connectez-le à un ordinateur et lancez la restauration du système via iTunes.
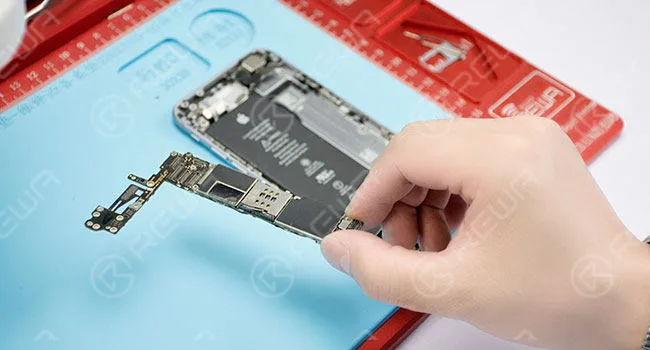
L'erreur 9 apparaît. Démontez le téléphone et sortez la carte mère. Retirez une partie de la plaque de blindage avec une pince coupante.
2. Diagnostic de panne
La valeur de résistance de terre des résistances R0317 et R0316 en mode diode est anormale (480 en circonstances normales). Les résistances R0317 et R0316 sont connectées directement aux broches AP31-SDA et AR31-SCL du processeur.
3. Réparation des dysfonctionnements
Retirez le blindage de la CPU avec un pistolet à air chaud. Placez ensuite la carte mère sur la position correspondante du moule CNC et fixez-la solidement. Chargez le programme de meulage de la puce de la carte mère correspondant à l'iPhone 6 et lancez le meulage.
Une fois terminé, retirez la carte logique et utilisez un couteau à sculpter pour gratter délicatement jusqu'à ce que le circuit de la sous-couche du CPU apparaisse. Ensuite, nettoyez avec un nettoyeur de PCB.
Appliquez un masque de soudure durcissable aux UV sur la zone exposée, à l'exception des deux plages de liaison (SDA, SCL). Une fois cela fait, placez la carte logique sous la lampe de séchage UV pendant 10 minutes, puis retirez la carte logique.
Étamez les deux pastilles de liaison avec un fer à souder. Ensuite, soudez le fil de cuivre de 0,02 mm respectivement sur les deux pastilles de liaison. Les deux fils soudés se connectent respectivement à la pastille SDA correspondante de R0317 et à la pastille SCL correspondante de R0317.
La valeur de résistance de terre d'essai de R0317, R0316 avec le mode diode à nouveau - Valeur normale cette fois.
4. Test des téléphones
Assemblez le téléphone et restaurez-le via iTunes. Ensuite, activez le téléphone et testez, dysfonctionnement réparé.
Une fois le test terminé, retirez la carte logique. Appliquez ensuite à nouveau un masque de soudure durcissable aux UV sur l'endroit soudé. Placez la carte logique sous la lampe de séchage UV pendant 10 minutes.
Assemblez le téléphone et testez à nouveau, tout fonctionne normalement.
Pour plus de détails sur le guide de réparation du processeur de l'erreur 9 de l'iPhone 6, veuillez consulter la chaîne YouTube de REWA.
-
How To Fix No Service On iPhone 6
Have you came through “no service” on your iPhone 5/5S, iPhone 6/6Plus, iPhone 6S/6S Plus, iPhone 7/7 Plus? What does it mean when your iphone says no service? it means you can’t use it for the basic things, such as texting, calling, and using mobile data. You won’t be able to use the mobile internet until you get rid of the error. The same thing goes for messages and calls. The issue will appear in the areas with no network coverage, or in the areas where network coverage is poor when you can also see a message “searching for service”.
There are external and internal causes for ‘no service’ problem, which means no one-size-fits-all solution. REWA here presents you a professional iPhone 6 no service solution video and steps with pictures that deals with hardware failure with the help of our newly developed maintenance drawing.
How to fix no service on iPhone 6:
1. Turn on the phone, searching for the signal – no service. Spread out the dialer board, enter ‘*#06#’ for IMEI code – no results. We can draw the preliminary cause as signal failure.
2. Go to Settings – General – About, IMEI code displays right, SIM card readable, and Modem Firmware functions normally.
3. Disassemble the phone, detach phone battery, take down the LCD screen assembly, then take out the motherboard.
4. Remove the shield plate on motherboard with cutting nipper(Hot air gun is not recommended here because the shield plate is hard to remove and high temperature might cause damage to components nearby). Attach motherboard to PCB holder.
5. Apply some BGA paste flux to the baseband CPU, blow it with hot air gun at 300 degrees centigrade. After a while, take down the baseband CPU.
6. Nettoyez les boîtiers sur le pad de soudure avec le fer à souder, puis trempez un peu de flux avec de la tresse à dessouder pour un nettoyage secondaire. Ensuite, nettoyez-le à nouveau avec un nettoyant pour circuits imprimés.
7. Déployer le schéma de maintenance pour référence. Signaler la broche U1 Y1 comme défaillance du signal de données. Tester la broche U1 Y1 du processeur de bande de base avec un multimètre numérique, aucune résistance. Nous pouvons conclure que la broche est déconnectée.
8. Grattez le vernis isolant du circuit de la broche U1 Y1, soudez les étain sur le circuit avec un fer à souder pour soudure de câble. Ensuite, alignez un fil de cuivre étamé d'un diamètre de 0,02 millimètre sur le circuit exposé avec un fer à souder. Nettoyez-le avec un nettoyant pour circuits imprimés.
9. Apply some UV curable solder mask to the aligned copper wire, then put it under the UV dryer lamp for 10 minutes.
10. Apply some rosin with soldering iron for cleaning, PCB cleaner afterwards. Once finished,reball the baseband CPU with BGA reballing stencil.
11. Appliquez de la pâte à souder avec un grattoir BGA et étalez-la uniformément au bon endroit. Soufflez-la avec un pistolet à air chaud pour la formation, retirez-la et soufflez-la à nouveau avec un pistolet à air chaud.
12. Apply some BGA paste flux to the bonding pad, align the CPU to the right place, blow it with hot air gun at 280 degrees centigrade.
13. Once the motherboard is cooling enough, clean it with PCB cleaner. Afterwards, install the motherboard to the phone and test – IMEI code functions well.
-
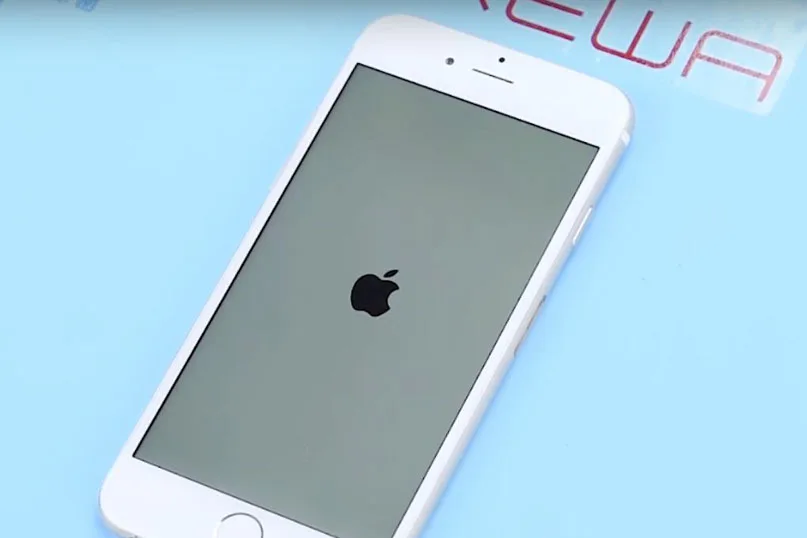
L'iPhone 6 ne cesse de redémarrer ? - Corriger l'erreur 9 14 40
De plus en plus de personnes signalent que leur iPhone est bloqué dans une boucle de redémarrage. Le téléphone redémarre continuellement et devient totalement inutilisable, le logo Apple apparaît et disparaît, encore et encore.
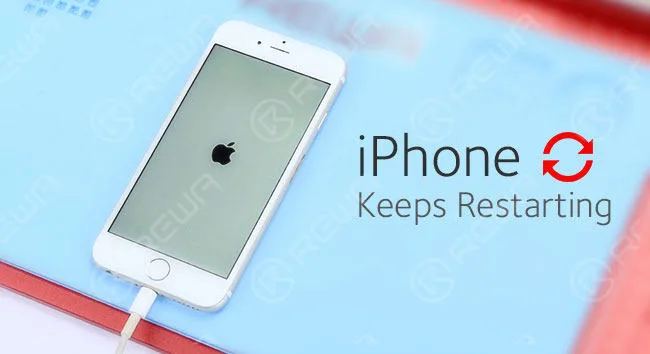
Votre téléphone rencontre-t-il parfois ce problème courant qui vous rend fou ? Lisez maintenant notre article pour obtenir quelques conseils pratiques pour résoudre ce problème en réparant la carte mère. 1. Démontez l'écran LCD
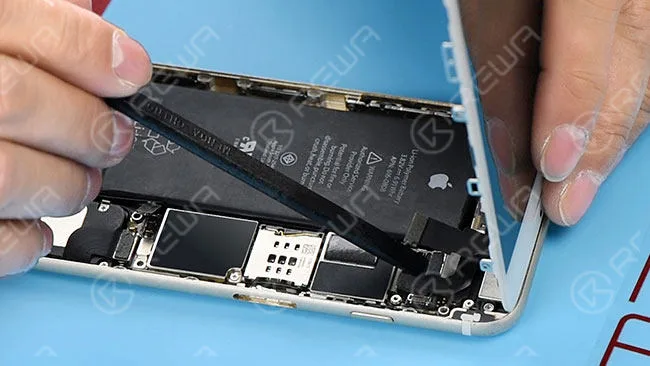
2. Testez la tension de la batterie à l'aide d'un multimètre numérique. La tension de la batterie est de 4,21 V, la tension du signal de test de la batterie est de 2,02 V. La batterie est normale, nous installons donc l'écran LCD pour vérifier d'autres dysfonctionnements.
3. Détection des défaillances : connectez le téléphone à l'ordinateur, il n'a pas pu être restauré par iTunes, une erreur inconnue s'est produite (9), ce qui nous permet de conclure que la mémoire flash NAND ou le processeur est fissuré.
4. Détachez la carte mère du téléphone et fixez-la sur le support de carte.
5. Retirer avec précaution la puce flash NAND de la carte mère.
6. Nettoyer le tampon de collage avec le fer à souder , couteau, Flux de pâte BGA , colophane , mèche à souder et le nettoyeur de circuits imprimés.
7. Connecter le programmateur NAND flash à l'ordinateur, transférer les données de l'ancienne NAND flash vers une nouvelle.
8. Nouvelle puce flash NAND BGA rebelle.
9. Installer la nouvelle puce flash NAND sur la carte mère.
10. Installez la carte mère sur le téléphone.
11. Connectez le téléphone à l'ordinateur, il peut être restauré par iTunes avec succès.
12. Testez si cela fonctionne bien.
Conseils :
1. Préparez une nouvelle puce de mémoire flash NAND de 64 Go. 2
. Les erreurs 21, 9, 2009, 4005, 14, 40 indiquent un dysfonctionnement de la mémoire flash NAND ou du processeur. (Pour en savoir plus, lisez notre article intitulé Que signifient tous ces codes d'erreur sur l'iPhone ?)
3. Il se peut que vous deviez réparer le processeur si le téléphone continue à redémarrer après le remplacement de la puce flash NAND.
Outils utilisés : Programmeur Flash NAND 64 bits Plateforme de réparation de téléphones portables Multimètre numérique Station de fer à souder Pistolet à air chaud Support de circuits imprimés Tournevis Pince à épiler Si vous souhaitez en savoir plus sur ces outils, vous pouvez consulter nos magasin en ligne . Le prix de chaque produit est affiché, ainsi que les frais d'expédition. Si vous avez des questions lors de vos achats, n'hésitez pas à nous contacter. service@rewa.tech.
 English
 Español
 Français
 Deutsch
 Italiano