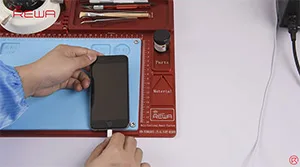
iTunes Error 9 often appears when processing firmware update or system restores by iTunes. Several reasons are attributed towards the problem, and we have already posted a solution for iPhone error 9 fixes related to the NAND Flash error before. Here this video shows a different solution regarding iPhone 6 error 9 without removing CPU. With the help of our newly developed CNC chip grinding machine, this job can be done even safer and quicker without damaging the logic board and nearby chips.
Étiquette : iPhone 6
-
Fix iPhone 6s Overheating Issue – Logic Board Repair Guide
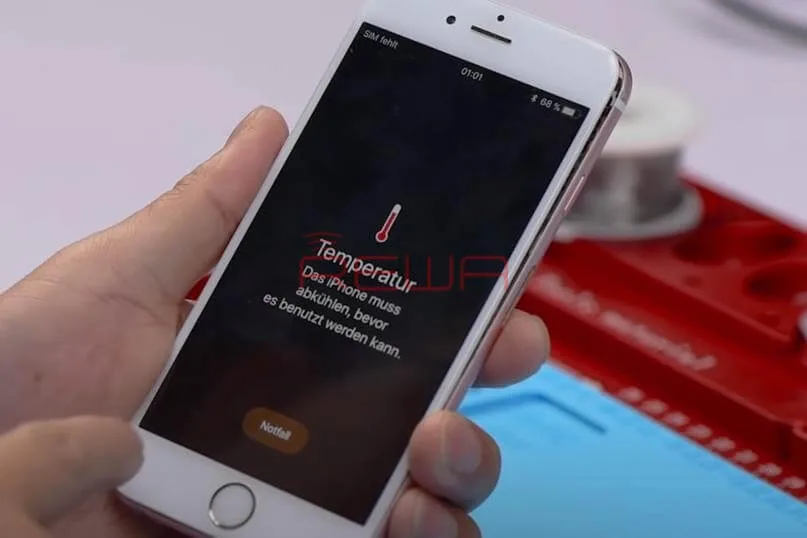
iPhone 6s comes with a high-temperature warning screen after turning on. Usually the problem is caused by excessive running apps. Yet in our repair guide today, we are working with logic board repair. After current detecting and rosin detecting, we can confirm that the problem was caused by damaged capacitors inside the WiFi module. With our repairing experience, we adopt a new repair solution to fix the issue.
Problem Identification:
We got one malfunctioned board from a client. First thing we do is to get the logic board mounted on the phone. Then buckle the display assembly and power on. The phone turns on with normal display.
Yet, with the phone running for 3 minutes, the screen suddenly dims. And a high temperature warning screen appears. The phone then goes with black screen.
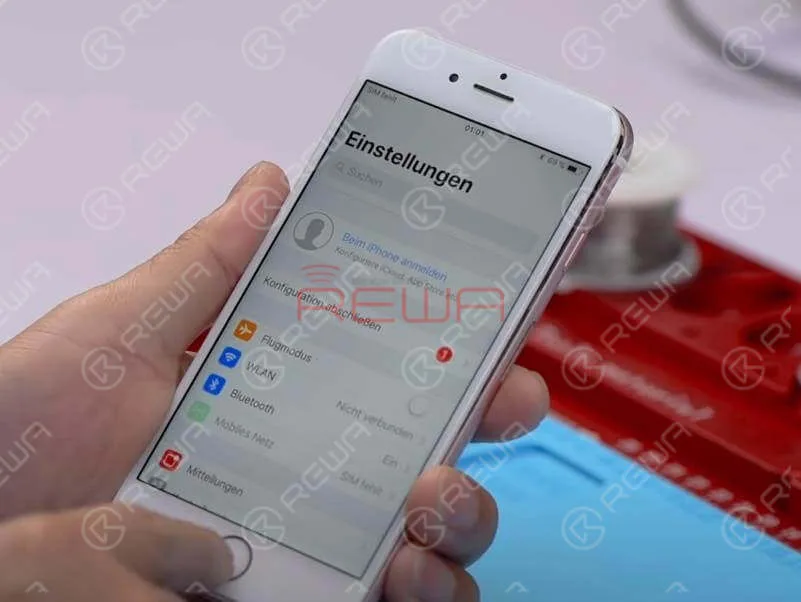
Analyse
Disconnect the battery. Connect the logic board with DC Power Supply and power on. Current reading on the ammeter is abnormal and the phone keeps restarting.
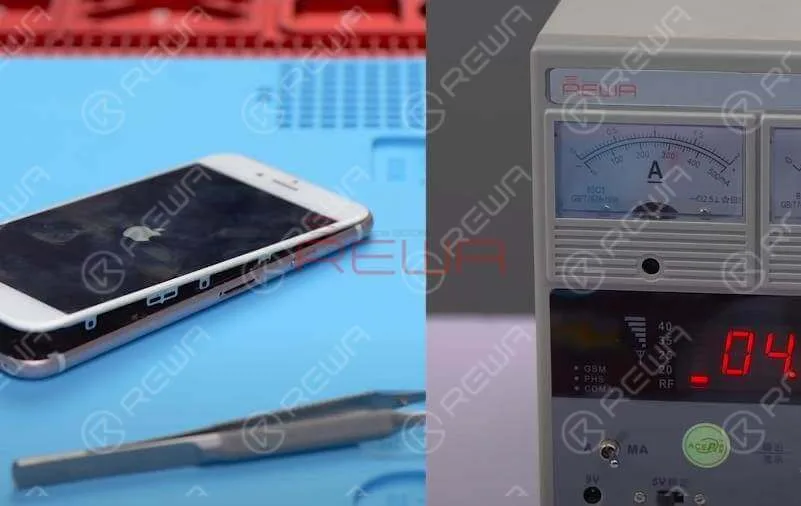
Pre-judgment: abnormal boot current causes the logic board burning issue which results in high temperature warning screen on the phone.
Diagnosis Process:
Remove the display assembly and take out the logic board. Touch the logic board with the spare hand. A sensation of burning can be experienced on area from the power chip to WiFi module. So we can confirm the possible fault area now.
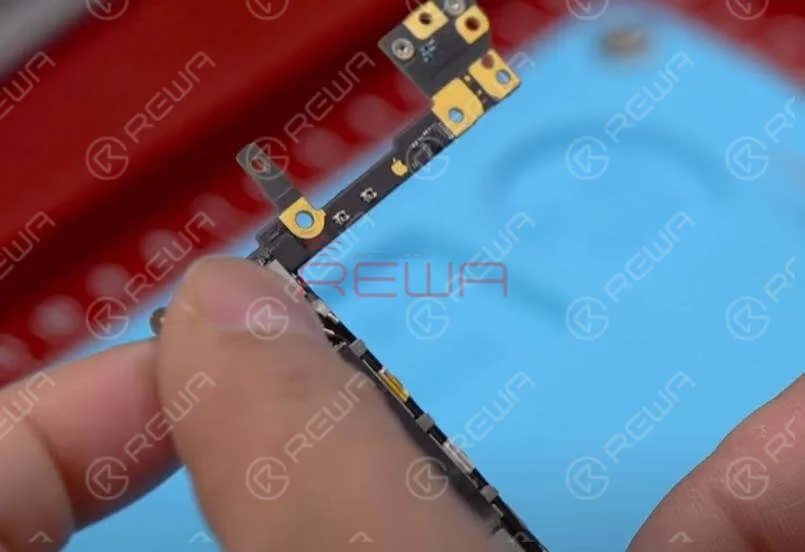
Since some components are located under shielding cover, we need to remove the shielding cover with Hot Air Gun first. Then we need to confirm the specific fault position with ‘rosin detecting’. Use Soldering Iron to smoke rosin on components of the burning area. Make sure all associated components are covered with white smoke.
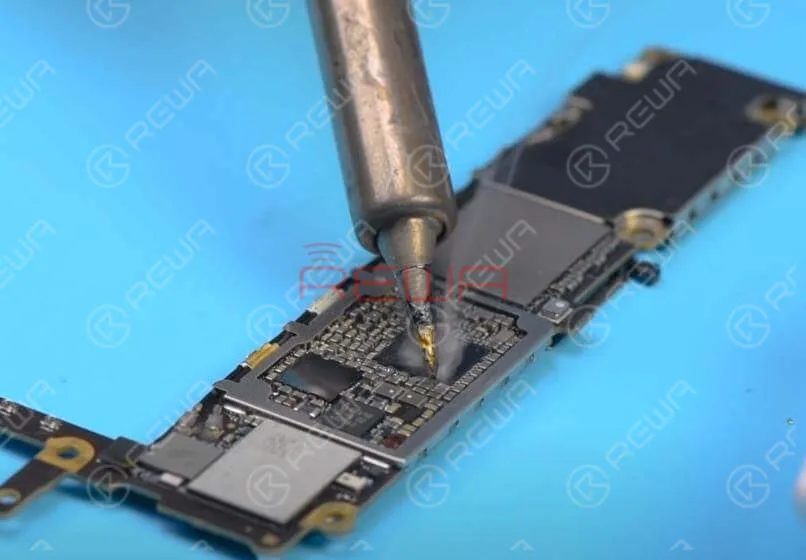
Conseils : Since the phone keeps restarting as powered on with power button, we can turn on the phone by battery triggering.15s later, rosin on the WiFi module starts to melt. We can confirm the fault component as WiFi module.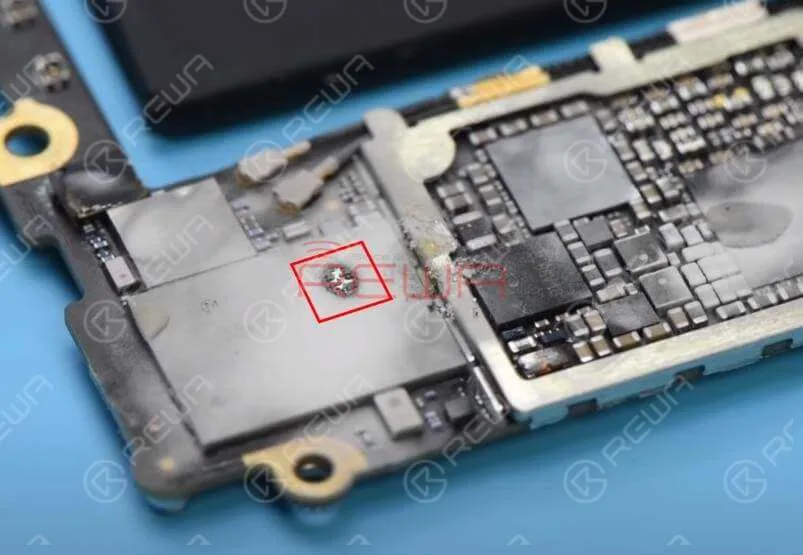
Dépannage
Burning issue of components inside the WiFi module can be related to capacitors inside the WiFi module or chips inside the WiFi module. Traditional repairing method is to replace the WiFi module and detach the NAND flash chip from the logic board. Then have the WiFi unbound.
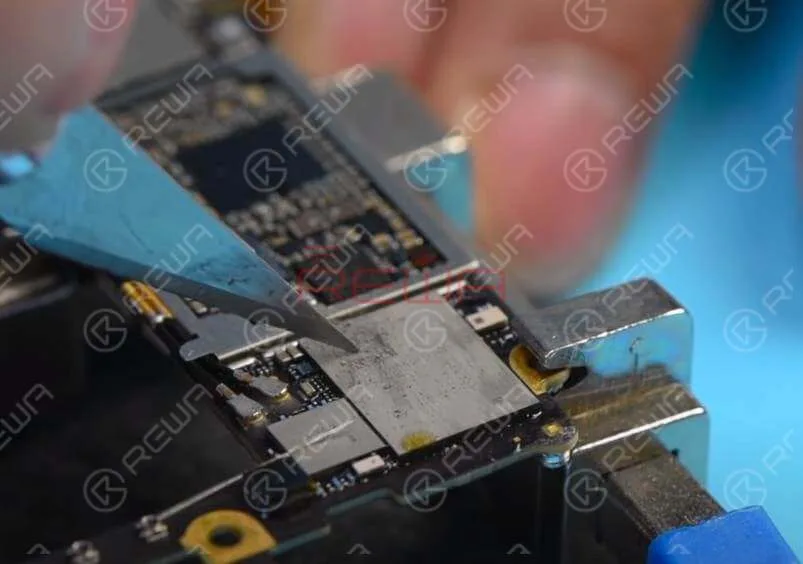
Based on repairing experience, two capacitors are located right under the rosin melted position. The fault was caused by the two capacitors. We will adopt a new repair solution today. Confirm the rosin melted position on surface of the WiFi module at first. Then scrape off the specific surface and heat with Hot Air Gun at 330℃ for 5s. Pry up the capacitors with sculpture knife.
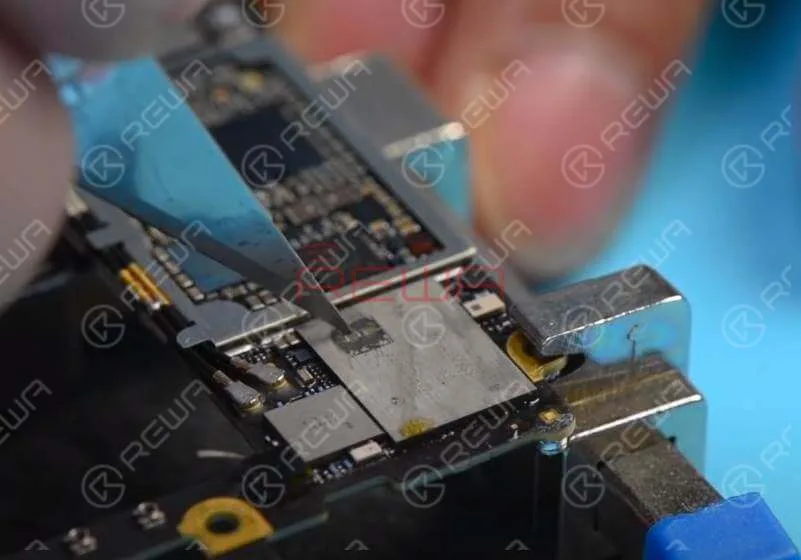
Once done, stick high temperature adhesive tape on the WiFi module for insulation.
Remontage et test
Get the logic board assembled and buckle the display assembly. Connect the logic board with DC Power Supply to power on. Current reading on the ammeter is normal this time and the phone stops restarting. The logic board also does not burn.
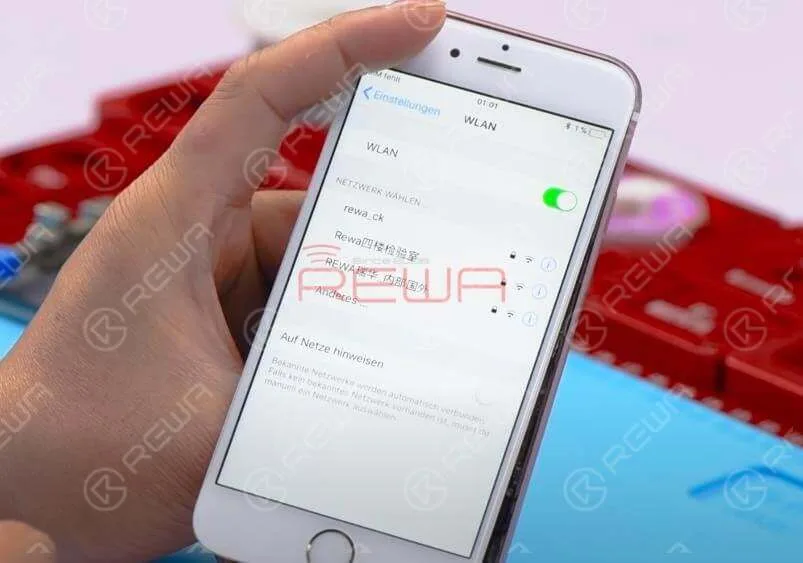
Continue to test WiFi function and all going well. Fault cleared.
Outils utilisés
- Station de retouche à pistolet à air chaud - 990AD
- Plate-forme de réparation intégrée
- Multimètre numérique
- Communication Maintenance Alimentation électrique
- Microscope électronique
Conclusion :
This innovative repair solution provides a cost-effective alternative to replacing the entire WiFi module. By addressing the specific capacitor issue within the module, you can resolve the iPhone 6s overheating problem and prevent further damage to the logic board.
For a detailed visual guide on this repair process, visit the Chaîne YouTube de REWA. Explore our online shop for quality parts and tools to assist you in your device repair endeavors.
-

iPhone 6 Wont Turn On – Water Damage Repair
iPhone water damage is a very common repair case, and it can result in different issues. For case today, iPhone 6 can’t turn on after water damage. We start the repair work from moldy components. As it is often suggested that we should always begin with simple, then complex. However, the problem remains unresolved. Run further measurement and the faulty position is finally confirmed. We can complete the iPhone 6 water damage repair work by replacing faulty components. Let’s check the video to see how to fix iPhone 6 won’t turn on caused by water damage.
-
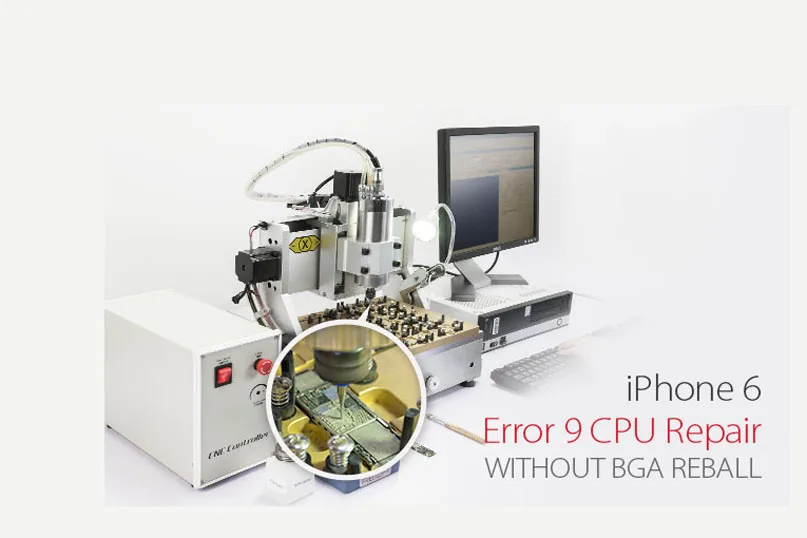
Réparation du processeur iPhone 6 Erreur 9 sans reballage BGA

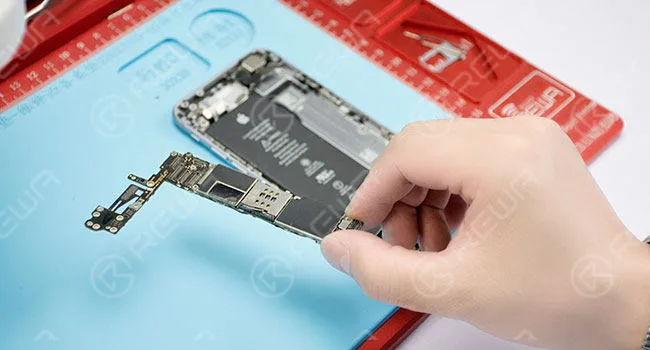
Avez-vous déjà rencontré des problèmes d'erreur 9 sur l'iPhone 6 ? (consultez cet article pour savoir : Que signifient tous ces codes d'erreur iPhone) Il est bien connu une fois que l'erreur 9 de l'iPhone 6 apparaît lors d'une mise à jour du micrologiciel ou d'une restauration du système via iTunes, le fonctionnement normal est perturbé. Et si cela se produit fréquemment, ce sera difficile à gérer. Plusieurs raisons sont attribuées au problème, et les soupçons principaux concernent la Flash NAND erreur comme l'a illustré notre précédent blog iPhone 6 Keeps Restarting? – Fix Error 9 14 40. Cette fois, REWA propose une solution totalement différente concernant la réparation du processeur pour l'erreur 9 de l'iPhone 6, causée par un soudage insuffisant dans le BGA du processeur. À l'aide de notre machine de meulage de puces CNC nouvellement développée, le retrait de la puce peut être sûr et rapide sans endommager la carte mère et les puces voisines. Si vous avez des avis et des solutions différents, veuillez laisser un commentaire ci-dessous. Réparation du processeur pour l'erreur 9 de l'iPhone 6 sans reballage BGA 1. Démontage du téléphone Le téléphone est bloqué en mode de récupération lors de la tentative de démarrage. Connectez-le à un ordinateur et lancez la restauration du système via iTunes.
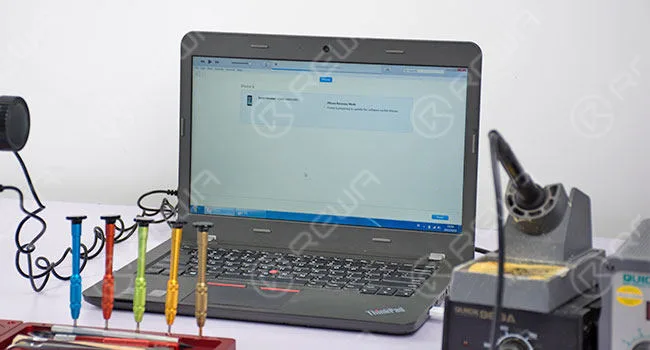
L'erreur 9 apparaît. Démontez le téléphone et sortez la carte mère. Retirez une partie de la plaque de blindage avec une pince coupante.
2. Diagnostic de panne
La valeur de résistance de terre des résistances R0317 et R0316 en mode diode est anormale (480 en circonstances normales). Les résistances R0317 et R0316 sont connectées directement aux broches AP31-SDA et AR31-SCL du processeur.
3. Réparation des dysfonctionnements
Retirez le blindage de la CPU avec un pistolet à air chaud. Placez ensuite la carte mère sur la position correspondante du moule CNC et fixez-la solidement. Chargez le programme de meulage de la puce de la carte mère correspondant à l'iPhone 6 et lancez le meulage.
Une fois terminé, retirez la carte logique et utilisez un couteau à sculpter pour gratter délicatement jusqu'à ce que le circuit de la sous-couche du CPU apparaisse. Ensuite, nettoyez avec un nettoyeur de PCB.
Appliquez un masque de soudure durcissable aux UV sur la zone exposée, à l'exception des deux plages de liaison (SDA, SCL). Une fois cela fait, placez la carte logique sous la lampe de séchage UV pendant 10 minutes, puis retirez la carte logique.
Étamez les deux pastilles de liaison avec un fer à souder. Ensuite, soudez le fil de cuivre de 0,02 mm respectivement sur les deux pastilles de liaison. Les deux fils soudés se connectent respectivement à la pastille SDA correspondante de R0317 et à la pastille SCL correspondante de R0317.
La valeur de résistance de terre d'essai de R0317, R0316 avec le mode diode à nouveau - Valeur normale cette fois.
4. Test des téléphones
Assemblez le téléphone et restaurez-le via iTunes. Ensuite, activez le téléphone et testez, dysfonctionnement réparé.
Une fois le test terminé, retirez la carte logique. Appliquez ensuite à nouveau un masque de soudure durcissable aux UV sur l'endroit soudé. Placez la carte logique sous la lampe de séchage UV pendant 10 minutes.
Assemblez le téléphone et testez à nouveau, tout fonctionne normalement.
Pour plus de détails sur le guide de réparation du processeur de l'erreur 9 de l'iPhone 6, veuillez consulter la chaîne YouTube de REWA.
-
L'iPhone 6 ne cesse de redémarrer ? - Corriger l'erreur 9 14 40
More and more people reported that their iPhone stuck in a restart loop. As we know, the cell phone has been more and more important in our life, we trust our iPhone and they need to work all the time. But When your iPhone keeps restarting and you can’t use your iPhone well, it will be very terrible. So what should you do when your iPhone 6 keeps restarting? We’ll explain what causes your iPhone 6 to keep restarting and how to fix the restarting iPhone problem.
First, you should know why does your iPhone keep restarting?
Usually, there are two categories of iPhone keep restarting:
- iPhones that restart intermittently: You can use your iPhone for a while with no problem at all, and then your iPhone suddenly restarts.
- iPhones stuck in a restart loop: Your iPhone continuously restarts and it’s totally unusable. The Apple logo appears and disappears on the screen, over and over again.
For the first category, you can do the following steps will solve your problem.
1. Sauvegarder votre iPhone
Before we do any troubleshooting at all, make sure your iPhone is backed up. This is a necessary step to protect your personal data.
2. Update Your iPhone’s iOS(if your iOS is the latest version, you don’t need do this step)
iOS updates always contain lots of fixes for software bugs and other problems. Sometimes, a software update fixes the problem that’s causing your iPhone to restart.
3. Reset All Settings and APP
If you installed an app just before your iPhone began restarting, uninstall that app and see if the problem resolves itself. If it’s not this reason, you can try reset all setting.
If the above steps can’t solve your problem, your iPhone may fall into the second category. When you have eliminated the possibility a software issue is causing your iPhone to keep restarting and you have checked for hardware issues on the outside of your iPhone. If your iPhone is still restarting, your iPhone probably needs to be repaired. You need to repair your iPhone, there is a video iPhone 6 Keeps Restarting Repair will teach you how to fix it?
This video show you show how to fix iPhone keeps restarting. The iPhone continuously restarts and became totally unusable, the Apple logo appears and disappear, over and over again. Does your phone ever meet this common problem which drives you crazy? Watch our video to get it fixed now!
The detail steps:
1. Take down the LCD screen assembly
2. Test voltage of the battery with the digital multimeter. Battery voltage is 4.21V, battery test signal voltage is 2.02V. The battery is normal, so we install the LCD screen assembly to check other malfunctions.
3. Failure detection: connect the phone to computer, it could not be restored by iTunes, an unknown error occurred (9), so that we can draw a conclusion that NAND flash or CPU is cracked.
4. Détachez la carte mère du téléphone et fixez-la sur le support de carte.
5. Retirer avec précaution la puce flash NAND de la carte mère.
6. Clean the bonding pad with a soldering iron, knife, BGA paste flux, rosin, solder wick and PCB cleaner.
7. Connect the NAND flash programmer with a computer, transfer the data from the old NAND flash to a new one.
8. Nouvelle puce flash NAND BGA rebelle.
9. Installer la nouvelle puce flash NAND sur la carte mère.
10. Install the motherboard on the phone.
11. Connectez le téléphone à l'ordinateur, il peut être restauré par iTunes avec succès.
12. Testez si cela fonctionne bien.
Conseils :
1. Prepare a new 64GB NAND flash memory chip.
2.Error 21, 9, 2009, 4005, 14, 40 indicate NAND flash or CPU malfunction.
3.You may need to repair the CPU if the phone still keeps restarting after the NAND flash chip is replaced.
Outils utilisés :
- Programmateur de puces de mémoire Nand Flash 64 bits
- Plateforme de réparation de téléphone portable
- Multimètre numérique
- Electric Soldering Iron
- Pistolet à air chaud
- Support de carte de circuit imprimé
- Tournevis
- Pince à épiler
-
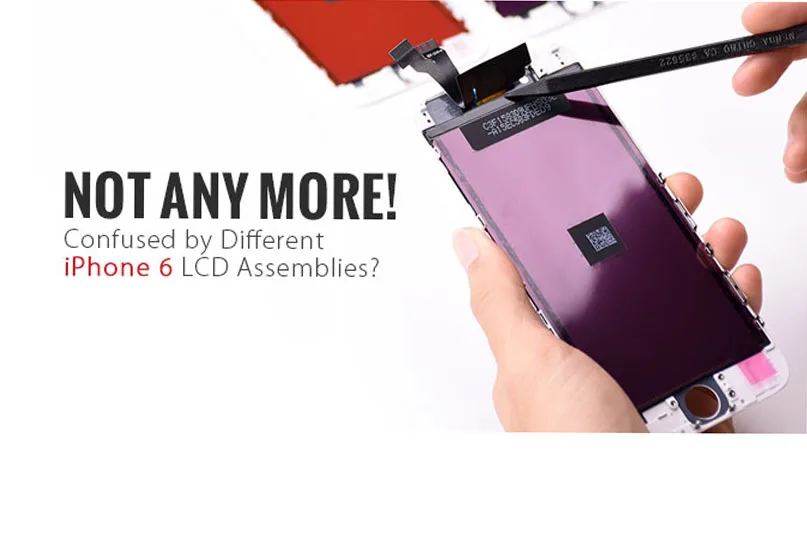
Comment distinguer l'écran LCD de l'iPhone 6 ?
Vous êtes-vous déjà senti confus par les différentes qualités de Écrans LCD pour iPhone 6 sur le marché et ne savez pas comment choisir celui dont vous avez réellement besoin ou que vos clients souhaitent vraiment ?
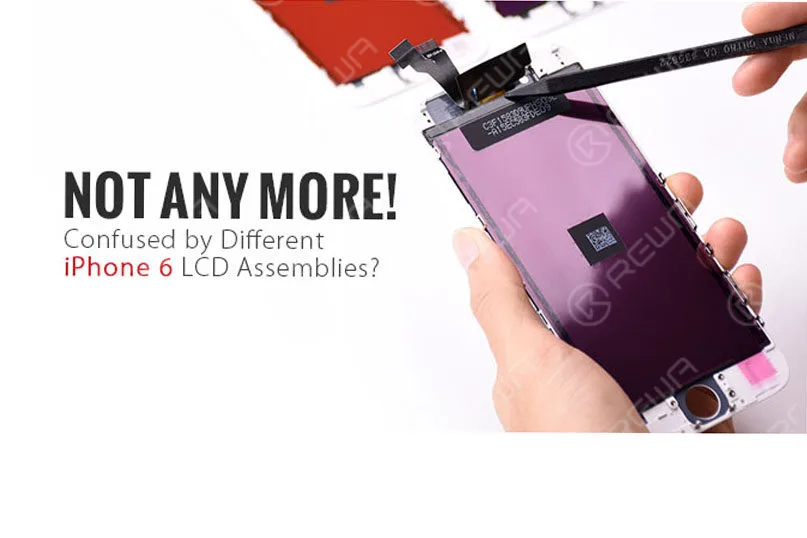
Pour de nombreux distributeurs de pièces d'iPhone ou propriétaires d'entreprises de réparation de téléphones portables, l'une des idées reçues les plus courantes est probablement la véritable signification et compréhension de la définition des écrans LCD de grade AAA et des écrans LCD d'origine (OEM).
Alors que de plus en plus d'écrans d'iPhone chinois sont arrivés sur le marché et ont fini par gagner une popularité inattendue, vous disposez ainsi d'un plus grand choix en raison de leurs bonnes performances en matière d'affichage et de stabilité.
Bien sûr, ils obtiennent de meilleurs prix par rapport à ceux des équipementiers.
Si vous avez un peu de doute, pas de panique ! Nous sommes sur le point de vous aider à définir les différences fondamentales des OEM NOUVEAU , Grade AA , Une note (fabriqués respectivement par TIANMA, JDF et LT) Écrans LCD pour iPhone 6.
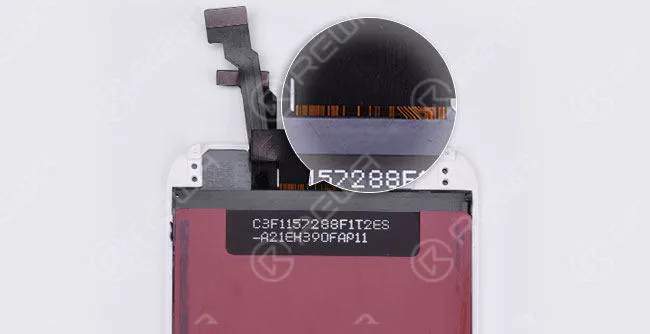
J'espère que vous pourrez les distinguer plus facilement grâce à DISTINCTION DE CÂBLE FLEXIBLE et DIFFÉRENCE DE COULEUR .
DISTINCTION DE CÂBLE FLEXIBLE
OEM NOUVEAU
Les lignes sur un câble flex d'un nouvel écran d'origine sont pour la plupart courbées si l'on regarde attentivement.
Et la couleur de fond est le jaune.
(La lentille en verre est livrée avec un anneau coloré autour de l'anneau de la caméra, le tout d'ORIGINE et NEUF de l'usine OEM)
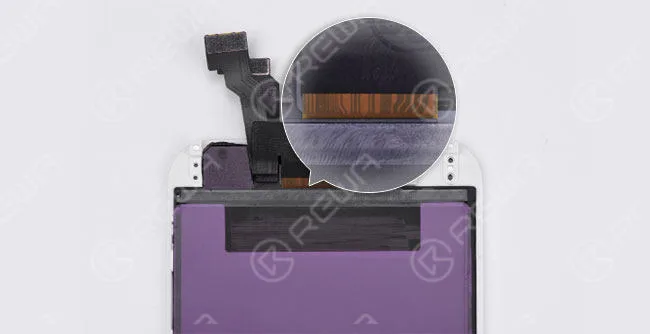
GRADE AA
(Écran LCD d'origine, mais câble flexible LCD compatible ; la lentille en verre, le cadre et les câbles flexibles sont également assemblés par un fabricant tiers)
Les lignes sont presque les mêmes que sur le nouveau câble flexible d'origine (OEM). Mais la couleur de fond est plus lumineuse.
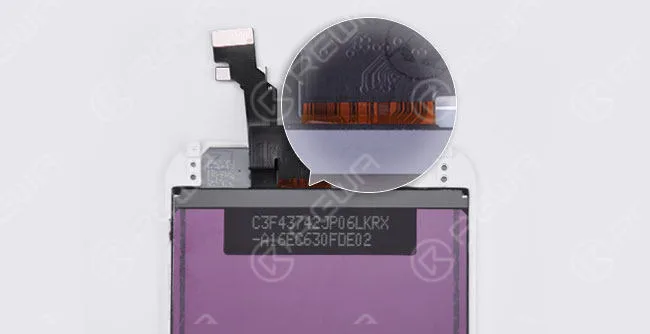
GRADE A (TIANMA)
(Toutes les pièces utilisent des matériaux compatibles et sont assemblées par des fournisseurs d'écrans LCD chinois)
Les deux lignes incurvées sur le côté droit peuvent être considérées comme un signe des écrans TIANMA.
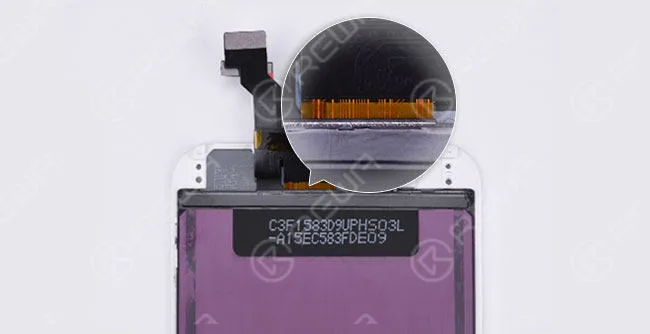
UN GRADE (JDF)
Les courbes symétriques au milieu lui donnent l'aspect d'une “ porte ”. Et il y a également une petite “ porte ” sur le côté droit.
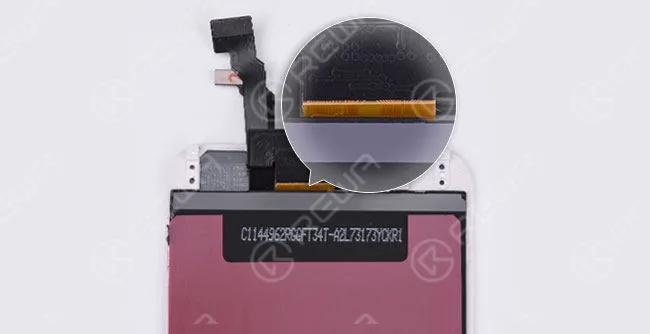
DE PREMIÈRE QUALITÉ
La nappe flexible est plus large que celle d'origine (OEM). De plus, elle présente des lignes jaunes sur fond noir.
DIFFÉRENCE DE COULEUR
Les effets d'affichage des échantillons d'écrans LCD présentés ici sont fournis à titre de référence et peuvent varier selon les lots et les fournisseurs de LCD.
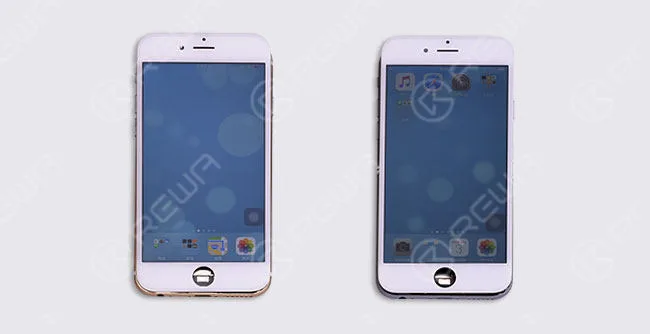
ORIGINAL NEUF Écran LCD d'origine avec nappe compatible
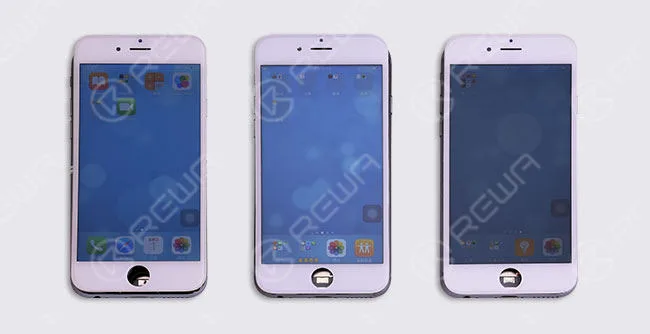
AVIS :
Il y a différentes manières de le dire écran d'iPhone d'origine fabriqué en Chine.
Voici la méthode la plus simple et la plus efficace pour distinguer les différentes qualités d'écrans d'iPhone 6 grâce aux lignes présentes au dos du câble flexible de l'écran LCD.
Maintenant, aimeriez-vous vérifier vos écrans par ici ?
Vous souhaitez commander nos produits ? Veuillez nous contacter :
PRE-SALES Skype : rewatech Email : service@rewa.tech
APRÈS-VENTE Skype : support-rewatech
Courriel : support@rewatechnology.com
 English
 Español
 Français
 Deutsch
 Italiano