Étiquette : dépannage

  • Comment réparer l'iPhone 13 qui ne s'allume pas : Guide de réparation étape par étape

    Comment réparer l'iPhone 13 qui ne s'allume pas : Guide de réparation étape par étape

    There are several reasons why an iPhone 13 may not turn on. In this case, someone purchased a second-hand iPhone 13 that cannot boot and asked us to fix the issue. Many second-hand devices face problems such as failing to boot due to prior drops or exposure to water. This guide will walk you through diagnosing and fixing an iPhone 13 won’t turn on. Whether you are a repair technician or a DIY enthusiast, follow these steps to troubleshoot the problem and revive the device.

    Phénomène de défaut

    The phone owner purchased a second-hand iPhone 13 and found it won’t boot up. This could be due to physical impact or water exposure, but without a clear history, we’ll need to investigate further.

    Dépannage

    Disassemble the iPhone

    Begin by carefully disassembling the phone to access the motherboard. Check for visible signs of damage, particularly water exposure.

    Check for Water Damage
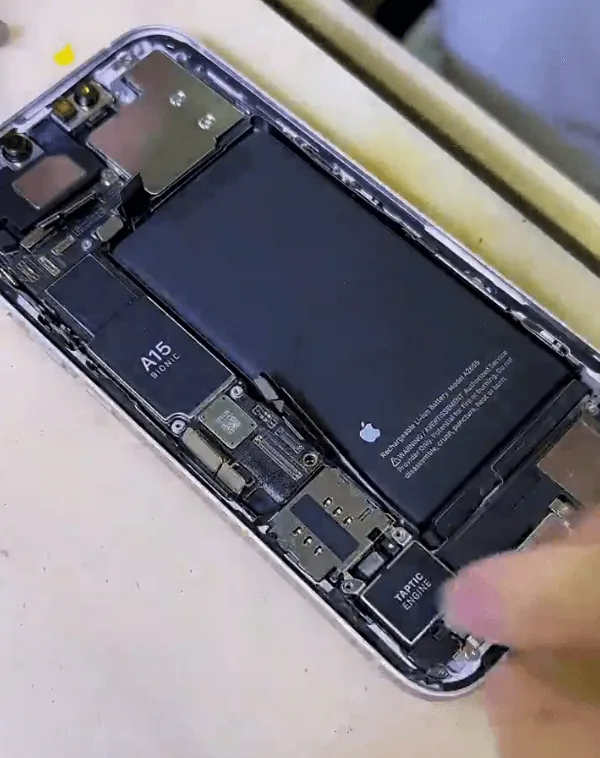
    iphone 13 won't turn on

    Upon inspection, if you see corrosion or residue on the motherboard, water damage is likely the culprit.

    Prepare the Motherboard for Repair
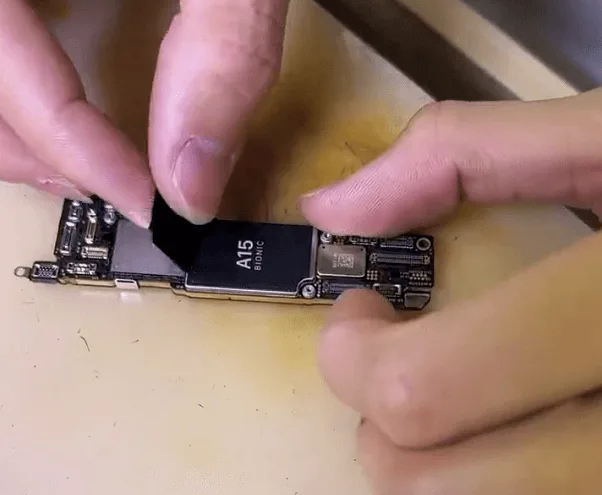
    Remove iphone 13 black protective film

    Remove the black protective film and any foam surrounding the connectors. Store these safely for reassembly.

    Power Test
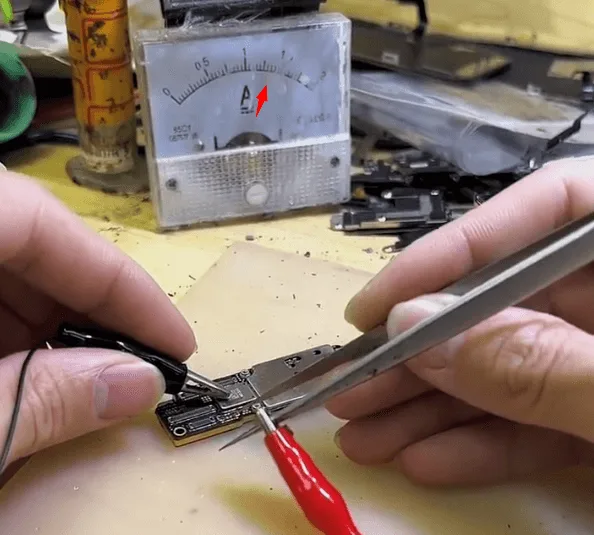
    check motherboard with dc power supply

    Connect the motherboard to a DC power supply to test booting. If you observe an unusually high current and the phone won’t boot, suspect damage to a chip or component on the board.

    Processus de réparation

    Séparer les couches de la carte mère
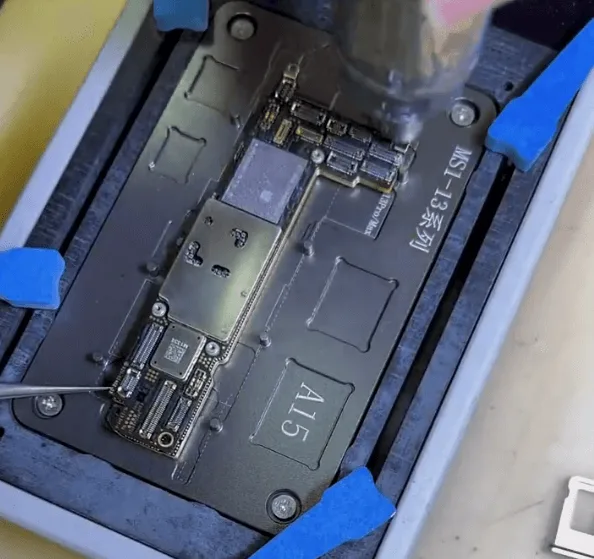
    place motherboard on a heating platform

    Place the motherboard on a heating platform. Use a hot air gun in tandem to evenly heat the board, reducing the risk of poor soldering caused by overheating. This makes the process faster and safer.

    Conseil : Heating with both a hot air gun and a heating platform reduces the chance of causing additional damage to the board due to uneven heat.

    Inspect the Damaged Area
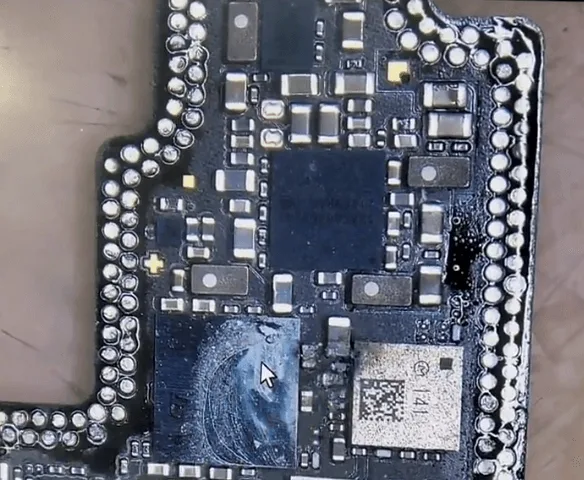
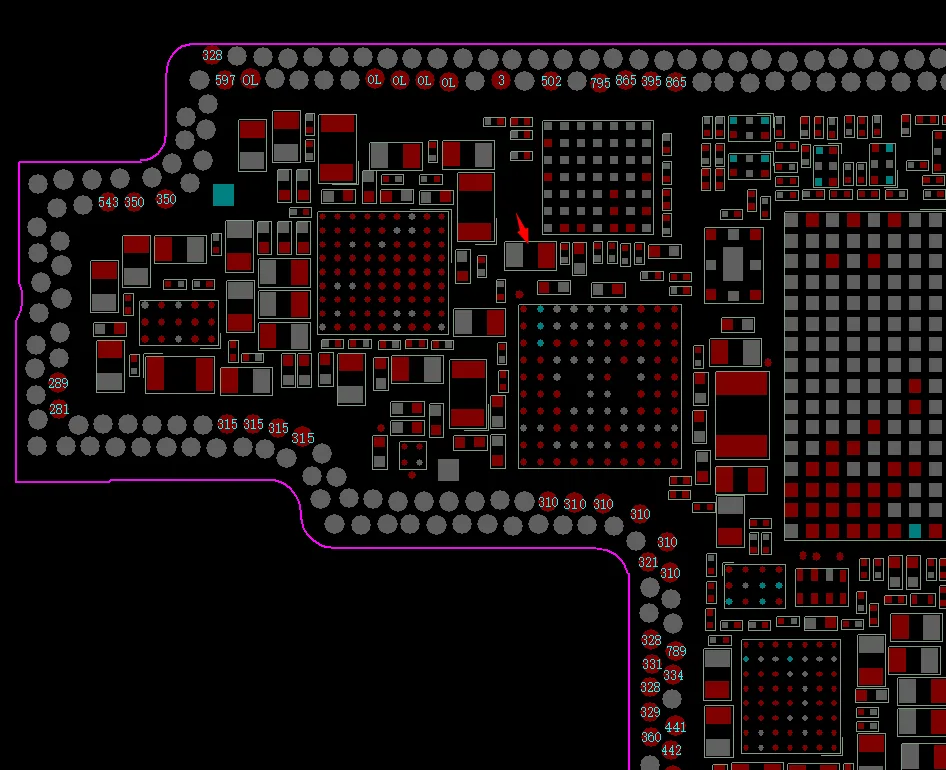
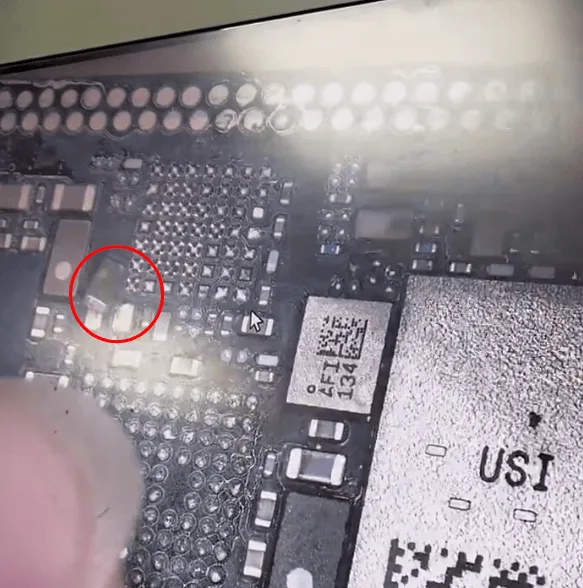
    Once the layers are separated, locate any obvious areas of corrosion. Use a thermal imager connected to the DC power supply to identify damaged components. In this case, a capacitor appears damaged and must be replaced.

    Remove and Resolder Damaged Components
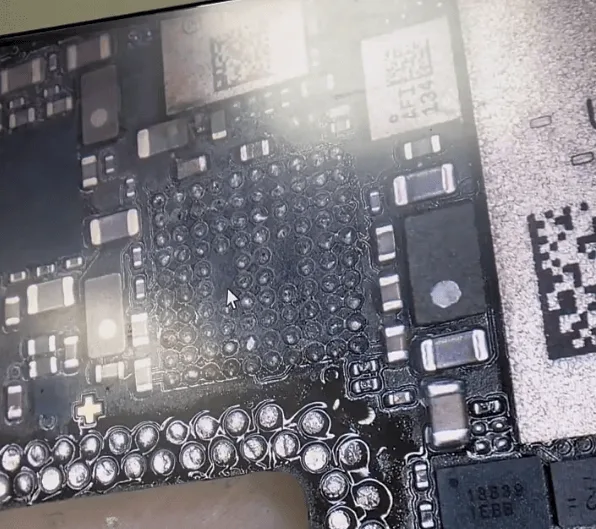
    • Begin by removing the shorted capacitor. Clean the PCB pads with solder wick to prepare for re-soldering.
    • For any corroded chips, reball and resolder them to ensure stable functionality. Apply solder flux for a cleaner, more stable finish.

    Reassemble the Motherboard Layers
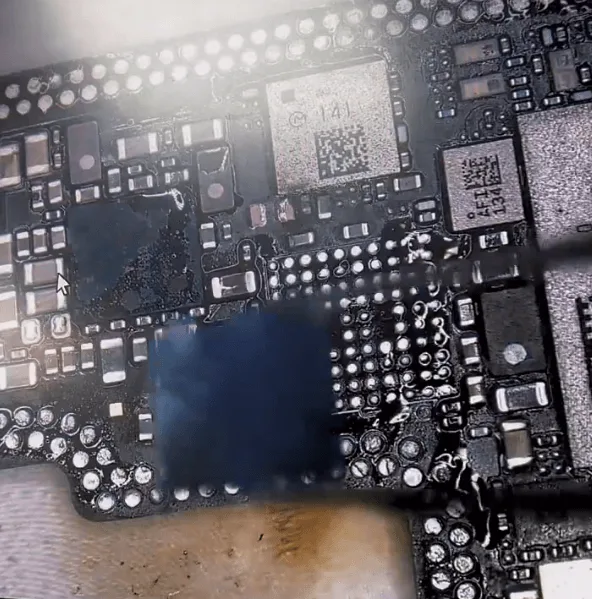
    iphone 13 motherboard repair

    Recombine the two motherboard layers using a stencil and heating platform for accuracy.

    Final Testing and Reassembly
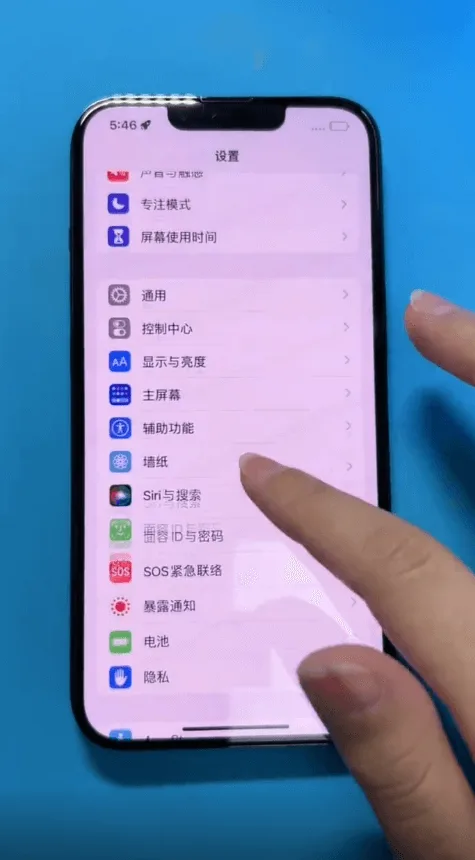
    iPhone 13 Cannot Boot

    Power Test

    • Reconnect the motherboard to the DC power supply. If the current reads normally, the repair is likely successful.

    Reassemble the iPhone

    • Place the black protective film and foam back around the connectors, reassemble the phone, and perform a final test to confirm that all functions work properly.

      Conclusion :

      By following these steps, you’ve successfully diagnosed and repaired an iPhone 13 won’t turn on issue due to water damage. Remember, working with microelectronics requires precision and patience. With the phone booting and functioning normally, you’ve effectively restored its usability, proving that a hands-on approach can often yield a successful repair.
      Outils et liste de pièces

    1. Troubleshooting iOS 15 Upgrade Issues on Apple Devices

      Troubleshooting iOS 15 Upgrade Issues on Apple Devices

      Mise à niveau to the latest iOS version, such as iOS 15, can bring exciting new features and improvements to your Apple mobile device. However, sometimes users encounter issues during the update process. In this guide, we’ll walk you through common problems and their solutions to ensure a smooth iOS 15 upgrade experience.

      1. Update Push Not Received

      Check Device Compatibility

      Before attempting to update to iOS 15, ensure that your device supports this version. Not all older devices may be compatible with the latest iOS updates.

      Remove the Beta Description Files

      If you have previously installed a beta version, go to “Settings” > “General,” tap on “Description Files and Device Management,” and remove the beta description file. Afterward, restart your device and check for updates in “Software Update.”

      2. Insufficient Space

      Clear Storage Space

      A lack of storage space can prevent you from updating your device. iOS will attempt to free up space by removing non-essential files, but it’s crucial to have enough storage to avoid potential data loss.

      To free up space, go to “Settings” > “General” > “[Device Name] Storage” to view and remove unused content and apps. Make sufficient space available for the update.

      3. Slow Download Progress

      Connect to the Internet

      Ensure a stable internet connection while downloading updates. The download speed can vary based on the update size and your network speed. For faster downloads, avoid using the device for other content and use a Wi-Fi network if possible.

      Wait for Installation Prompt

      You can continue using your device while downloading updates, and it will notify you when the installation is ready. Be patient, as the download time depends on the update’s size and the number of files on your device.

      4. Unable to Connect to Update Server or Verify Updates

      Network Issues

      If you encounter messages like “You can’t check the update” or “You cannot install updates,” try the following steps:

      • Attempt the update on the same network again.
      • If issues persist, switch to a different network.
      • Consider updating your device through 3uTools.

      If problems persist across multiple networks, try removing the update and attempting the download and installation again.

      5. Incomplete Mise à jour

      Slow Progress Bar

      During the update installation, the progress bar may move slowly, especially if you have a large number of files on your device. To ensure a smooth update, keep your device connected to a power source during wireless updates.

      Conclusion :

      Mise à niveau to iOS 15 can enhance your Apple device’s performance and functionality, but it’s essential to address any issues that may arise during the process. By following these troubleshooting tips, you can resolve common problems and enjoy the benefits of the latest iOS version without hassle. Ensure your device is compatible, has enough storage space, and maintains a stable internet connection for a successful update experience.

    2. Résolution des problèmes de recharge sans fil de l'iPhone 12

      Résolution des problèmes de recharge sans fil de l'iPhone 12

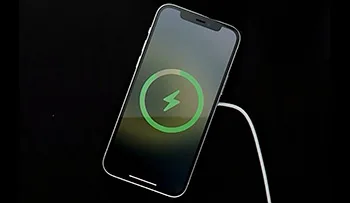
      Vous rencontrez des difficultés avec la charge sans fil sur votre iPhone 12 ? Cet article propose un guide complet pour identifier et résoudre les problèmes fréquents. En suivant ces étapes, vous pourrez retrouver une expérience de charge sans fil optimale.

      Vérifier la compatibilité du chargeur

      • Tous les chargeurs sans fil ne respectent pas les normes unifiées.
      • Des problèmes d'incompatibilité peuvent survenir lors de l'utilisation de chargeurs dotés d'adaptateurs secteur de faible puissance.
      • Il est recommandé d'utiliser l'adaptateur secteur officiel de 12 W d'Apple ou des adaptateurs tiers de haute qualité.

      Supprimer les obstacles

      • Les étuis de protection épais, les étuis en métal ou les étuis avec batterie intégrée peuvent nuire à la charge sans fil.
      • Retirez toutes les coques de protection ou accessoires susceptibles d'affecter le processus de charge.

      Bon placement

      • Un mauvais placement peut entraîner un chargement lent ou un échec de la charge.
      • Assurez-vous que l'iPhone est centré sur le socle de charge, en alignant le logo au dos de l'iPhone avec le centre du chargeur sans fil.
      • Évitez de placer des objets, tels que des ornements métalliques ou des boucles de bague, entre l'iPhone et le chargeur.

      Minimiser les vibrations

      • Des vibrations fréquentes, telles que les alertes de notification, peuvent perturber le processus de charge.
      • Envisagez de désactiver les alertes par vibration, d'activer le mode “ Ne pas déranger ” ou d'utiliser un étui de protection pour minimiser les mouvements.

      Problèmes de surchauffe

      • La surchauffe de l'iPhone ou du chargeur sans fil peut entraîner des pannes de charge.
      • Assurez-vous que ni l'iPhone ni le chargeur ne surchauffent pendant le processus de charge.

      Conclusion :

      Grâce aux étapes de dépannage mentionnées ci-dessus, vous devriez être en mesure de résoudre les problèmes de charge sans fil de votre iPhone 12. En utilisant des chargeurs compatibles, en retirant les obstacles, en plaçant correctement l'appareil, en minimisant les vibrations et en évitant la surchauffe, vous pourrez profiter d'une expérience de charge sans fil fluide.