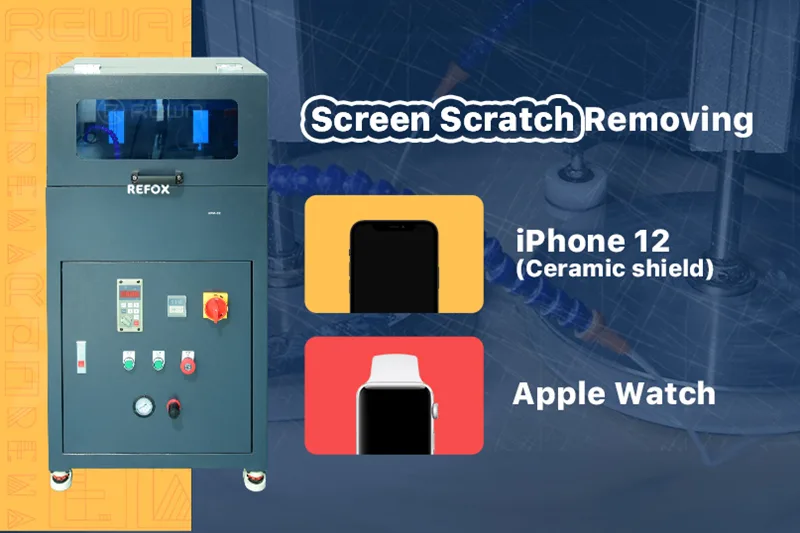
The REFOX Grinding and Polishing Machine, newly selected by REWA, has quickly become a favorite among phone refurbishers and repair technicians worldwide. Its powerful grinding capabilities and impressive efficiency make it the go-to tool for refurbishing devices like the iPhone 12 and Apple Watch. In this guide, we’ll walk you through how to use the REFOX machine to remove scratches and restore your devices to like-new condition.
Testing the Devices
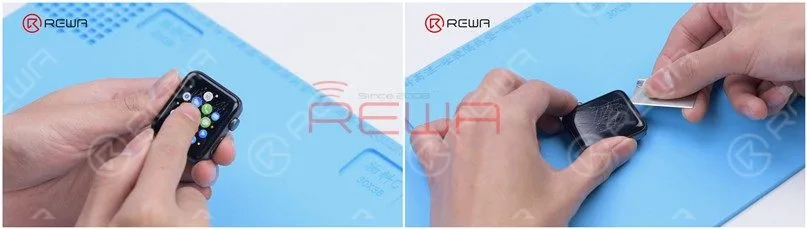
Before starting the refurbishment process, it’s important to test the display and touch functionality of both the iPhone 12 and the Apple Watch.
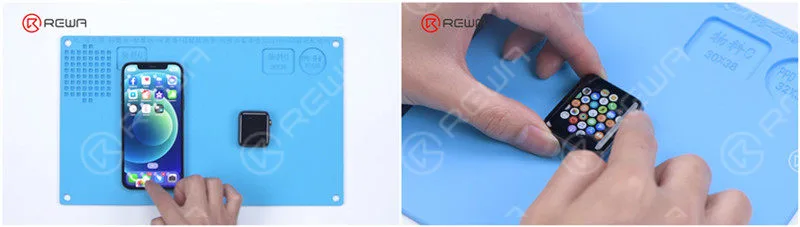
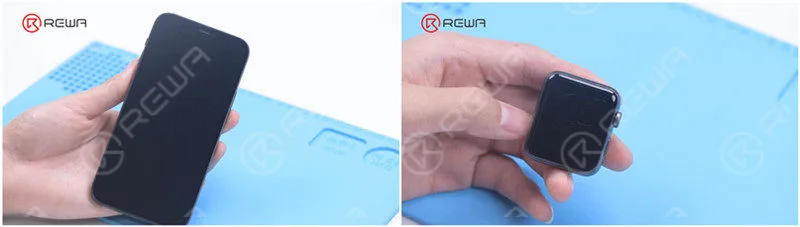
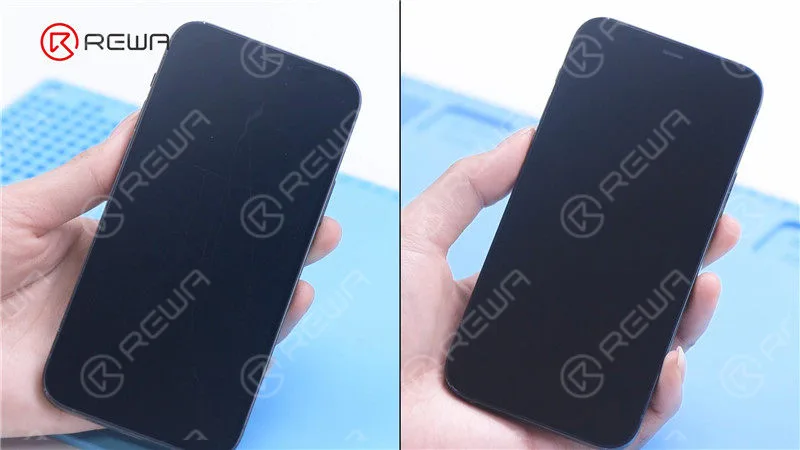
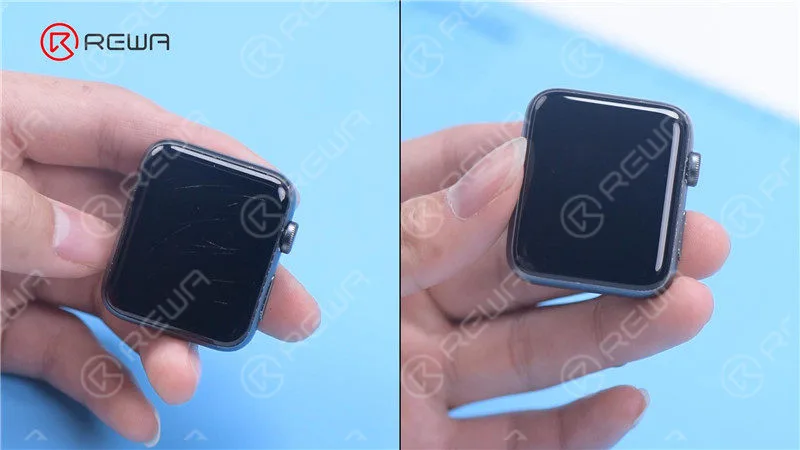
In our case, both devices were functioning properly, despite having obvious surface scratches.
Waterproofing
The first step in refurbishing these devices is waterproofing. This is crucial to avoid water damage during the grinding and polishing process.
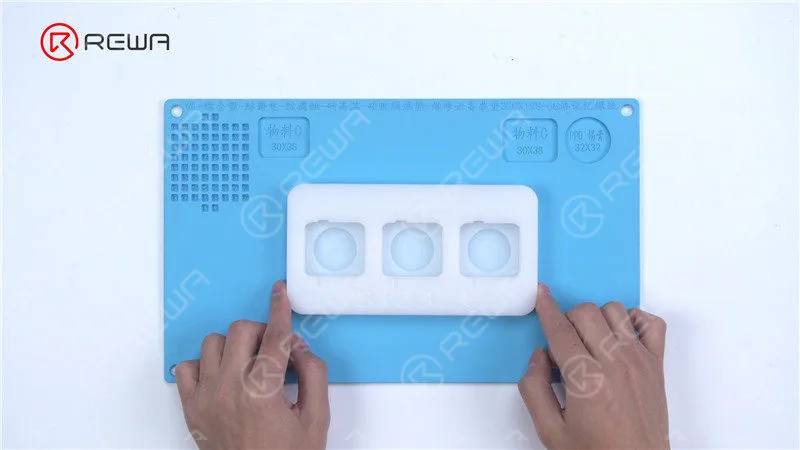
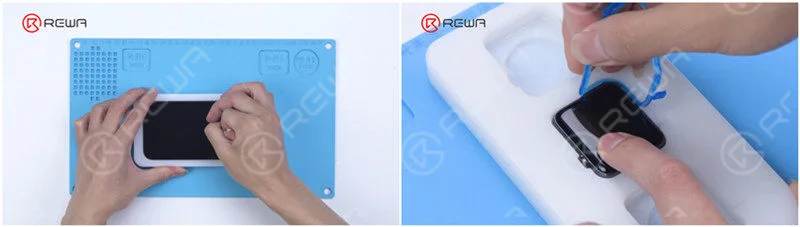
Apple Watch Mold: Use the special mold that can hold three Apple Watches at a time. The phone and watch should be securely placed in their respective molds.
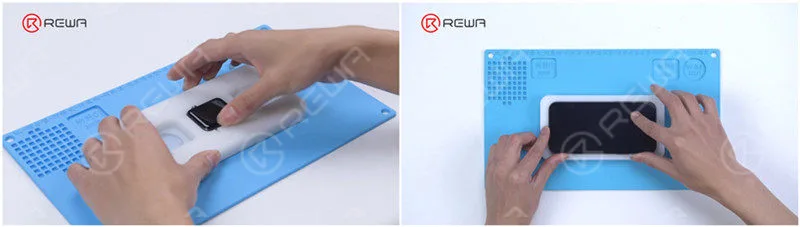
Automatic Adhesive Dispenser: Waterproofing is the most important step for refurbishing electronic devices with the grinding and polishing machine. If waterproofing is not done well, it may lead to water damage to the device. In the last article, our technicians were applying waterproof adhesive manually. To improve refurbishment efficiency and reduce operation difficulty, REWA recommends a fully automatic adhesive dispenser for you.
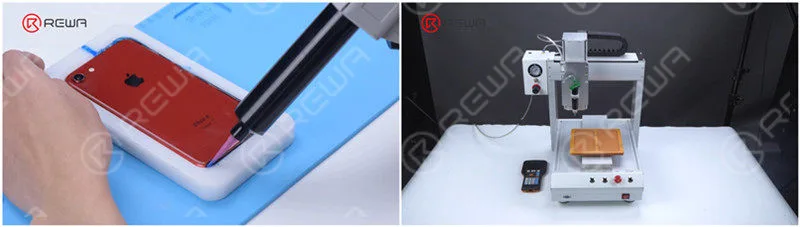
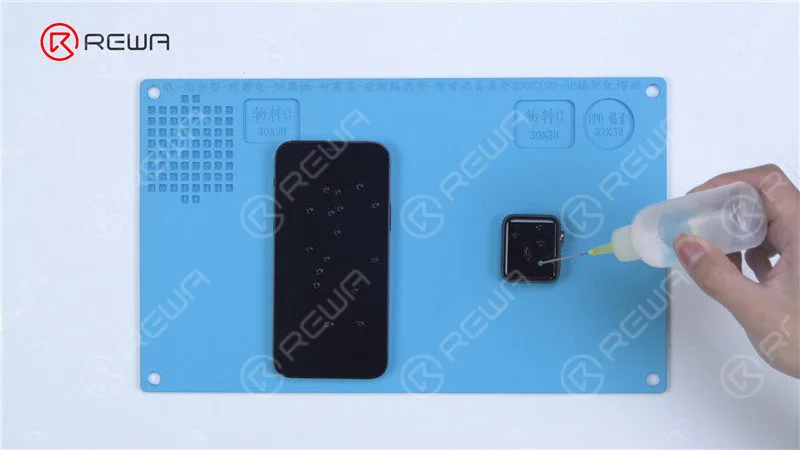
Attach the molds to the platform. The first time you use the dispenser, you need to draw the drawing of the corresponding mobile phone models.
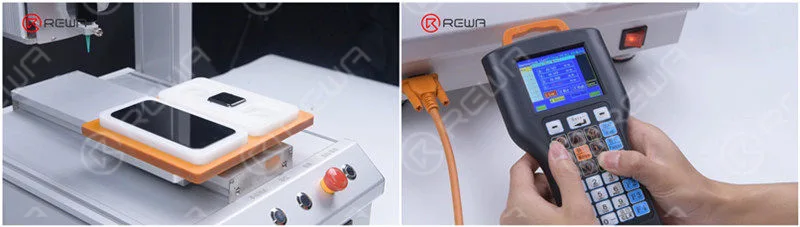
It is convenient that the drawing can be saved for direct usage. Click reset after the drawing has completed. The dispenser returns to the starting point. Then we press the start button and begin dispensing adhesive.
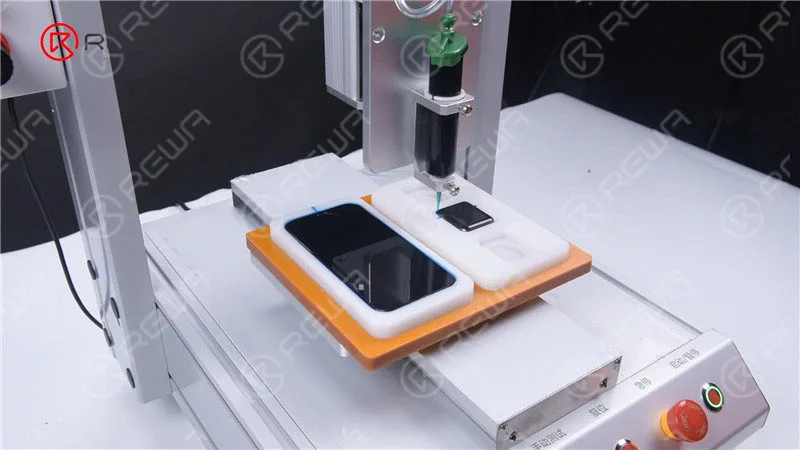
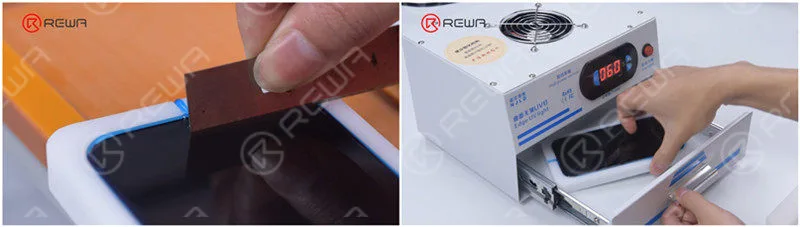
Please scrape the adhesive on the receiver with a blade. After the adhesive has been cured by a UV Lamp, we can put the mold plates into the grinding and polishing machine.
Grinding and Polishing
Now that the devices are waterproofed, it’s time to start the grinding and polishing process:
Since the scratches on the watch and phone are deep, we set the grinding and polishing time for 12 minutes. Press the start and reset button. The machine begins to work
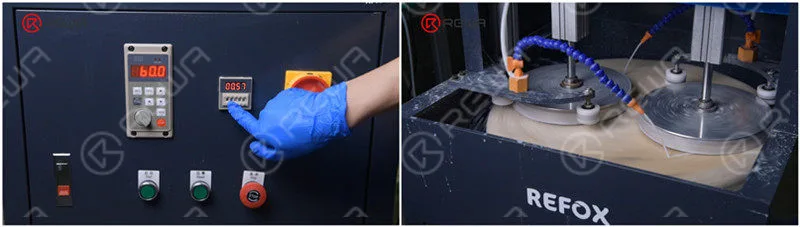
After the first grinding and polishing, the Apple Watch with deep scratches has been refurbished successfully but there are still some small scratches on the iPhone 12.
The scratches are completely gone after the second grinding and polishing. It can be seen that iPhone 12 takes longer to remove the same scratches than other iPhone series.
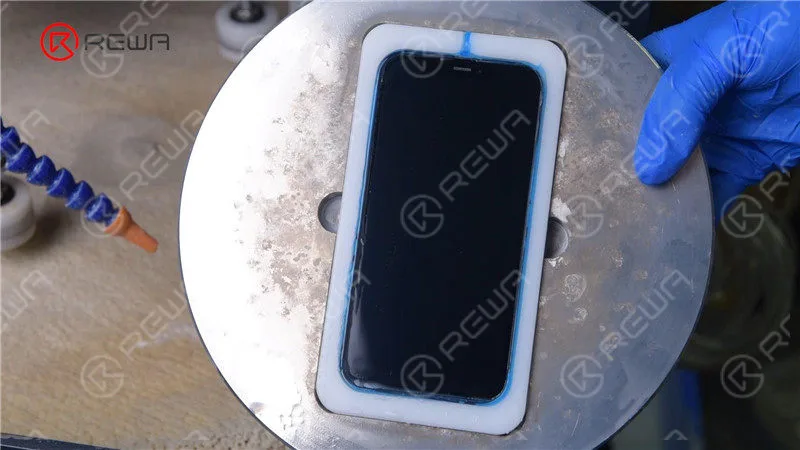
Then we peel off the waterproof adhesive of the phone. Since there are less adhesive on the receiver, we need to apply adhesive again and solidify it to make it fall.
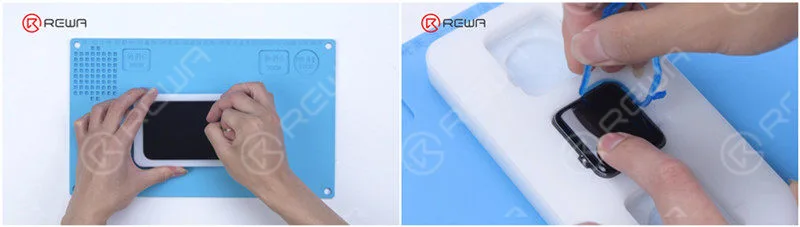
Take out the phone with a suction cup.Remove the waterproof adhesive of the Apple Watch. The scratches are gone.
Essais
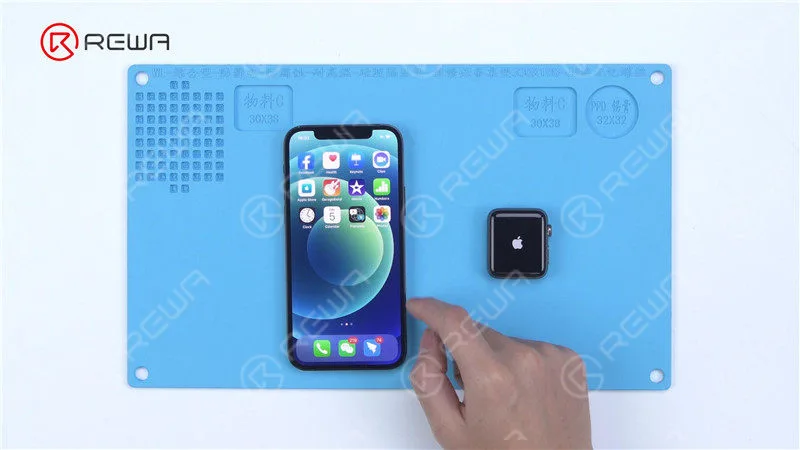
Turn on the phone and watch to test. The watch and the phone work fine.
Effet hydrophobe
Then we add hydrophobic effect to the screen. Coat the screen with Oleophobic Coating and apply evenly. Solidify with a Lampe UV.
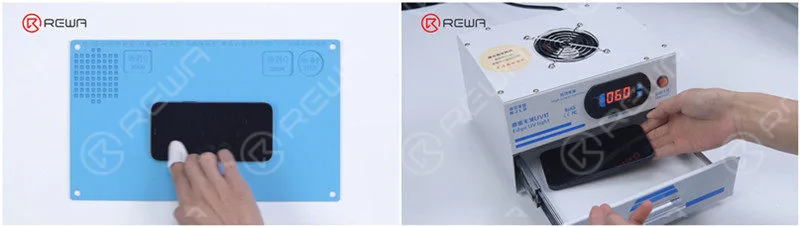
The screen of the watch and phone has now regained the hydrophobic effect.
The iPhone 12 and Apple Watch have been refurbished successfully.
Résumé
The scratches on iPhone 12 have become more difficult to remove than previous models because of the ceramic shield. Nonetheless, the grinding and polishing machine managed to remove the scratches with high efficiency. Furthermore, the machine gave full of its talent by successfully removing scratches on an Apple Watch. Without a doubt, the grinding and polishing machine will be your first choice if you want to carve a place in the refurbishment industry.
To put in more specifically, the old way to refurbish the screen is to replace the front glass, which is not only difficult but also costly. Therefore, the emergence of the polishing and grinding machine can greatly improve the efficiency of refurbishment and reduce the refurbishment cost effectively. Moreover, the operation is relatively simple.
The efficiency of the grinding and polishing machine is of paramount concern. There are currently three kinds of hot-selling grinding and polishing machine. One is the machine from the video that can grind and polish four phones simultaneously. The other two can grind and polish two and eight phones at the same time. You can choose the right model according to your workload. REWA offers a complete screen and back glass refurbishment solution, which includes all tools and supplies. If you need the grinding and polishing machine, you can contact us to learn more about the details.
Watch the full video below to see how we remove iPhone 12 and Apple Watch scratches by grinding and polishing.
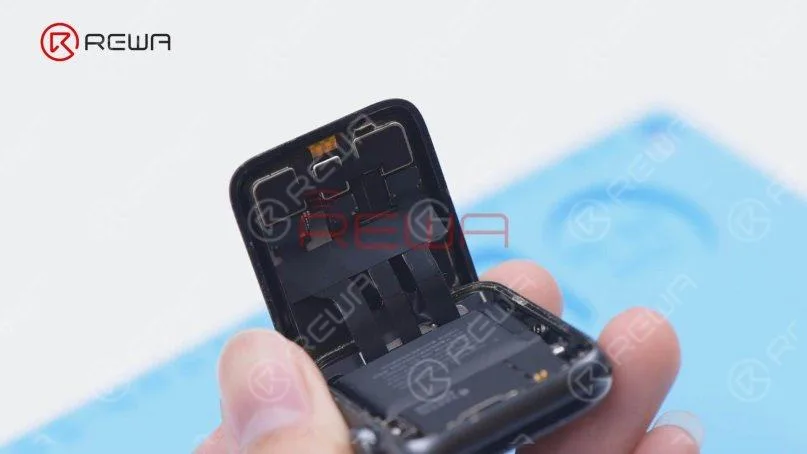
 Soulevez l'écran. Faites attention aux câbles flexibles de l'écran pour éviter de les endommager. On peut voir que trois câbles flexibles sont connectés à la carte mère.
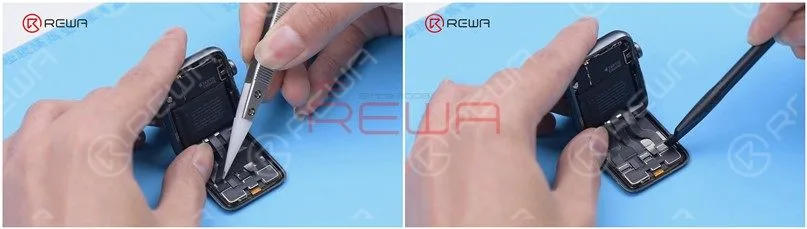
 Décollez le ruban adhésif recouvrant les câbles flexibles de l'écran à l'aide d'une pince à épiler. Ne pas endommager les câbles flexibles en les décollant. Débranchez ensuite les câbles flexibles.
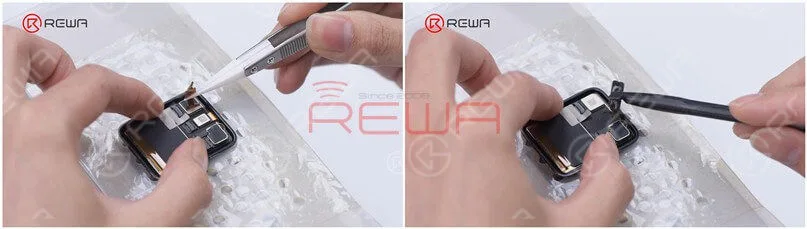
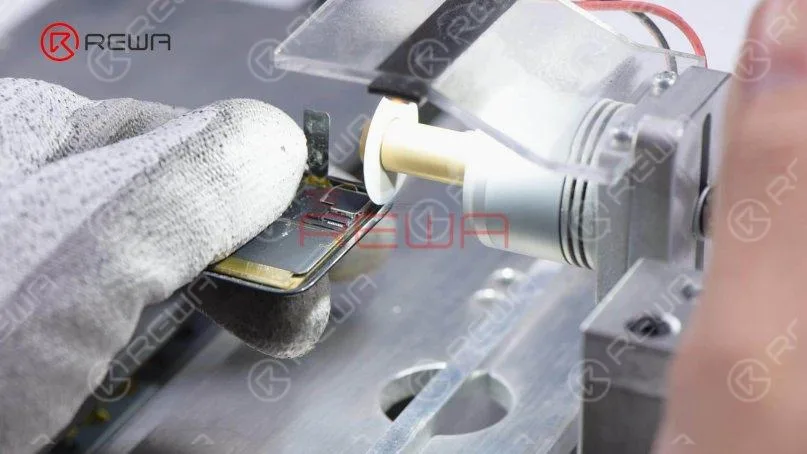 On peut voir qu'un côté du verre a été coupé et que le fond s'est également brisé.
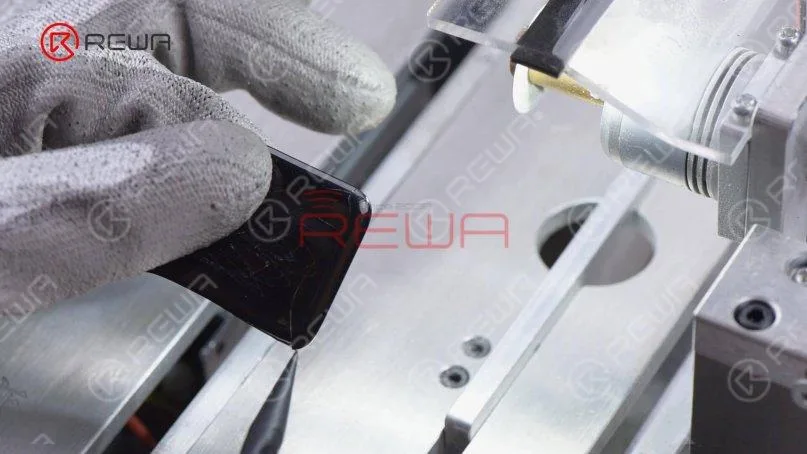 Ensuite, nous coupons l'autre côté. Enfin, nous polissons les coins. Il est intéressant de noter que la difficulté de remplacement sera réduite si le verre est cassé.
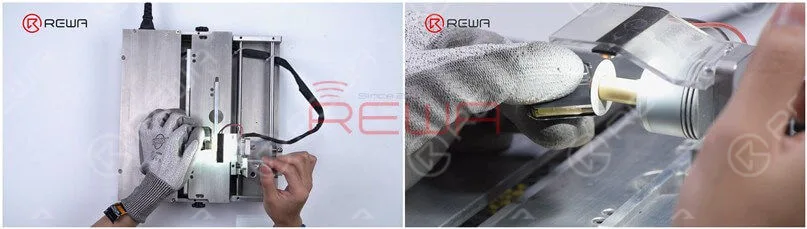
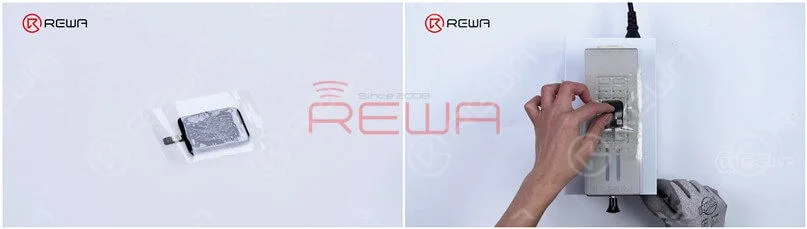 Ensuite, séparez le verre avec
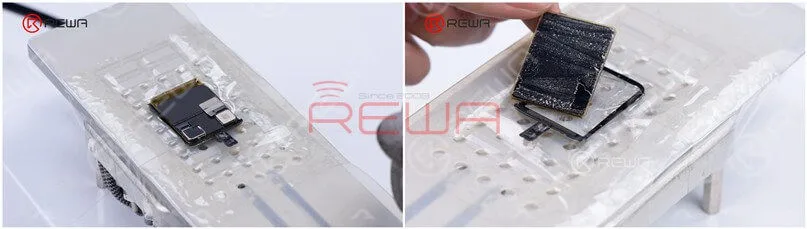
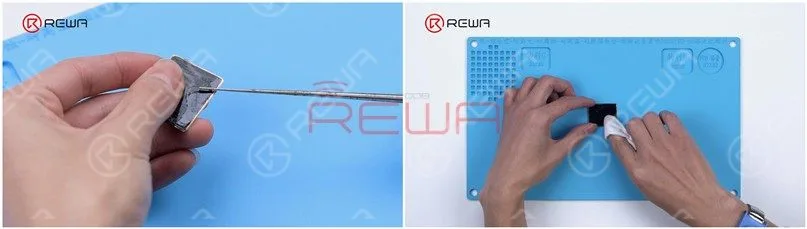 Installez l'OLED pour la tester. Puisque l'écran tactile a été séparé, il suffit de tester la fonction d'affichage. La fonction d'affichage est normale. Nettoyez complètement l'OLED avec du N-hexane.
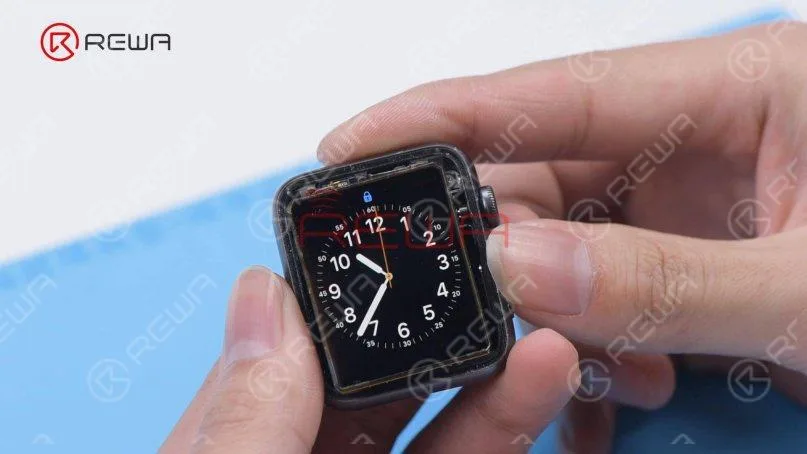
 Retirez l'OLED et placez-la dans l'appareil.
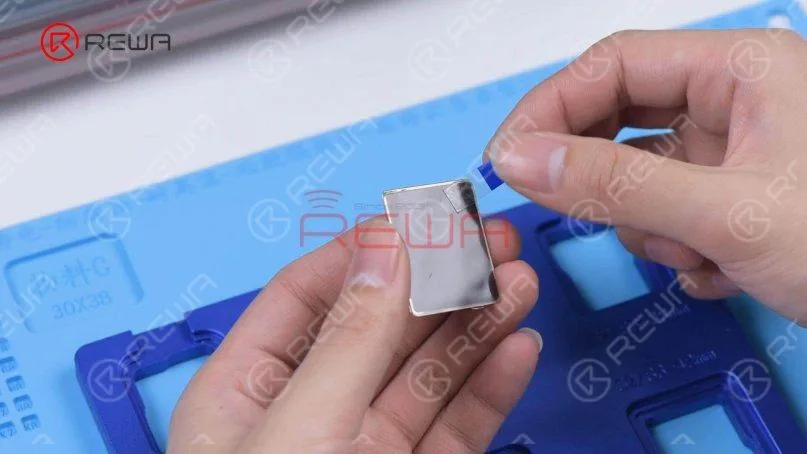
 Collez un coin de l'OLED avec l'Easy Tear Sticker et décollez le film protecteur de l'OCA.
 Fixer l'OLED au moule de plastification. Collez un coin de l
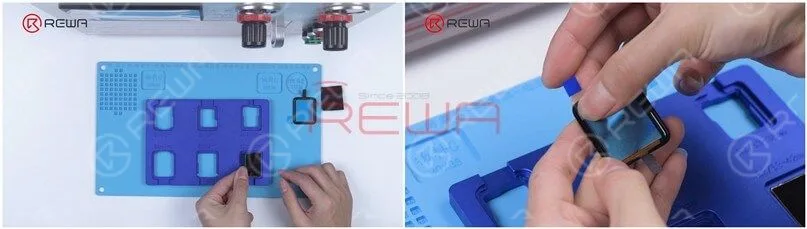 Alignez le numériseur sur l'OLED.
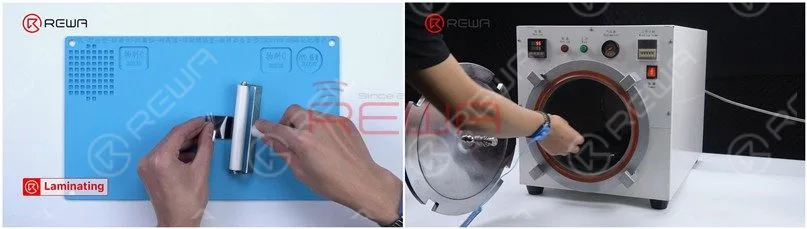
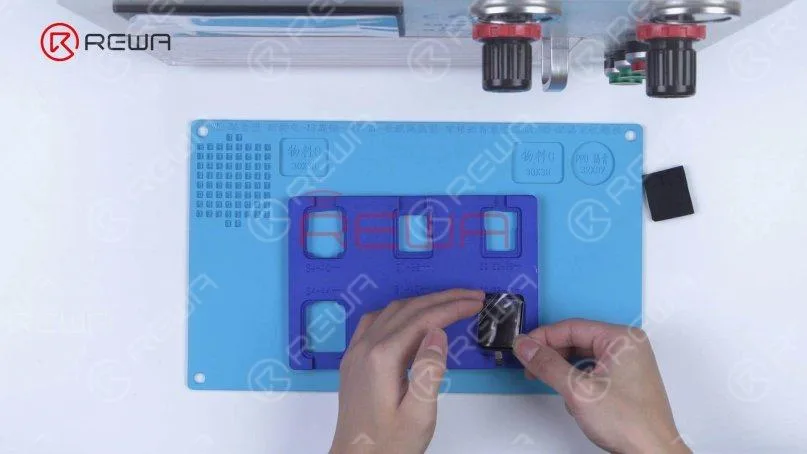 Détachez l'écran et placez-le sur l'éponge de plastification. Placez ensuite l'écran dans le
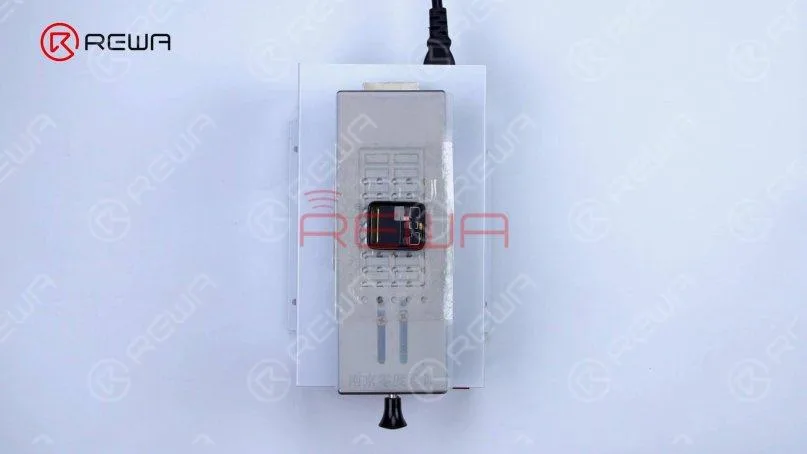
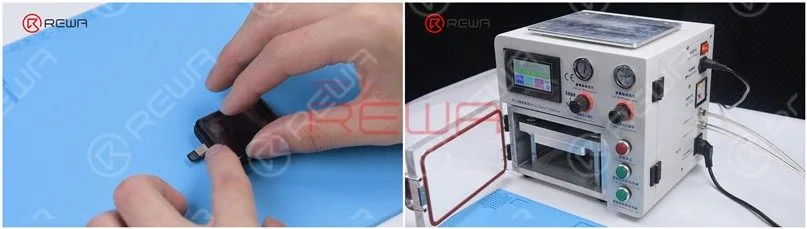 Retirez l'écran et il y a encore des bulles sur l'écran. Remettez l'écran dans la machine à enlever les bulles pendant dix minutes et les bulles ont disparu.
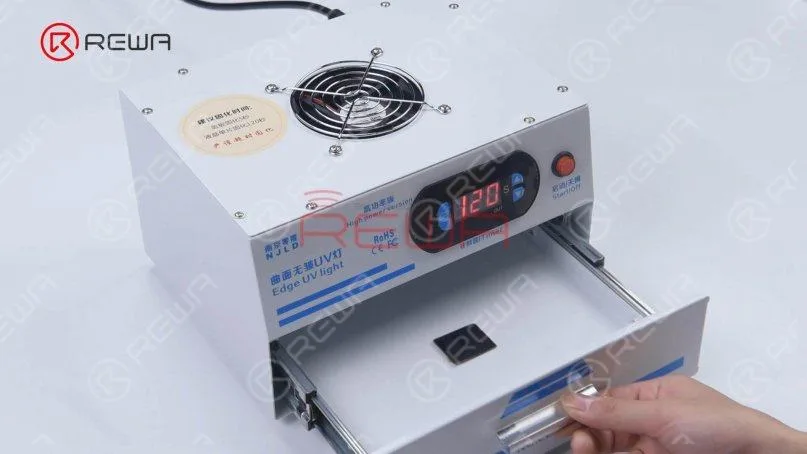
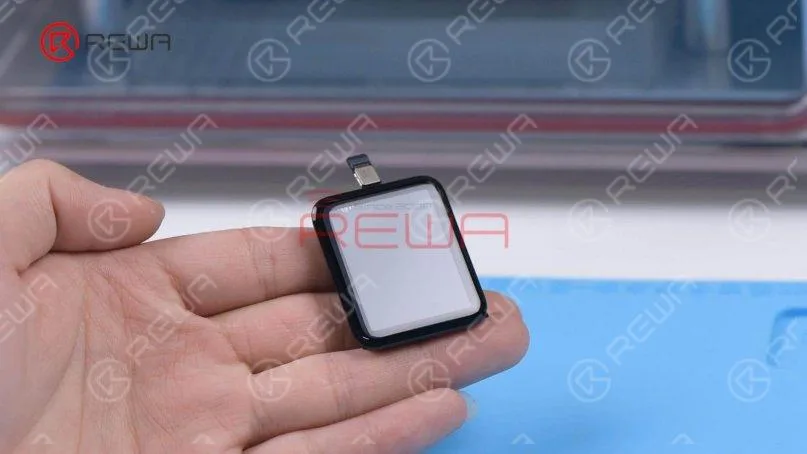 Remettez l'écran dans la lampe UV pendant deux minutes. Ensuite, nous connectons l'écran pour le tester. L'affichage et le toucher fonctionnent bien.
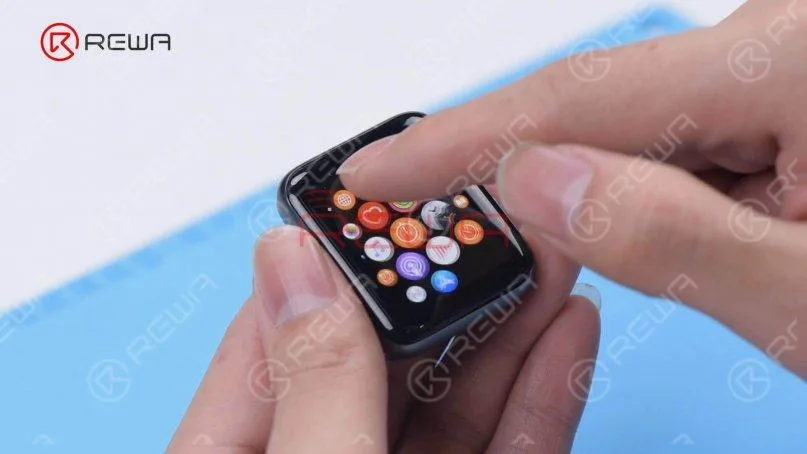 Enfin, nous installons l'écran sur la montre. Fixez la bande adhésive sur le cadre et décollez le film protecteur.
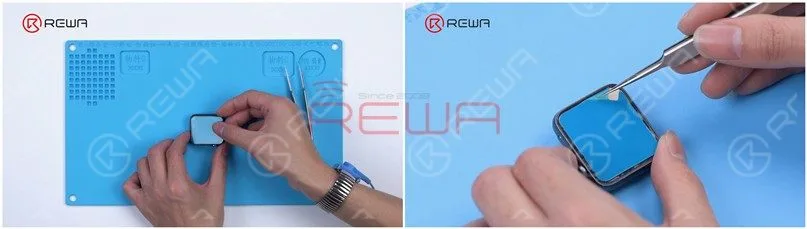 Connectez l'écran et mettez la montre en marche. La montre est allumée et toutes les fonctions fonctionnent correctement.
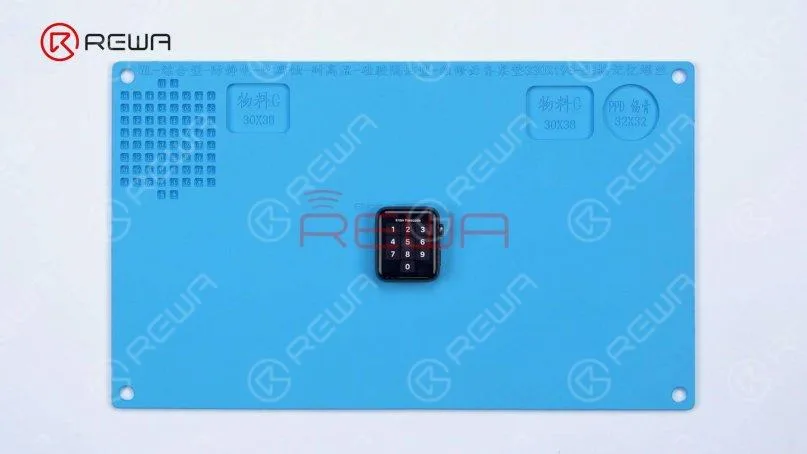 N'hésitez pas à visiter notre boutique en ligne pour
 English
 Español
 Français
 Deutsch
 Italiano