¿Su Samsung Z Flip 4 se apaga automáticamente al plegarlo? Este problema podría ser causado por un cable flex de bisagra defectuoso. En este vídeo, REWA lab le guiará paso a paso sobre cómo reemplazar el cable flexible de la bisagra para solucionar este molesto problema. Cubriremos todo, desde el diagnóstico del problema hasta el desmontaje del teléfono y la sustitución del cable flexible de la bisagra defectuoso.
Para las piezas de Android, puede visitar el sitio web:
https://rewawp.iamtareq.com/small-parts/
Si desea más información, póngase en contacto con nosotros: +852 5167 5273 / sales@rewa.tech
Etiqueta: reparación de teléfonos samsung
-
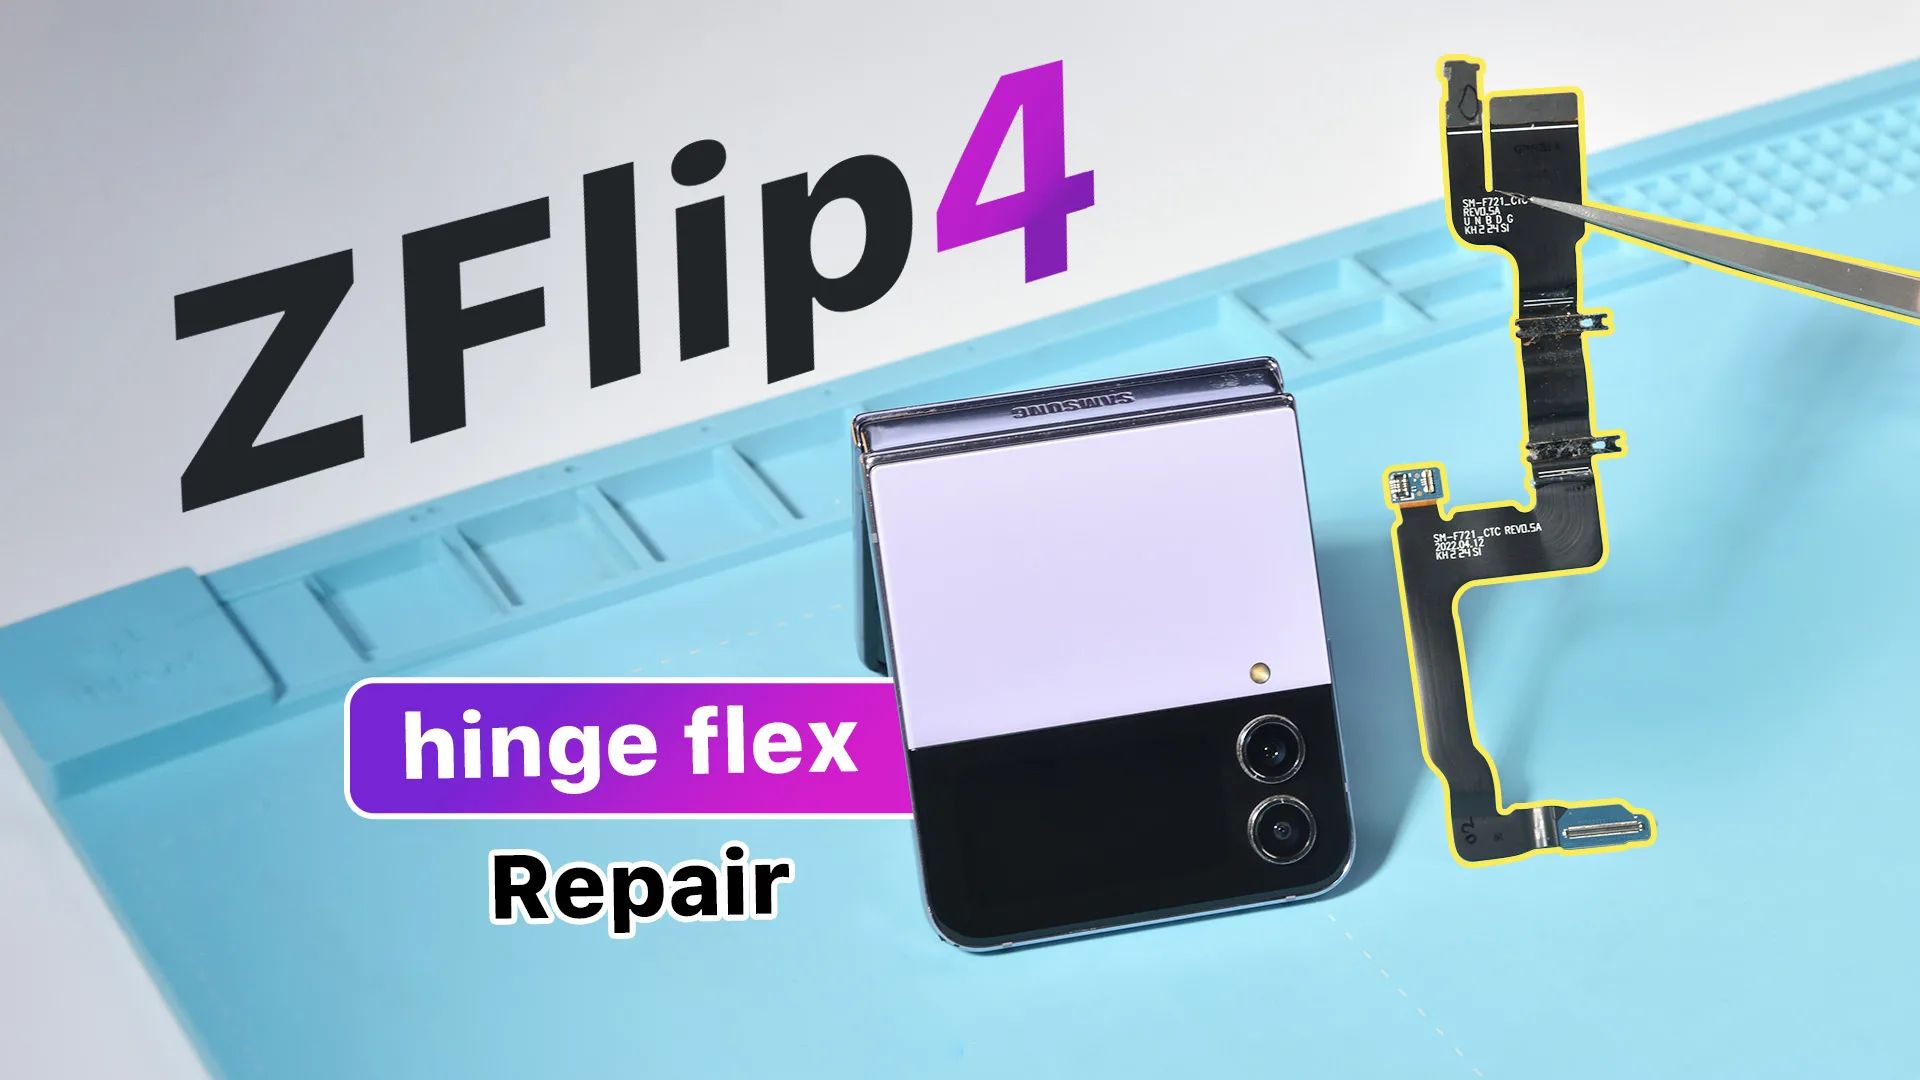
Samsung Z Flip 4 se apaga cuando se dobla - Bisagra Flex Cable Reemplazo Tutorial
-
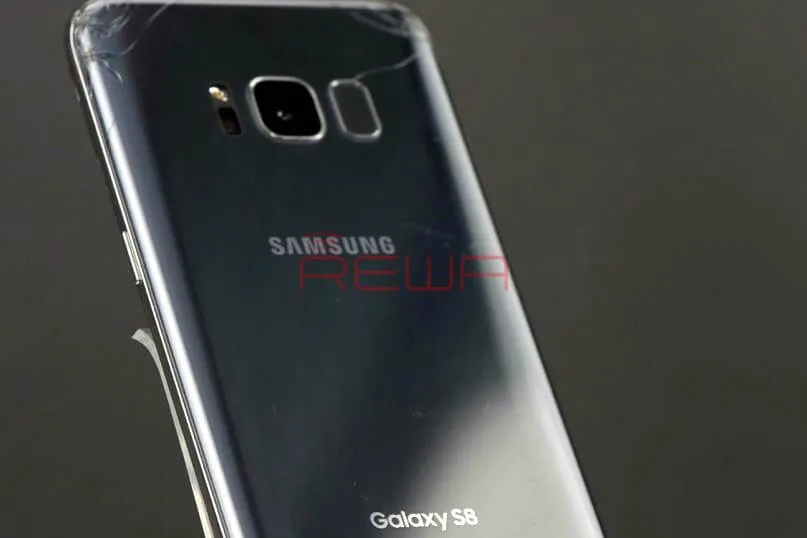
Trucos y consejos para reparar un teléfono Samsung
Today REWA LAB will share tips and tricks for Samsung phone repair by demonstrating basic steps for Samsung S8 repair. When repairing Samsung series, we need to pay special attention to similarities in different Samsung series and choose the right tools to improve repair efficiency.Please be noted that these repair techniques can also be applied to complex repair needs, such as broken back cover refurbishing, screen replacement, battery replacement, etc..
Part 1 Function Test
Before repairing, we can test Samsung phones by using secret codes. This can help us narrow down the fault possibility: software problem or hardware problem.
Turn on the phone and enter the dial pad. Different secret codes can perform different tests.
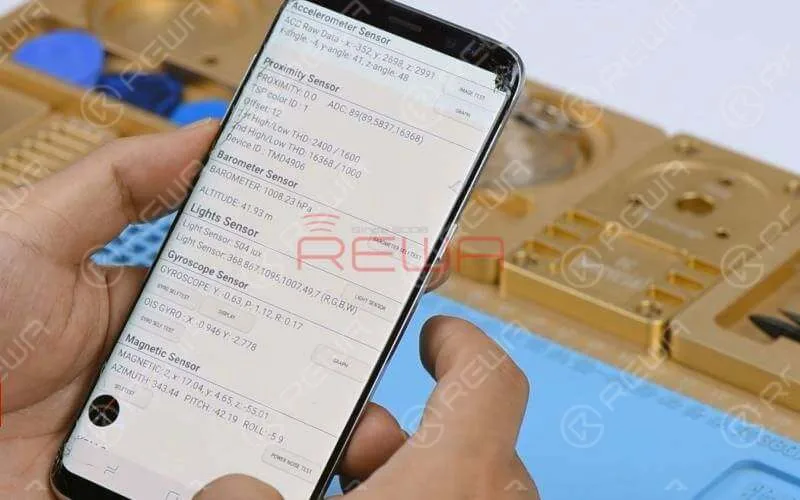
*#0*#: test MEGA CAM, SENSOR, TOUCH, etc..
*#7353#: test Light Sensor, Bluetooth, Proximity Sensor, etc..
*#0283#: for loopback test
*#1234#: check software and firmware version of the phone
Part 2 Flashing The Stock Firmware Of Samsung S8
Most system or software problems can be solved by flashing the stock firmware and therefore it is a must have skill for repair technicians. Follow our tutorial and see how we flash the stock firmware of Samsung S8.Power off the phone. Hold Power + Volume Down + Bixby until it launches into a warning screen. Press the Volume up button to continue and we will be in download mode.
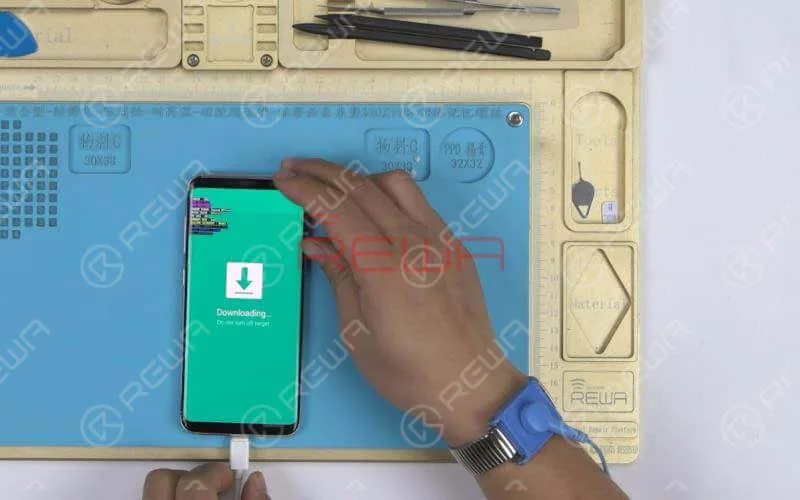
Open Odin on the computer. Connect the phone to the computer via USB cable. The ID: COM boxes turn blue, and we can also see a message ‘Added’ in the Log.Click on buttons and select the file that starts with the button name one by one. Click Start and wait for the process to complete.
Consejos
If you failed to complete the stock firmware flashing process, just follow the error message and correct your mistakes in the previous process.
Part 3 Samsung S8 Teardown
Once we have confirmed that it is a hardware problem, we need to take apart the phone for further analyzing.The teardown process of Samsung phones varies from series to series. For Samsung A series, we need to separate the screen from the mid-frame at the very beginning. While for Samsung S series and Note series, we need to separate the back cover from the mid-frame at first.Now we will take Samsung S8 as an example and walk you through teardown tricks for Samsung S series.
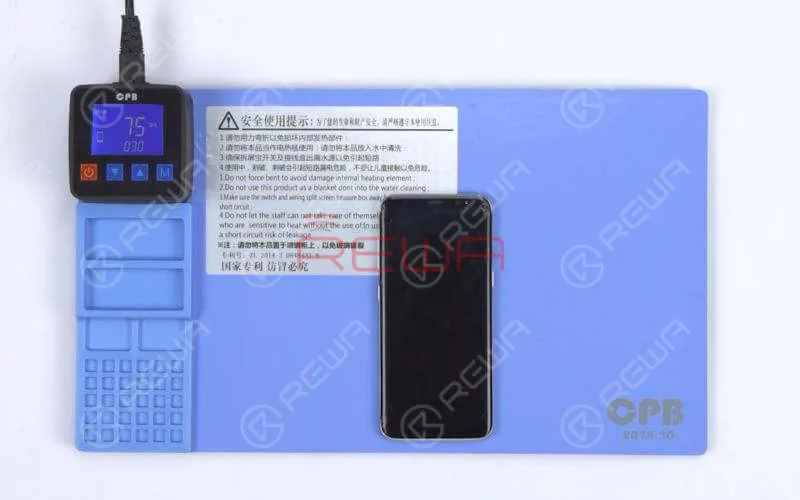
Tips: the Pre-heating Pad is a must for the teardown process.
First we need to heat the back glass with the pre-heating pad. Then apply a suction cup to the back glass. Lift on the suction cup carefully. There should be a tiny gap between the back glass and the mid-frame. Insert a blade into the gap. Then insert the plastic pry piece into the gap.Slide back and forth along edges of the screen to slice through the adhesive holding the back glass in place. If the slicing becomes difficult, you can also apply some alcohol to the gap for smooth operation.
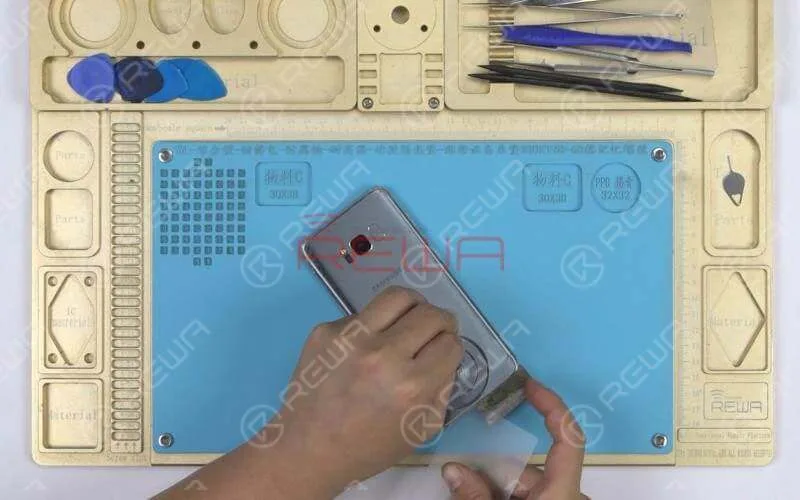
Tips: the plastic pry piece shouldn’t go too deep. You might damage the fingerprint sensor cable or the charging coil.To protect the fingerprint sensor cable, we need to open the phone carefully by swinging the back glass up from the side near the fingerprint sensor socket. Continue to disconnect the fingerprint sensor cable with the pry bar and remove the back glass.
Teardown Difficulties
We can see that the waterproof adhesive of Samsung S series and Note series are mainly applied on edges of the back cover and much more on top edges and bottom edges. So we need to heat evenly and control the heating temperature and time applied during the teardown.
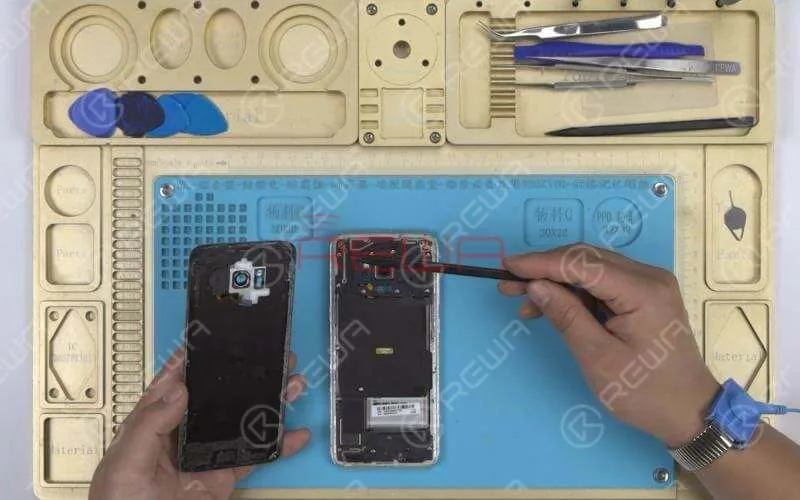
Then remove the antenna/NFC coil assembly and the speaker/antenna array.We can see that the motherboard is connected to the daughterboard by FPC, which is commonly seen in Android phones. Let’s see what’s special about Samsung motherboards.
Placa base
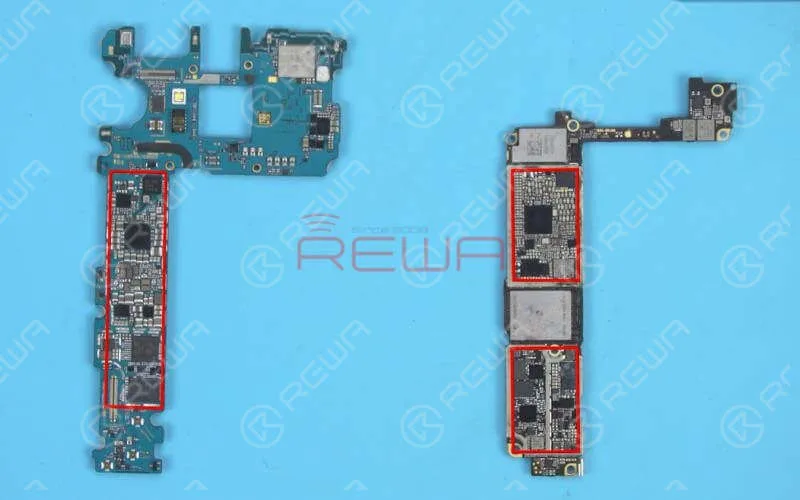
Compared with iPhone logic boards, Samsung motherboards feature relatively few components scattered across the board with high integration.
Most ICs on Samsung motherboards come with underfill.
Samsung motherboards are relatively thin and feature fast heat dissipation, adding to the difficulty of chip soldering and repairing.
Sustitución de la batería
Battery replacement of Samsung is also a step we should pay special attention to. Not like Apple, who equips iPhones with special designed battery adhesive strips for easy battery replacement, Samsung phones come with a different battery adhesive strip design.
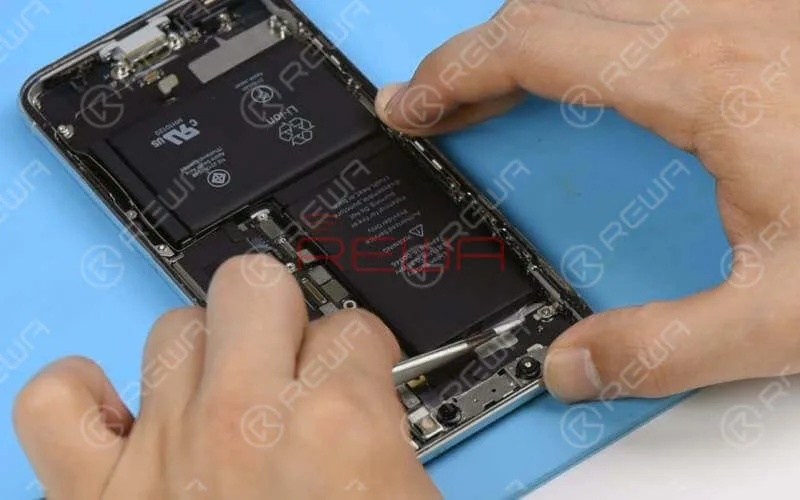
To remove the battery, we need to heat at the very beginning. During the heating, apply some alcohol to the gap to soften the adhesive. Then get a pry piece inserted into the gap and pry up the battery carefully from the bottom.REWA will launch Samsung phone repair courses(for Level 1 – Level 3) in 2020, which include Samsung phone disassembling/reassembling, unlock, data recovery and troubleshooting of other hardware issues. For more Samsung repair cases, please stay tuned to our YouTube channel.
You can also visit REWA social media platforms to share your repair thoughts with repair enthusiasts around the world.
Para el curso de formación en línea sobre reparación de teléfonos móviles, vaya a Academia REWA que ya está disponible.
Herramientas y piezas necesarias
- Plataforma integrada de reparación de teléfonos móviles
- Almohadilla eléctrica Ventosa Plastic Card Spudger
- Destornillador Phillips Steel Straight Tweezer
También puede visitar Canal YouTube de REWA to check our video for more detailed explanation.
-
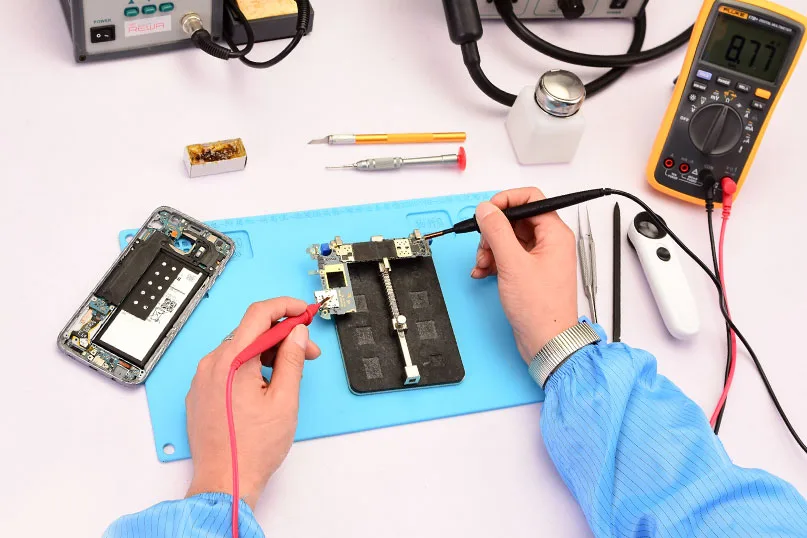
Servicio experto - Reparación de placas lógicas a nivel de chip Samsung
¿Tiene un trabajo difícil de reparación de placa lógica a nivel de chip Samsung? Pida ayuda a REWA, tenemos una solución para usted. Nuestra red de servicios de reparación está posicionada para ofrecer una reparación eficiente de placas lógicas y reparación de pantallas agrietadas servicios para todos en necesidad. Tenemos una guía de reemplazo de vidrio Samsung S7 borde a veces hace, ahora ofrecemos reparación de placa lógica de nivel de chip Samsung con un precio maravilloso. ¡Compruébelo ahora!
Ventajas de reparar con REWA

Una ventanilla única para todo
REWA es capaz de satisfacer todas las necesidades de nuestros clientes con nuestros servicios. Sea cual sea su problema, por grande o pequeño que sea, nuestro dedicado equipo de ventas y atención al cliente le proporcionará una solución competitiva y fiable.
Rapidez y eficacia
No se complique con su problema sin resolver, REWA le ofrece un servicio rápido y eficaz para su emergencia. Póngase en contacto con nosotros ahora para solucionar su problema de forma rápida y económica.
Tecnología punta
¿Se enfrenta a un problema que puede plantear dudas a sus expertos? Recurra a REWA para obtener ayuda. Nuestros expertos e ingenieros están altamente cualificados y equipados para hacer frente a una amplia gama de productos como iPhone, Samsung, Huawei, etc. (Como nuestra guía de reemplazo de cristal S7 edge).
Servicio transparente
La transparencia genera confianza REWA cree que lo mejor es salir del ámbito empresarial y entrar en el humano. Nuestros clientes reciben toda la información que necesitan, desde el proceso de reparación hasta los precios.
Cómo funciona la reparación de la placa lógica a nivel de chip Samsung
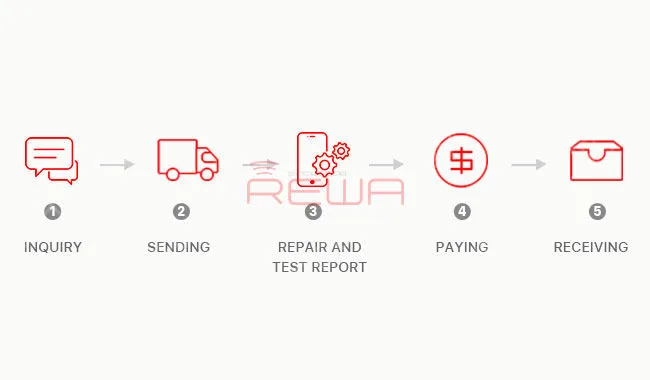
La reparación de la placa lógica de nivel de chip Samsung incluye
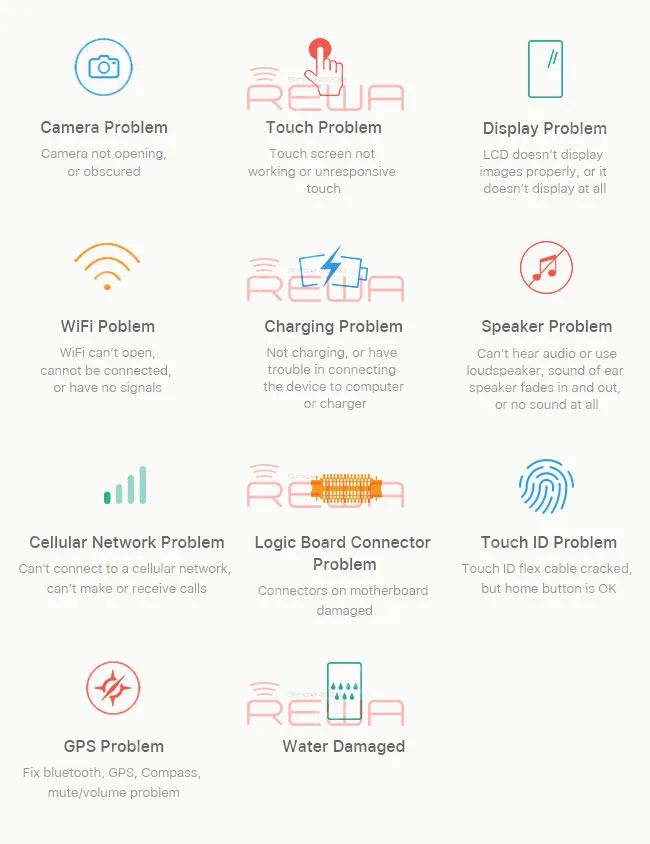
Reparación de la placa lógica de nivel de chip Samsung - Modelos
S3, S4, S5, S6, S7, S8, Note 2, Note 3, Note 4, Note 5, Note 7
Notificación al cliente
A continuación le indicamos algunos detalles que nos gustaría que conociera antes del envío
1. Todos los materiales sustituidos durante el mantenimiento son materiales originales.
2. No se cobrará por la repetición de la placa lógica con más de un fallo (en el caso de la CPU, el precio de la flash NAND y el circuito integrado de alimentación correrá a cargo del cliente).
3. No ofrecemos servicio de sustitución de flash NAND para S3/S4/S5/Note2/Note3.
4. MOQ: 10PCS.
5. Los clientes deben ser conscientes de que la reparación tiene un porcentaje de fallos.
6. Si no acepta nuestro informe de pruebas y decide renunciar al servicio de reparación. Deberá correr con los gastos de envío de la devolución.
7. El coste de la reparación depende del daño exacto y de la cantidad de daños sufridos por su dispositivo. Sólo podemos ofrecerle un precio de reparación estimado antes de que se complete la reparación.
Política de garantía
1. Por favor, pruebe todas las tarjetas lógicas una vez que haya recibido el paquete. Si encuentra algún problema, por favor retroalimentación a nosotros inmediatamente.
2. Todos los servicios de reparación están cubiertos por una garantía de 3 meses. Para un problema de calidad que se relaciona con nosotros durante este período, vamos a reparar de forma gratuita o reembolsar su dinero.
REWA es uno de los mayores proveedores básicos de reparación de teléfonos móviles de China. En REWA, todo viene después de la calidad. Aquí tenemos tipos de Piezas de repuesto Samsungcomo el ensamblaje de la pantalla LCD y el digitalizador táctil, el cable flexible, la carcasa, etc. Por favor, no dude en contactar con nosotros si está interesado.
-
Cómo insertar dos tarjetas Nano SIM y una tarjeta Micro SD en Samsung
Warm Prompt:
1. Attention that you may break your SIM card, Micro SD card and/or Galaxy S7 Edge by these instructions.
2. Skilled technician is required for the operations.
3. This video is only for technique sharing.
4. The device in the video is dual-SIM card version Samsung S7 edge
Those who need the dual SIM cards on their device might have been disappointed with the Samsung Galaxy S7 Edge.Because you can either choose Extra Space; or Dual Sim with internal space.
How to insert two Nano SIM cards and a Micro SD Card in Samsung Galaxy S7 edge? Here we have the solution for you.
Tools & Materials list:
- Thermostatic LCD Hot Air Gun – Type 3
- Anti-static Plastic Tip Tweezer – ESD00
- Hoja de afeitar
- Anti – static Glass Wiper
 English
 Español
 Français
 Deutsch
 Italiano