Etiqueta: reparación cámara frontal iphone

  • Reparación del iPhone: Impacto de iOS 18.1 en las piezas de recambio

    Reparación del iPhone: Impacto de iOS 18.1 en las piezas de recambio

    Desde que Apple introdujo el emparejamiento de piezas, los técnicos de terceros han sorteado estas limitaciones con diversas soluciones. Ahora, con el lanzamiento de iOS 18.1, los cambios en el seguimiento del historial de reparaciones pretenden mejorar las posibilidades de reparación. Pero, ¿qué impacto tiene esto en las reparaciones de iPhone de terceros?

    Una amplia gama de piezas de recambio, incluyendo Pantallas del iPhone, pilas, cámarasy cara ID fueron probados por el laboratorio REWA Tech para determinar el impacto real de iOs 18.1 en las piezas de recambio.

    Sustitución de la pantalla

    Antes de iOS 18

    Al sustituir la pantalla del iPhone aparecerá el mensaje "Pieza desconocida" y desaparecerá el True Tone; problemas resueltos con los programadores de reparación y transferencia IC.

    Por ejemplo: 100% Arreglar Mensaje "Parte Desconocida" para iPhone 15 Pro Después de Reemplazar la Pantalla

    Después de iOS 18.1

    No.Tipo de pantallaTransferencia CI originalTransferencia Sensor delantero originalAsistente de reparación de pasesHistorial de piezas y mantenimientoTono verdadero
    1OEMNoSíNoNo se puede configurarSí
    2OEMSíSí/NoSí
    3PosventaNoSíNoNo se puede configurarSí
    4PosventaSíSí/NoSí
    5OEM + Sensor delantero emparejadoNoNoSíUsadoSí
    6Paquete de mantenimiento + sensor frontal emparejadoNoNoSíGenuinoSí

    Principales resultados

    • Mientras la pantalla tenga un CI y un sensor coincidentes, no habrá historial de reparaciones ni será necesario un diagnóstico del asistente de reparación.
    • Todas las pantallas de terceros admiten True Tone.

    Sustitución de la batería

    Antes de iOS 18

    Mensaje "Pieza desconocida", no se muestra el estado de la batería; resuelto con soluciones como batería sin soldar, célula de batería + tag-on flex, célula de batería + placa de reparación.

    Por ejemplo: Soluciones posventa para calibrar el estado de la batería del iPhone en iOS 17.4

    Después de iOS 18.1

    No.Tipo de bateríaAsistente de reparación de pasesHistorial de piezas y mantenimientoDatos sanitarios
    1OEM NuevoSíGenuino100%
    2OEM UsadoSíUsadoDatos de la batería usada OEM
    3Aftermarket(TI ZY HF 
    Soluciones)
    NoSin verificar100%
    4Celda de batería + placa BMS nativa//Datos de la batería nativa

    Principales resultados

    • Las baterías de terceros siguen sin pasar el Asistente de reparación y el historial de piezas se registra como no verificado.
    • Las nuevas baterías de terceros sustituidas en iPhones pueden mostrar todos los datos de salud.

    También hemos probado baterías de terceros en iOS 18.0.

    Vea el vídeo: 

    Sustitución de la cámara trasera

    Antes de iOS 18

    La sustitución de una lente por sí sola mostrará un mensaje de pieza desconocida. Se necesita un programador de reparación y cables flexibles de reparación.

    Por ejemplo: Cómo quitar la cámara trasera "Parte desconocida" Mensaje para el iPhone 15 PM

    Después de iOS 18.1

    No.Modelo de cámaraAsistente de reparación de pasesCalibración de la cámara
    1iPhone 12SíNo
    2iPhone 13SíNo
    3iPhone 14SíNo
    4iPhone 15SíSí
    5iPhone 16SíSí

    Principales resultados

    Las cámaras traseras de los iPhone 12-16 pueden ser diagnosticadas por el asistente de reparación, pero las series iPhone 15 y 16 requieren la calibración de la cámara.

    Sustitución del conjunto de cámara frontal y Face ID

    Antes de iOS 18

    La sustitución de este conjunto hará que falle la función del Face ID. Se necesita un programador de reparación y cables flexibles de reparación.

    Por ejemplo: Arreglar Face ID (SIN SOLDADURA) no funciona con REFOX RP30

    Después de iOS 18.1

    No.Modelo de montajeAsistente de reparación de pasesFace ID
    1iPhone 12NoNo
    2iPhone 13NoNo
    3iPhone 14NoNo
    4iPhone 15NoNo
    5iPhone 16SíSí

    Principales resultados

    El conjunto de cámara frontal + Face ID del iPhone 12-15 no puede ser diagnosticado por el asistente de reparación, solo el iPhone 16.

    Resumen

    De iOS 18.0 a 18.1, las reparaciones de iPhone se han vuelto gradualmente relativamente fáciles, pero todavía hay algunos problemas que necesitan ser verificados. Preste atención al canal REWA para obtener más nuevas tecnologías e información.

    Además, REWA ofrece una gran variedad de herramientas de reparación y piezas para teléfonos, ¡consúltenos o visite nuestra tienda en línea!

    Consúltenos: https://rewawp.iamtareq.com/wholesale/

    Visite la tienda en línea: https://shop.rewa.tech/
  • Troubleshooting iPhone Front Camera Issues Using Jumping Wire

    Troubleshooting iPhone Front Camera Issues Using Jumping Wire

    iPhone front camera not working? What should a repair technician start with? Follow our repair guide today and learn how to troubleshoot step by step. What’s more, REWA LAB will show you how to avoid further damaging the logic board by adopting a fresh new repair solution. Check it out now!

    Prueba

    Run cosmetic inspection of the logic board. The logic board is not deformed or water damaged. Now, let’s get the logic board and cameras installed. Get the iPhone display assembly installed and battery connected.

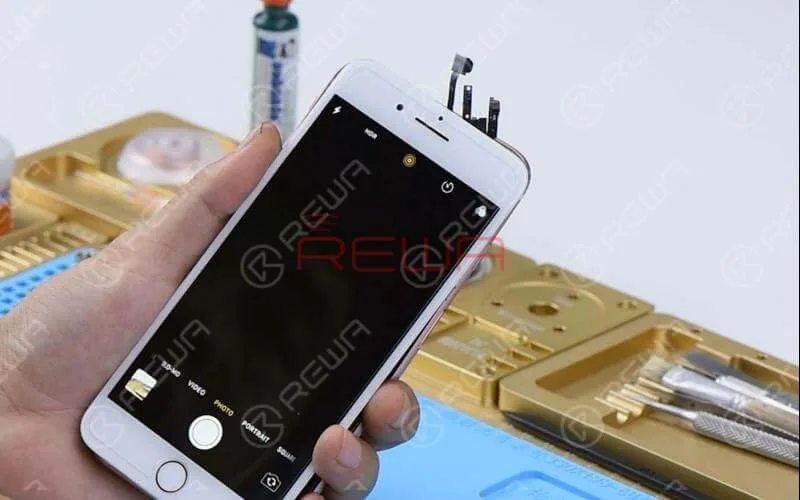
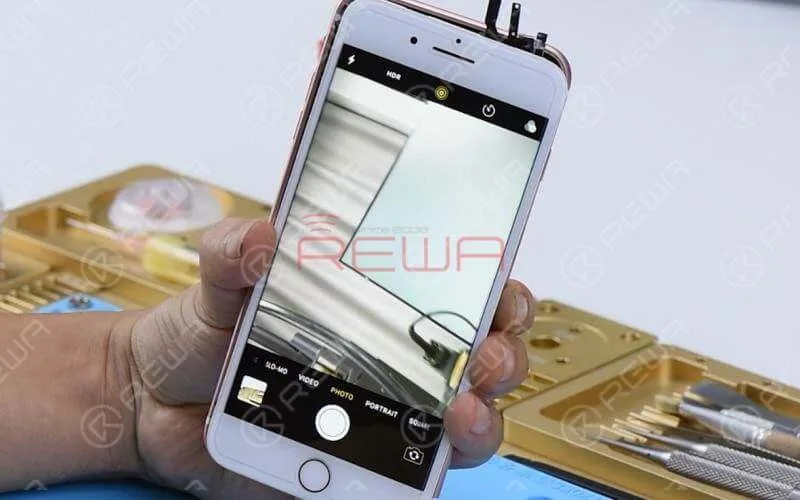
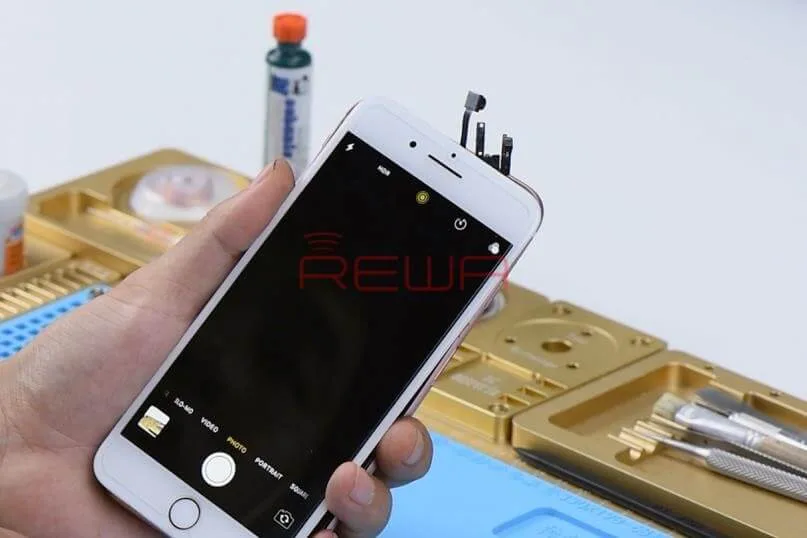
    Press power button to power on. Tap ‘Camera’ icon and enter into camera mode. The rear camera works normally. Switch to front camera. It can not be activated.

    Press power button to power on. Tap ‘Camera’ icon and enter into camera mode. The rear camera works normally. Switch to front camera. It can not be activated.

    Diagnóstico

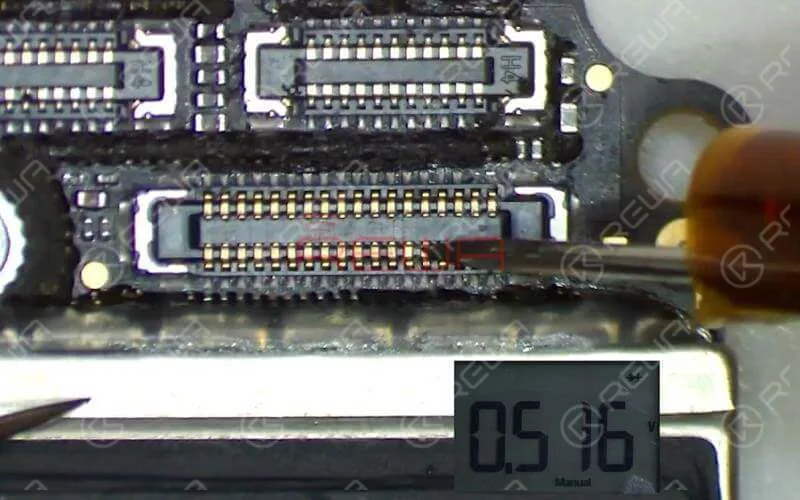
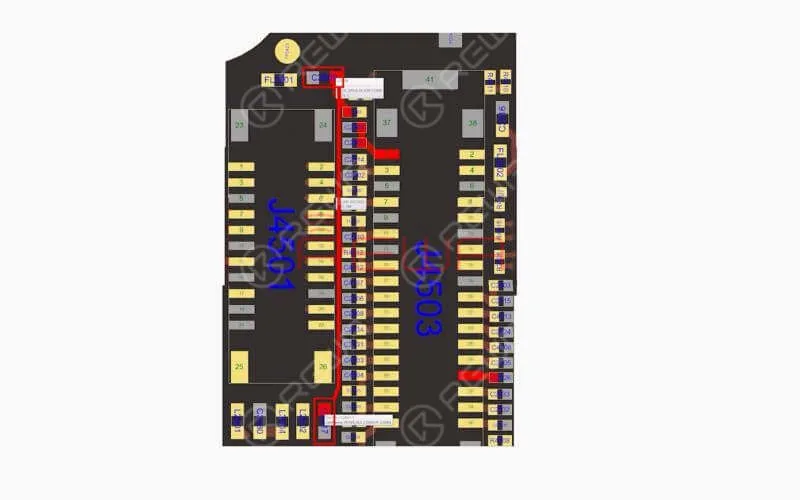
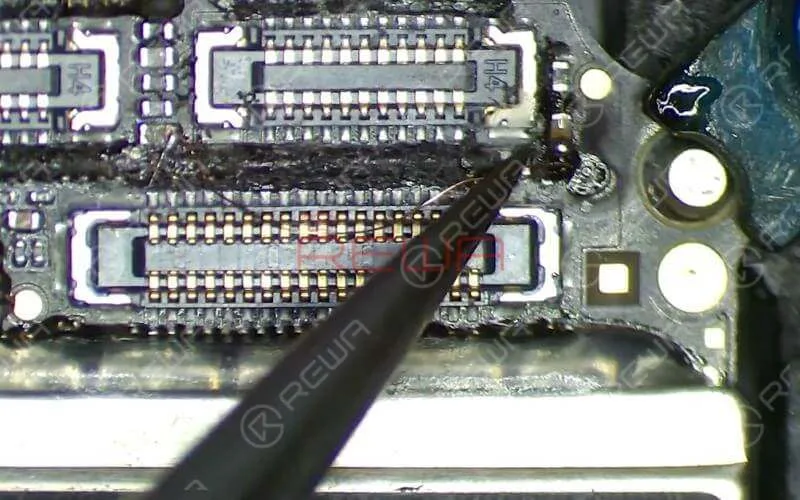
    Let’s check front camera connector J4503 and relevant circuits first. Run diode mode measurement of pins on J4503. The measured value is normal. (In this step, you need a bitmap software that provides reliable schematics and board files for motherboard repair. REWA used Refox in the video.)
    Let’s check front camera connector J4503 and relevant circuits first. Run diode mode measurement of pins on J4503. The measured value is normal. (In this step, you need a bitmap software that provides reliable schematics and board files for motherboard repair. REWA used Refox in the video.)

    Next, we need to measure working voltage of the front camera.Get the two cameras installed. Connect the logic board with the display assembly. Connect battery connector with the Power Supplier. Press ON/OFF button on the Power Supplier to get the logic board power supplied. Then press power button on the Power Supplier. The system will then detect power button press.

    Next, we need to measure working voltage of the front camera.Get the two cameras installed. Connect the logic board with the display assembly. Connect battery connector with the Power Supplier. Press ON/OFF button on the Power Supplier to get the logic board power supplied. Then press power button on the Power Supplier. The system will then detect power button press.

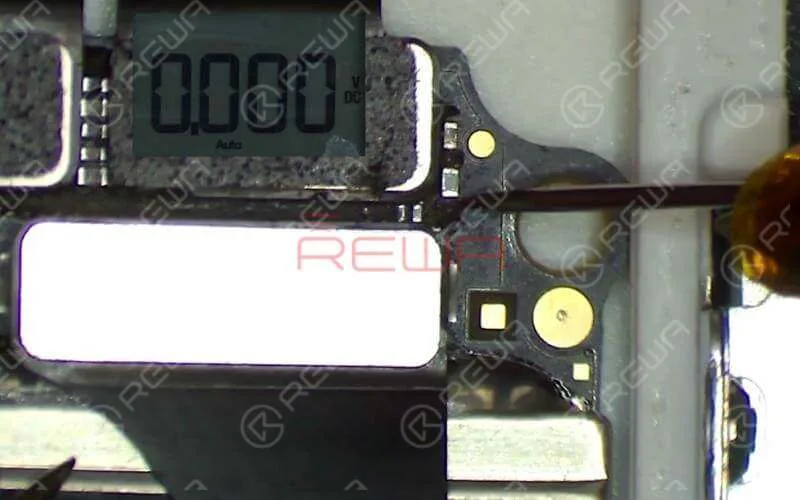
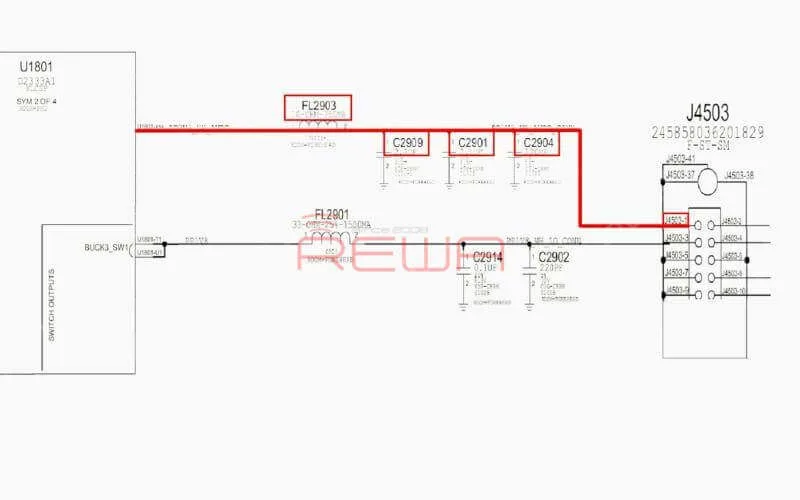
    Tap ‘Camera’ icon to enter into camera mode. Run voltage mode measurement of front camera power supply test points FL2901 and C2909. The measured value of FL2901 is normal. There is no voltage measured on C2909, which is abnormal. Normal voltage should be 2.9V.Outputted from Pin G10 of U1801, the 2.9V voltage reaches Pin 1 of J4503 by way of FL2903, C2909, C2904 and C2901.
    Tap ‘Camera’ icon to enter into camera mode. Run voltage mode measurement of front camera power supply test points FL2901 and C2909. The measured value of FL2901 is normal. There is no voltage measured on C2909, which is abnormal. Normal voltage should be 2.9V.Outputted from Pin G10 of U1801, the 2.9V voltage reaches Pin 1 of J4503 by way of FL2903, C2909, C2904 and C2901.

    Continue to run diode mode measurement of FL2903. Judging by the measured value, FL2903 is in normal status. We can confirm now that the fault is related to U1801.

    Solución de problemas

    We can fix it by replacing with a new U1801 or borrow 3V voltage from other points on the board. Since U1801 is located on the backside of CPU and replacing process can cause pseudo soldering of CPU, here we will adopt the voltage borrowing way.
    We can fix it by replacing with a new U1801 or borrow 3V voltage from other points on the board. Since U1801 is located on the backside of CPU and replacing process can cause pseudo soldering of CPU, here we will adopt the voltage borrowing way.

    Here we need 0.1mm solder tinned enamelled wire. With one end of the wire soldered to C2917, a 3V voltage point nearby, solder the other end to C2909.
    Here we need 0.1mm solder tinned enamelled wire. With one end of the wire soldered to C2917, a 3V voltage point nearby, solder the other end to C2909.

    Once done, clean with PCB Cleaner. Apply some UV Curable Solder Mask to the soldered area. Then solidify the logic board under UV Dryer Lamp for 5 minutes.

    Volver a montar y probar

    Next, we can assemble the phone and test. Tap ‘Camera’ icon to enter into camera mode. The front camera works normally. Switch to rear camera. The rear camera works normally. Fault cleared.

    Next, we can assemble the phone and test. Tap ‘Camera’ icon to enter into camera mode. The front camera works normally. Switch to rear camera. The rear camera works normally. Fault cleared.

    Herramientas y piezas necesarias

    También puede visitar Canal YouTube de REWA to check our video and learn how to fix iPhone front camera in a safe way.