Etiqueta: Reparación de MacBook

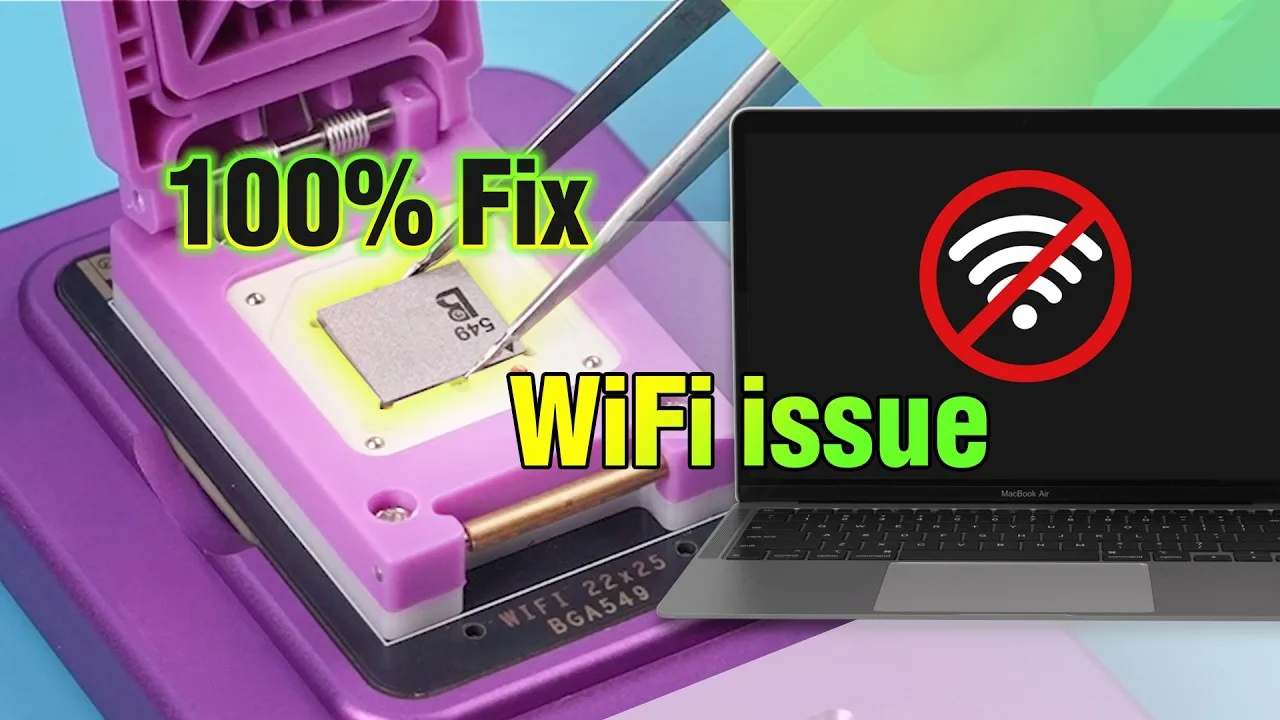
  • ¿El WiFi del MacBook no se enciende? Guía profesional para sustituir el chip Wi-Fi de los MacBook de la serie M

    ¿El WiFi del MacBook no se enciende? Guía profesional para sustituir el chip Wi-Fi de los MacBook de la serie M

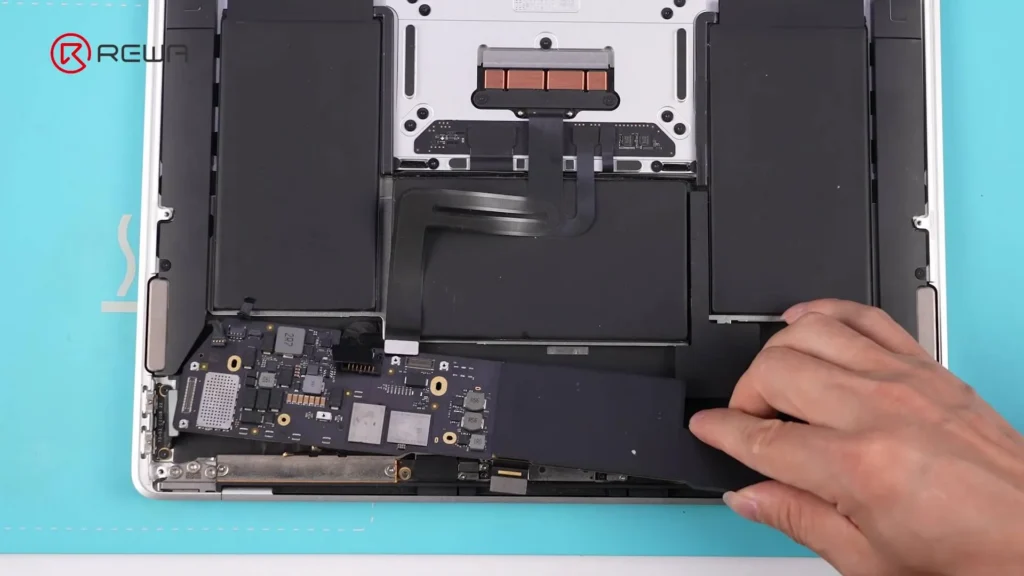
    Apple presentó los MacBook con chips de la serie M (como los M1 y M2), que presentan una arquitectura interna más compacta e integrada. Un cambio clave es la combinación de las funciones Wi-Fi y Bluetooth en un único chip. Aunque esta integración mejora el rendimiento y la eficiencia, supone un reto importante para los técnicos de reparación: cuando el chip Wi-Fi falla o el WiFi no se enciende, la solución tradicional autorizada por Apple consiste en sustituir toda la placa base (placa lógica).

    Afortunadamente, REWA Tech ha desarrollado un nuevo método de sustitución del chip Wi-Fi para MacBooks, que permite a los profesionales de la reparación y a los bricoladores avanzados resolver el problema sin sustituir toda la placa. Esta guía proporciona un proceso paso a paso para diagnosticar y reemplazar un chip Wi-Fi defectuoso en un MacBook Air con un chip de la serie M, restaurando la funcionalidad inalámbrica completa.

    Por qué el Wi-Fi de tu MacBook no se enciende

    Cuando el Wi-Fi de un MacBook se niega a activarse, las posibles causas son:

    • Fallo del chip Wi-Fi debido a sobrecalentamiento, impacto físico o defectos de fabricación.
    • Corrupción del firmware del chip Wi-Fi.
    • Daños por líquidos afectando a los circuitos circundantes del chip.
    • Desajuste del ECID al sustituir componentes sin una reprogramación adecuada.

    En MacBooks de la serie M, Wi-Fi y Bluetooth están combinados en un solo chip, lo que significa que si una función falla, ambas pueden dejar de funcionar. Esta guía se centra en sustitución del chip Wi-Fi a nivel de hardware.
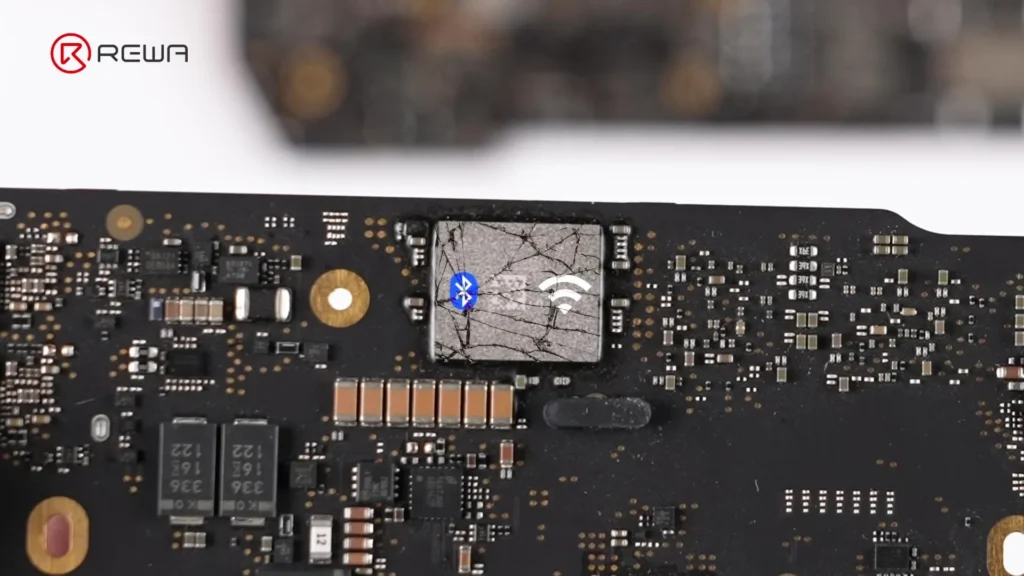
    macbook chip roto

    Guía Paso a Paso: Cómo arreglar el "Wi-Fi del MacBook no se enciende" sustituyendo el chip Wi-Fi

    Paso 1: Diagnóstico inicial

    1. Comprueba que la opción Wi-Fi está desactivada o no se puede activar en los Ajustes de macOS.
    2. Descarta problemas de software:
      • Reiniciar el MacBook.
      • Restablecimiento de NVRAM/PRAM (para modelos Intel; no aplicable a la serie M).
      • Actualizar macOS a la última versión.
    3. Si el Wi-Fi sigue sin activarse, realice un diagnóstico con el software de reparación o con piezas de repuesto de calidad conocida para confirmar Fallo del chip Wi-Fi.
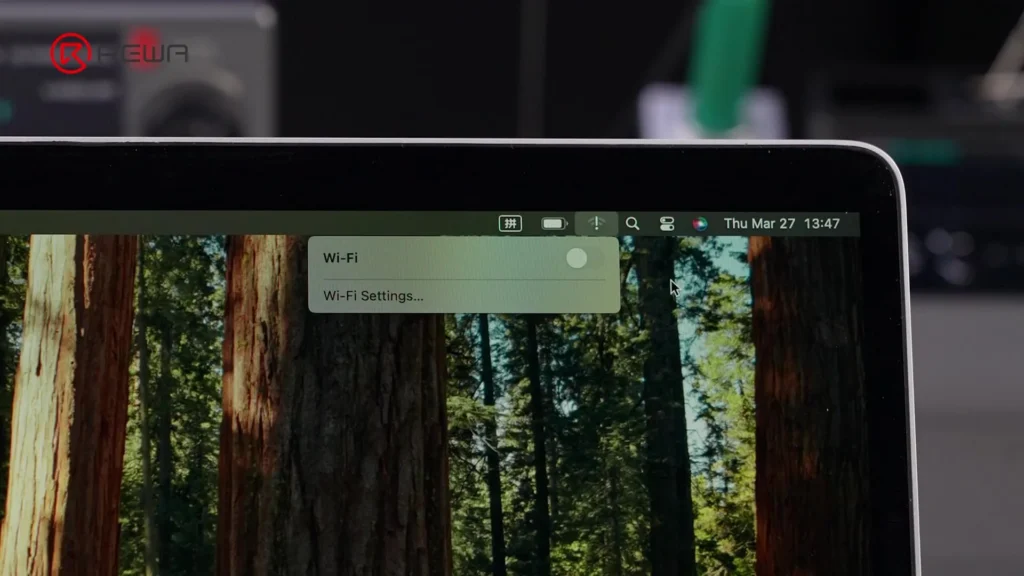
    el wifi del macbook no se enciende

    Paso 2: Leer el ECID del MacBook y desvincular el chip Wi-Fi
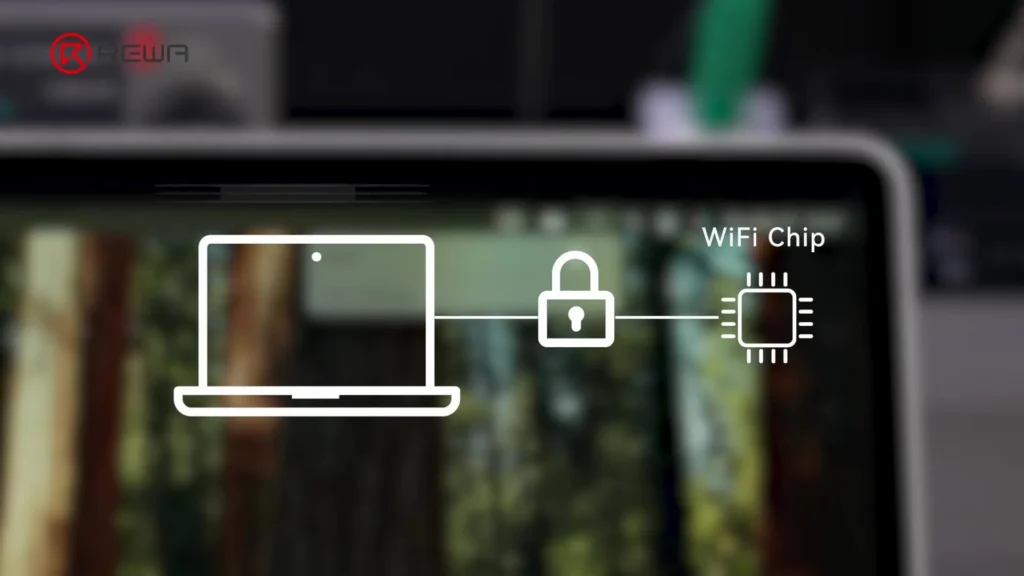
    macbook wifi no se enciende reparar

    ECID (Identificación exclusiva de chip) es un número de serie único vinculado a los componentes del MacBook, incluido el chip Wi-Fi. Para instalar un chip de repuesto, debe desvincular el chip antiguo de la placa base.

    1. Instale Software LuBan desde una unidad flash.
    2. Inicia LuBan: requiere acceso a Internet.
    3. Conecta el MacBook a Internet:
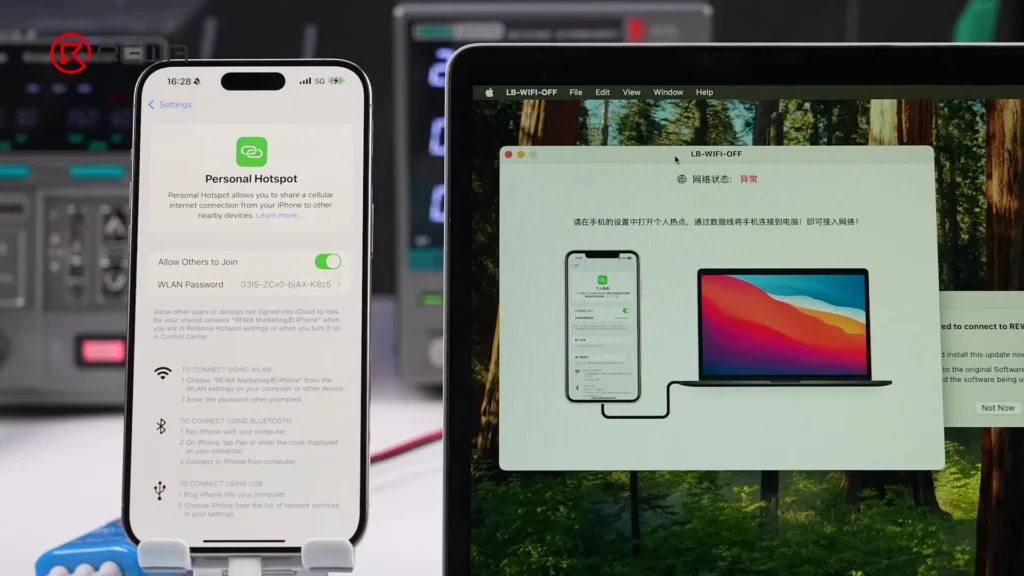
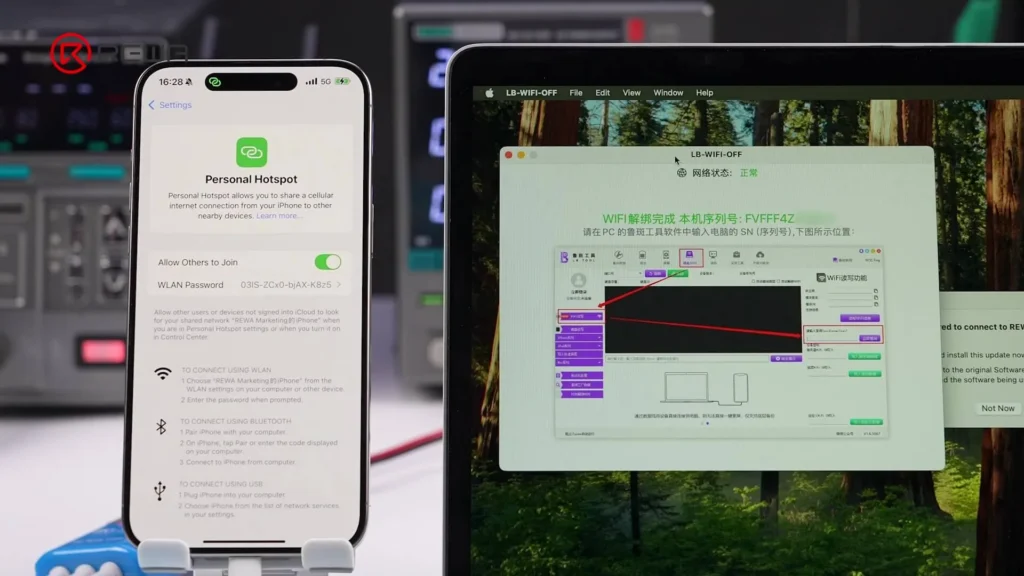
      • Utiliza un hotspot del teléfono mediante un cable USB (confía el MacBook en el teléfono cuando se te pida),
        o
      • Utiliza un adaptador Ethernet.
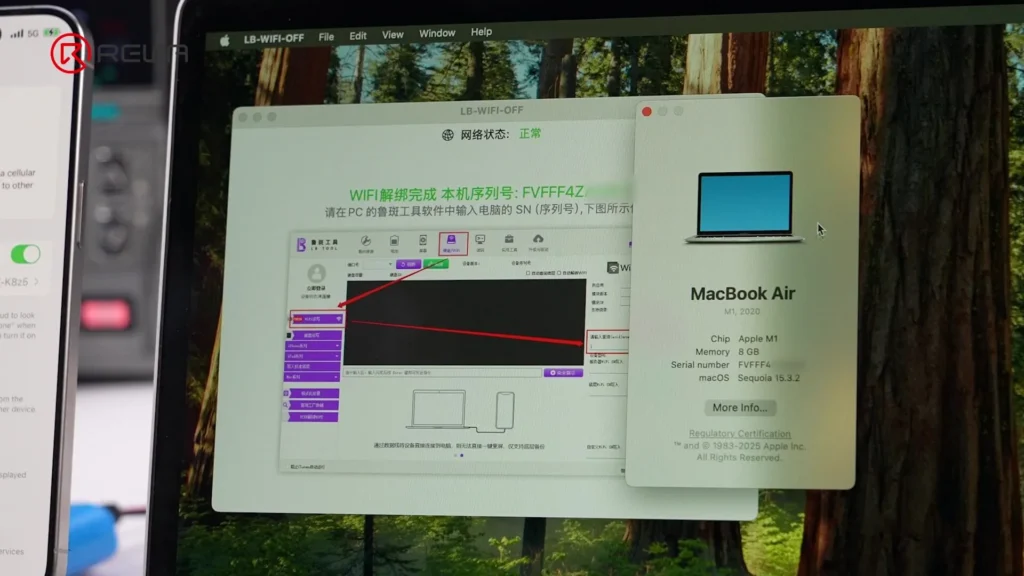
    4. Una vez conectado, LuBan automáticamente desvincula el chip Wi-Fi existente y lee el ECID.
    5. Verificar el ECID en macOS Ajustes para asegurarse de que coincide.
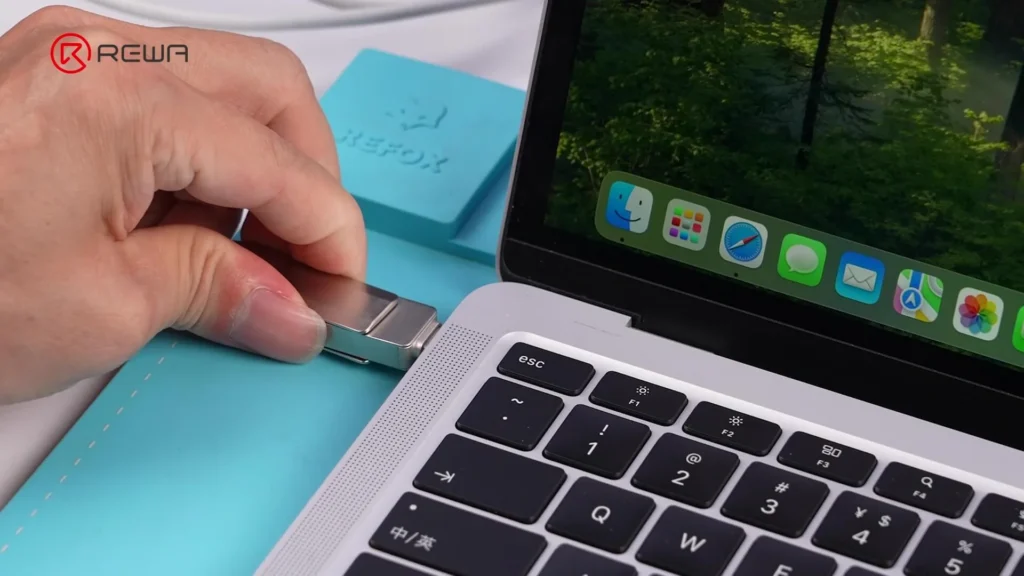
    Paso 3: Desmontar el MacBook

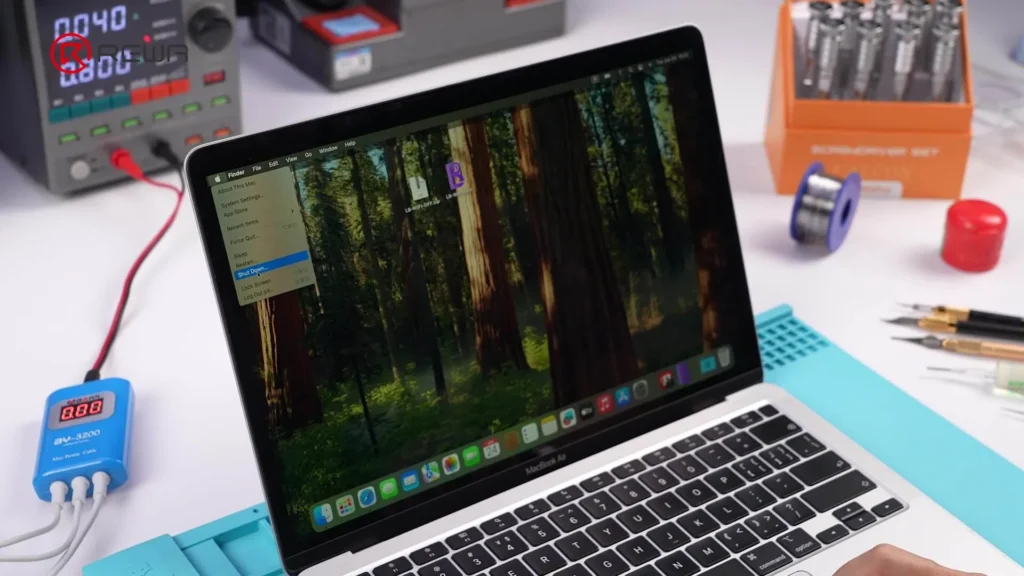
    1. Apaga el MacBook.
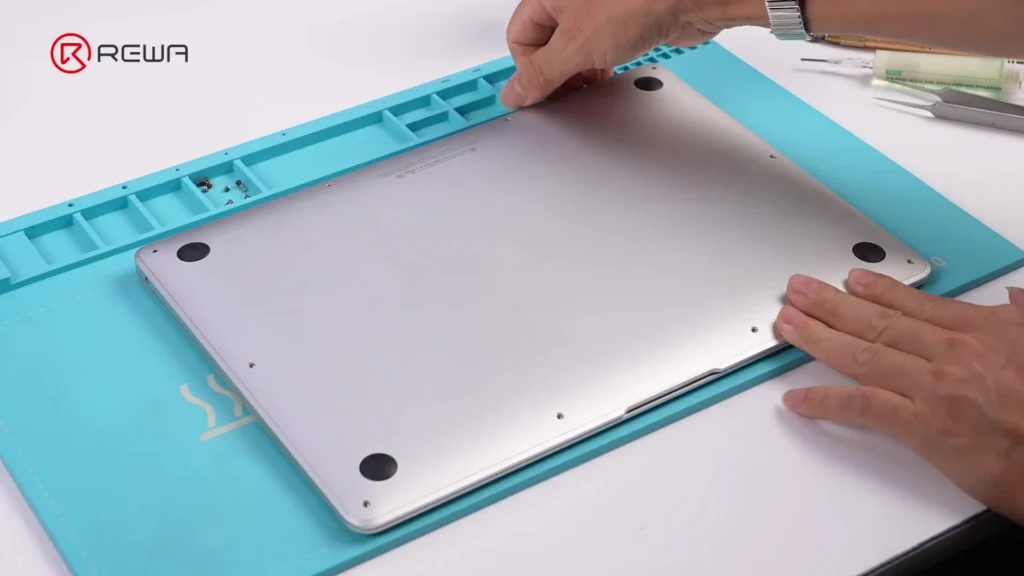
    2. Retire el minúsculas tornillos y carcasa.
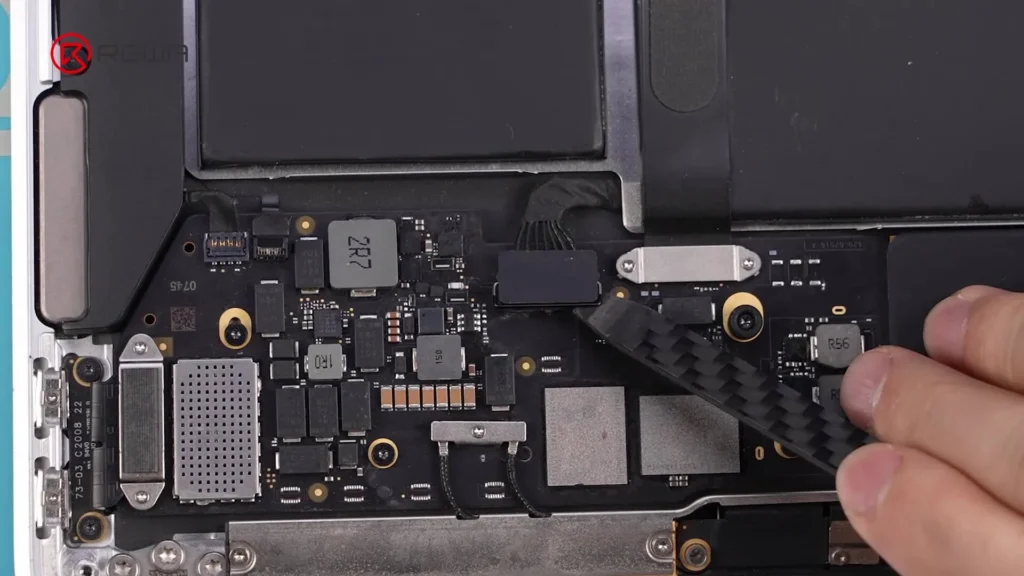
    3. Desconecte el cable de la batería.
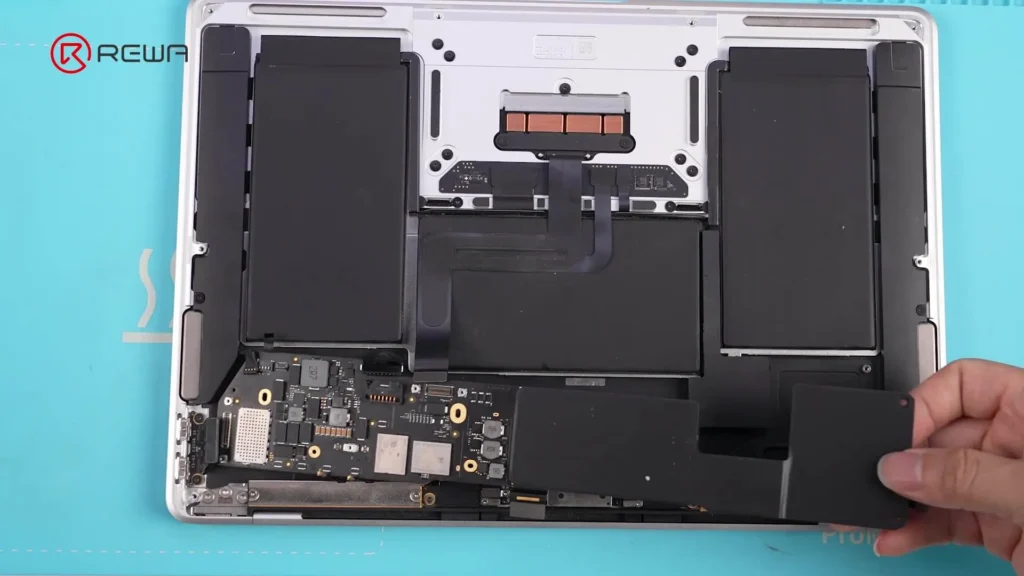
    4. Retire el placa base:
      • Desatornille todos los tornillos de montaje.
      • Retire el disipador de calor.

    Paso 4: Retire el chip Wi-Fi defectuoso

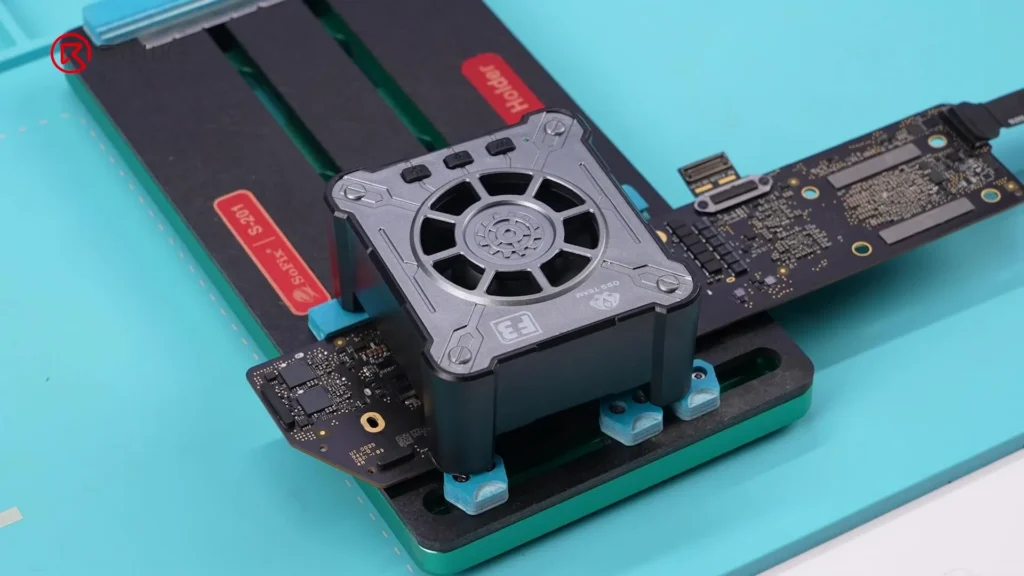
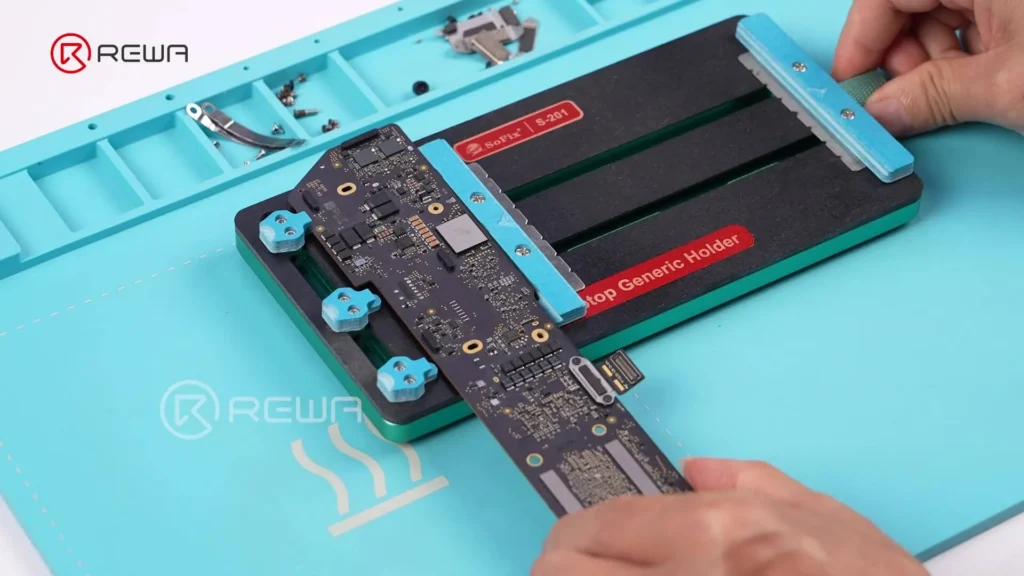
    1. Asegure la placa base con un Fijación PCB.
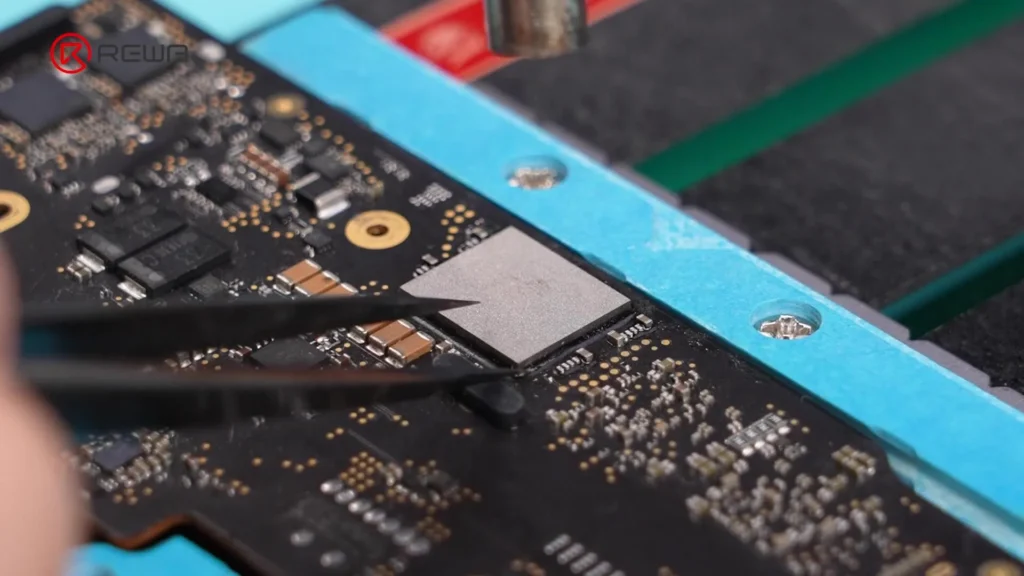
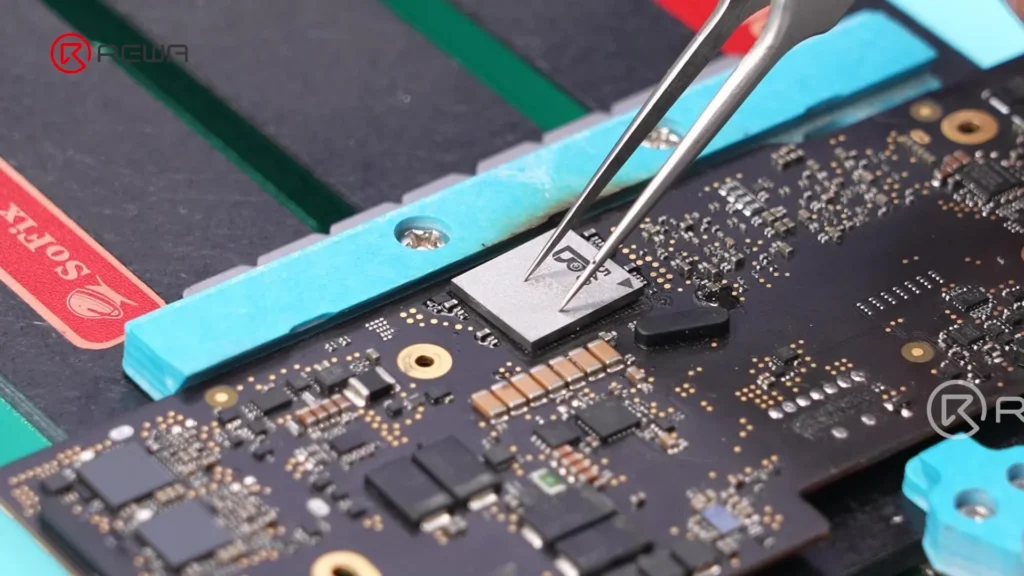
    2. Utilice un pistola de aire caliente para ablandar el adhesivo alrededor del chip.
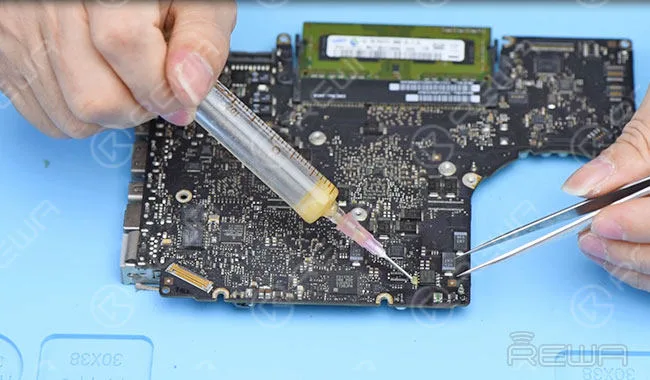
    3. Retira suavemente el adhesivo con unas pinzas - no calentar directamente el chip todavía.
    4. Aplique el calor uniformemente moviendo la pistola de aire caliente de forma movimiento en el sentido de las agujas del reloj sobre el chip.
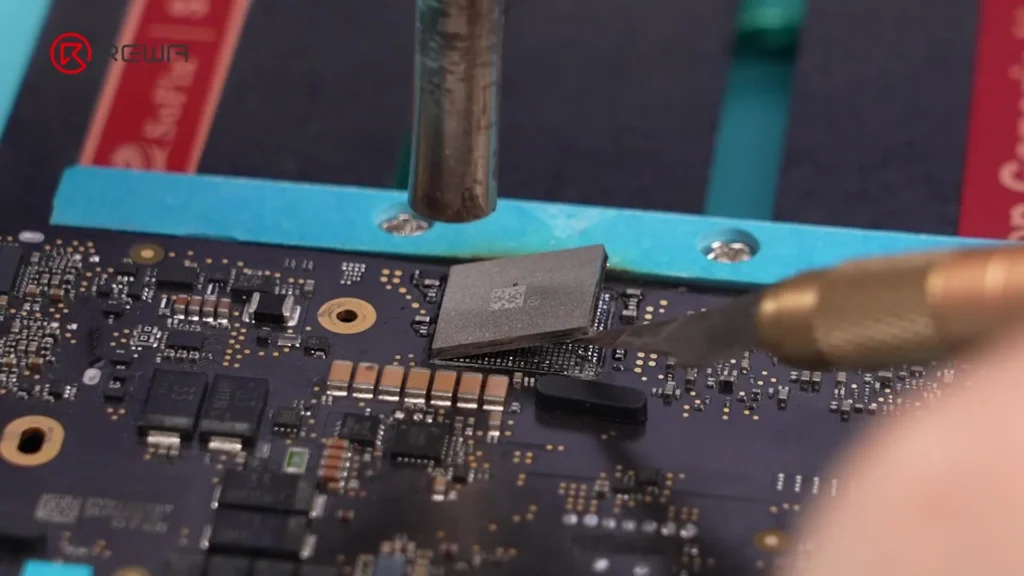
    5. Inserte un palanca debajo del chip y levántelo suavemente.
    Paso 5: Preparar las almohadillas de soldadura

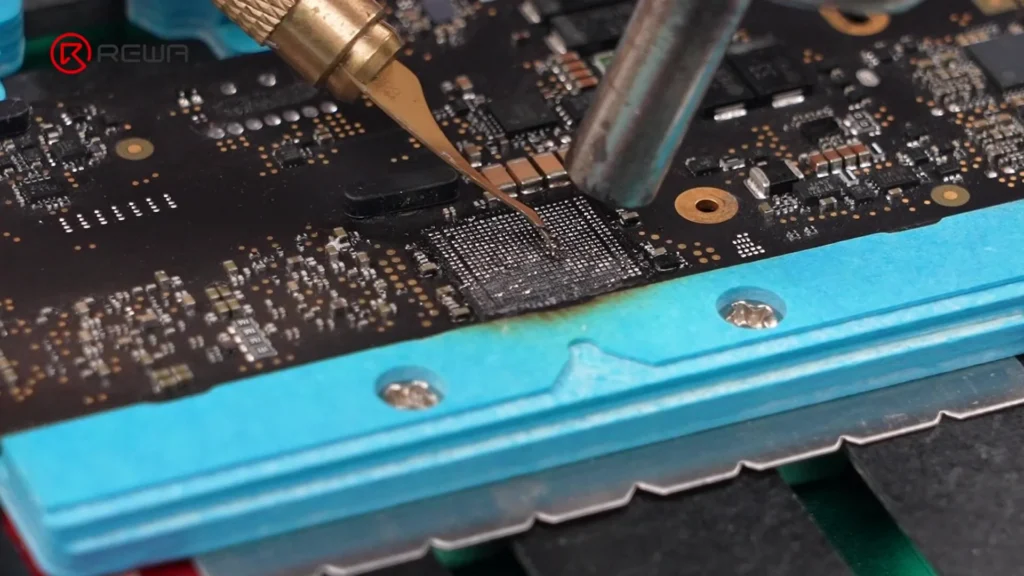
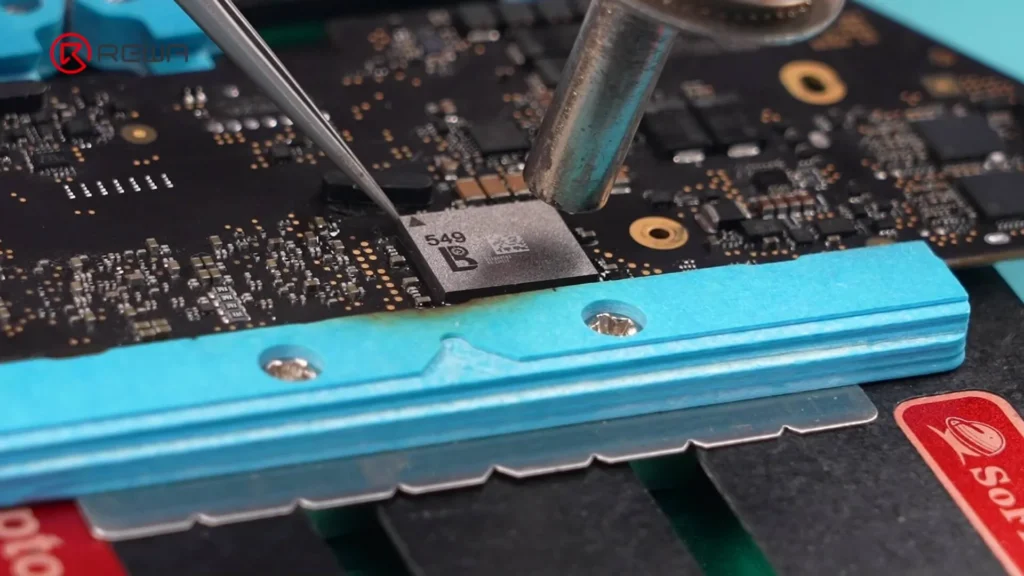
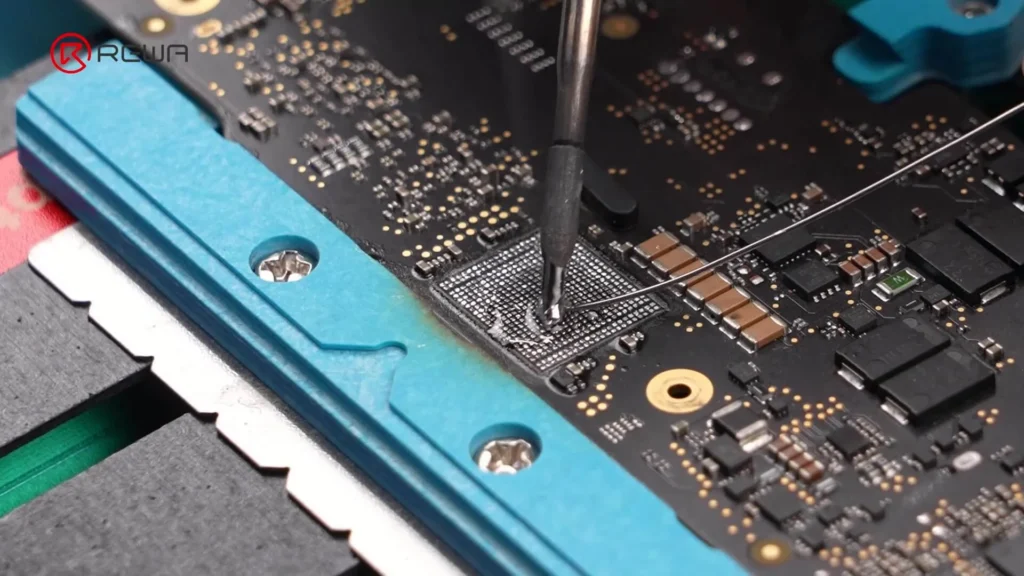
    1. Solicitar flujo y soldadura de media temperatura para neutralizar la soldadura a alta temperatura de las almohadillas, lo que reduce el riesgo de reinstalación.
    2. Calentar alrededor de las almohadillas y retirar el adhesivo negro con una rasqueta.
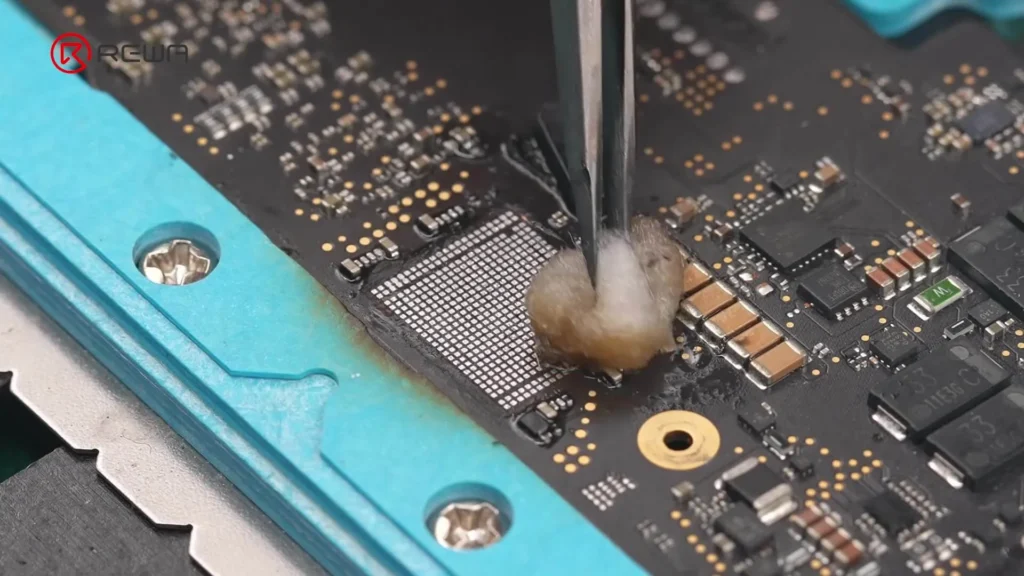
    3. Limpie las almohadillas con Limpiador de PCB.
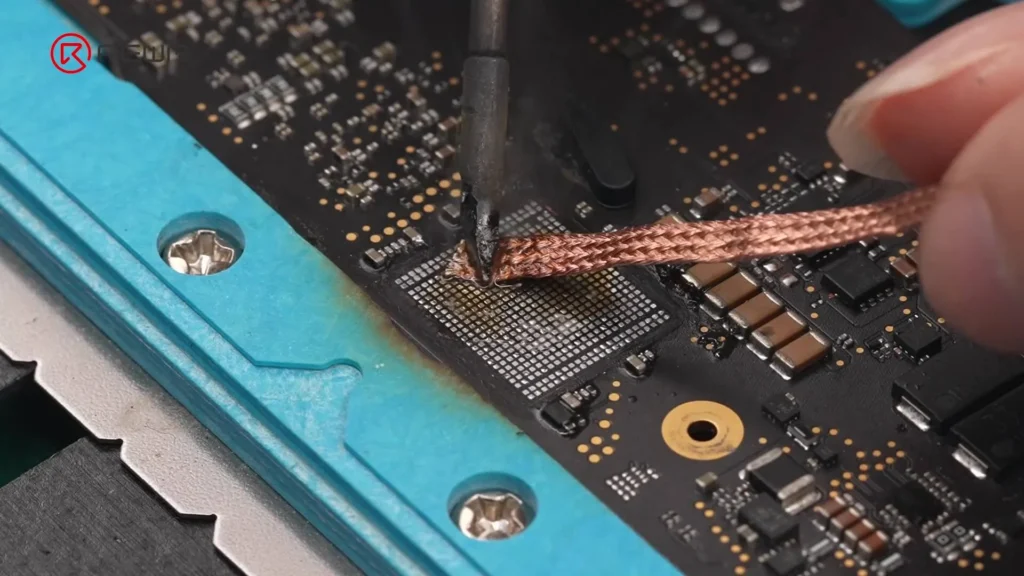
    4. Aplique fundente de nuevo y utilice mecha de soldadura para eliminar todos los restos de soldadura.
    5. Limpie las almohadillas con Limpiador de PCB - algodón humedecido.
    Paso 6: Programar el nuevo chip Wi-Fi

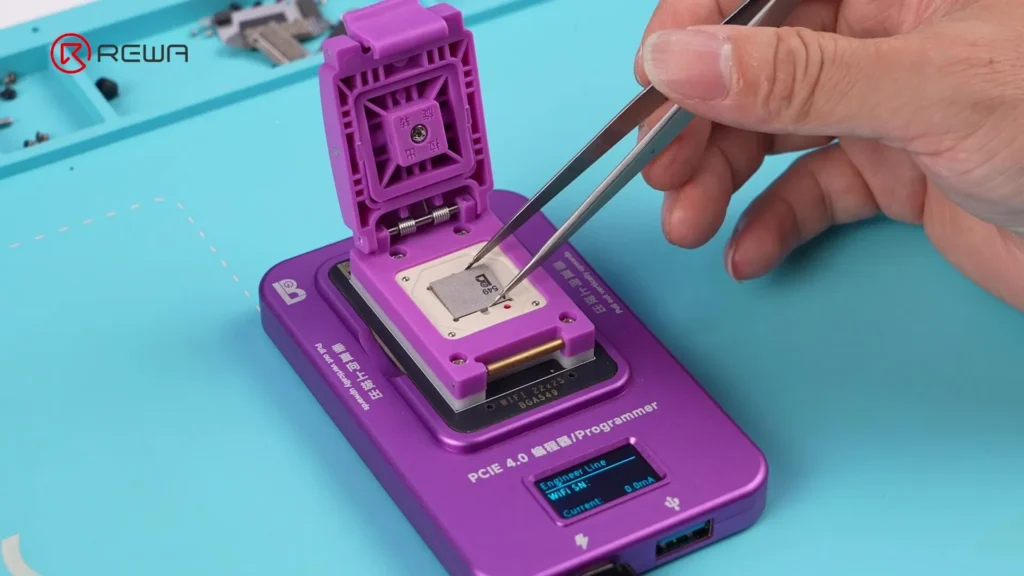
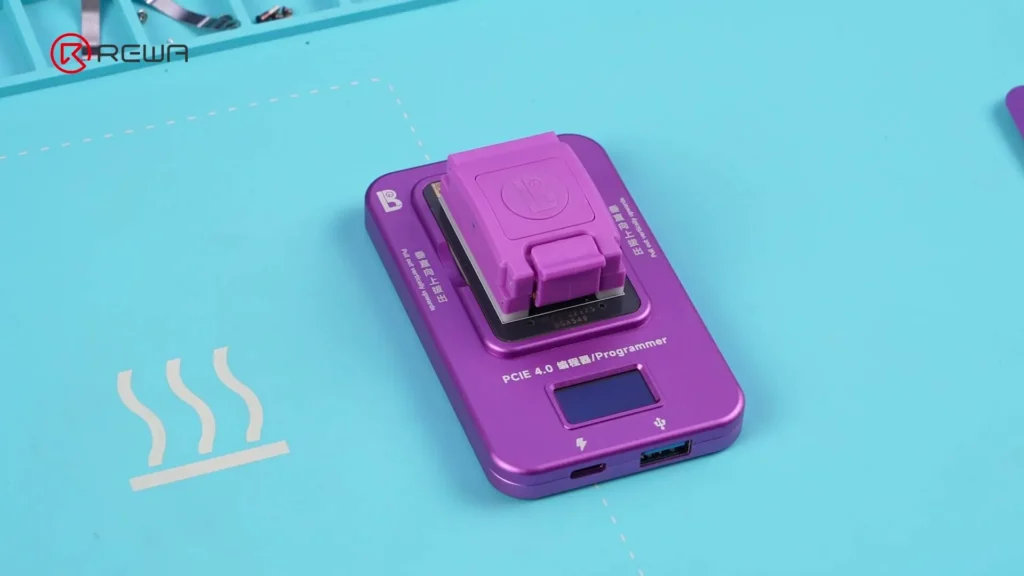
    1. Instale el Módulo de reparación Wi-Fi para MacBook en un programador.
    2. Inserta el nuevo chip Wi-Fi en el módulo.
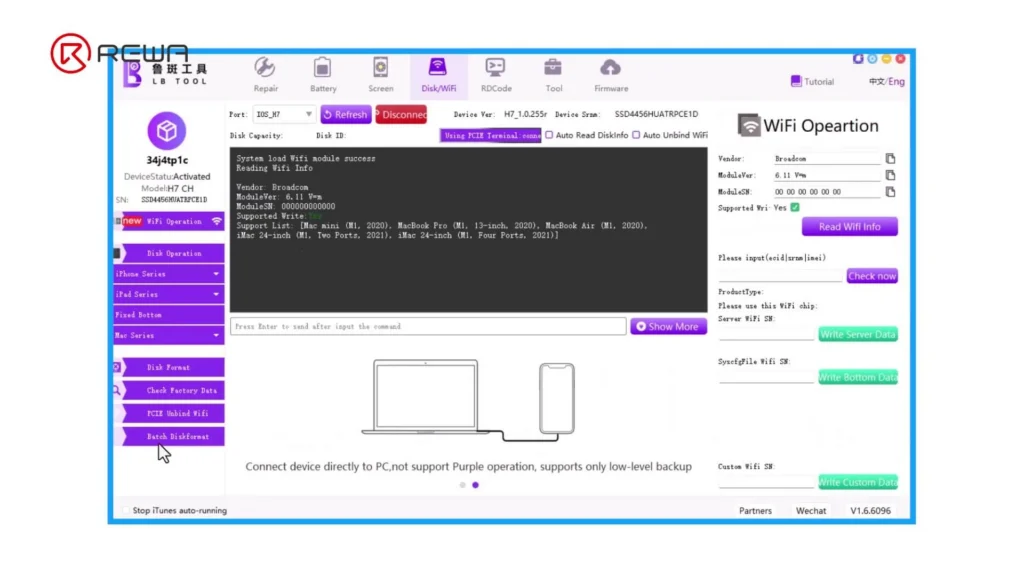
    3. Conecte el programador a un ordenador que ejecute Software LB Tool.
    4. Espere a que el software lea el nuevo chip.
    5. Introduzca el ECID grabado antes.
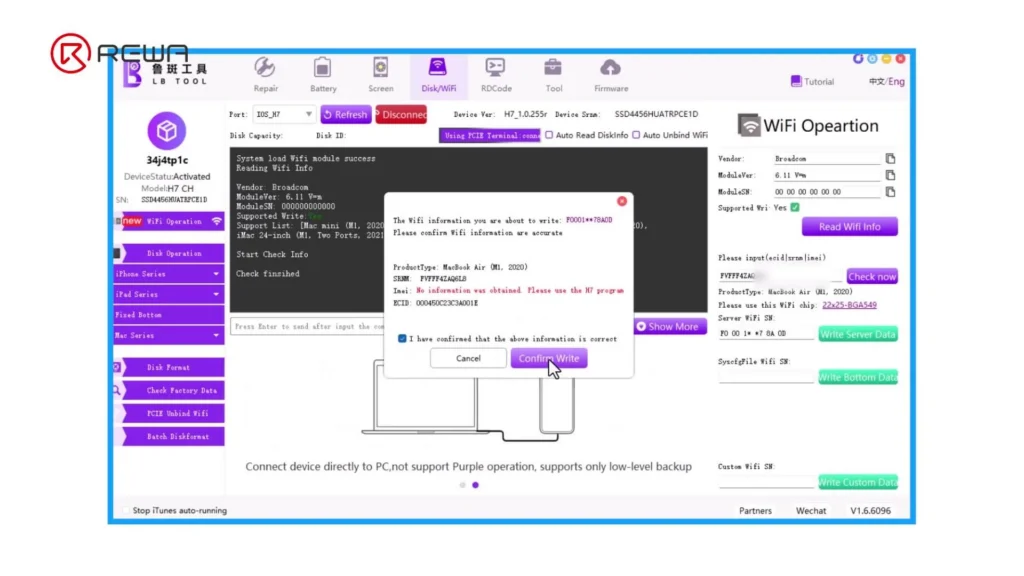
    6. Haz clic en Compruébelo ahora - los campos de datos requeridos se rellenarán automáticamente.
    7. Haz clic en Escribir datos del servidor → confirmar → Confirmar escritura.
    8. Espere a que la escritura se complete - el éxito se muestra cuando "PASE" aparece.
    Paso 7: Reball e instalar el nuevo chip

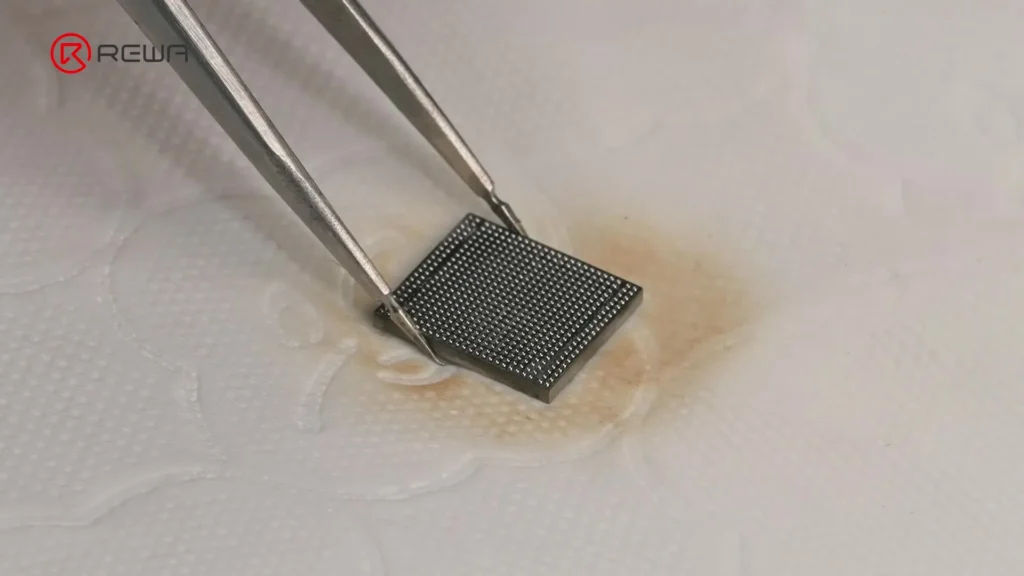
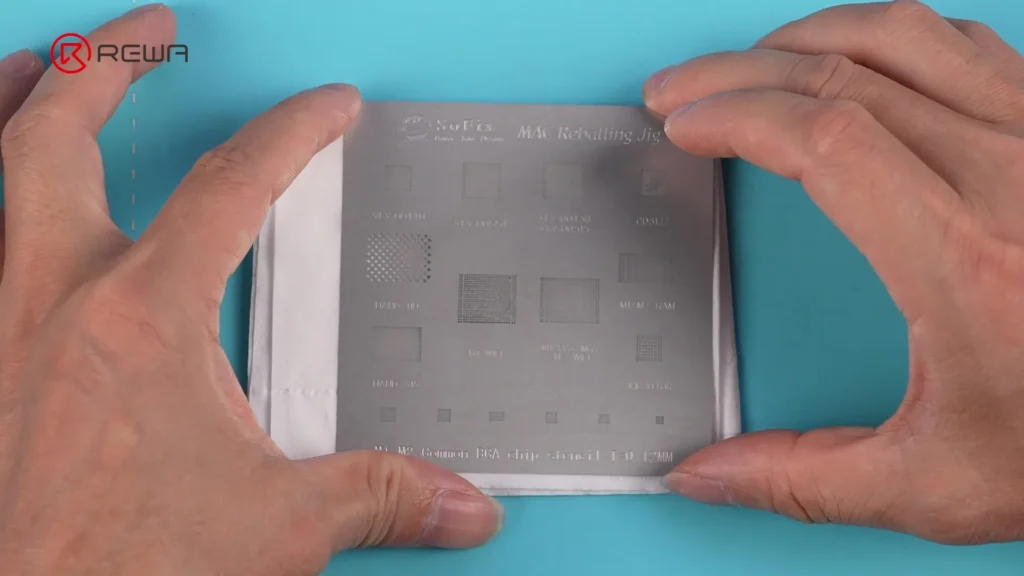
    Reballing garantiza que el chip tenga bolas de soldadura frescas y uniformemente espaciadas para una conexión segura.

    1. Alinear un plantilla de soldadura con las almohadillas para chips.
    2. Difundir pasta de soldadura de temperatura media sobre la plantilla.
    3. Calentar con una pistola de aire caliente hasta que la soldadura forme bolas.
    4. Aplique fundente a las almohadillas de los chips.
    5. Caliente brevemente las almohadillas para alisar las bolas de soldadura.
    6. Aplique fundente a las almohadillas de la placa base.
    7. Coloque el chip con precisión utilizando unas pinzas.
    8. Calentar en un movimiento en el sentido de las agujas del reloj para asegurar las uniones soldadas.
    9. Golpee suavemente con unas pinzas para confirmar la estabilidad.
    10. Enfriar rápidamente con un ventilador.
    Paso 8: Probar y volver a montar

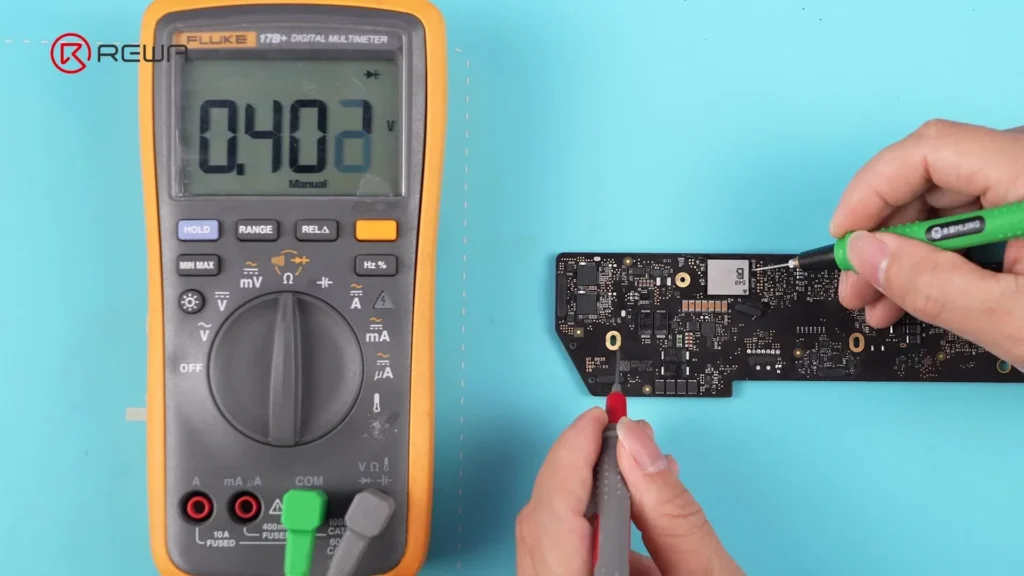
    1. Utilice un multímetro para probar los condensadores alrededor del chip - las lecturas deberían ser normales.
    2. Vuelva a instalar el disipador de calor.
    3. Vuelva a instalar el placa base.
    4. Vuelva a conectar el cable de la batería.
    5. Vuelva a colocar el minúsculas.
    6. Conecta un cargador para reactivar la batería.
    7. Arranca el MacBook y comprueba la conexión Wi-Fi: ahora debería funcionar.
    8. Verifique ECID no cambia.

    Lista de herramientas y piezas

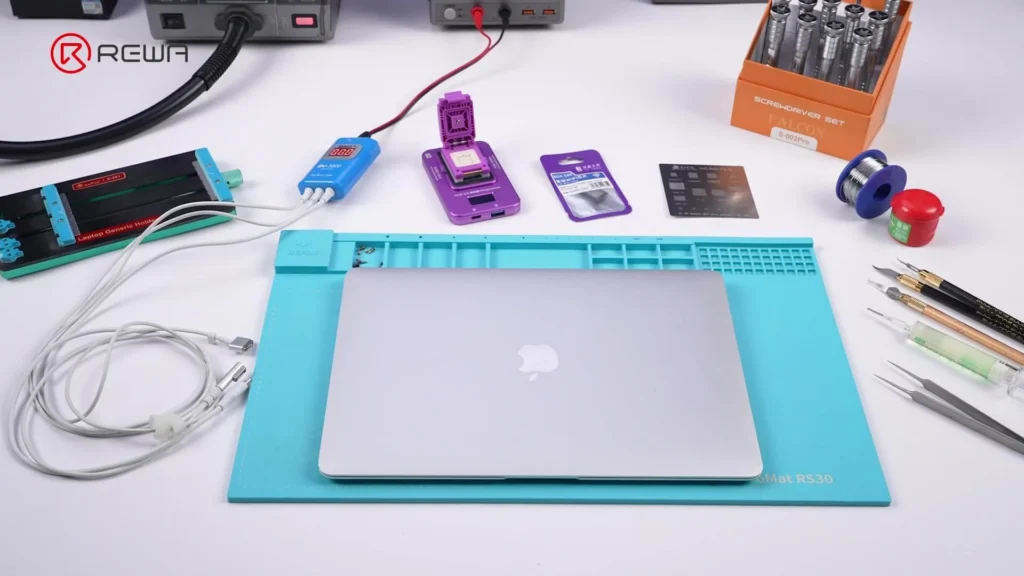
    Herramientas:

    macbook wifi no funciona reparacion

    Materiales:

    • Flux
    • Soldadura a media temperatura
    • Pasta de soldar
    • Limpiador de PCB
    • Bastoncillos de algodón

    Piezas:

    • Nuevo chip Wi-Fi (compatible con el modelo MacBook)
    • Módulo de reparación Wi-Fi para MacBook
    • Dispositivo programador (compatible con LB Tool)

    Software:

    • Software LuBan

    Preguntas frecuentes

    ¿Qué es la ECID y por qué es importante?

    El ECID (Exclusive Chip ID) es un identificador único para los componentes de su MacBook. Al sustituir el chip Wi-Fi, el ECID debe reescribirse en el nuevo chip para garantizar la compatibilidad con la placa base.

    ¿Puedo realizar esta reparación sin herramientas profesionales?

    No - este procedimiento requiere herramientas de precisión, conocimientos de soldadura y un software específico. Si lo intentas sin el equipo adecuado, corres el riesgo de dañar la placa base.

    ¿Sustituir el chip Wi-Fi es más barato que sustituir la placa base?

    Sí, la sustitución del chip Wi-Fi es bastante más barata y ecológica, ya que evita sustituir toda la placa lógica.

    ¿Este arreglo también restablecerá el Bluetooth?

    Sí, dado que Wi-Fi y Bluetooth comparten el mismo chip, al sustituirlo se restablecen ambas funciones.

    ¿Cuánto dura la reparación?

    Con las herramientas y la experiencia adecuadas, suele llevar entre 1 y 2 horas.

    Conclusión:

    Desde hace años, MacBook El fallo del chip Wi-Fi suponía sustituir toda la placa lógica, un método costoso y derrochador. Gracias al innovador método de REWA Tech, ahora es posible sustituir el chip Wi-Fi/Bluetooth integrado en los MacBooks de la serie M, conservando la placa original y ahorrando importantes costes de reparación.

    Con las herramientas, el software y los conocimientos adecuados, los técnicos profesionales y los bricoladores avanzados pueden restaurar con éxito la funcionalidad inalámbrica completa. Tome siempre precauciones ESD, utilice fundente y soldadura de calidad y asegúrese de programar el ECID con precisión para que la reparación sea duradera.
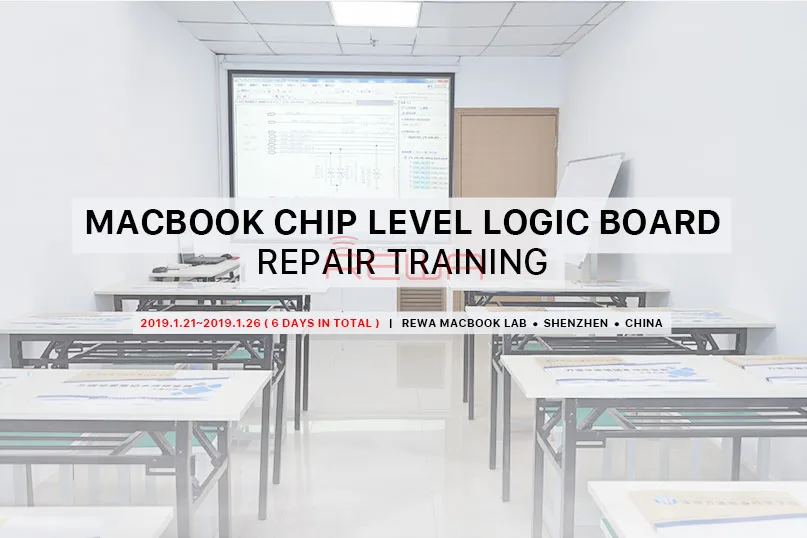
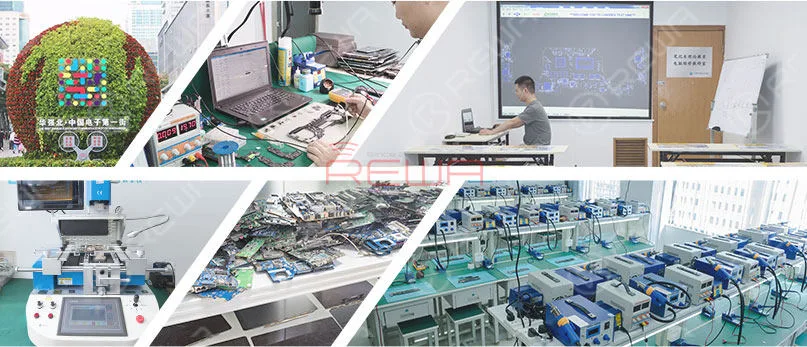
  • Reparación de la placa lógica del MacBook con REWA

    Reparación de la placa lógica del MacBook con REWA

    En los últimos años, Apple ha seguido aumentando su cuota de mercado global de MacBook como fabricante líder de PC con Windows.

    Según los últimos datos, el MacBook representa ya casi el 10% de todos los PC que se utilizan actualmente.

    Entretanto, el mercado de reparación de estos aparatos también ha crecido rápidamente con los años.

    Sin embargo, difícilmente se puede acceder a Formación en reparación de MacBook cursos debido a la falta de ingenieros y escuelas de reparación.

    Por eso hemos llevado a cabo este proyecto de formación sobre MacBook para ayudarle a destacar entre sus competidores y duplicar sus beneficios.

    Descripción del curso:

    Los cursos están diseñados para ayudar a los técnicos nuevos y experimentados a dominar todos los niveles de reparación de MacBook y salir de ellos con los conocimientos y habilidades prácticas para utilizarlos inmediatamente en su negocio.

    Curso REWA de reparación de placas lógicas de MacBook

    Horario del curso:

    Día 1: Introducción a los modelos de MacBook y a la configuración de su placa lógica.
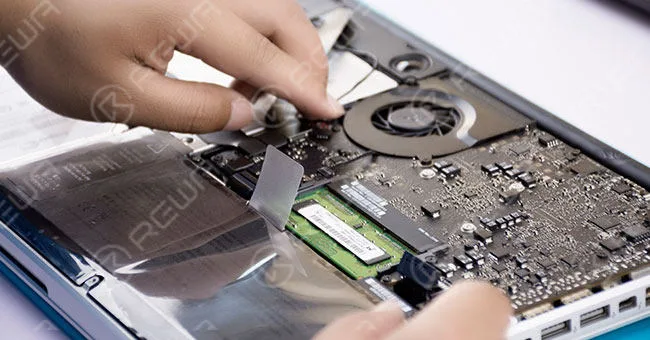
    Desmontaje y montaje de pantallas. Sustitución de piezas de repuesto de MacBook.
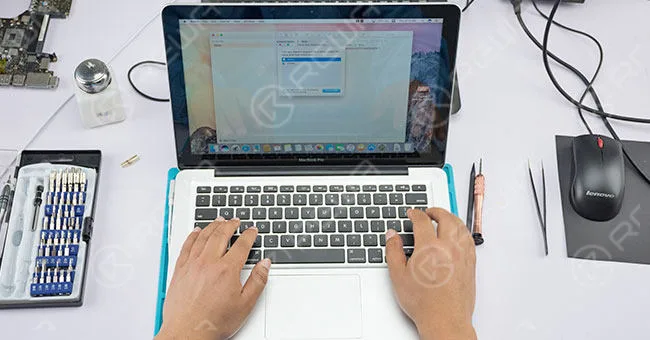
    Día 2: Introducción de la secuencia de arranque del MacBook Pro A1502.

    Desmontaje y montaje de chips SMC. Reparación de circuitos integrados dañados por líquidos.

    Día 3: Introducción a la secuencia de arranque del MacBook A1706, A1707.

    Sustitución de chips BGA con BGA Rework Station.

    Día 4: Actualización de RAM y SDRAM para MacBook Air y MacBook Pro.

    Cambiar la configuración de la tarjeta gráfica en A1286. Soldadura y desoldadura de chips. Modificación del circuito de la placa lógica.

    Día 5: MacBook Air & Pro todos los modelos firmware unlocking y PIN code unlocking.

    Solución de problemas de MacBook in situ. Uso del osciloscopio.

    Día 6: Problemas comunes y correcciones de MacBook. Solución de problemas de MacBook por medición de corriente.

    Duración del curso:

    21 de enero de 2019 - 26 de enero de 2019 (6 días en total)

    Lugar de formación:

    REWA MacBook Lab, Shenzhen, China

    Tasa de formación: Sólo 1499 USD

    Este precio incluye cursos, materiales y traducción.

    Los gastos de comida, alojamiento y transporte no están incluidos.

    Plazo de solicitud:

    12 de enero de 2018 (Plazas limitadas.)

    Cualquier persona que tenga la intención de mejorar sus habilidades de reparación de MacBook puede tomar este curso.

    El curso le dotará de los conocimientos avanzados sobre cómo reparar el MacBook.

    Presenta tu solicitud y empieza a convertirte en experto en reparación de MacBook hoy mismo.

    Todo está listo, sólo tus acciones INSCRÍBETE AHORA

    Si tiene alguna pregunta, no dude en ponerse en contacto con nosotros: training@rewatechnology.com

  • Enciende todos los MacBook con 1 cable - Cable de alimentación para MacBook (BY-3200)

    Enciende todos los MacBook con 1 cable - Cable de alimentación para MacBook (BY-3200)

    Today, REWA Lab will introduce the MAC Power Cable (BY-3200), a boot cable product for MacBook repair. The BY-3200 features 3 interfaces (Type-C, T-style, and L-style) for the whole series 2008-2021 MacBook, providing power for different MacBook by simply connecting to a DC power supply. The BY-3200 mainly supports different power of fast charging, start-up and system entry with a single motherboard, boot current reading, etc.

    Recommended Items:

  • Una forma eficaz de diagnosticar los fallos del MacBook y reparar el número de serie (EBC-820)

    Una forma eficaz de diagnosticar los fallos del MacBook y reparar el número de serie (EBC-820)

    In daily MacBook repair, motherboard component failure is the most common problem. For repair technicians, the most complicated process is not repairing, but finding the fault. In response to this situation, we introduce a MacBook repair assistant EBC-820 that can help repair technicians pinpoint the fault before repair. Check out this video and see how EBC-820 works!

    Productos recomendados en este vídeo:

  • Reparación de la pantalla LCD del MacBook - Fácil reparación con Air Slice Tool

    Reparación de la pantalla LCD del MacBook - Fácil reparación con Air Slice Tool

    The MacBook LCD repair is obviously more cost-effective than the replacement of the entire MacBook display assembly. However, single MacBook display replacement can be really difficult. It requires professional skills of technicians. Well, check our video today and you can see how the technician removes the display with just two pieces of Air Slice instead of the use of a Hot Air Gun. Which can greatly reduce the difficulty of MacBook screen replacement. 

  • Desbloquea cualquier MacBook(2010-2017) con esta impresionante herramienta

    Desbloquea cualquier MacBook(2010-2017) con esta impresionante herramienta

    En nuestro video anterior presentamos una fantástica herramienta para desbloquear MacBooks. Con la ayuda de esta Herramienta de Desbloqueo de MacBook, puedes desbloquear todas las series de MacBook (2010-2017). Además, todos los datos permanecen intactos después del desbloqueo y no es necesario reinstalar el sistema operativo. Aun así, algunos clientes tienen preguntas sobre cómo funciona. Mira nuestro video de hoy y descubrirás cómo se aplica esta herramienta de desbloqueo de MacBook a diferentes modelos de MacBook. 

  • MacBook Pro 2017 no se enciende guía de solución de problemas

    MacBook Pro 2017 no se enciende guía de solución de problemas

    Different from previous models in exterior design and interior logic board circuit construction, MacBook Pro 2017 A1708 is further difficult to be repaired. This time we will show you a complex MacBook won’t turn on repair case caused by multiple faulty components like capacitors, inductors etc.. If you are facing MacBook won’t power on problem, please check the video for MacBook pro fault troubleshooting guide.

  • Reparación de MacBook Air 2015 sin retroiluminación

    Reparación de MacBook Air 2015 sin retroiluminación

    MacBook Air no backlight and all you see is black screen? Typically, MacBook backlight not working issue is caused by the damage of backlight IC. However, the situation is much more complicated in this video. The damage of booster diode leads to the no backlight issue of MacBook Air. Check the video for the detailed diagnosis&troubleshooting process and bring your MacBook back to life.

  • Solución de Chip EFI para Reparación de Desbloqueo de MacBook

    Solución de Chip EFI para Reparación de Desbloqueo de MacBook

    Recently, REWA has received a batch of MacBook locked by hackers. Users might be confused by the definition of PIN lock and EFI firmware lock. And the way they might have affected the Macbook. With this blog we will share an EFI chip solution regarding to the MacBook unlock issue. please stay tuned for the next two chapters of MacBook unlock.

    Solución de Chip EFI para Reparación de Desbloqueo de MacBook

    Solución de Chip EFI para Reparación de Desbloqueo de MacBook

    The MacBook Pro requires PIN to login. Give the PIN a try, yet PIN failed.

    Solución de Chip EFI para Reparación de Desbloqueo de MacBook

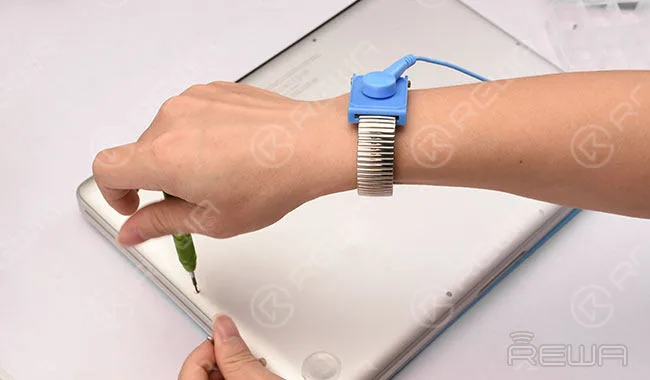
    Power off. Then hold Option Key and power on. Another LOCK appears on the pop up window. We can draw the conclusion that the MacBook has been Locked by Hackers, since both two passwords failed.

    Power off. Then hold Option Key and power on. Another LOCK appears on the pop up window. We can draw the conclusion that the MacBook has been Locked by Hackers, since both two passwords failed.

    Confirm the MacBook SN first.

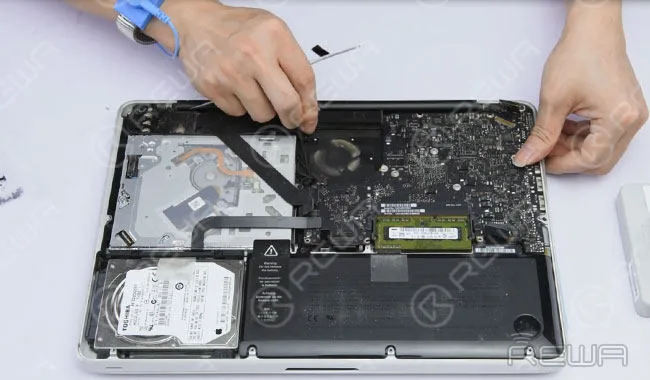
    Remove the lower case and disconnect the primary battery.

    Remove the lower case and disconnect the primary battery.

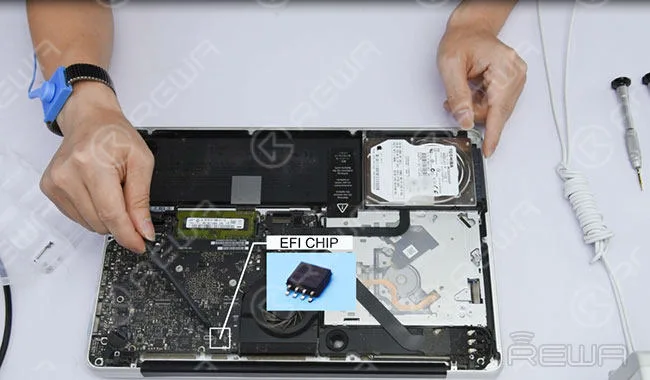
    Locate the EFI chip that stores information. This chip is the key to the unlocking process.

    Locate the EFI chip that stores information. This chip is the key to the unlocking process.

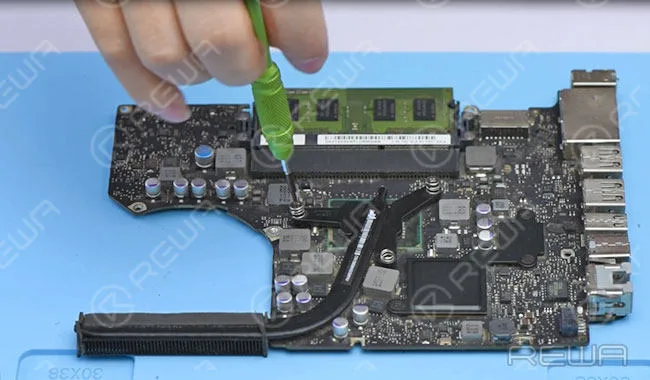
    Then take out the logic board and remove heat sink afterwards. (Logic board is removed from the MacBook to avoid damage to other components during the repairing process.)

    Then take out the logic board and remove heat sink afterwards. (Logic board is removed from the MacBook to avoid damage to other components during the repairing process.)

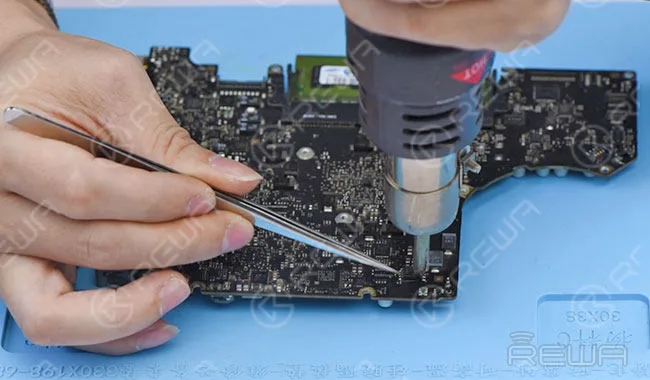
    Detach the EFI chip from the logic board and then clean the chip.

    Detach the EFI chip from the logic board and then clean the chip.

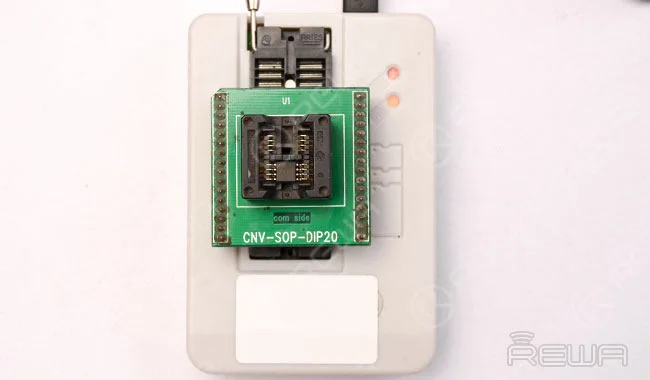
    Install the chip onto the unlock tool.

    Install the chip onto the unlock tool.

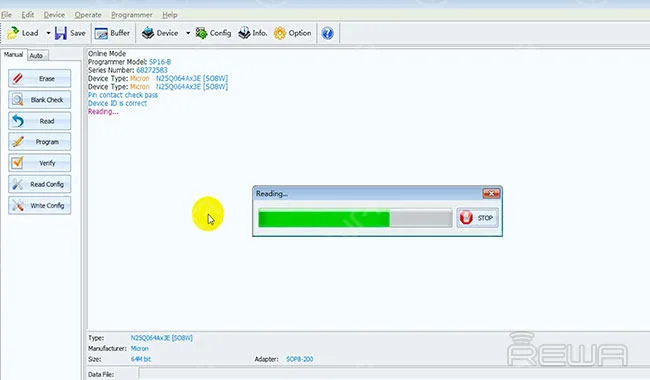
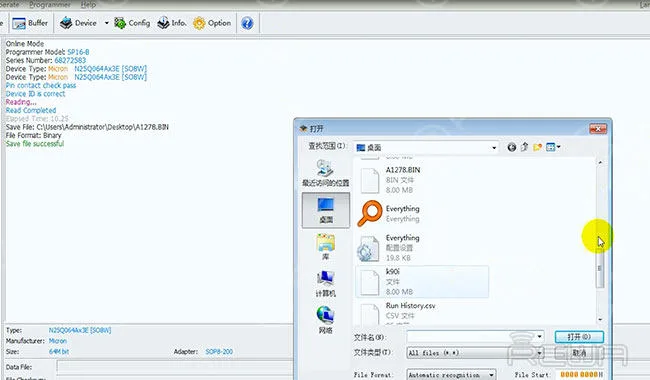
    Connect with the unlock software. Input the chip model number, then Read and backup chip data.

    Connect with the unlock software. Input the chip model number, then Read and backup chip data.

    Load a specific firmware data. Improper firmware may result in unsuccessful unlocking or slow system after successful unlocking.

    Load a specific firmware data. Improper firmware may result in unsuccessful unlocking or slow system after successful unlocking.

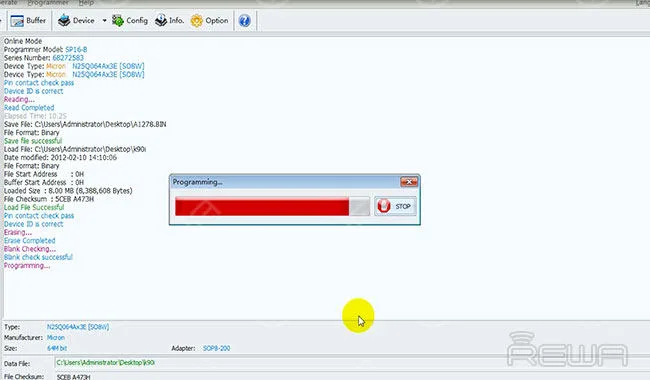
    Clear raw data, and write new data. Once finished, take down the EFI chip.

    Clear raw data, and write new data. Once finished, take down the EFI chip.

    Solder the chip to the logic board, then clean with PCB cleaner.

    Solder the chip to the logic board, then clean with PCB cleaner.

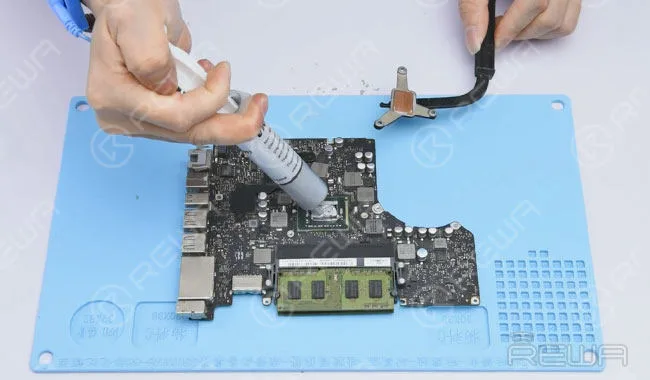
    Apply some thermal paste and install heat sink.

    Apply some thermal paste and install heat sink.

    Get the logic board installed.

    Get the logic board installed.

    Press DC Power button to power up.

    Press DC Power button to power up.

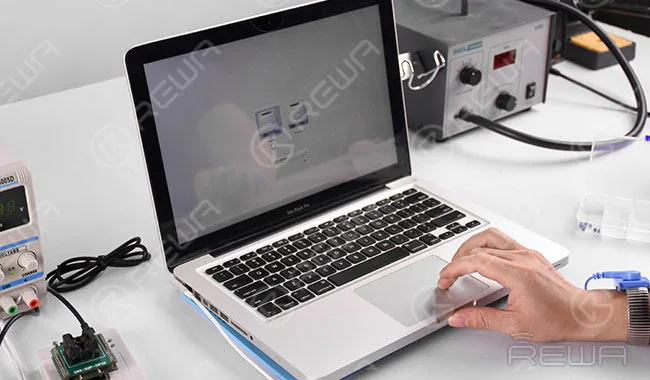
    Erase NVRAM and power up (press option+command+R+P+power button). MacBook unlocked successfully. OS X can be re-installed now.

    Erase NVRAM and power up (press option+command+R+P+power button). MacBook unlocked successfully. OS X can be re-installed now.

    Aviso:

    Load the specific EFI firmware that matches the MacBook model for unlocking process;

    There are two types of lock for MacBook, PIN and EFI firmware lock;

    Unlock MacBook does not affect the local data;Once locked, if the data hasn’t been erased, then the data remains the same after unlocking;

    Once locked, if the data has been erased, then you need to reinstall the system after unlocking.

    For more details on Macbook unlock Repair guide, please go to Canal YouTube de REWA.

    You can check out Macbook air ram upgrade guide.

  • Reparación de MacBook sin pantalla

    Reparación de MacBook sin pantalla

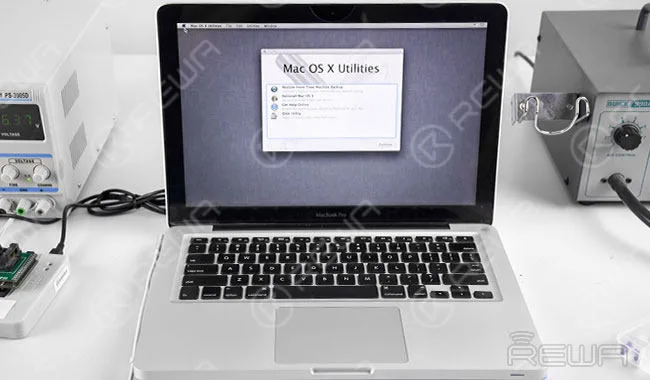
    Recently we noticed some complaints about MacBook air stuck in some peculiar issue during system boot. When your MacBook air is booting to a completely black screen, don’t be panic. REWA here presents you a quick fix for MacBook no display problem with some troubleshooting steps. This solution diagnosed the cause of MacBook black screen step by step and solve the issue by replacing the chip U7701. For more videos related to chip level motherboard repair tutorials, please subscribe our channel.

    Herramientas utilizadas: 

    • Repuestos MacBook
    • Multímetro
    • Heat Resistant Insulation Pad
    • Pistola de aire caliente
    • Soldador
    • Pasta de soldar fundente para bandas BGA
    • Destornilladores
    • Palanca de plástico
    • Muñequera antiestática
  • Cómo solucionar que un MacBook Pro no encienda

    Cómo solucionar que un MacBook Pro no encienda

    When your Macbook doesn’t turn on, your first guess should be your Mac has run out of battery. If it’s not the case, you need to search more other reasons. We might have browsed a series of posts or threads like MacBook Pro No Power on; MacBook Power Key Not Working; MacBook won’t turn on etc.. This problem usually relates to one of two things. Either the display is malfunctioning, which means the computer is on, and you just can’t see that it is, or there is some kind of power-related issue that is preventing it from turning on as expected. REWA LAB has been working on MacBook repair these days, and in this tutorial we look at the steps you need to take to fix your MacBook Pro 13” A1278 if it won’t turn on when pressing the power button. 

    Detail steps to teach you How to fix your MacBook Pro or Air won’t turn on :

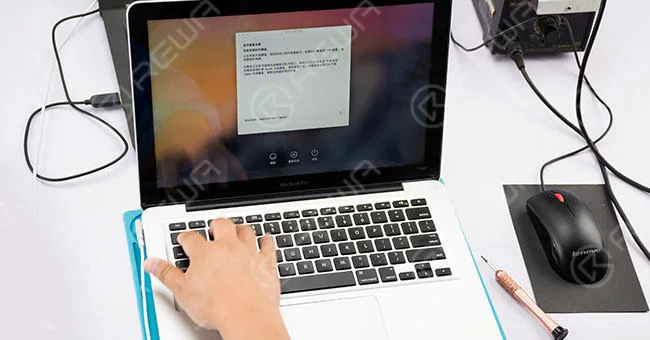
    1. Power Button Power Up Testing

    Power button power up-failed. Plug in AC adapter to power up- successful.

    2. Keyboard And Trackpad Testing

    Keyboard and Trackpad no function.

    Preliminary Diagnosis

    Trackpad and keyboard module broke down.

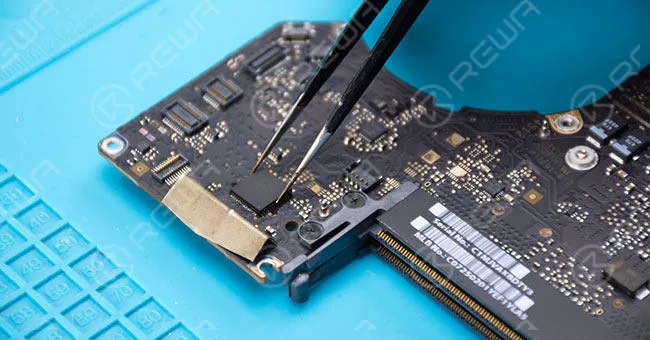
    3. MacBook Disassembling

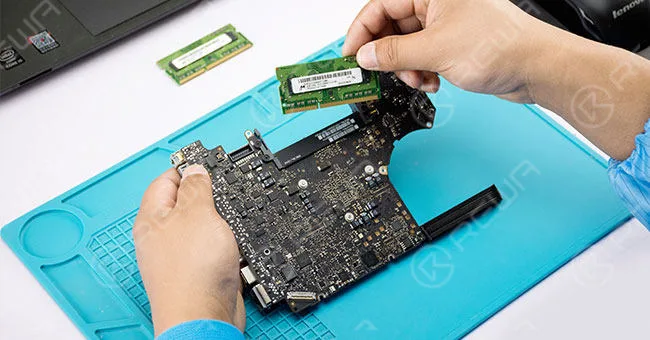
    Disassemble the MacBook and disconnect flex cables. Remove screws and detach the motherboard. Then remove the memory.

    4. Motherboard Superficial Inspection

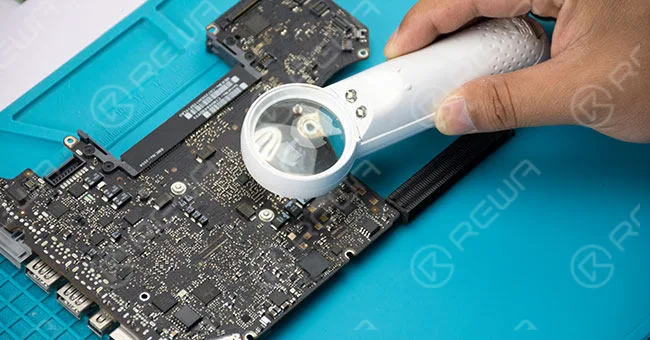
    Motherboard superficial inspection with the help of a handhold magnifier.

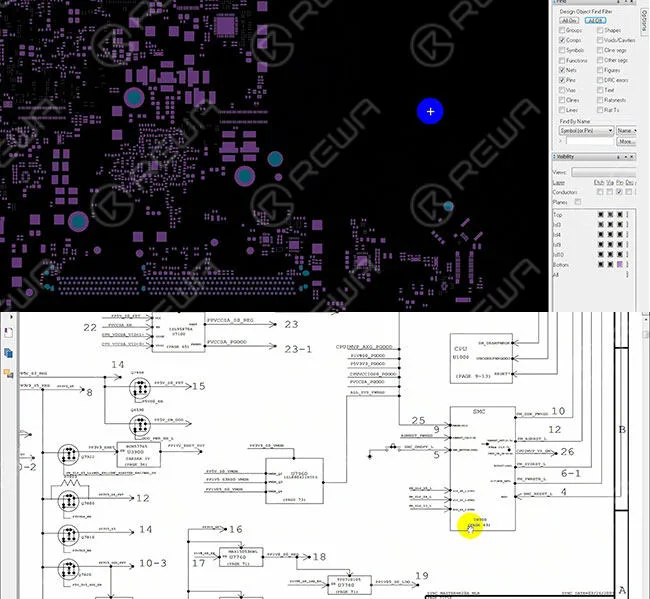
    5. Maintenance Drawing Referring

    Roll out the maintenance bitmap and the circuit diagram for reference. Roll out Motherboard framework drawing and motherboard power system architecture afterwards.

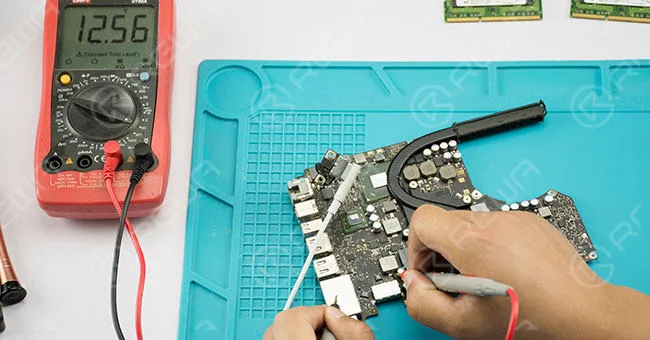
    6. Motherboard Voltage Testing

    Locate voltage 12.56 V, common point voltage 3.42V, voltage 5V, voltage 3.3V, voltage 1.5V, voltage 1.0V, voltage 0.9V, voltage 1.1V. Connect AC adapter and test them with digital multimeter – all display normal value.

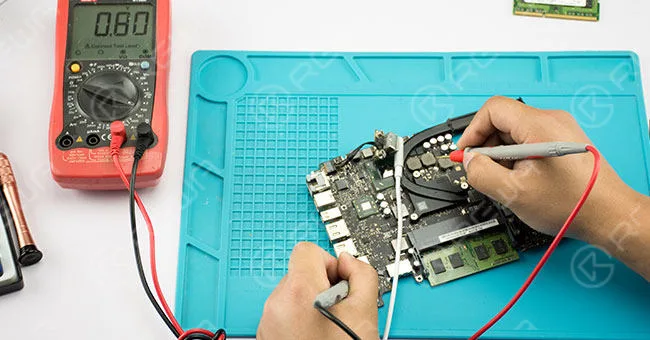
    Disconnect AC adapter and install the memory. Then connect AC adapter and test, voltage value jumps from 1.1V to 0.8V- normal circuit.

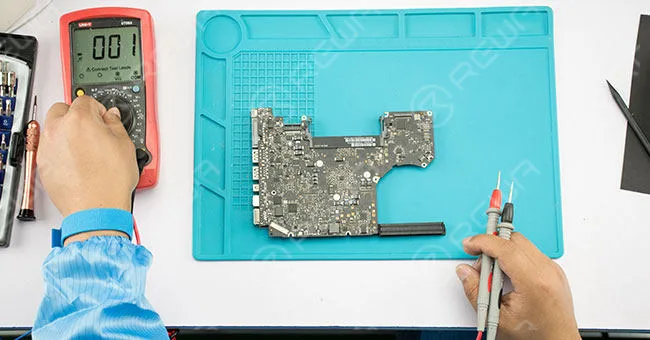
    7. Resistance Testing

    Test keyboard port pins and peripheral component value with diode mode. Then connect AC adapter and test keyboard port power supply voltage with digital multimeter. Resistor R5704.1 displays no voltage (3.3V under normal circumstances).

    Diagnóstico

    Analyze with the help of maintenance bitmap and circuit diagram – U5701 broke down.

    8. U5701 IC Replacing

    Use a metal plate to protect keyboard port from high temperature, then take down the damaged U5701 IC with hot air gun. Apply some BGA paste flux to the bonding pad and align the new IC with hot air gun.

    After that, test R5704.1 with digital multimeter again – 3.3V (normal value).

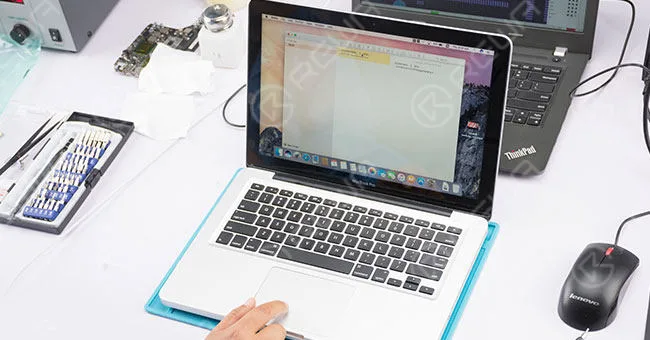
    9. Assembling and Testing

    Assemble the MacBook. Power button power up-failed. Plug in AC adapter to power up- successful.

    Keyboard and Trackpad work normally.

    Diagnóstico

    Keyboard power button no response  – keyboard need to be replaced.

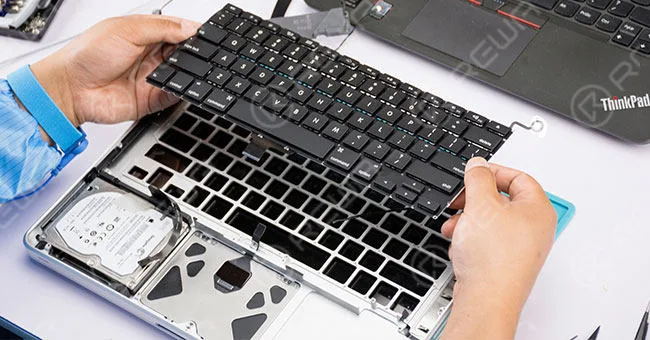
    10. Keyboard Replacing

    Disconnect flex cables and detach the motherboard. Then detach the old keyboard and install a new keyboard.

    11. Assembling and Testing

    Assemble the MacBook. Power button power up-successful. Keyboard and Trackpad work normally.

    12. Final Fault Diagnosis

    Keyboard and motherboard IC broke down resulted in the “not turning on” problem.

    Herramientas utilizadas:

    • Multímetro
    • Destornillador
    • Pinzas
    • Pistola de aire caliente
    • Soldador
    • Fundente para pasta BGA
    • Anti – static Glass Wiper
    • Alambre de soldadura
  • Cómo solucionar que un MacBook Pro no encienda

    Cómo solucionar que un MacBook Pro no encienda

    “Every day starts, my eyes open and I reload the program of misery.

    I open my eyes, remember who I am, what I’m like, and I just go, ‘Ugh’.”

    You may have heard this famous sentence from a popular TV show or read it in a daily newspaper.

    We human beings start a day from opening our eyes, whereas computers start their day with the power button on their body.

    It is well known that Macs are well built and for the most part reliable.

    Still, they are computers and computers need to wake up before getting to work.

    However, we’ve noticed a number of “My MacBook Pro won’t turn on” posts, and solutions are not so easy to be found.

    Theoretically speaking, ‘MacBook Pro won’t turn on’ problem usually relates to one of two things.

    Either the display is malfunctioning, which means the computer is on, and you just can’t see that it is.

    Or there is some kind of power-related issue that is preventing it from turning on as expected.

    REWA LAB has been working on MacBook repair these days, and in this tutorial, we look at the steps you need to take to fix your MacBook Pro 13″ A1278  if it won’t turn on when pressing the power button.

    Power Button Power Up

    TestingPower button power up-failed. Plug in AC power adapter to power up- successful.

    Fix MacBook Pro

    Keyboard And Trackpad TestingKeyboard and Trackpad no function.

    Fix MacBook Pro Won't Turn On

    Preliminary  DiagnosisTrackpad and keyboard module broke down.

    Desarme de MacBook

    Disassemble the MacBook and disconnect flex cables. Remove screws and detach the motherboard. Then remove the memory.

    DiagnosisTrackpad and keyboard module broke down

    Motherboard Superficial Inspection

    Motherboard superficial inspection with the help of a handheld magnifier.

    Motherboard Superficial InspectionMotherboard

    Maintenance Drawing

    ReferringRoll out the maintenance bitmap and the circuit diagram for reference.

    Roll out Motherboard framework drawing and motherboard power system architecture afterward.

    Maintenance Drawing ReferringRoll out

    Motherboard Voltage Testing

    Locate voltage 12.56 V, common point voltage 3.42V, voltage 5V, voltage 3.3V, voltage 1.5V, voltage 1.0V, voltage 0.9V, voltage 1.1V.

    Connect AC adapter and test them with a digital multimeter – all display normal value.

    Motherboard Voltage TestingLocate voltage 12.56 V

    Disconnect AC adapter and install the memory. Then connect AC adapter and test, voltage value jumps from 1.1V to 0.8V- normal circuit.

    Disconnect AC adapter and install the memory

    Resistance Testing

    Test keyboard port pins and peripheral component value with diode mode.

    Then connect AC adapter and test keyboard port power supply voltage with a digital multimeter.

    Resistor R5704.1 displays no voltage (3.3V under normal circumstances).
    Resistance TestingTest keyboard port pins and peripheral component

    Diagnóstico

    Analyze with the help of maintenance bitmap and circuit diagram – U5701 broke down.

    U5701 IC Replacing

    Use a metal plate to protect keyboard port from high temperature, then take down the damaged U5701 IC with hot air gun.

    Apply some BGA paste flux to the bonding pad and align the new IC with a hot air gun.

    DiagnosisAnalyze with the help of maintenance bitmap and circuit diagram

    After that, test R5704.1 with digital multimeter again – 3.3V (normal value).

    Montaje y Pruebas

    Assemble the MacBook. Power button power up-failed. Plug in AC adapter to power up- successful.

    After that, test R5704.1

    Keyboard and Trackpad work normally.

    Keyboard and Trackpad work normally

    Diagnóstico

    Keyboard power button no response – keyboard need to be replaced.

    Keyboard Replacing

    Disconnect flex cables and detach the motherboard.

    Then detach the old keyboard and install a new keyboard.

    DiagnosisKeyboard power button no response

    Montaje y Pruebas

    Assemble the MacBook. Power button power up-successful. Keyboard and Trackpad work normally.

    Assembling and TestingAssemble the MacBook

    Final Fault Diagnosis

    Keyboard and motherboard IC broke down resulting in the ‘not turning on’ problem.

    Click to watch the video of MacBook Pro Won’t Turn on:

    • Herramientas y piezas utilizadas:
    • Handheld Magnifier
    • Replacement Keyboard for MacBook Pro 13″ A1278
    • Multímetro digital
    • Heat Resistant Insulation Pad
    • Pistola de aire caliente
    • Fundente para pasta BGA

    If you want to order the tools used in the video please go to  https://shop.rewa.tech/ For more details on repairing guide, please go to Canal YouTube de REWA .

    REWA LAB provides screen repair services as well as motherboard repair services for those in need.

    As for LCD refurbish machines, materials, demo videos and technical support, please feel free to contact us via service@rewa.tech or comment below.