Etiqueta: iphone won’t turn on

  • Guía de reparación del problema de que el iPhone 12 Pro Max no enciende

    Guía de reparación del problema del iPhone 12 Pro Max no se enciende

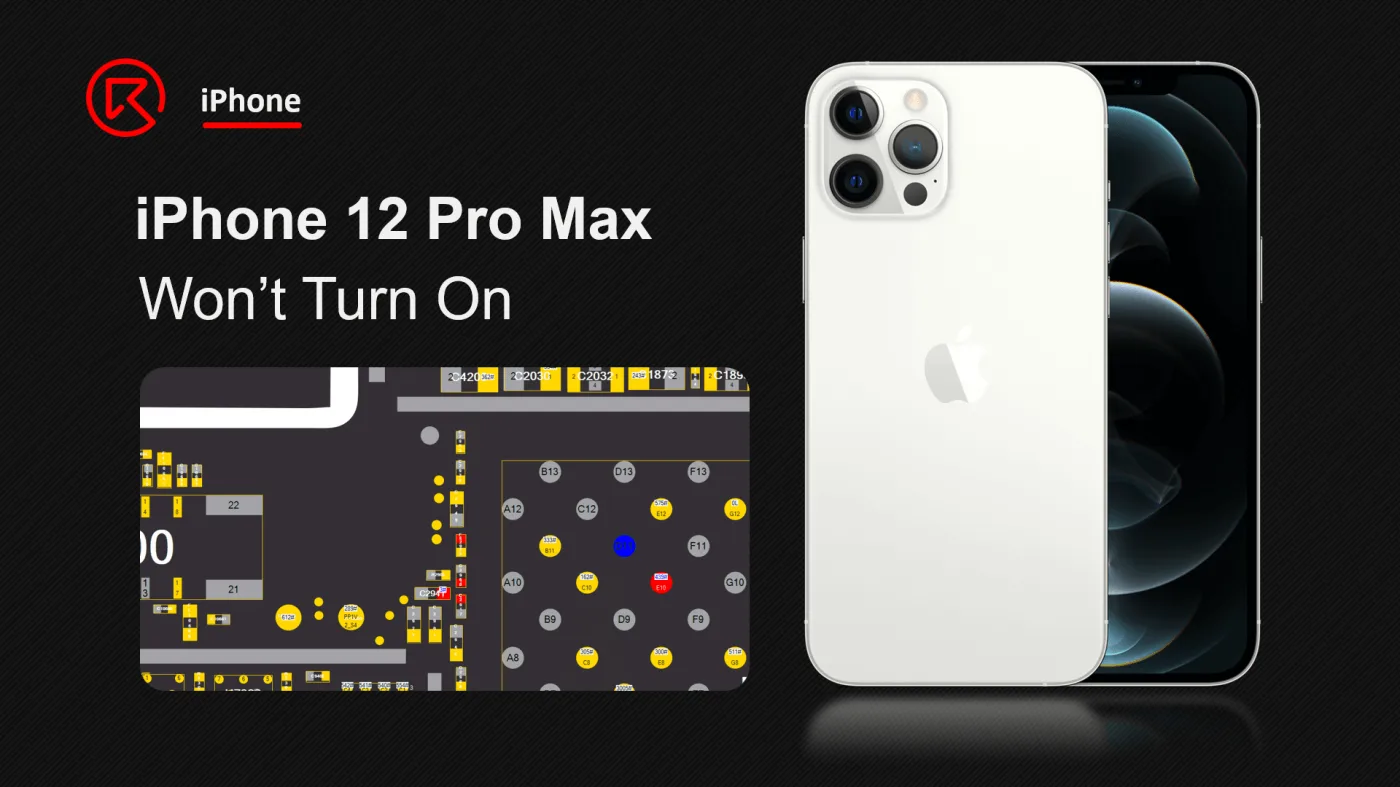
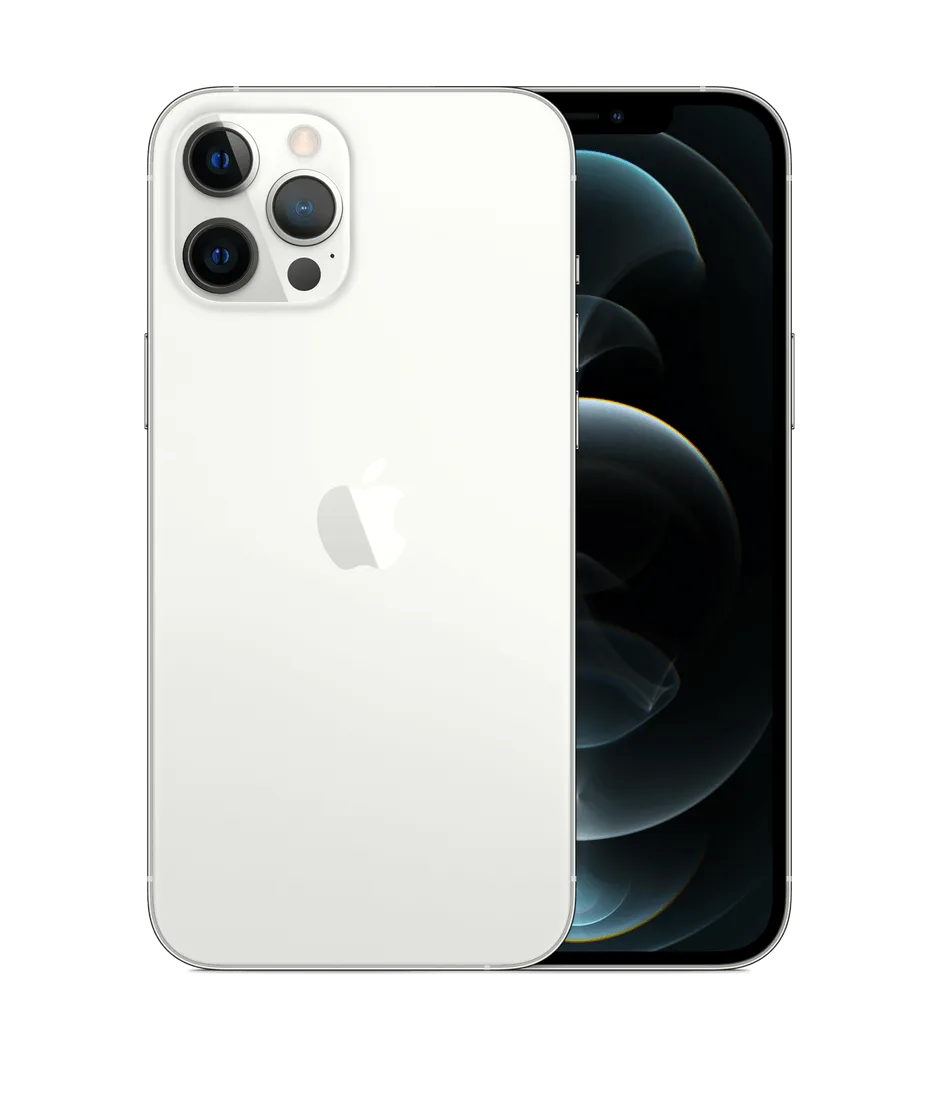
    El iPhone 12 Pro Max, anunciado el 13 de octubre de 2020, es un smartphone de gama alta conocido por sus funciones avanzadas. Sin embargo, una caída grave puede hacer que no se encienda. En esta guía se detallan los pasos para solucionar y reparar este problema.
    iphone 12 pro max cannot charge stuck apple logo

    Teléfono

    Modelo: iPhone 12 Pro Max

    Anunciado: 2020, 13 de octubre

    Fenómeno del defecto

    Es posible que un iPhone 12 Pro Max que haya sufrido daños graves por una caída no se encienda. En tales casos, el siguiente proceso de solución de problemas y reparación puede ser útil.

    Proceso de resolución de problemas

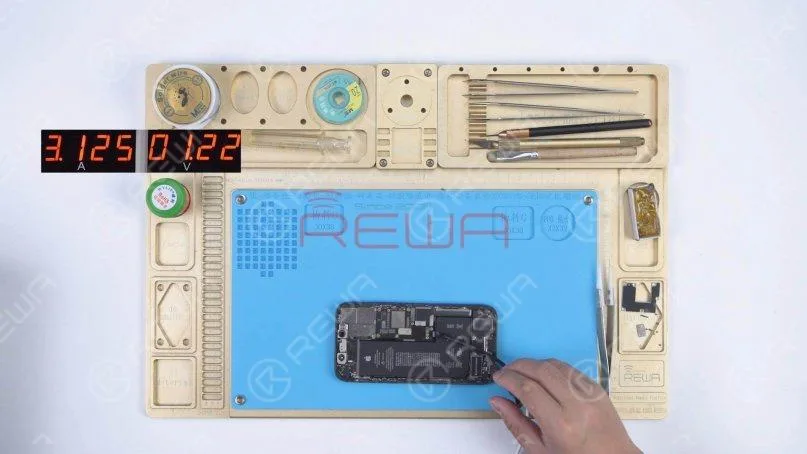
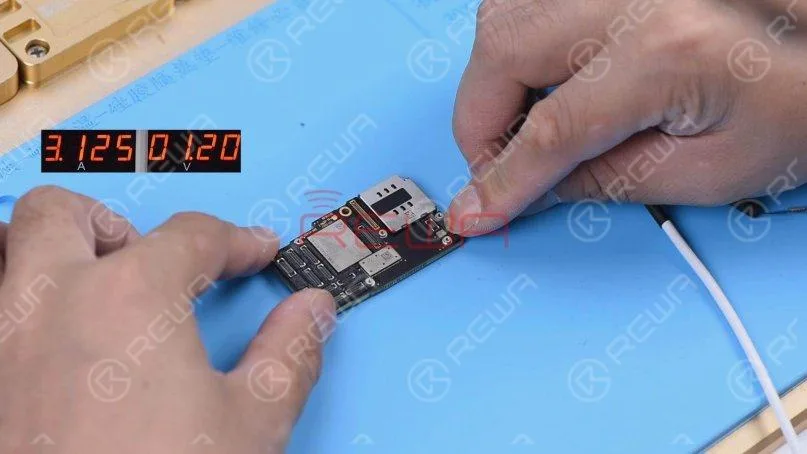
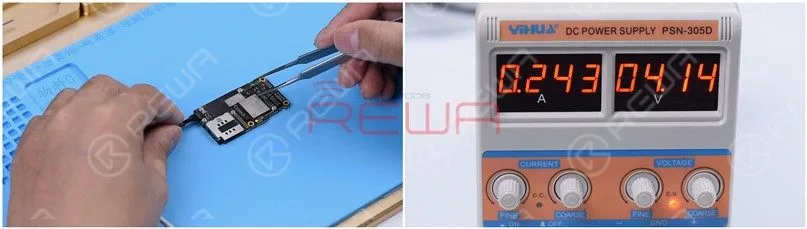
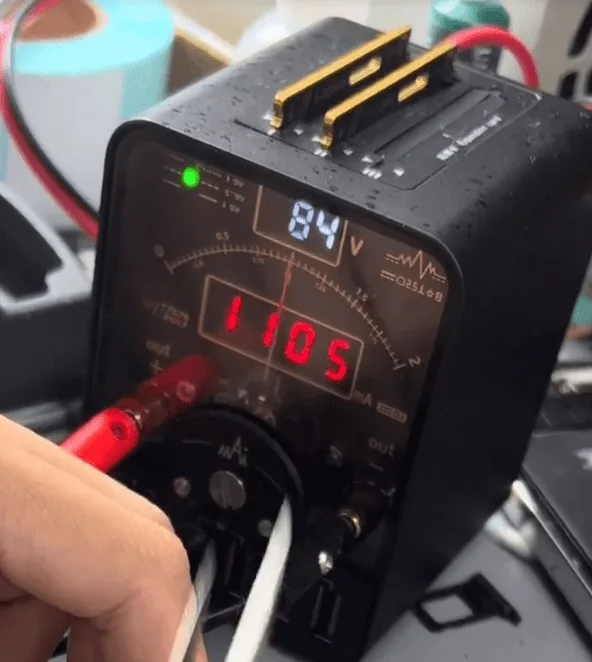
    En primer lugar, vamos a conectar la placa base con la máquina de alimentación de CC, no hay fugas de corriente. Pero cuando se activa el proceso de arranque por pinza, el salto actual a 1100mA directamente.
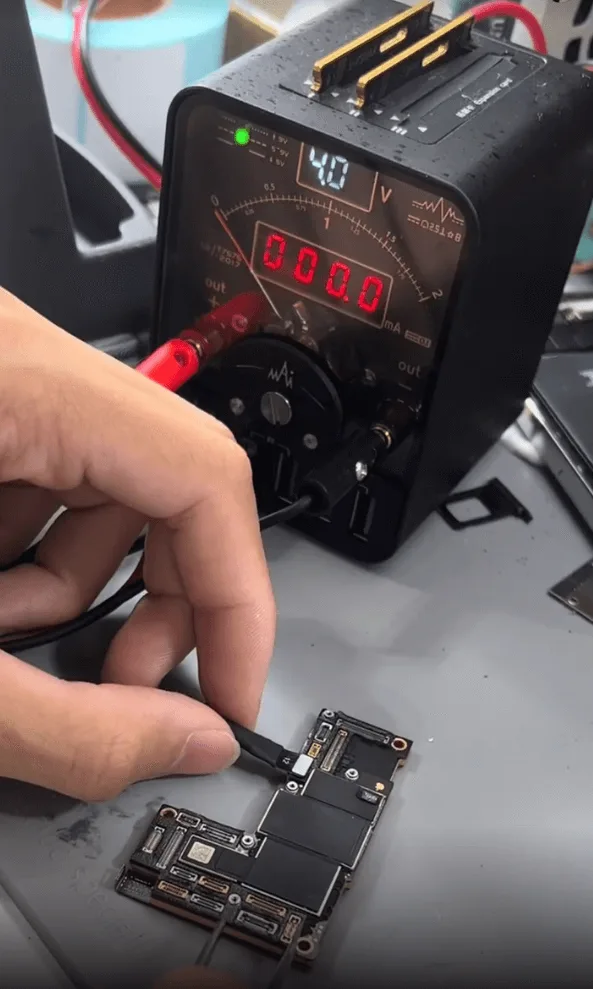
    iphone 12 pro max won turn issue repair guide trigger to boot
    iphone 12 pro max won turn issue repair guide 1100ma directly

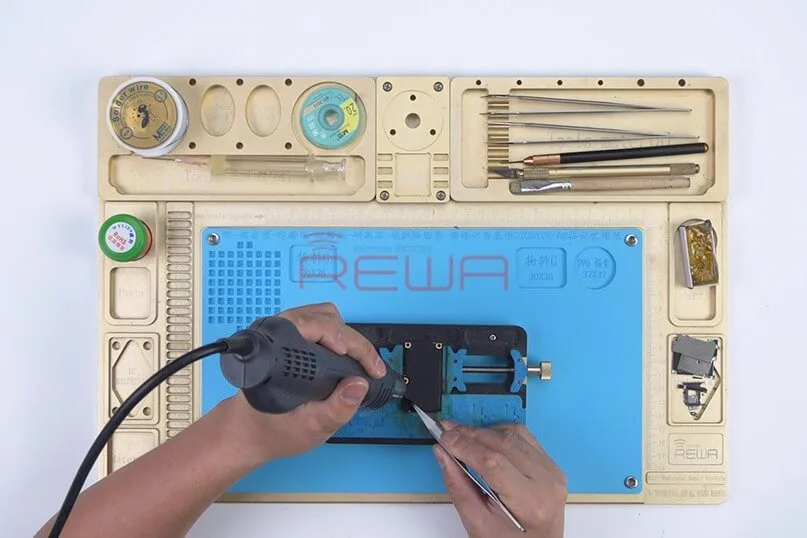
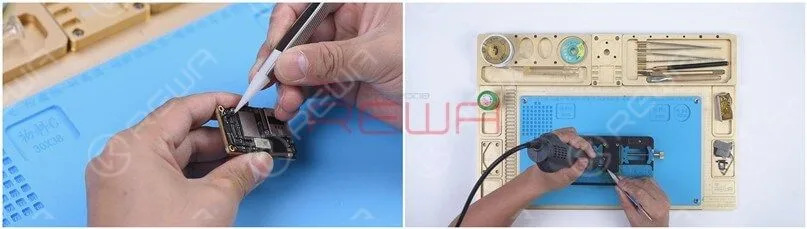
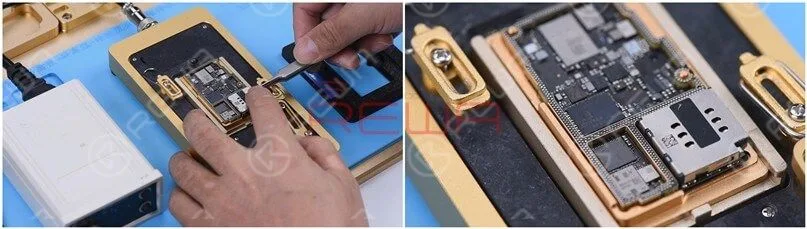
    A continuación, vamos a quitar las espumas alrededor de los conectores, y luego mantener la placa base en la plataforma de calentamiento para separar las dos capas de la placa base.
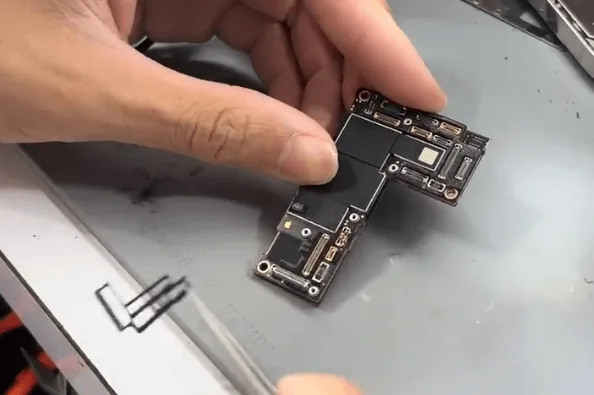
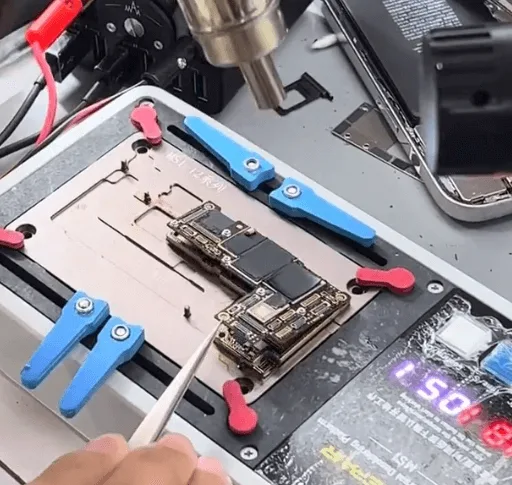
    iphone 12 pro max won turn issue repair guide remove the foams around
    iphone 12 pro max won turn issue repair guide separate with the heating

    Después de la separación, como era de esperar, muchas almohadillas se han caído, más tarde tenemos que tomar un montón de tiempo para arreglar las almohadillas que faltan. Pero de todos modos, vamos a arreglar el problema de arranque en primer lugar.

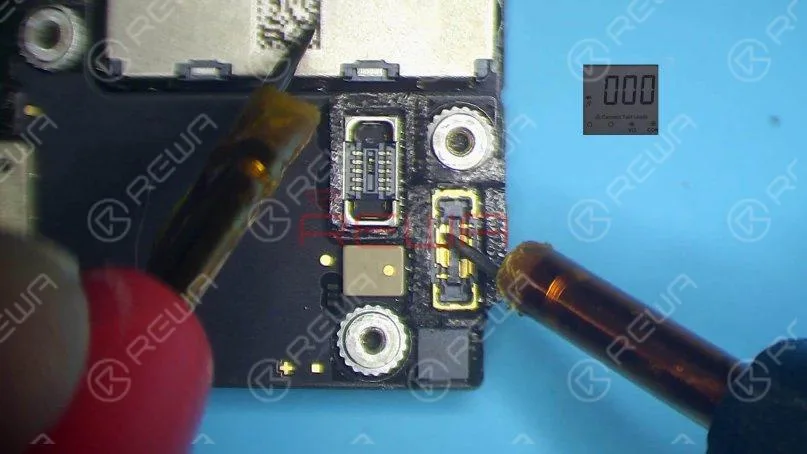
    Al medir los valores de los diodos en los carriles de alimentación que se emiten desde la PMU a la CPU, encontrar un condensador alrededor de la CPU está en cortocircuito a tierra.
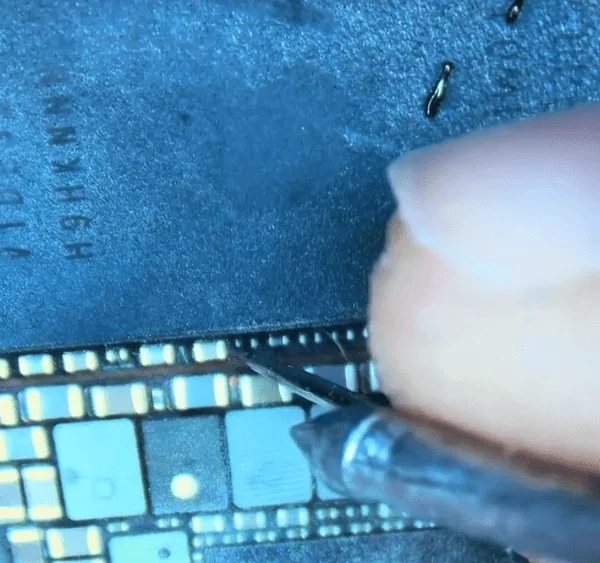
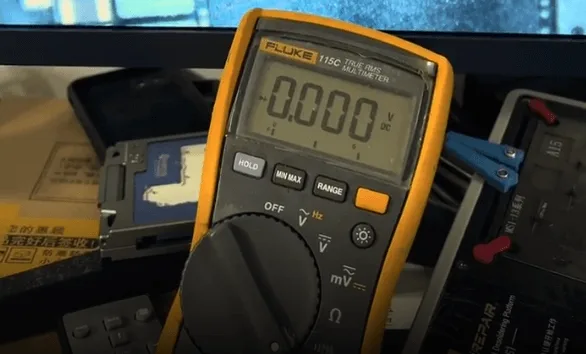
    iphone 12 pro max won turn issue repair guide when measuring with
    iphone 12 pro max won turn issue repair guide find one rail is shorted

    Consulte el Mapa de bits de Refoxes PP1V2_IO.

    Como podemos ver, hay muchos componentes relacionados con el PP1V2_IO.
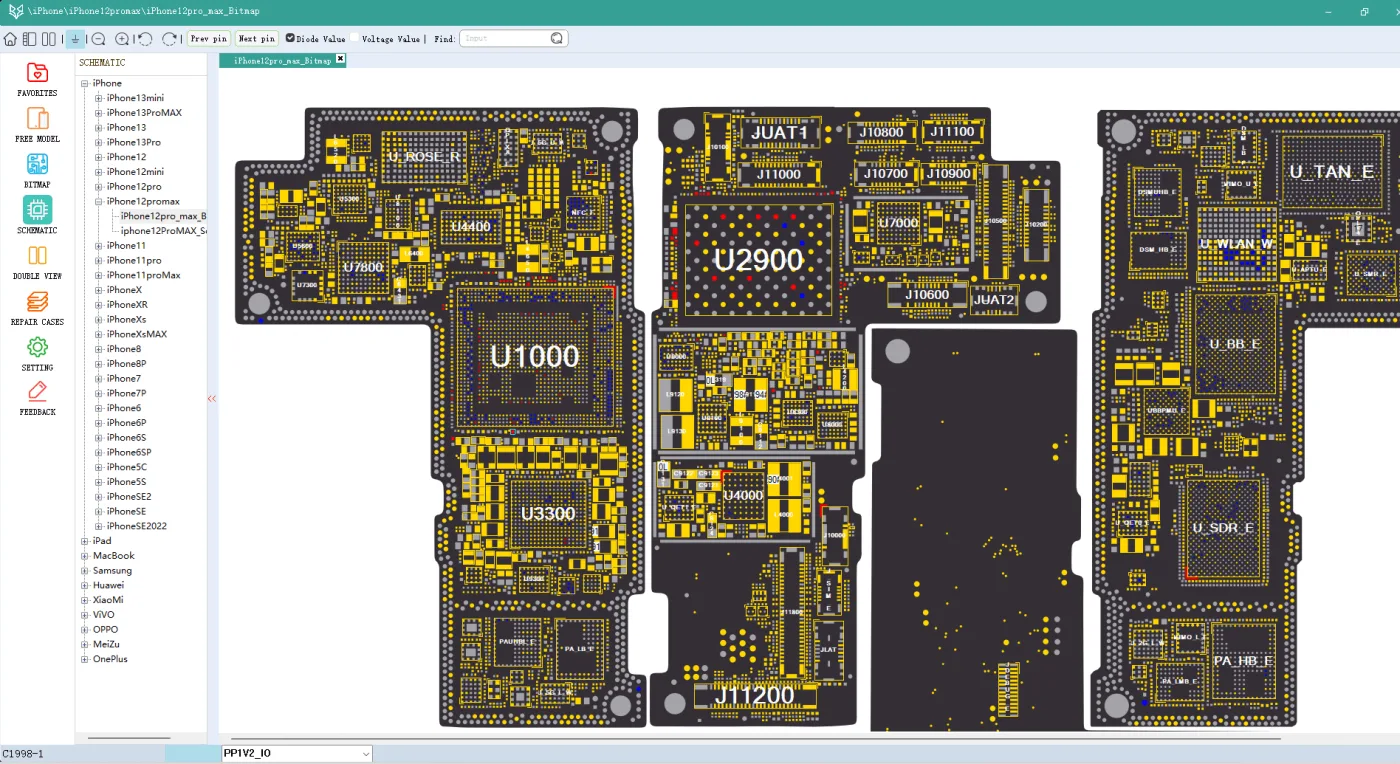
    iphone 12 pro max won turn issue repair guide refox bitmap

    Para averiguar el componente en cortocircuito exacto, debemos utilizar el método de inspección con colofonia.

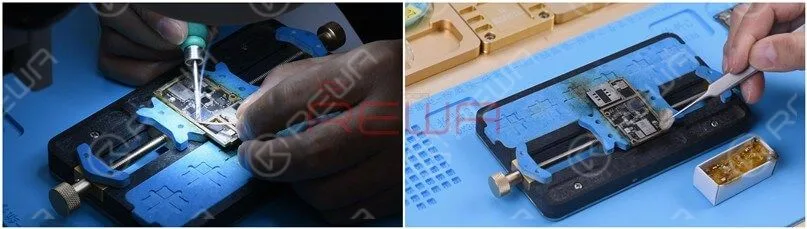
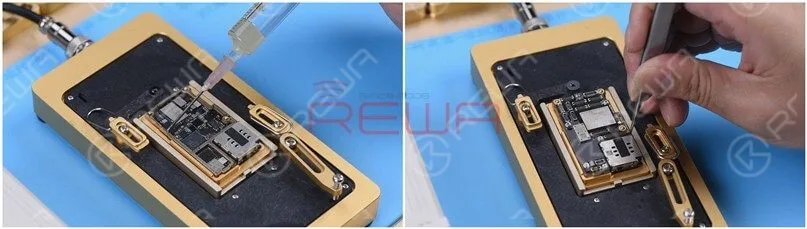
    Aplique humo de colofonia en la superficie de las zonas relativas de la placa base
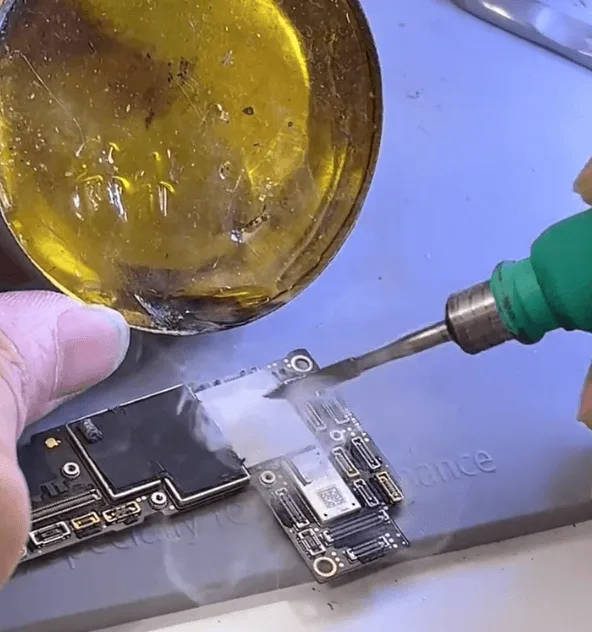
    iphone 12 pro max won turn issue repair guide apply rosin smoke on the

    A continuación, conecte la placa base con la máquina de alimentación de CC y comprobar bajo el microscopio, podemos encontrar el componente en cortocircuito con facilidad.
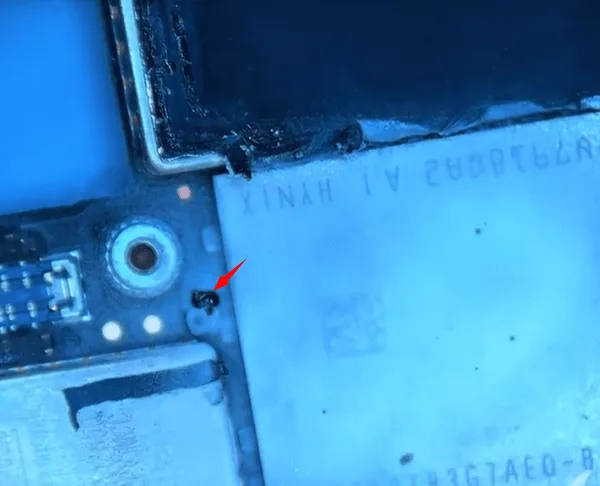
    iphone 12 pro max won turn issue repair guide the shorted capacitor

    Consulte el mapa de bits, es el condensador C2941
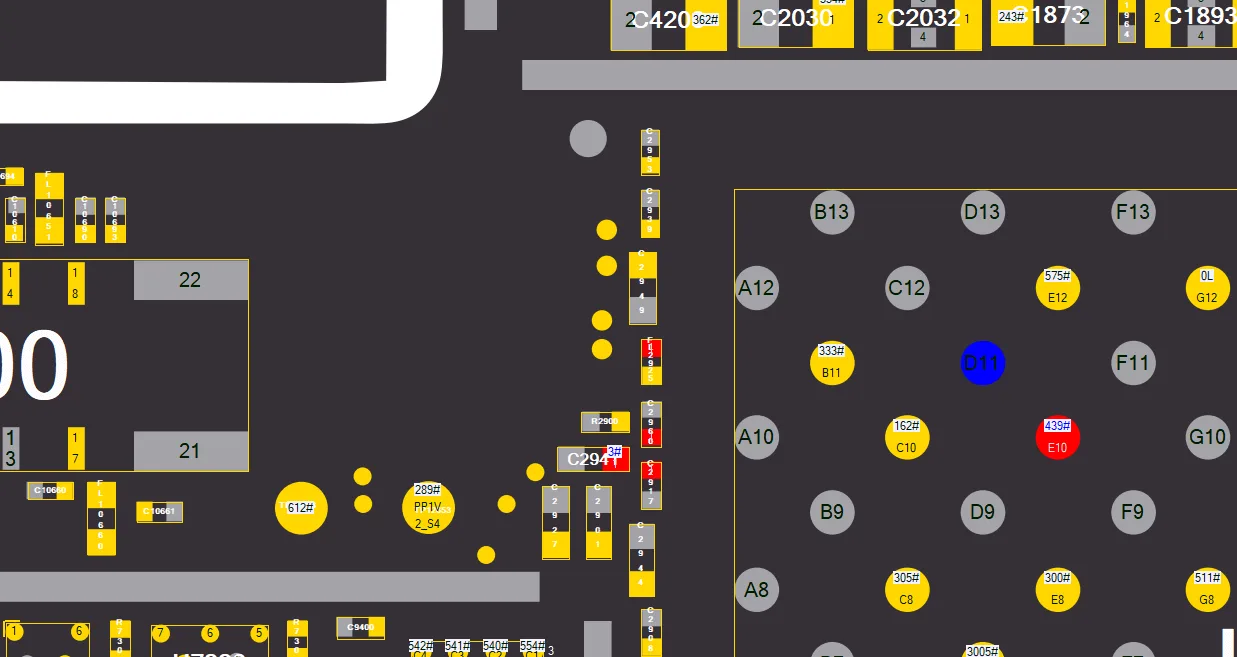
    iphone 12 pro max won turn issue repair guide c2941

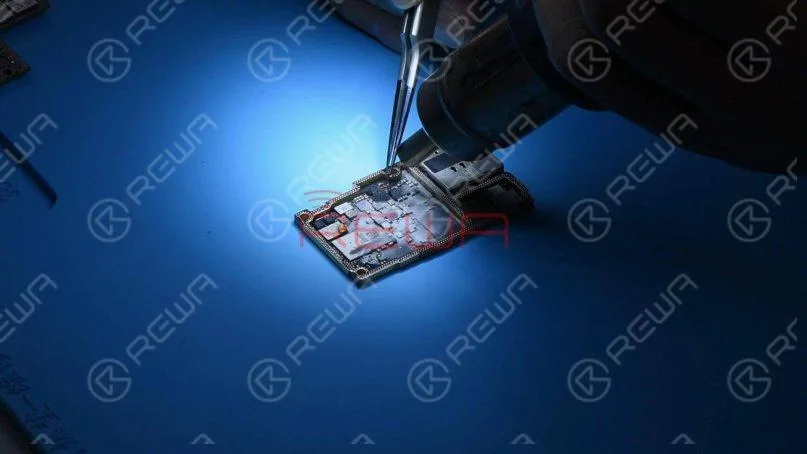
    Como se trata de un condensador de tipo filtro, para evitar posibles daños por calor a la NAND y los conectores a su alrededor. Podemos cogerlo directamente con unas pinzas.

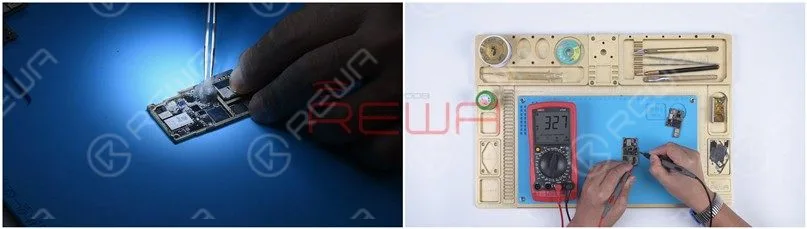
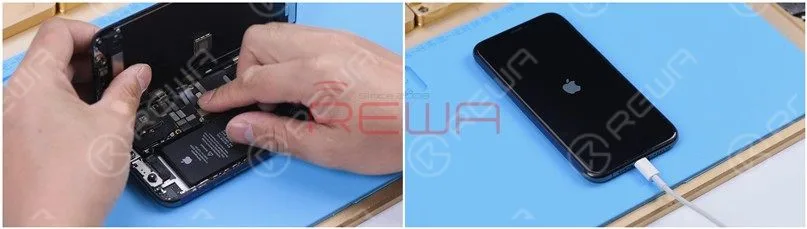
    Después de eso, conecte la placa lógica con la pantalla y arrancar con la máquina de alimentación de CC de nuevo, el teléfono puede ser arrancado.
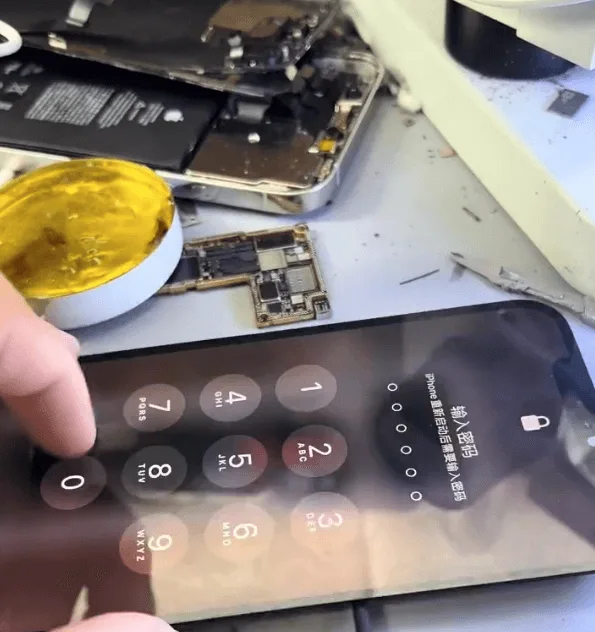
    iphone 12 pro max won turn issue repair guide phone can be booted

    A continuación, vamos a arreglar las almohadillas que faltan en la capa intermedia.
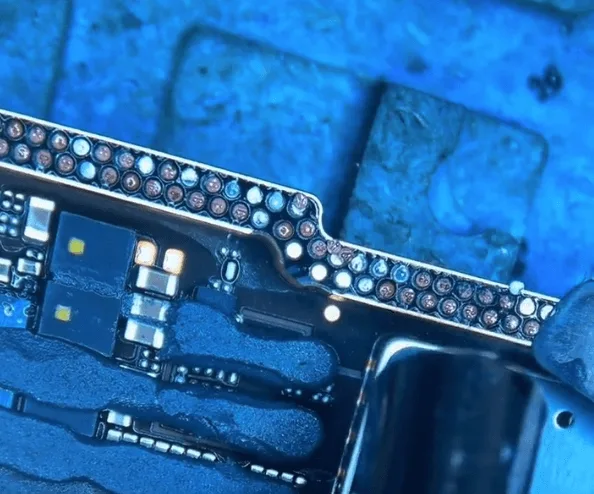
    iphone 12 pro max won turn issue repair guide the missing pads on middle

    Arreglar las almohadillas que faltan no es muy difícil, pero requiere mucha paciencia.

    Para la almohadilla que no tiene punto de conexión
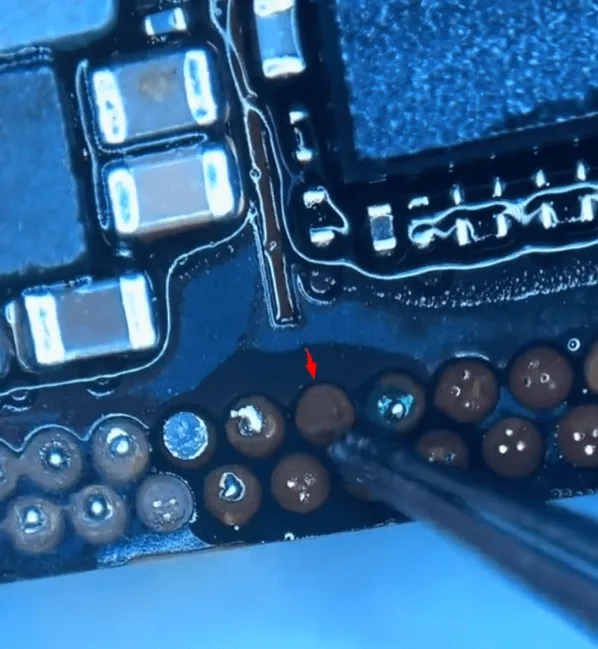
    iphone 12 pro max won turn issue repair guide for the pad that has no

    Tenemos que rascar la raíz de la almohadilla con un cuchillo de escultura ligeramente primero
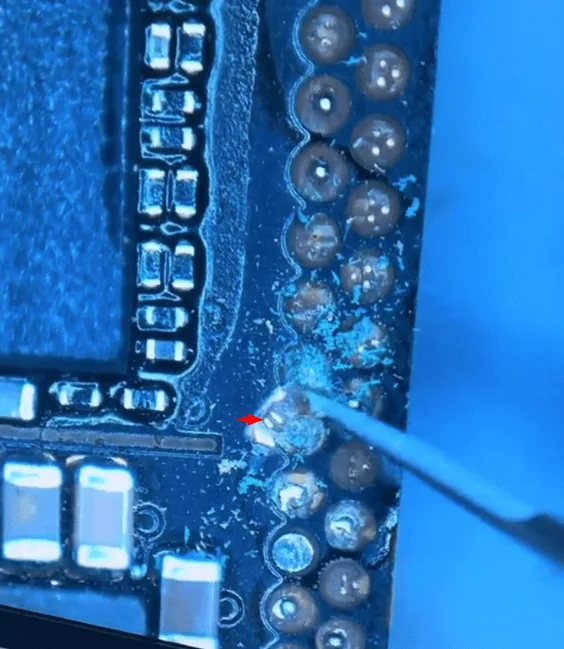
    iphone 12 pro max won turn issue repair guide scratch out the pads

    Después de eso, sobre la base de la "raíz" para saltar alambre y hacer un círculo
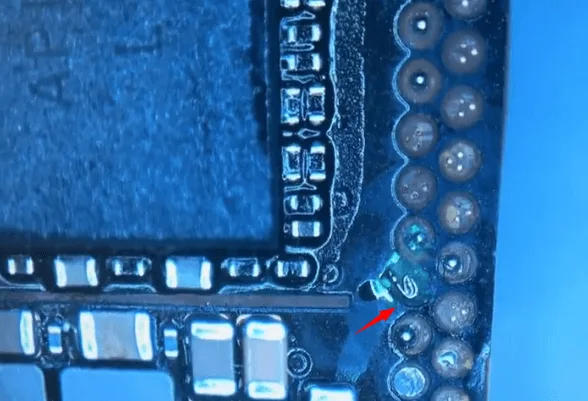
    iphone 12 pro max won turn issue repair guide make circle

    Luego soldar un terminal de cobre en la superficie
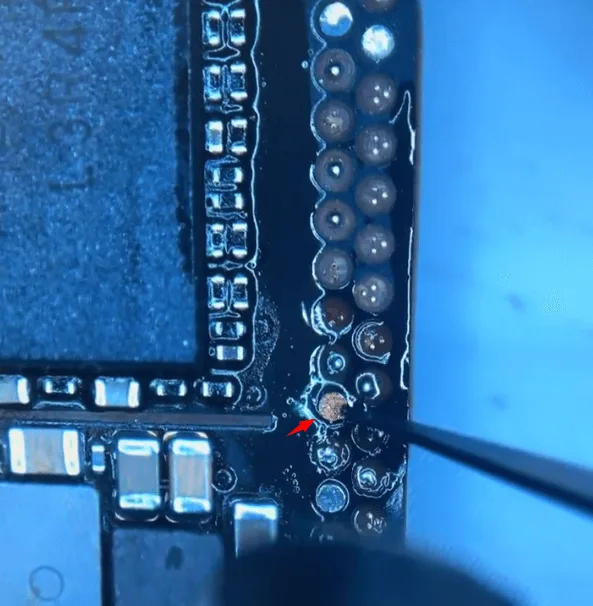
    iphone 12 pro max won turn issue repair guide solder copper lug on the

    A continuación, cúrelo y refuércelo con la máscara UV y la lámpara UV.
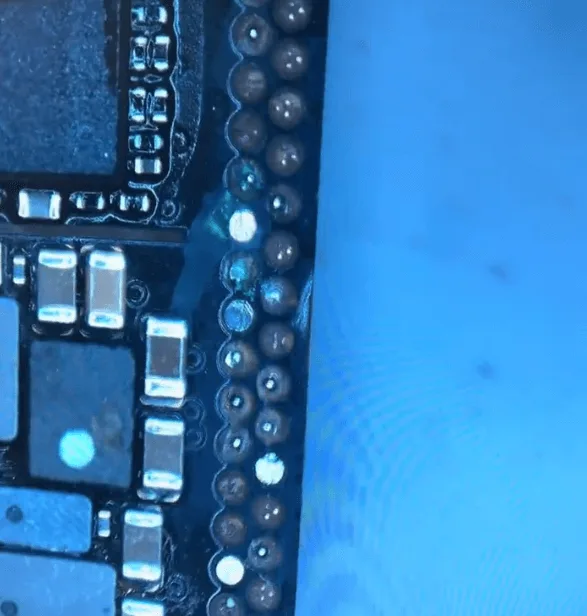
    iphone 12 pro max won turn issue repair guide cure with the uv lamp

    Ensamblar y probar

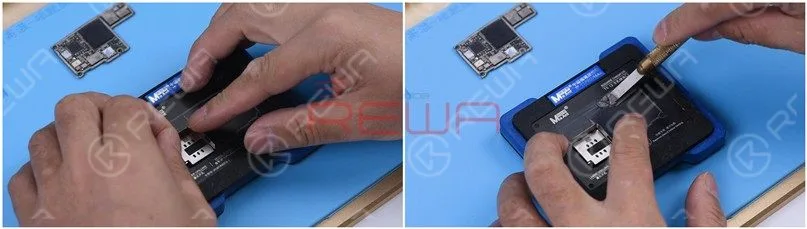
    A continuación, monte primero las dos capas de la placa base con la plataforma calefactora
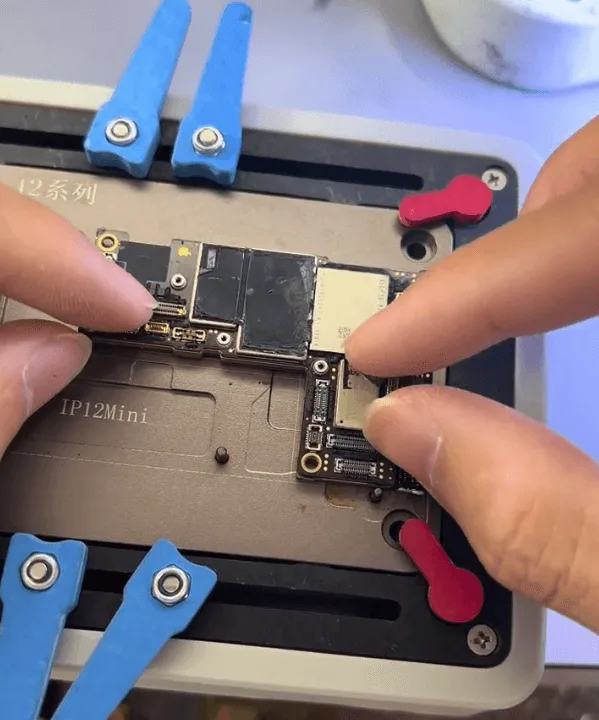
    iphone 12 pro max won turn issue repair guide heating platform

    Cuando la placa base se enfría, montar el teléfono para probar y todas las funciones están bien.

    El problema se resuelve retirando el condensador dañado y recombinando las dos capas de la placa base.
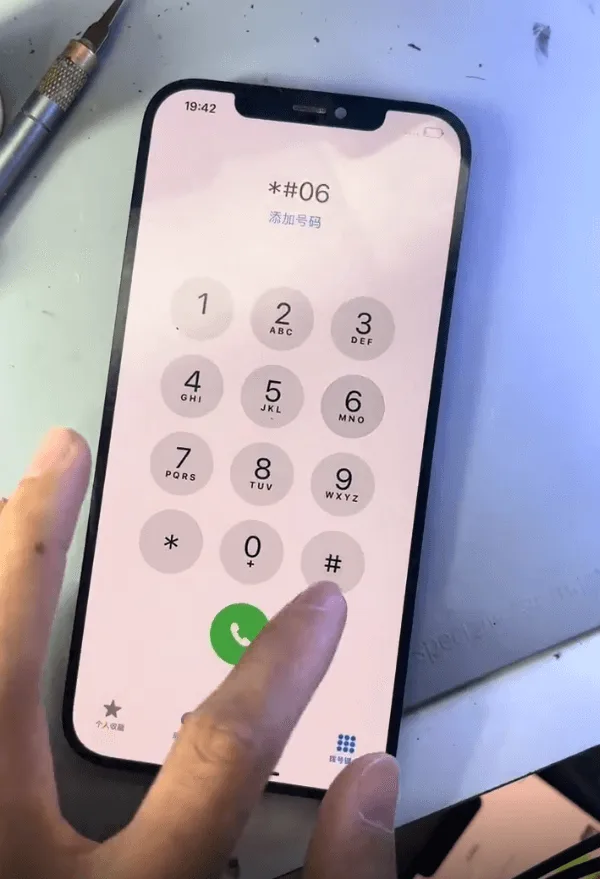
    El iPhone 12 Pro Max no se enciende

    Resumen

    El problema del iPhone 12 Pro Max de no encenderse por una caída grave se solucionó por:

    • Extracción del condensador dañado (C2941).
    • Recombinación de las dos capas de la placa base.
    • Arreglar las almohadillas que faltan.

    Esta reparación requiere una inspección cuidadosa y un trabajo preciso para garantizar que el teléfono recupere toda su funcionalidad sin causar daños adicionales.
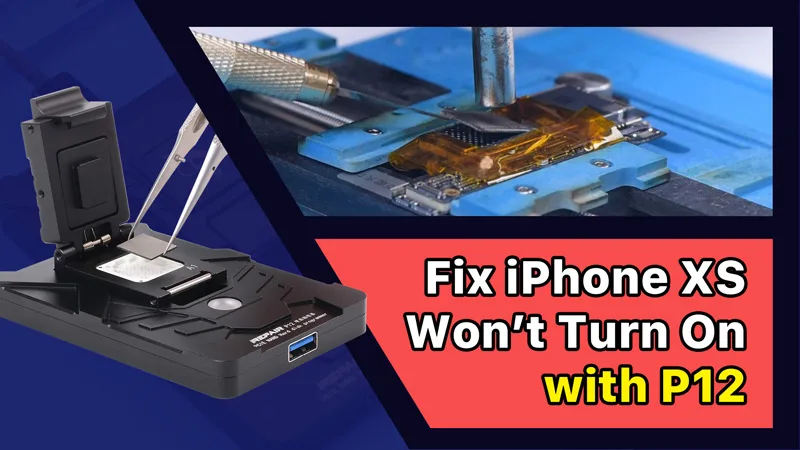
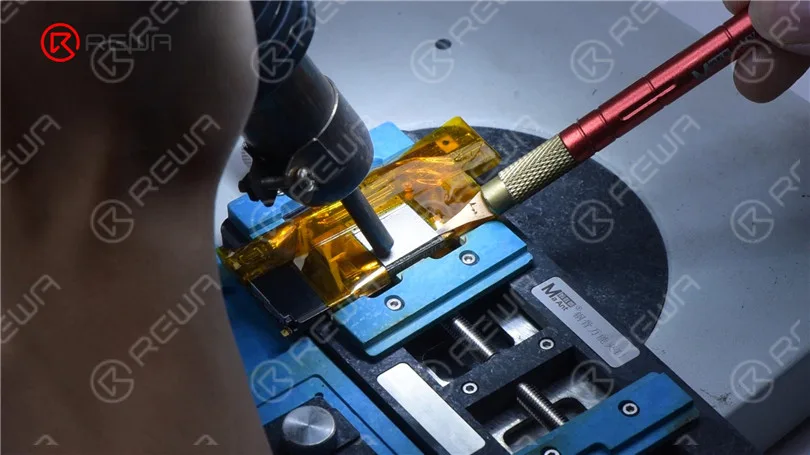
  • Arreglar iPhone XS no se enciende con P12 (programador NAND para iPhone 6 - iPhone 11 Pro Max).

    Arreglar iPhone XS no se enciende con P12 (programador NAND para iPhone 6 - iPhone 11 Pro Max).

    La sustitución de la NAND es un procedimiento de reparación habitual en la reparación de iPhone, ya sea para actualizar el almacenamiento o para solucionar problemas como que no se encienda debido a una NAND dañada. Para la sustitución de la NAND, se necesita un programador de NAND para leer y escribir los datos de la NAND.

    Arreglar iPhone XS no se enciende con P12 (programador NAND para iPhone 6 - iPhone 11 Pro Max).

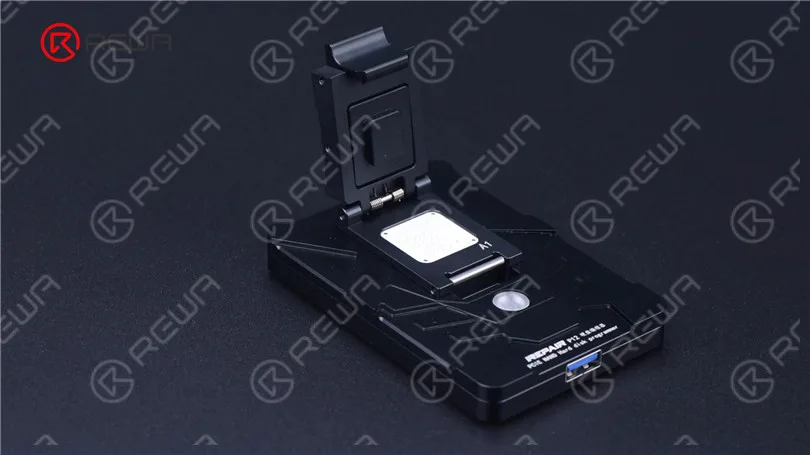
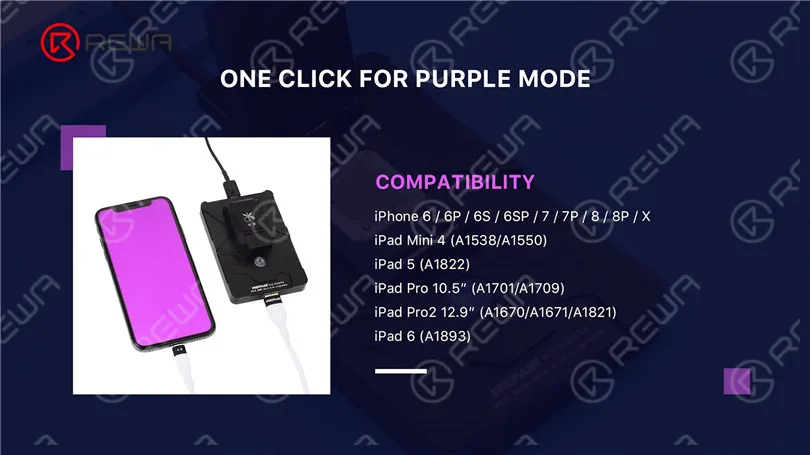
    Hoy repararemos un iPhone con el último programador NAND P12, En comparación con otros programadores NAND del mercado, P12 es compatible con una amplia gama de modelos, que incluye lectura y escritura NAND y desvinculación WiFi para iPhone 6-iPhone 11 Pro Max y algunos modelos de iPad. Lo que es más, P12 puede trabajar sin conexión a Internet y es libre para su uso permanente.

    Arreglar iPhone XS no se enciende con P12 (programador NAND para iPhone 6 - iPhone 11 Pro Max).
    Arreglar iPhone XS no se enciende con P12 (programador NAND para iPhone 6 - iPhone 11 Pro Max).
    Arreglar iPhone XS no se enciende con P12 (programador NAND para iPhone 6 - iPhone 11 Pro Max).

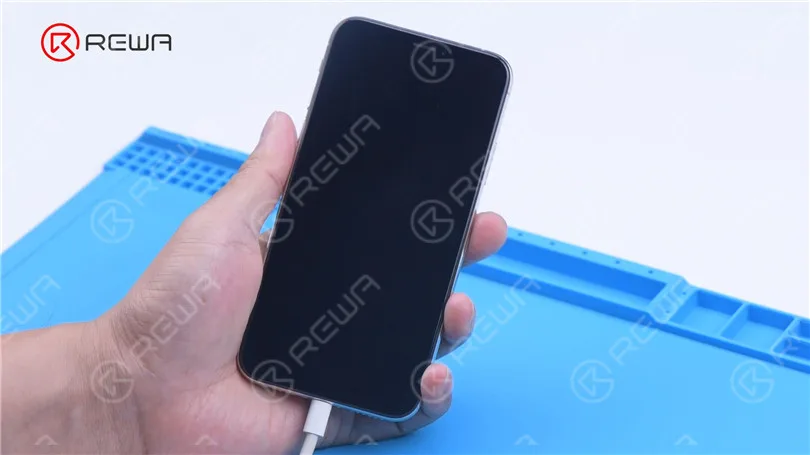
    A continuación, usamos P12 para arreglar un iPhone XS que no se enciende. El iPhone XS es incapaz de arrancar.

    Arreglar iPhone XS no se enciende con P12 (programador NAND para iPhone 6 - iPhone 11 Pro Max).

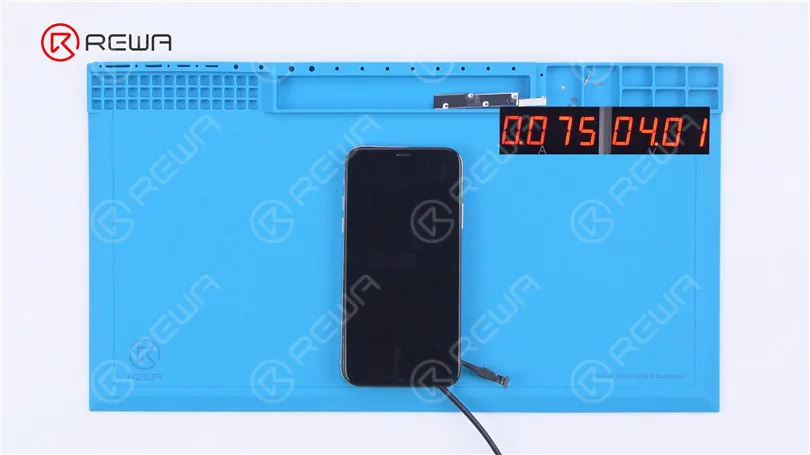
    A continuación, desmontamos el teléfono para realizar más pruebas. Conectar la placa base con Cable de alimentación. La corriente de arranque sólo tiene 75 mA. Se puede juzgar preliminarmente que el sistema es defectuoso.

    Arreglar iPhone XS no se enciende con P12 (programador NAND para iPhone 6 - iPhone 11 Pro Max).

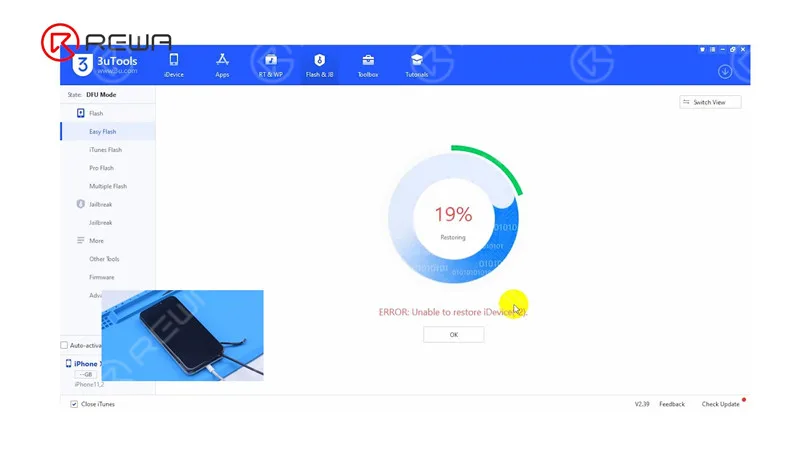
    A continuación, conecte el teléfono con el ordenador. El teléfono se pone en modo DFU automáticamente. El flasheo se queda atascado en 19%. Ahora podemos confirmar que el problema de no encender es inducido por circuitos defectuosos relacionados con la NAND.

    Arreglar iPhone XS no se enciende con P12 (programador NAND para iPhone 6 - iPhone 11 Pro Max).

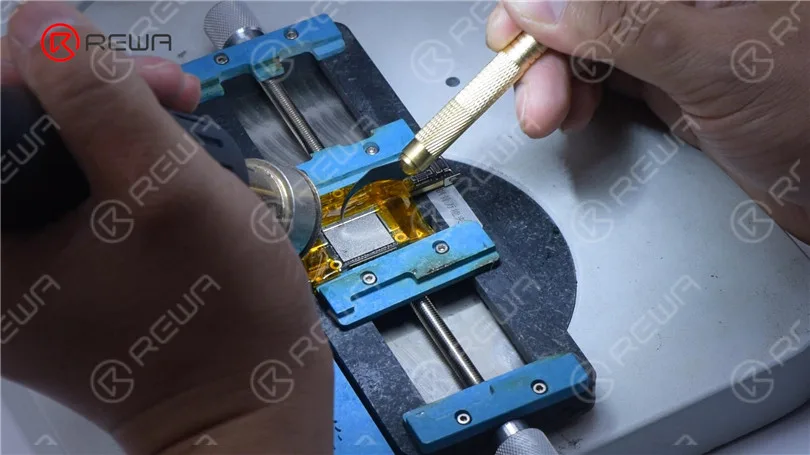
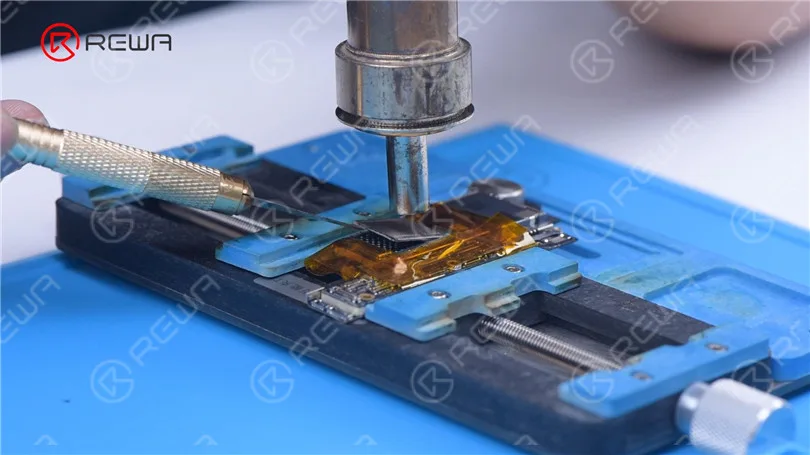
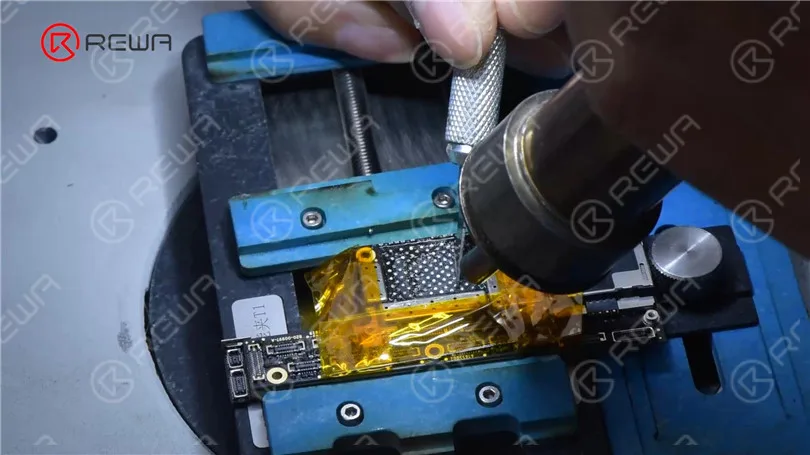
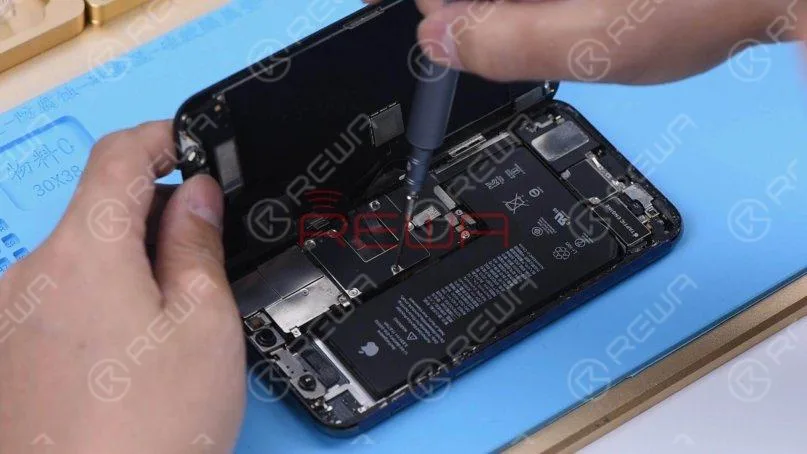
    El siguiente paso es sustituir la NAND por una nueva. Retire la pantalla y separe la placa base. Aplique cinta adhesiva de alta temperatura alrededor de la placa base. En primer lugar, retire el adhesivo negro alrededor de la NAND con una pistola de aire caliente a 280 °C.

    Arreglar iPhone XS no se enciende con P12 (programador NAND para iPhone 6 - iPhone 11 Pro Max).

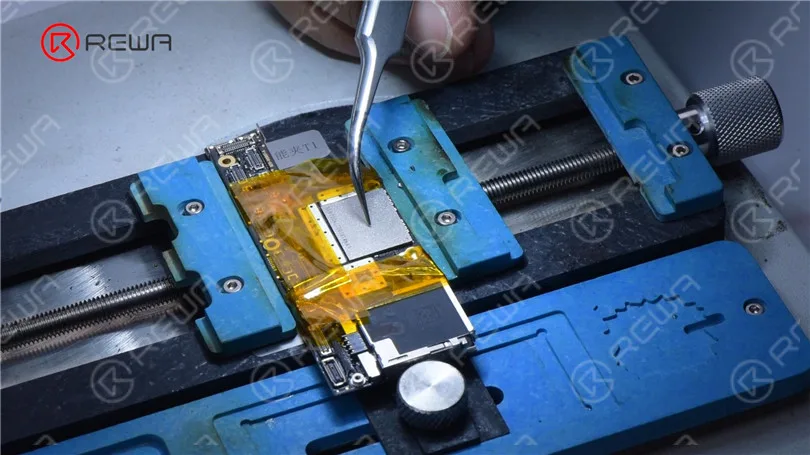
    Levante la NAND con una pistola de aire caliente a 400 °C.

    Arreglar iPhone XS no se enciende con P12 (programador NAND para iPhone 6 - iPhone 11 Pro Max).

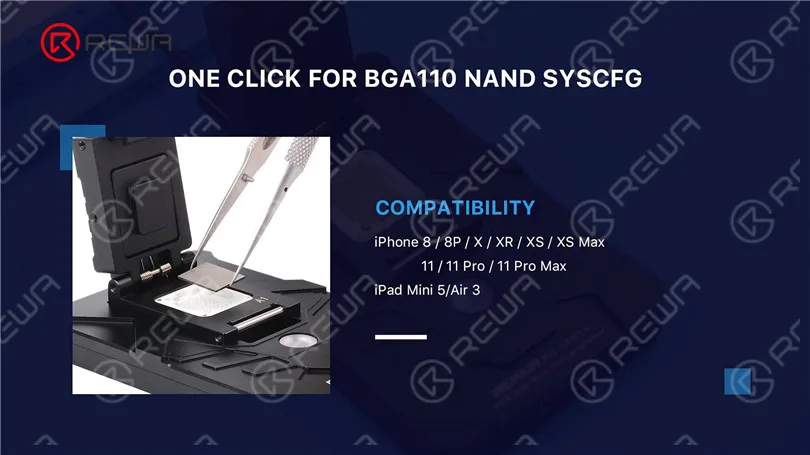
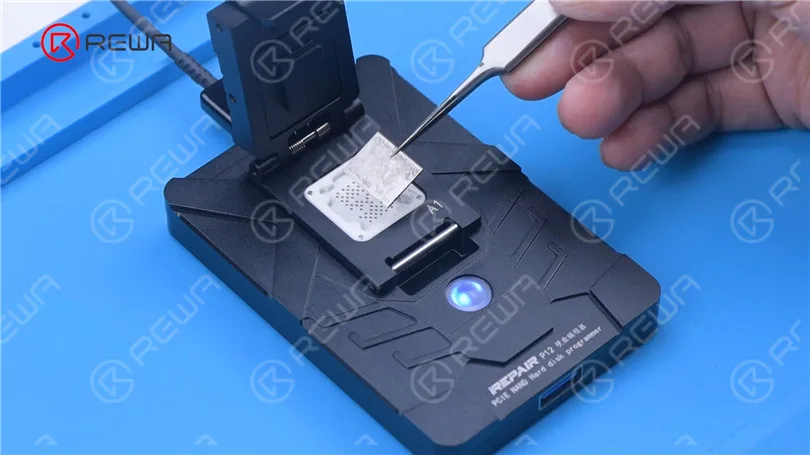
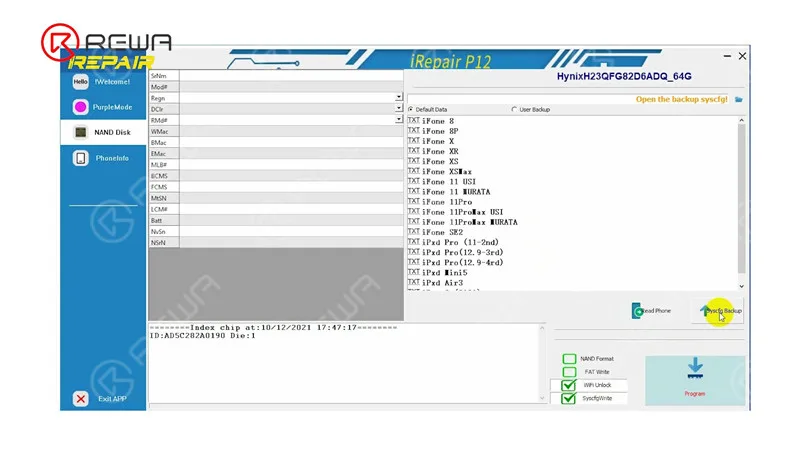
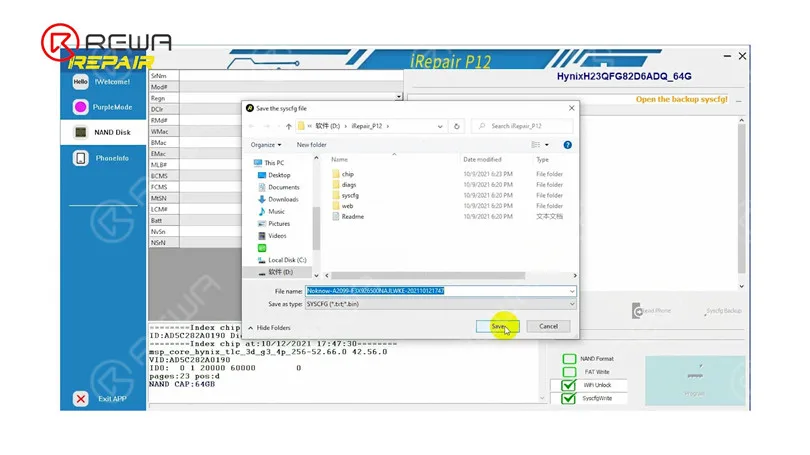
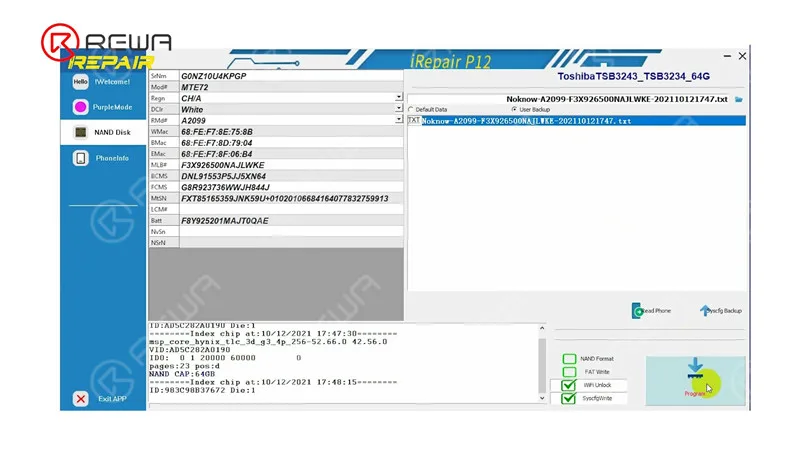
    Conecte la NAND a P12. Preste atención a alinear la NAND con el pin A1. Haga clic en “Syscfg Backup”. A continuación, guarde los datos.

    Arreglar iPhone XS no se enciende con P12 (programador NAND para iPhone 6 - iPhone 11 Pro Max).
    Arreglar iPhone XS no se enciende con P12 (programador NAND para iPhone 6 - iPhone 11 Pro Max).
    Arreglar iPhone XS no se enciende con P12 (programador NAND para iPhone 6 - iPhone 11 Pro Max).

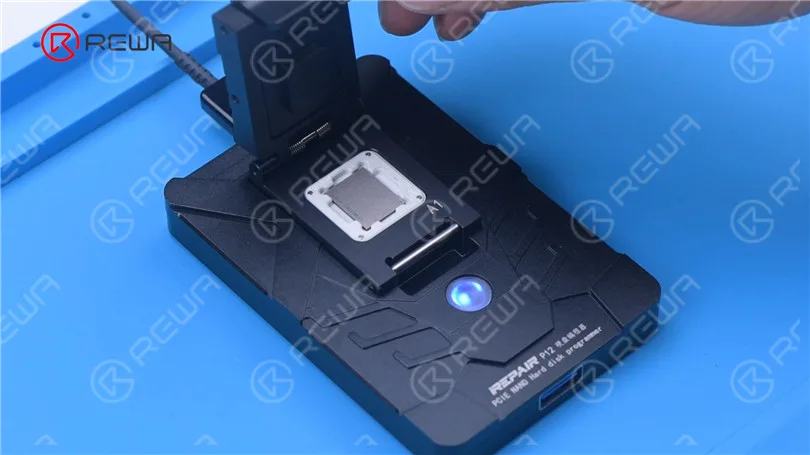
    Retire la NAND. Conecte la nueva NAND a P12. Seleccione “Copia de seguridad de usuario”. Pulse “Programar”.

    Arreglar iPhone XS no se enciende con P12 (programador NAND para iPhone 6 - iPhone 11 Pro Max).
    Arreglar iPhone XS no se enciende con P12 (programador NAND para iPhone 6 - iPhone 11 Pro Max).

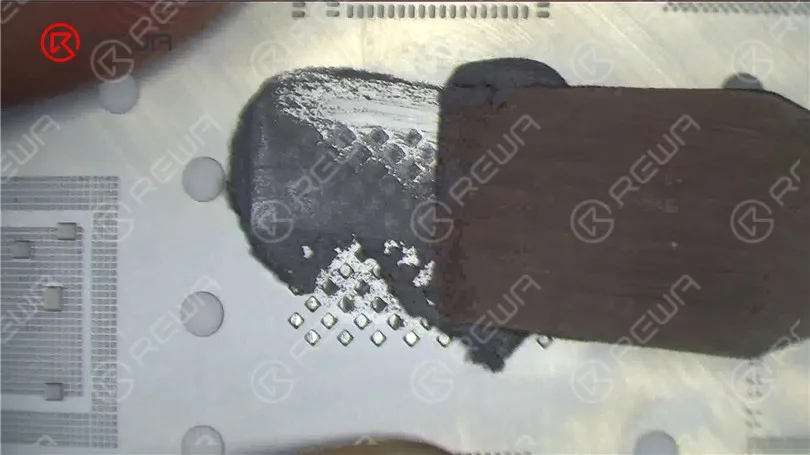
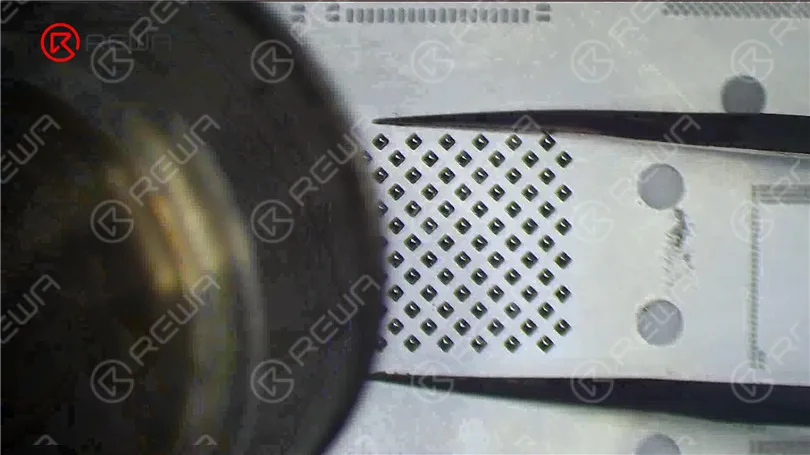
    A continuación, reballamos la NAND con los datos escritos. Coloque la plantilla de reballing en posición. Aplicar uniformemente una capa de Pasta de Soldadura de media temperatura. Calentar con Pistola de Aire Caliente a 340 °C.

    Arreglar iPhone XS no se enciende con P12 (programador NAND para iPhone 6 - iPhone 11 Pro Max).
    Arreglar iPhone XS no se enciende con P12 (programador NAND para iPhone 6 - iPhone 11 Pro Max).

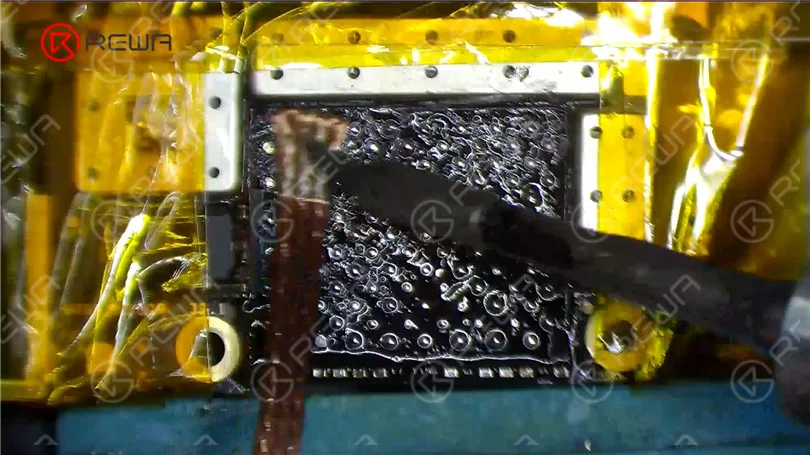
    Antes de soldar la NAND, tenemos que eliminar el estaño de las almohadillas de unión. Aplique un poco de pasta de soldadura a temperatura media con el soldador. Limpie las almohadillas de unión con el soldador y la mecha de soldadura.

    Arreglar iPhone XS no se enciende con P12 (programador NAND para iPhone 6 - iPhone 11 Pro Max).

    Retire el adhesivo negro de las almohadillas de unión con el cuchillo de esculpir. A continuación, limpie las almohadillas con PCB Cleaner. Después de la limpieza, aplique un poco de Paste Flux

    Alinear la nueva NAND. Calentar con pistola de aire caliente a 380 °C para soldar.

    Arreglar iPhone XS no se enciende con P12 (programador NAND para iPhone 6 - iPhone 11 Pro Max).
    Arreglar iPhone XS no se enciende con P12 (programador NAND para iPhone 6 - iPhone 11 Pro Max).

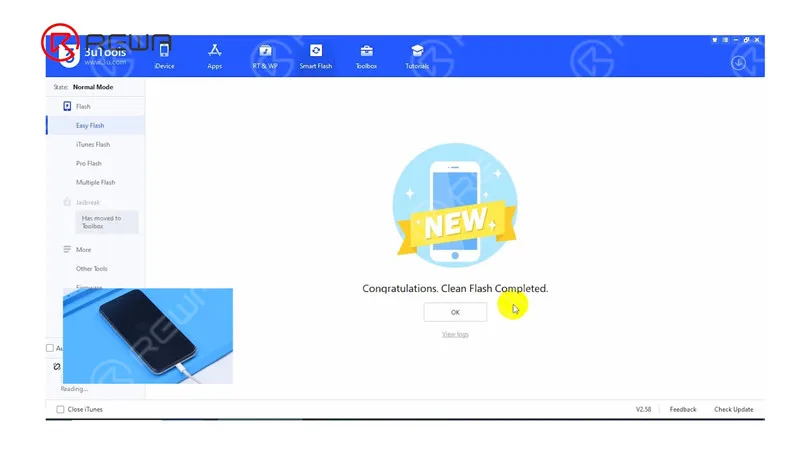
    A continuación, instalar la placa base. Conectar el teléfono con el ordenador para flashear. El flasheo se ha realizado correctamente.

    Arreglar iPhone XS no se enciende con P12 (programador NAND para iPhone 6 - iPhone 11 Pro Max).

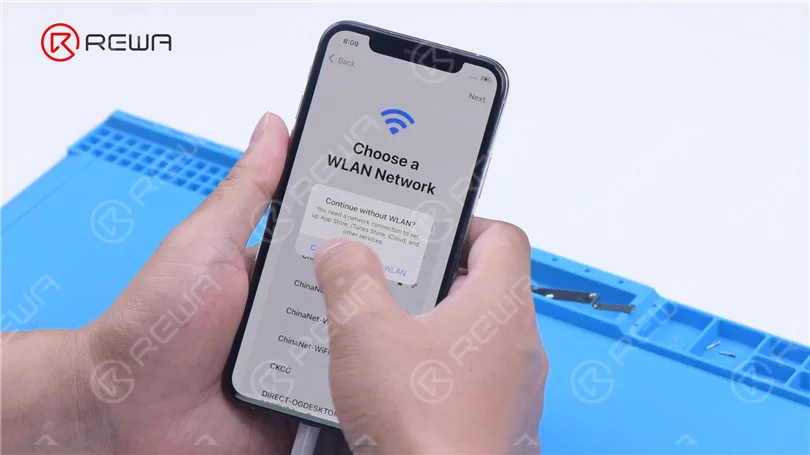
    El teléfono se enciende con normalidad. Después de la activación, el teléfono también funciona bien.

    Arreglar iPhone XS no se enciende con P12 (programador NAND para iPhone 6 - iPhone 11 Pro Max).
  • Reparar iPhone 7/7 Plus que no enciende: Reparación de CPU

    Reparar iPhone 7/7 Plus que no enciende: Reparación de CPU

    iPhone 7/7 Plus won’t turn on after it is dropped? Due to the imperfect technology of CPU supplier, the SDRAM of iPhone 7/7 Plus series can be easily damaged. Once dropped, the SDRAM might be short circuited and the phone won’t turn on afterwards. The traditional SDRAM replacing method is complex and easy to get it pseudo soldered. This time we introduced a new solution with CNC Chip Grinding Machine. Let’s check the video to see how we fix iPhone 7 plus won’t power on issue in a more efficient way.

  • Fix iPhone 12 Won’t Turn On By Infrared Thermal Imaging Camera

    Reparar iPhone 12 que no enciende mediante cámara térmica infrarroja

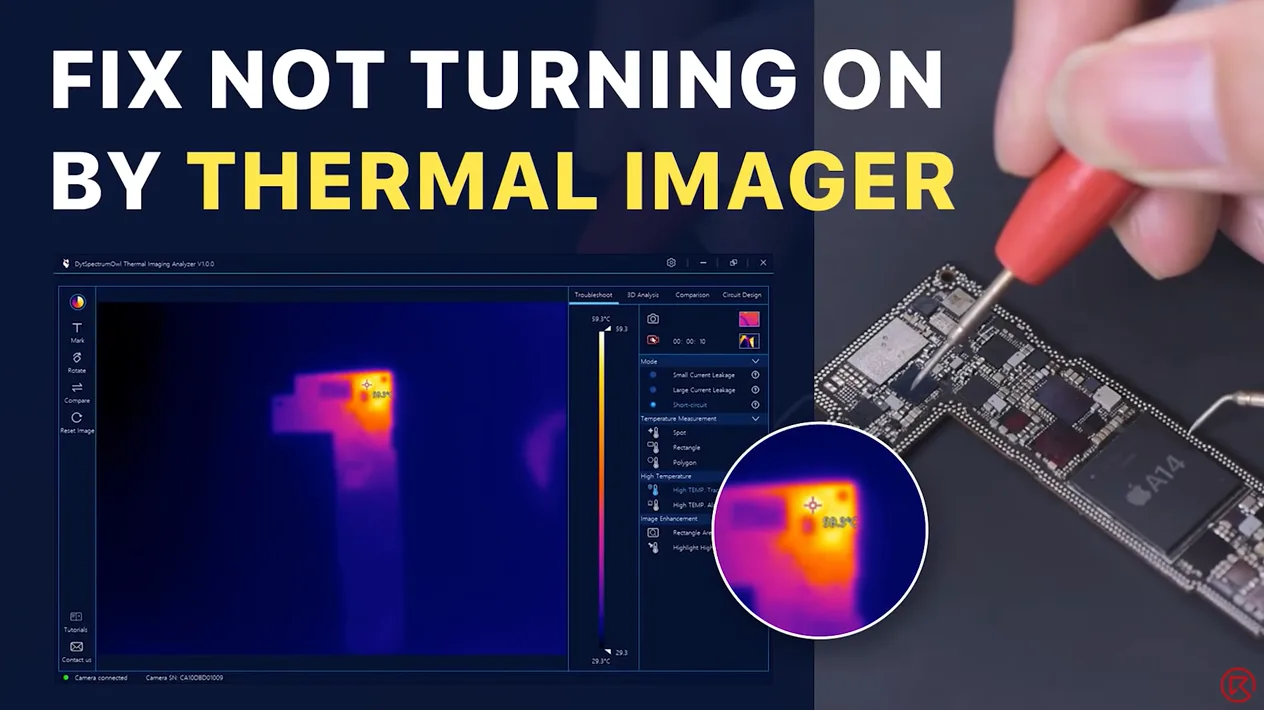
    Today we will share a repair case of an iPhone 12 that won’t turn on. After multiple attempts to turn on the iPhone 12, the iPhone 12 still won’t turn on. We have excluded the possibility of the display assembly and battery faults, so we speculate the cause is the short circuit of the motherboard. To find the faulty part, we have used the latest infrared thermal imager camera that differs from the complicated rosin detecting. Let’s check it out!

  • How to Fix an iPhone 11 Pro Won’t Turn On

    How to Fix an iPhone 11 Pro Won’t Turn On

    Having trouble with your iPhone 11 Pro refusing to turn on? Don’t worry, we’ve got your back! In this comprehensive guide, we’ll walk you through some practical and effective solutions to fix this frustrating issue.

    Step 1: Disassemble and test

    Remove the two pentalobe screws at the bottom edge and lift the screen.
    Remove the two pentalobe screws at the bottom edge and lift the screen.

    After the screen is lifted, take the shielding covers off, disconnect the battery, and remove the screen.
    After the screen is lifted, take the shielding covers off, disconnect the battery, and remove the screen.

    Connect the motherboard with the Power Cable. The ammeter shows a large current of 3.1A.
    Connect the motherboard with the Power Cable. The ammeter shows a large current of 3.1A.

    Detach the motherboard and connect the motherboard with the Power Cable again. The ammeter still shows a large current of 3.1A.
    Detach the motherboard and connect the motherboard with the Power Cable again. The ammeter still shows a large current of 3.1A.

    It indicates that the large current has nothing to do with other flex cables. The fault is on the motherboard.
    Paso 2: Ejecutar la medición en modo diodo

    Run diode mode measurement of pin 1 on the J7010 of the battery connector. The diode value is 0 which indicates that the main power supply circuit is shorted to the ground.

    Run diode mode measurement of pin 1 on the J7010 of the battery connector. The diode value is 0 which indicates that the main power supply circuit is shorted to the ground.

    Dado que el circuito alimenta simultáneamente la placa lógica y la placa de señales, necesitamos separar la placa base para localizar el fallo.

    Paso 3: Separación de la placa base

    Remove foam on the motherboard. Then heat the back of the motherboard with Pistola de aire caliente at 240℃ to remove the shielding paper.
    Remove foam on the motherboard. Then heat the back of the motherboard with Hot Air Gun at 240℃ to remove the shielding paper.

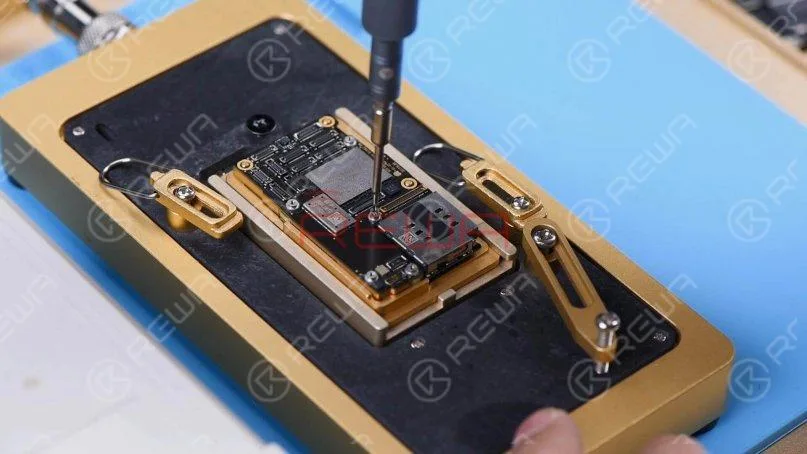
    Coloque la placa base en el Plataforma de calefacción. To make it easier to remove the logic board after separation, drive a screw on the logic board.
    Put the motherboard on the Heating Platform. To make it easier to remove the logic board after separation, drive a screw on the logic board.

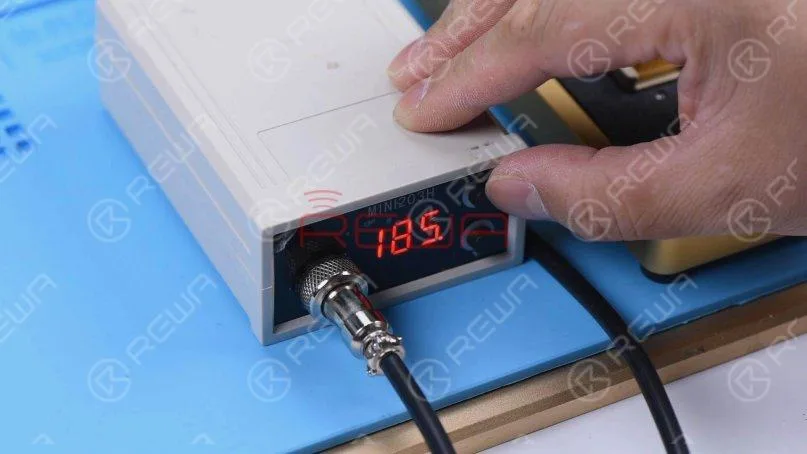
    Set the temperature of the Heating Platform to 185℃.

    Set the temperature of the Heating Platform to 185℃.

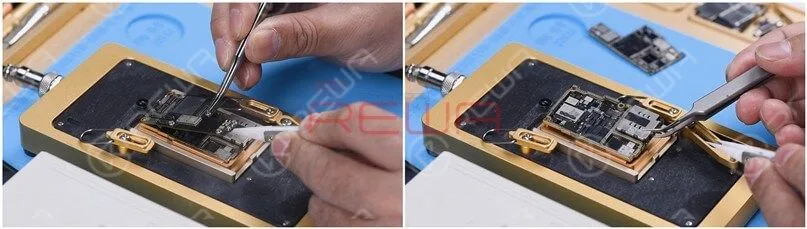
    Clamp the screw to remove the logic board when the temperature has risen to 185℃. Lastly, remove the signal board.
    Clamp the screw to remove the logic board when the temperature has risen to 185℃. Lastly, remove the signal board.

    Paso 4: Vuelva a realizar la medición en modo de diodo

    Run diode mode measurement of pin 286 on the signal board. The diode value is 0. It suggests that the main power supply of the signal board is shorted to the ground.

    Run diode mode measurement of pin 286 on the signal board. The diode value is 0. It suggests that the main power supply of the signal board is shorted to the ground.

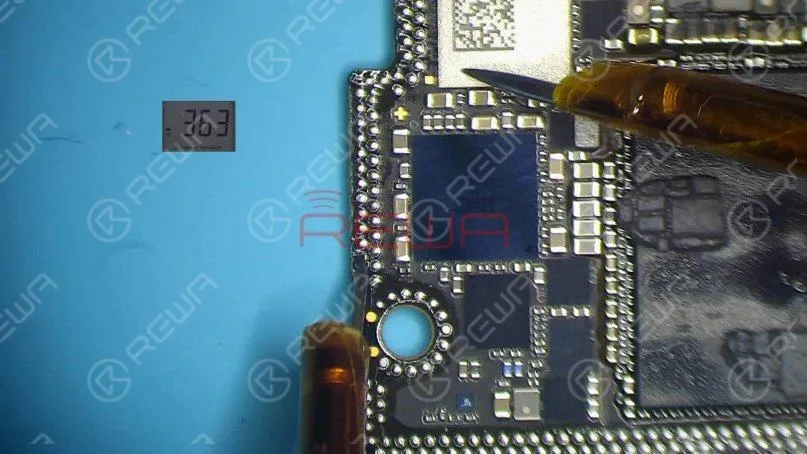
    Measure pin 286 on the logic board. The diode value is 363 which means the logic board is normal.

    Measure pin 286 on the logic board. The diode value is 363 which means the logic board is normal.

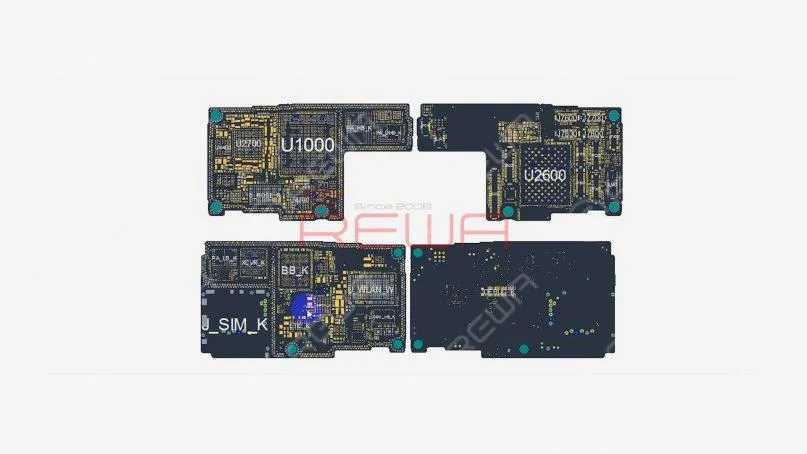
    Open the mapa de bits. We can see there are many associated components on the main power supply circuit.

    Abra el mapa de bits. Podemos ver que hay muchos componentes asociados en el circuito principal de alimentación.

    Step 5: Rosin detecting to locate the fault

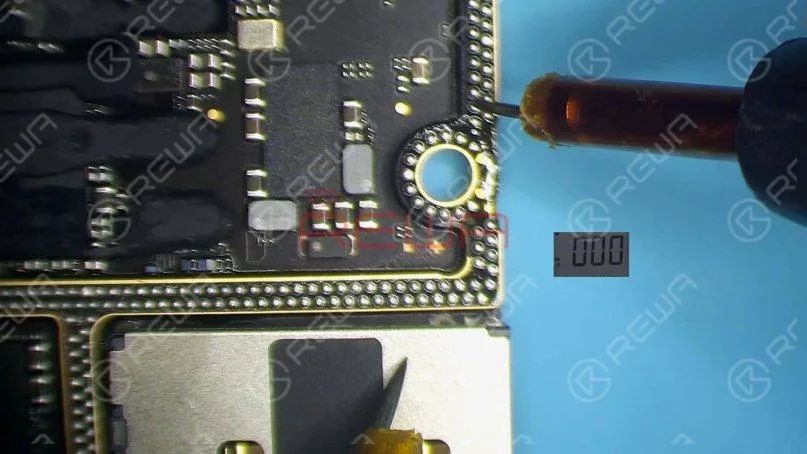
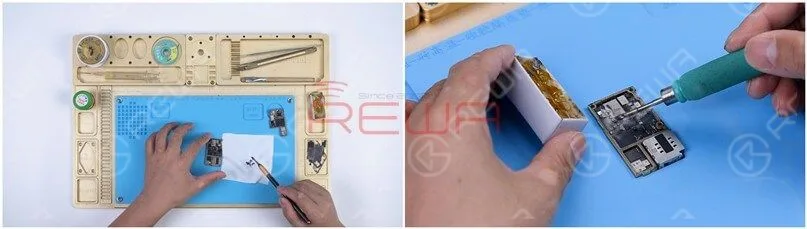
    Next, we need to locate the faulty component with rosin detecting.Remove thermal grease with a Sculpture Knife. Then dip rosin with Soldador at 365℃ and smoke rosin on the signal board.

    Next, we need to locate the faulty component with rosin detecting.Remove thermal grease with a Sculpture Knife. Then dip rosin with Soldering Iron at 365℃ and smoke rosin on the signal board.

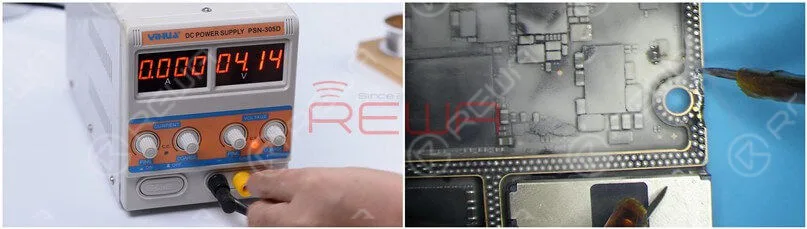
    Set the direct current supply to 4.1V. Connect the positive and negative anode of the direct current supply with multimeter probes. Connect the black probe to the ground and connect the red probe to pin 286 on the signal board. We can see rosin on C1200_K has melted. It indicates that the capacitor is damaged.
    Set the direct current supply to 4.1V. Connect the positive and negative anode of the direct current supply with multimeter probes. Connect the black probe to the ground and connect the red probe to pin 286 on the signal board. We can see rosin on C1200_K has melted. It indicates that the capacitor is damaged.
    Step 6: Eliminate the fault and restore the motherboard

    Then we heat the damaged capacitor with Hot Air Gun at 350℃ and remove it with tweezers.

    Then we heat the damaged capacitor with Hot Air Gun at 350℃ and remove it with tweezers.

    Limpie la colofonia de la placa de señal con PCB Cleaner. Realice una segunda medición en modo diodo. El valor del diodo vuelve a un valor normal de 327.

    Limpie la colofonia de la placa de señal con PCB Cleaner. Realice una segunda medición en modo diodo. El valor del diodo vuelve a un valor normal de 327.

    Smear rosin with Soldering Iron and solder wick at 365℃ to remove tin on the bonding pad. Clean the signal board with PCB Cleaner.

    Smear rosin with Soldering Iron and solder wick at 365℃ to remove tin on the bonding pad. Clean the signal board with PCB Cleaner.

    Remove tin and clean the logic board with the same method.Attach the signal board to the Reballing Platform and put the Reballing Stencil in position. To prevent the solder paste from flowing into the motherboard crevices, insert a metal plate. Apply a layer of low-temperature Pasta de soldar. 

    Remove tin and clean the logic board with the same method.Attach the signal board to the Reballing Platform and put the Reballing Stencil in position. To prevent the solder paste from flowing into the motherboard crevices, insert a metal plate. Apply a layer of low-temperature Solder Paste.

    Remove the Reballing Stencil and put the signal board on the Heating Platform at 185℃ to heat. After the solder balls are formed, turn the power off and cool the motherboard for 5 minutes.

    Remove the Reballing Stencil and put the signal board on the Heating Platform at 185℃ to heat. After the solder balls are formed, turn the power off and cool the motherboard for 5 minutes.

    Aplique algunas Pasta fundente and align the logic board with the signal board. Keep heating on the Heating Platform at 185℃. When the temperature reaches 185℃, keep heating for 1 minute.This step is to ensure that the logic board and the signal board fit closely.

    Apply some Paste Flux and align the logic board with the signal board. Keep heating on the Heating Platform at 185℃. When the temperature reaches 185℃, keep heating for 1 minute.This step is to ensure that the logic board and the signal board fit closely.Step 7: Test and assemble

    Connect the motherboard with the Power Cable and short to the ground of the J7700 pin 12. The boot current becomes normal.

    Connect the motherboard with the Power Cable and short to the ground of the J7700 pin 12. The boot current becomes normal.

    Put the motherboard on the phone. Connect the flex cables, screen, and battery. Because the battery is dead, plug the charging cable and the phone turns on normally.

    Put the motherboard on the phone. Connect the flex cables, screen, and battery. Because the battery is dead, plug the charging cable and the phone turns on normally.

    Conclusión:

    iPhone 11 Pro won’t turn on with a large current. We found that the main power supply was shorted to the ground through measuring the battery connector. The fault was found to be on the signal board after separation. Rosin detecting showed us that C1200_K was damaged. After removing C1200_K, the fault was cleared.