Etiqueta: apple watch 3

  • Remove Scratches from iPhone 12 & Apple Watch 3 with REFOX Grinding & Polishing Machine

    Remove Scratches from iPhone 12 & Apple Watch 3 with REFOX Grinding & Polishing Machine

    The REFOX Grinding and Polishing Machine, newly selected by REWA, has quickly become a favorite among phone refurbishers and repair technicians worldwide. Its powerful grinding capabilities and impressive efficiency make it the go-to tool for refurbishing devices like the iPhone 12 and Apple Watch. In this guide, we’ll walk you through how to use the REFOX machine to remove scratches and restore your devices to like-new condition.

    Testing the Devices

    Before starting the refurbishment process, it’s important to test the display and touch functionality of both the iPhone 12 and the Apple Watch.
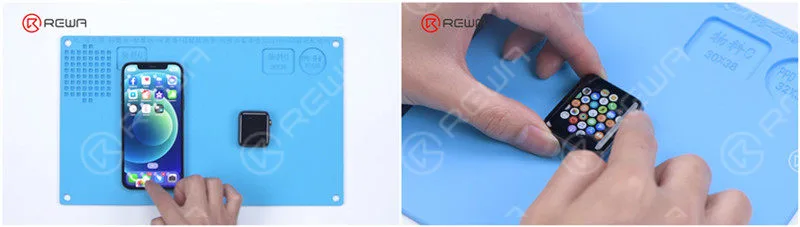
    Test the display and touch of the phone. All going well. Test the display and touch of the Apple Watch. The watch functions normally.
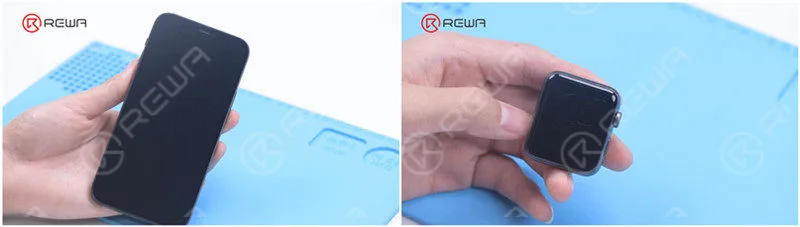
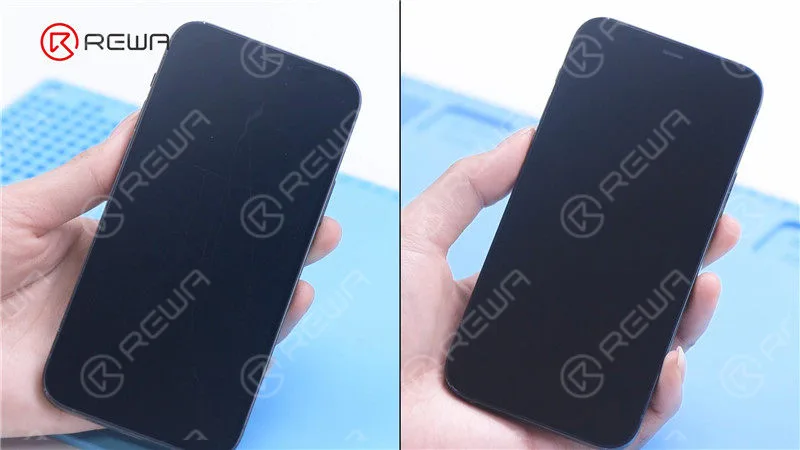
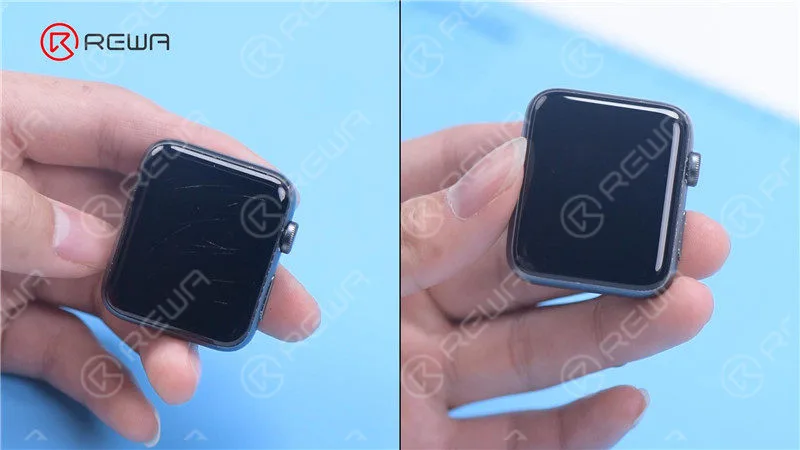
    There are obvious scratches on the phone and Apple Watch.

    In our case, both devices were functioning properly, despite having obvious surface scratches.

    Waterproofing

    The first step in refurbishing these devices is waterproofing. This is crucial to avoid water damage during the grinding and polishing process.
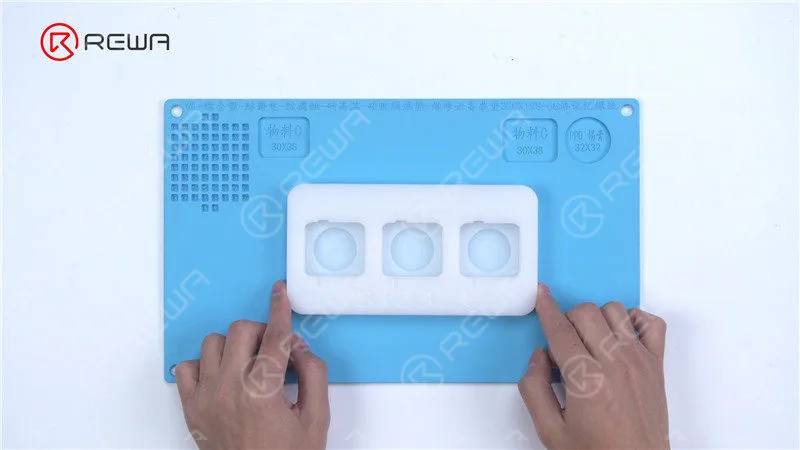
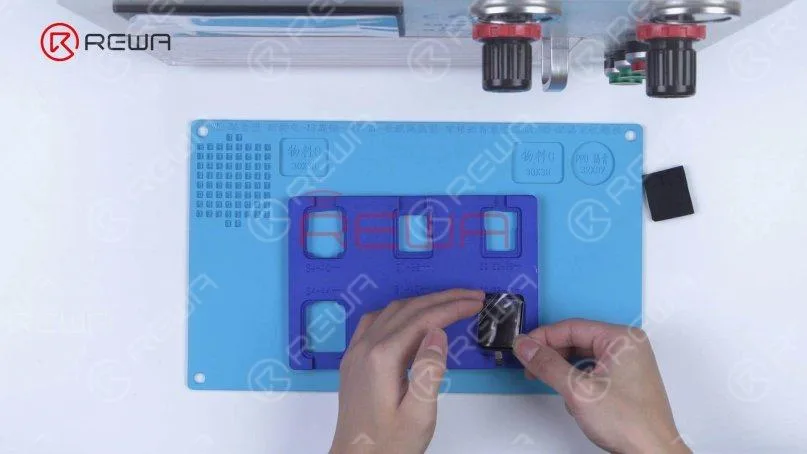
    Get the special mold for Apple Watch. The mold can grind and polish three watches at the same time.

    Apple Watch Mold: Use the special mold that can hold three Apple Watches at a time. The phone and watch should be securely placed in their respective molds.
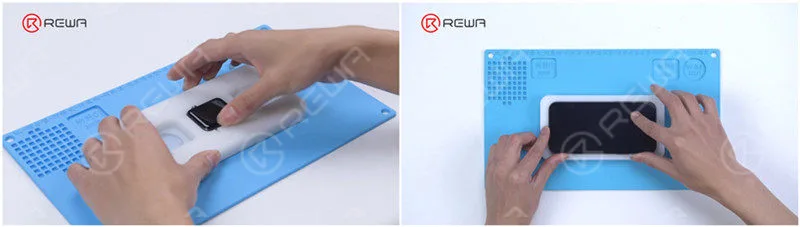
    Put the phone and watch into the mold respectively and prepare for waterproofing.

    Automatic Adhesive Dispenser: Waterproofing is the most important step for refurbishing electronic devices with the grinding and polishing machine. If waterproofing is not done well, it may lead to water damage to the device. In the last article, our technicians were applying waterproof adhesive manually. To improve refurbishment efficiency and reduce operation difficulty, REWA recommends a fully automatic adhesive dispenser for you.
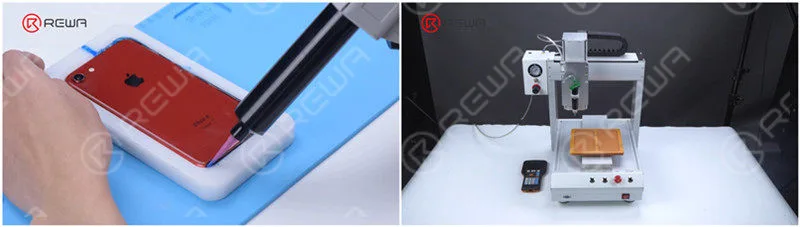
    automatic adhesive dispenser

    Attach the molds to the platform. The first time you use the dispenser, you need to draw the drawing of the corresponding mobile phone models.
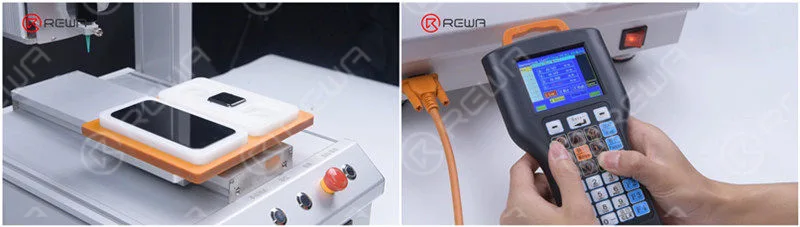
    automatic adhesive dispenser

    It is convenient that the drawing can be saved for direct usage. Click reset after the drawing has completed. The dispenser returns to the starting point. Then we press the start button and begin dispensing adhesive.
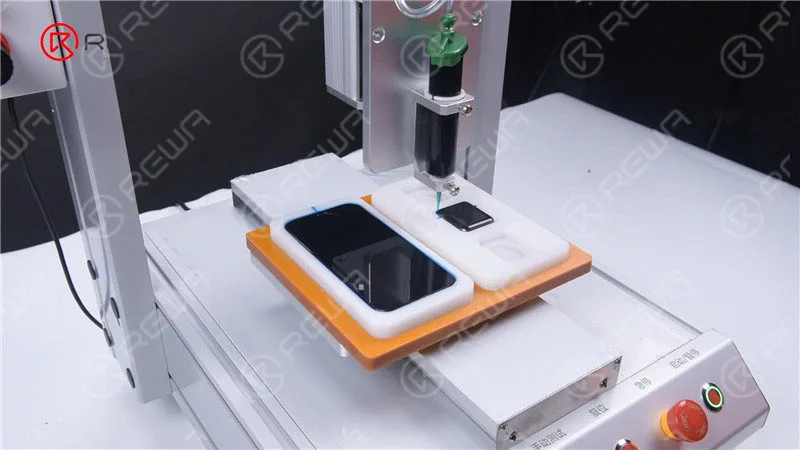
    automatic adhesive dispenser

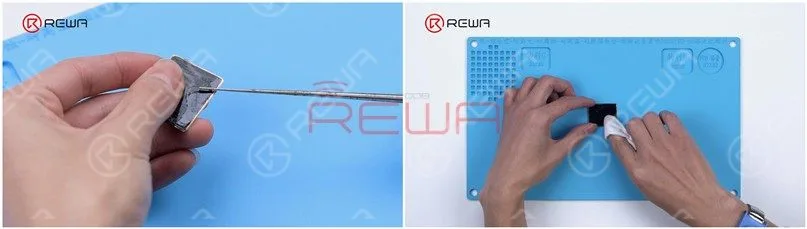
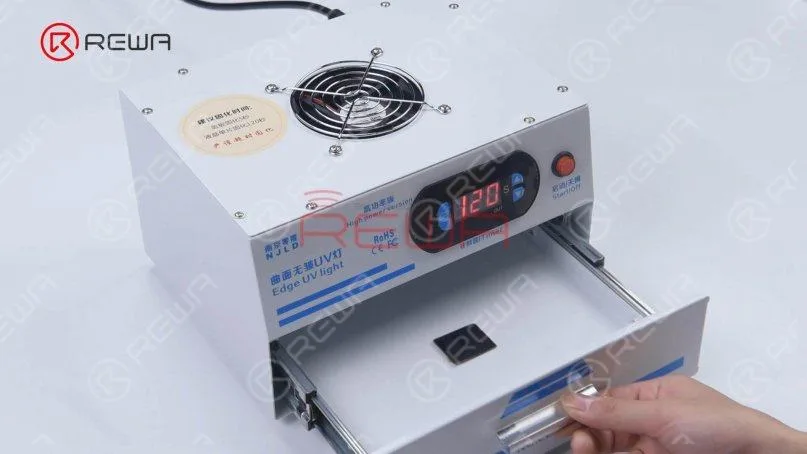
    Please scrape the adhesive on the receiver with a blade. After the adhesive has been cured by a UV Lamp, we can put the mold plates into the grinding and polishing machine.
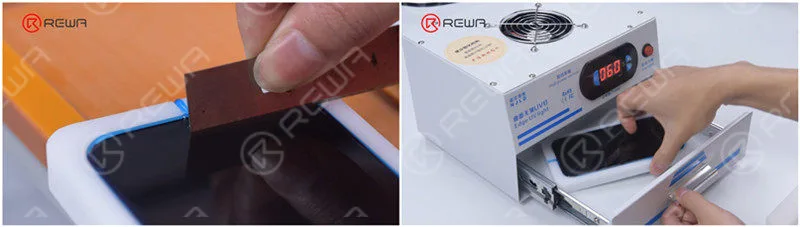
    Please scrape the adhesive on the receiver with a blade. After the adhesive has been cured by a UV Lamp, we can put the mold plates into the grinding and polishing machine.

    Grinding and Polishing

    Now that the devices are waterproofed, it’s time to start the grinding and polishing process:

    Since the scratches on the watch and phone are deep, we set the grinding and polishing time for 12 minutes. Press the start and reset button. The machine begins to work
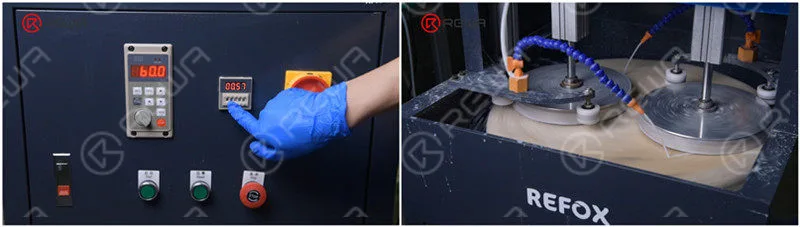
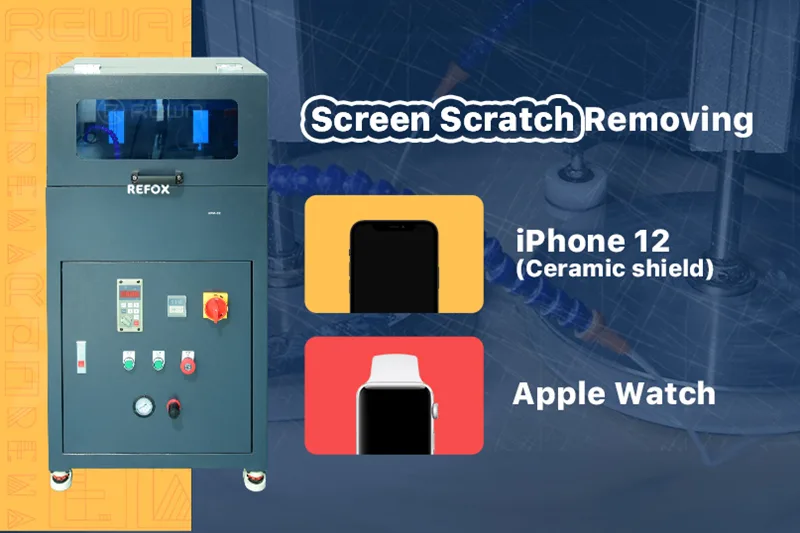
    iPhone 12 (Ceramic Shield) and Apple Watch 3 Scratches Removing By Grinding & Polishing

    After the first grinding and polishing, the Apple Watch with deep scratches has been refurbished successfully but there are still some small scratches on the iPhone 12.

    The scratches are completely gone after the second grinding and polishing. It can be seen that iPhone 12 takes longer to remove the same scratches than other iPhone series.
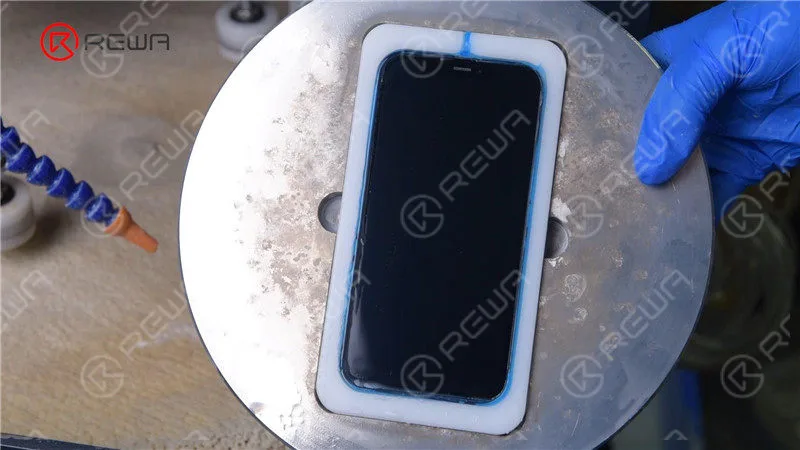
    After the first grinding and polishing, the Apple Watch with deep scratches has been refurbished successfully but there are still some small scratches on the iPhone 12.  The scratches are completely gone after the second grinding and polishing. It can be seen that iPhone 12 takes longer to remove the same scratches than other iPhone series.

    Then we peel off the waterproof adhesive of the phone. Since there are less adhesive on the receiver, we need to apply adhesive again and solidify it to make it fall.
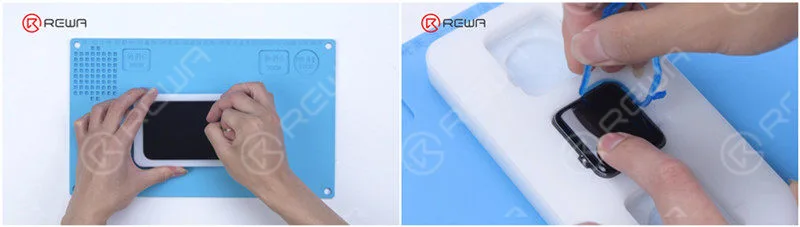
    Then we peel off the waterproof adhesive of the phone. Since there are less adhesive on the receiver, we need to apply adhesive again and solidify it to make it fall.

    Take out the phone with a suction cup.Remove the waterproof adhesive of the Apple Watch. The scratches are gone.
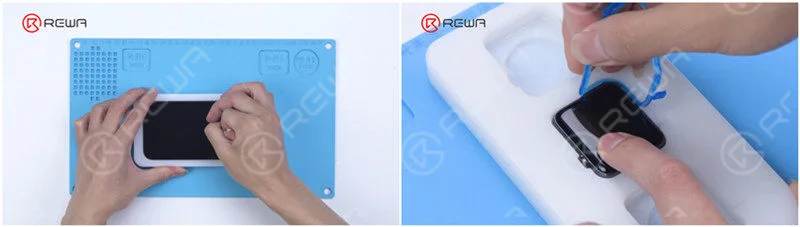
    Take out the phone with a suction cup.Remove the waterproof adhesive of the Apple Watch. The scratches are gone.
    Take out the phone with a suction cup.Remove the waterproof adhesive of the Apple Watch. The scratches are gone.
    Take out the phone with a suction cup.Remove the waterproof adhesive of the Apple Watch. The scratches are gone.

    Pruebas

    Turn on the phone and watch to test. The watch and the phone work fine.
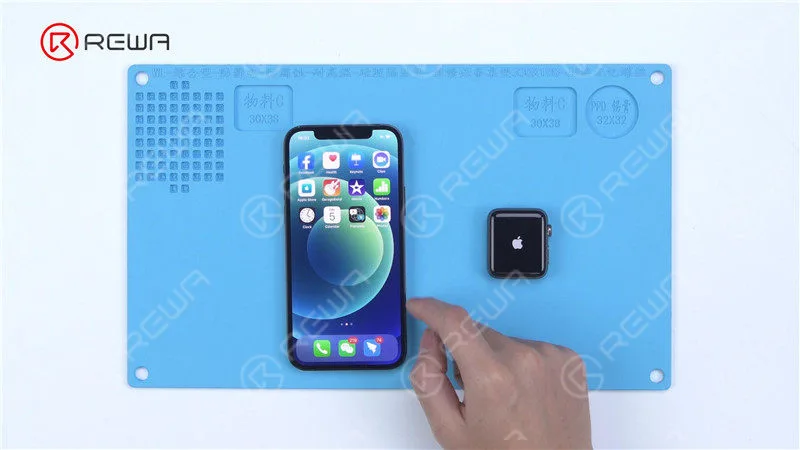
    Turn on the phone and watch to test. The watch and the phone work fine.

    Efecto hidrofóbico

    Then we add hydrophobic effect to the screen. Coat the screen with Oleophobic Coating and apply evenly. Solidify with a UV Lamp.
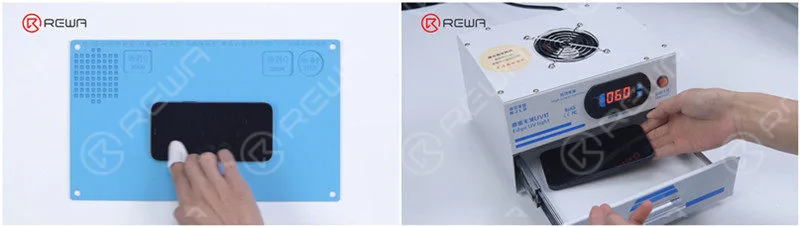
    Then we add hydrophobic effect to the screen. Coat the screen with Oleophobic Coating and apply evenly. Solidify with a UV Lamp.

    The screen of the watch and phone has now regained the hydrophobic effect.
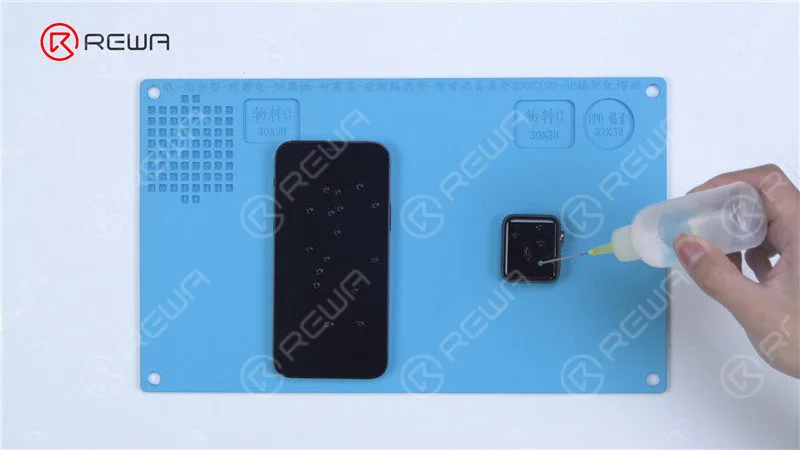
    The screen of the watch and phone has now regained the hydrophobic effect.

    The iPhone 12 and Apple Watch have been refurbished successfully.

    Resumen

    The scratches on iPhone 12 have become more difficult to remove than previous models because of the ceramic shield. Nonetheless, the grinding and polishing machine managed to remove the scratches with high efficiency. Furthermore, the machine gave full of its talent by successfully removing scratches on an Apple Watch. Without a doubt, the grinding and polishing machine will be your first choice if you want to carve a place in the refurbishment industry.

    To put in more specifically, the old way to refurbish the screen is to replace the front glass, which is not only difficult but also costly. Therefore, the emergence of the polishing and grinding machine can greatly improve the efficiency of refurbishment and reduce the refurbishment cost effectively. Moreover, the operation is relatively simple.

    The efficiency of the grinding and polishing machine is of paramount concern. There are currently three kinds of hot-selling grinding and polishing machine. One is the machine from the video that can grind and polish four phones simultaneously. The other two can grind and polish two and eight phones at the same time. You can choose the right model according to your workload. REWA offers a complete screen and back glass refurbishment solution, which includes all tools and supplies. If you need the grinding and polishing machine, you can contact us to learn more about the details.

    Watch the full video below to see how we remove iPhone 12 and Apple Watch scratches by grinding and polishing.
  • Sustitución del cristal del Apple Watch Series 3

    Sustitución del cristal del Apple Watch Series 3

    Como dispositivo portátil lanzado por Apple, los envíos y la cuota de mercado de la línea de productos Apple Watch crecen día a día. En consecuencia, ha aumentado la demanda de sustitución de la pantalla y de la batería. Dado que el precio del conjunto de la pantalla y otras partes es muy alto, REWA LAB le mostrará cómo reemplazar el cristal del Apple Watch Series 3. La solución será más económica que la sustitución del conjunto de la pantalla.

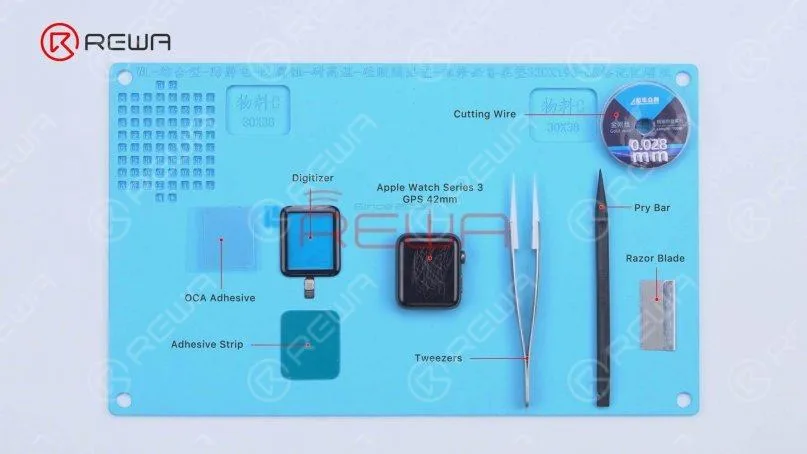
    Las herramientas y suministros necesarios son digitalizador, adhesivo OCA, tira adhesiva, alambre de corte, pinzas, palanca y cuchilla de afeitar.

    Las herramientas y suministros necesarios son digitalizador, adhesivo OCA, tira adhesiva, alambre de corte, pinzas, palanca y cuchilla de afeitar.

    Pruebas de pantalla

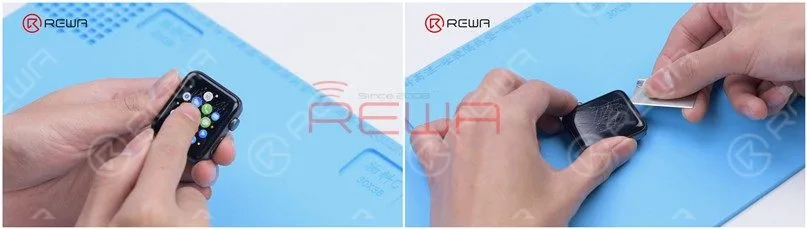
    En primer lugar, prueba la pantalla. El tacto, la pantalla y Force Touch funcionan bien. Apaga el reloj y abre la pantalla haciendo palanca con un Hoja de afeitar lentamente.
    En primer lugar, prueba la pantalla. El tacto, la pantalla y Force Touch funcionan bien. Apaga el reloj y abre la pantalla lentamente con una cuchilla de afeitar.Levante la pantalla. Preste atención a los cables flexibles de la pantalla para evitar daños. Se puede ver que hay tres cables flexibles conectados a la placa base.
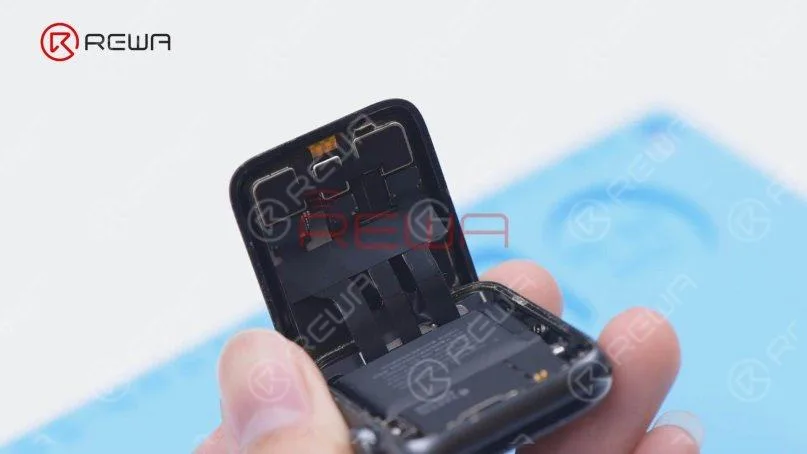
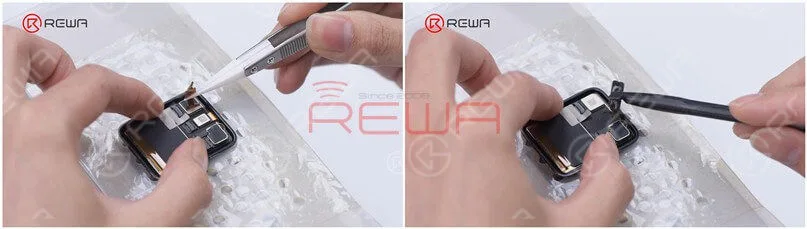
    Levante la pantalla. Preste atención a los cables flexibles de la pantalla para evitar daños. Se puede ver que hay tres cables flexibles conectados a la placa base.Despegue la cinta que cubre los cables flexibles de la pantalla con unas pinzas. No dañe los cables flexibles al despegarlos. A continuación, desconecte los cables flexibles.
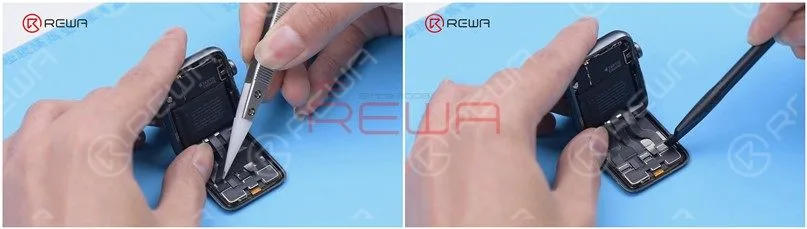
    Despegue la cinta que cubre los cables flexibles de la pantalla con unas pinzas. No dañe los cables flexibles al despegarlos. A continuación, desconecte los cables flexibles.

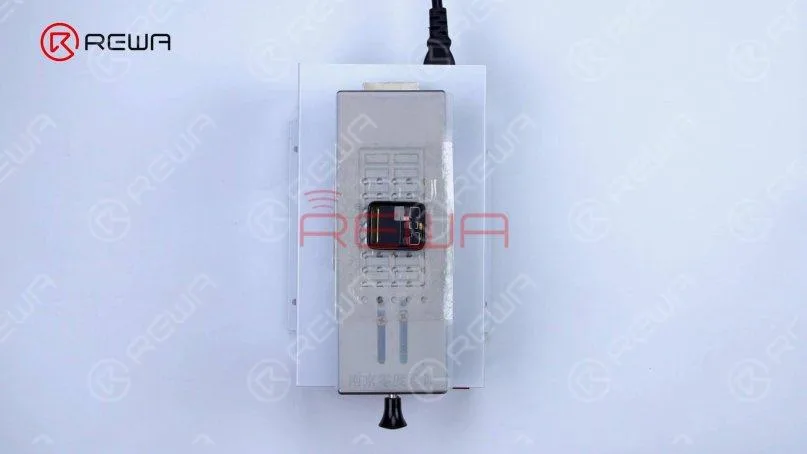
    A continuación, tenemos que hacer palanca en el conector del cable flex táctil. Coloca la pantalla en el Plataforma de calefacción a 120℃ durante 30 segundos. Después de calentar, despegue la cinta con unas pinzas y levante el conector.

    A continuación, tenemos que hacer palanca en el conector del cable flex táctil. Coloca la pantalla en la Plataforma de Calentamiento a 120℃ durante 30 segundos. Una vez calentada, despega la cinta con unas pinzas y levanta el conector.
    A continuación, tenemos que hacer palanca en el conector del cable flex táctil. Coloca la pantalla en la Plataforma de Calentamiento a 120℃ durante 30 segundos. Una vez calentada, despega la cinta con unas pinzas y levanta el conector.

    Corte de vidrio

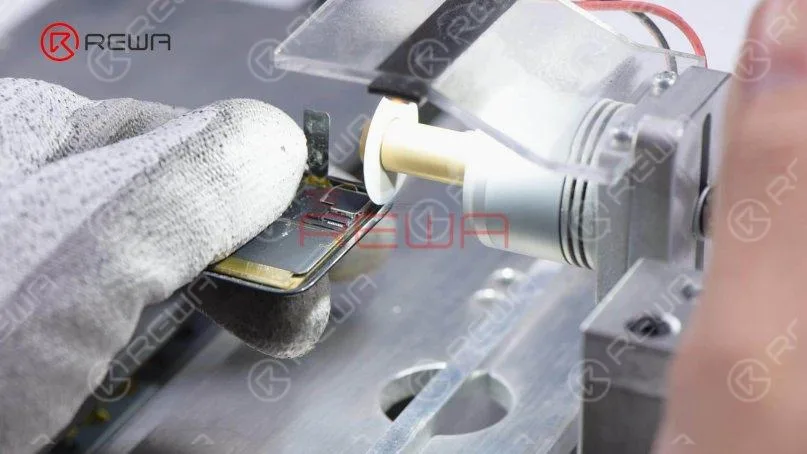
    A continuación, utilizamos el Máquina cortadora para cortar el cristal. Hay que cortar ambos lados del cristal para que entre el alambre de corte. Tenga cuidado durante la operación.
    A continuación, utilizamos la máquina de corte para cortar el cristal. Tenemos que cortar ambos lados del cristal para que entre el alambre de corte. Por favor, tenga cuidado durante la operación.Podemos ver que un lado del cristal se ha cortado y la parte inferior también se ha roto.
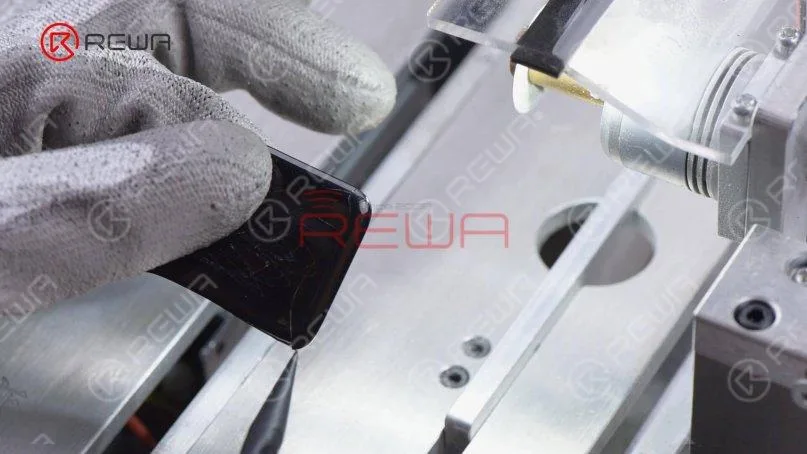
    Podemos ver que un lado del cristal se ha cortado y la parte inferior también se ha roto.Luego cortamos el otro lado. Por último, pulimos las esquinas. Un punto que conviene mencionar es que la dificultad de sustitución se reducirá si el cristal se rompe.
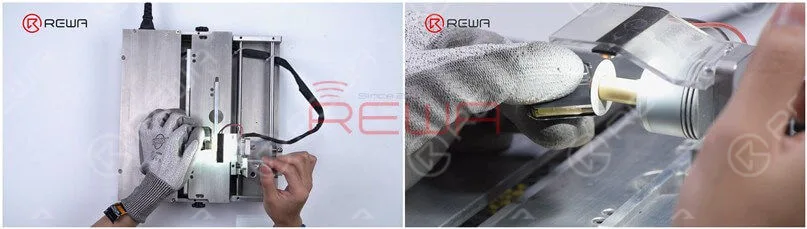
    Luego cortamos el otro lado. Por último, pulimos las esquinas. Un punto que conviene mencionar es que la dificultad de sustitución se reducirá si el cristal se rompe.

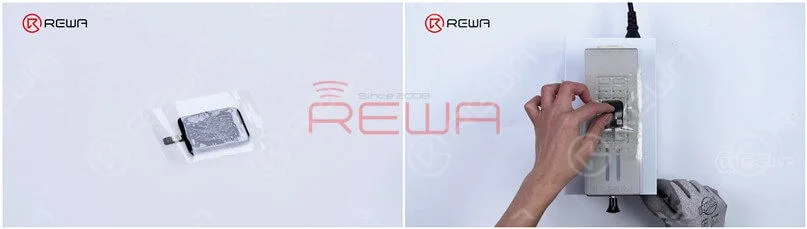
    Separación de vidrio

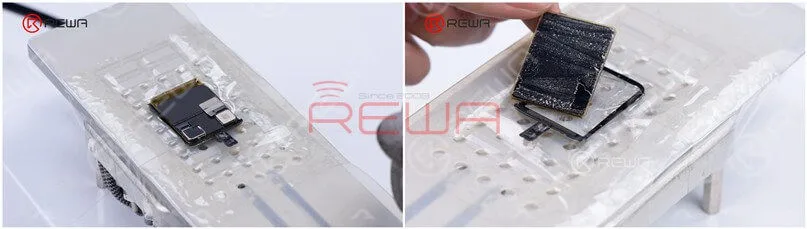
    Pegue la pantalla con cinta adhesiva. A continuación, coloque la pantalla en la plataforma calefactora e inicie la succión.
    Pegue la pantalla con cinta adhesiva. A continuación, coloque la pantalla en la plataforma calefactora e inicie la succión.A continuación, separe el vaso con Alambre de corte. Tire lentamente del alambre de corte y el cristal se separará con éxito.
    A continuación, separe el cristal con el alambre de corte. Tire lentamente del Cutting Wire y el cristal quedará separado con éxito.

    OCA Retirada

    A continuación, retiramos el adhesivo OCA con el Herramienta eléctrica para retirar adhesivos y limpiar el OLED con N-hexano.
    A continuación, retiramos el adhesivo OCA con la herramienta eléctrica para retirar adhesivos y limpiamos el OLED con N-hexano.Instale el OLED para probarlo. Dado que el panel táctil se ha separado, sólo tenemos que probar la función de visualización. La función de visualización es normal. Limpie el OLED completamente con N-hexano.
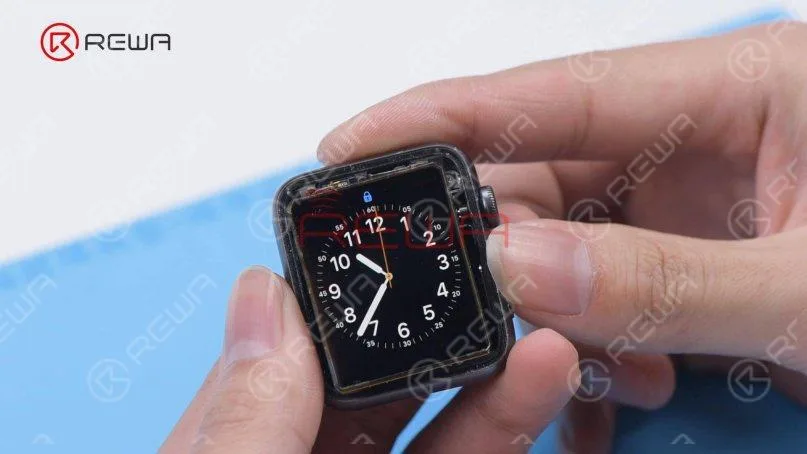
    Instale el OLED para probarlo. Dado que el panel táctil se ha separado, sólo tenemos que probar la función de visualización. La función de visualización es normal. Limpie el OLED completamente con N-hexano.

    Laminado

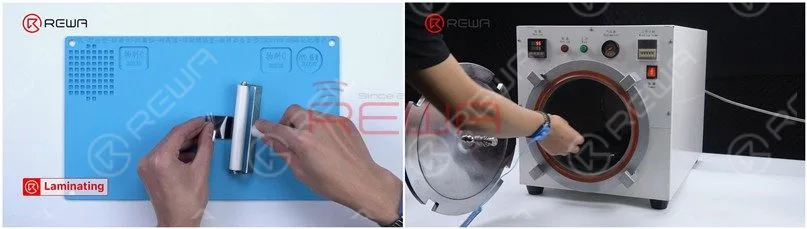
    Fije el adhesivo OCA al OLED con Rodillo laminador y coloque el OLED en el Máquina de eliminación de burbujas durante 3 minutos.
    Pegue el adhesivo OCA al OLED con el rodillo laminador y coloque el OLED en la máquina de eliminación de burbujas durante 3 minutos.Saca el OLED y ponlo en el Lámpara UV para curar cola OCA durante 5 segundos.
    Saque el OLED y póngalo en la lámpara UV para curar el pegamento OCA durante 5 segundos.Pega una esquina del OLED con Easy Tear Sticker y despega la película protectora del OCA.
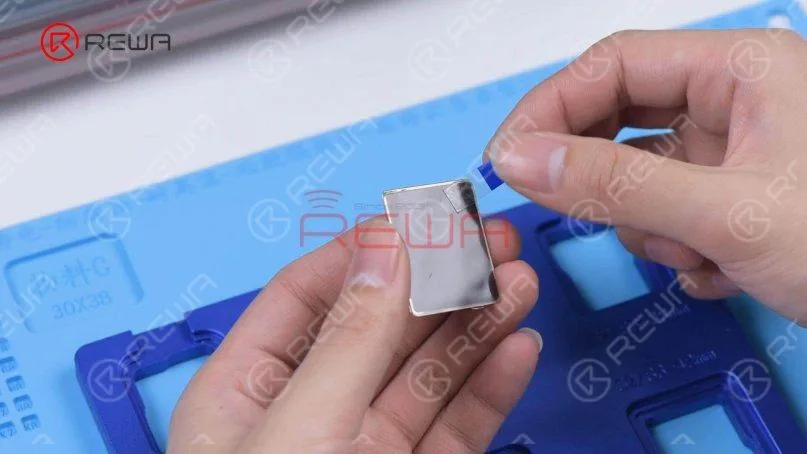
    Pega una esquina del OLED con Easy Tear Sticker y despega la película protectora del OCA.Pega el OLED al molde laminador. Pegue una esquina del Apple Watch Series 3 digitalizador y despegue la película protectora OCA.
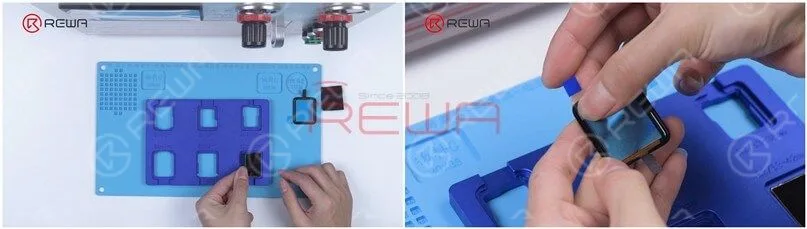
    Pega el OLED al molde laminador. Pega una esquina del digitalizador del Apple Watch Series 3 y despega la película protectora OCA.Alinee el digitalizador con el OLED.

    Alinee el digitalizador con el OLED.Separe la pantalla y colóquela sobre la esponja laminadora. A continuación, coloque la pantalla en el Máquina laminadora y pulse "Inicio laminado LCD".
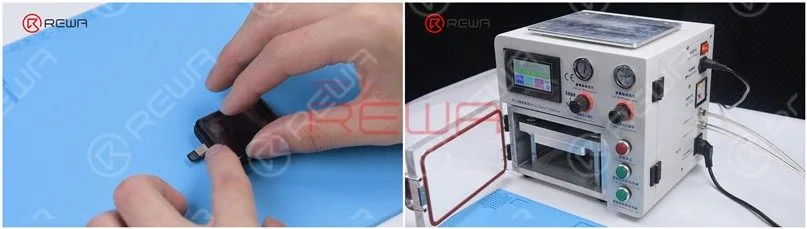
    Separe la pantalla y colóquela sobre la esponja de laminación. A continuación, coloque la pantalla en la plastificadora y pulse "LCD laminate start".Saca la pantalla y todavía hay burbujas en ella. Vuelve a colocar la pantalla en la máquina de eliminación de burbujas durante diez minutos y las burbujas habrán desaparecido.
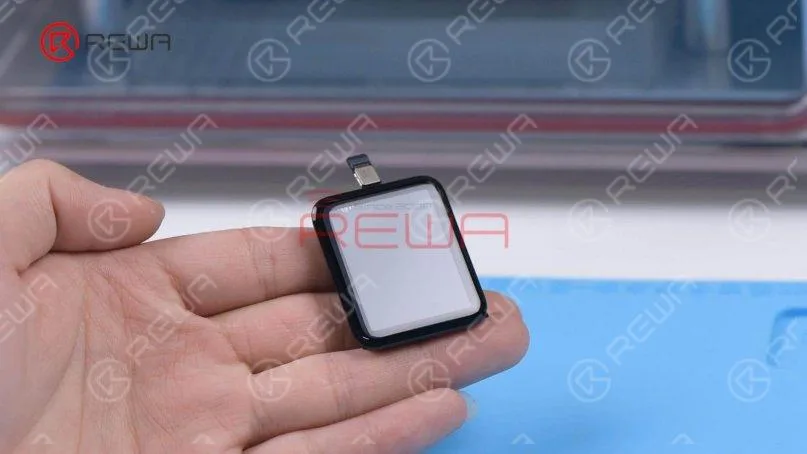
    Saca la pantalla y todavía hay burbujas en ella. Vuelve a colocar la pantalla en la máquina de eliminación de burbujas durante diez minutos y las burbujas habrán desaparecido.Volvemos a colocar la pantalla en la lámpara UV durante dos minutos. A continuación, conectamos la pantalla para probarla. La función de la pantalla y el tacto es bueno.
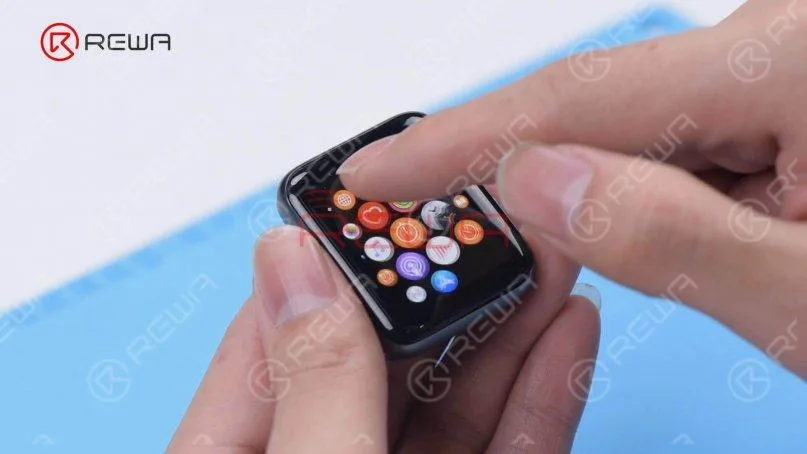
    Volvemos a colocar la pantalla en la lámpara UV durante dos minutos. A continuación, conectamos la pantalla para probarla. La función de la pantalla y el tacto es bueno.Por último, instalamos la pantalla en el reloj. Pega la tira adhesiva al marco y despega la película protectora.
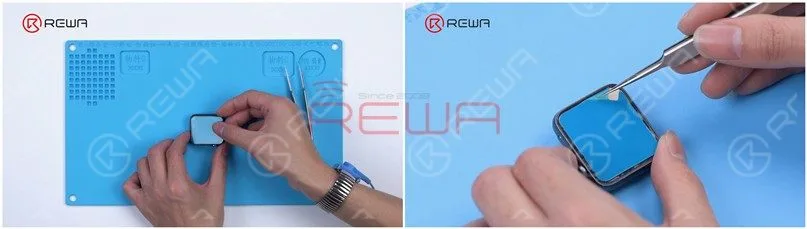
    Por último, instalamos la pantalla en el reloj. Pega la tira adhesiva al marco y despega la película protectora.Conecte la pantalla y encienda el reloj. El reloj se enciende y todas las funciones funcionan bien.
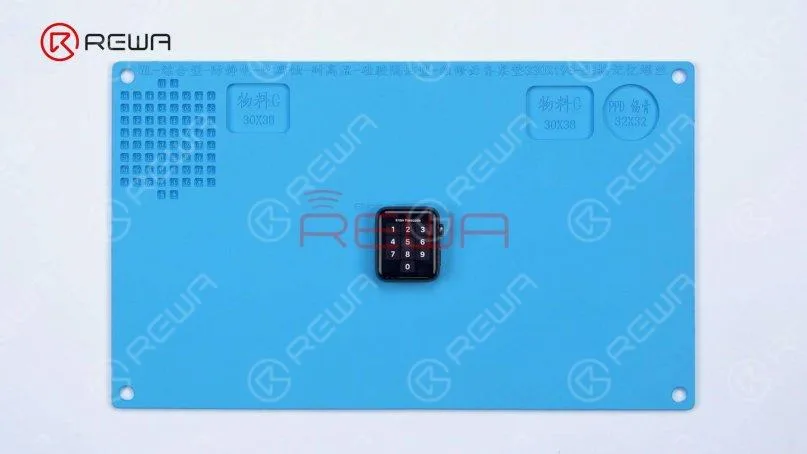
    Conecte la pantalla y encienda el reloj. El reloj se enciende y todas las funciones funcionan bien.No dude en visitar nuestra tienda en línea para Piezas del Apple Watch Vea el vídeo a continuación para obtener una guía detallada de sustitución del cristal del Apple Watch Series 3.