Schlagwort: OLED-Bildschirm

  • Wie werden Samsung-OLED-Bildschirme für den Ersatzmarkt hergestellt?

    Wie werden Samsung-OLED-Bildschirme für den Ersatzmarkt hergestellt?

    When you’re planning a Samsung Bildschirmtausch, aftermarket OLED screens often stand out as the most cost-effective solution. But critical questions remain: how are these screens actually manufactured—and can their quality be trusted?

    In this guide, REWA Tech takes you inside a professional production workflow to break down the full process of a Samsung aftermarket OLED screen step by step. This article will help you understand how high-quality aftermarket OLED screens are built—and what separates reliable products from low-grade ones.

    What Is an OLED Screen?

    Before diving into manufacturing, it’s essential to understand what an OLED screen consists of and how each component contributes to performance.

    An OLED (Organic Light-Emitting Diode) screen is a complex module made up of multiple layers and precision components working together. Key parts include:

    • Anzeigetafel: The core light-emitting layer that produces light and images
    • FPC (Flexible Printed Circuit): Connects the screen to the motherboard
    • Driver IC: Controls display signals and image rendering
    • Front Glass: The top protective layer protects the display and enables touch
    • OCA (Optically Clear Adhesive): Bonds glass to the panel without affecting clarity
    • Back Sticker: Secures the screen into the phone frame
    • Fingerprint Module: Enables under-display fingerprint recognition
    • Frame: Provides structural support and ensures proper installation
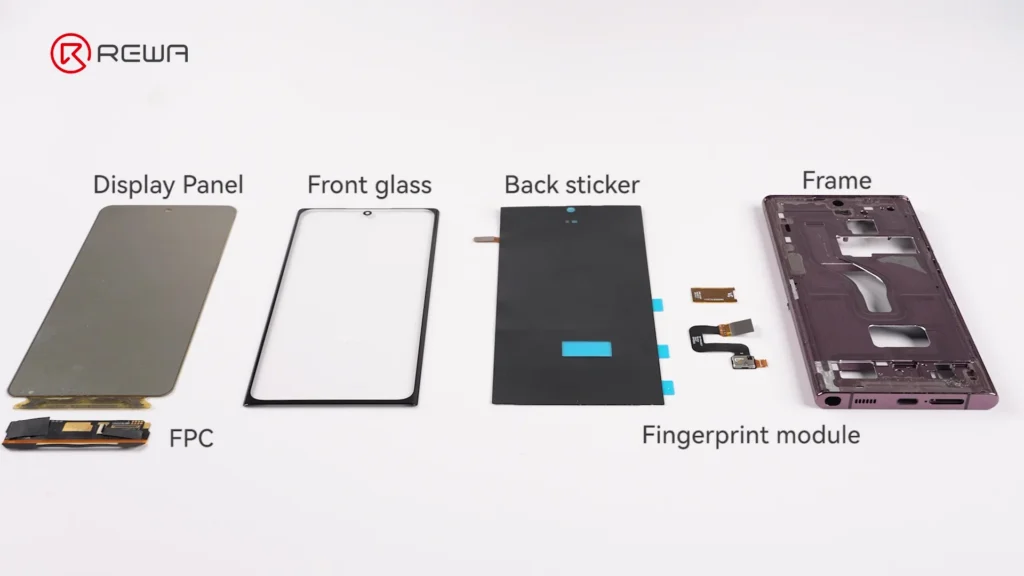
    structure of aftermarket samsung screens

    Einfach ausgedrückt:

    • Driver IC = “the brain” of the screen
    • FPC = “the signal cable”
    • OCA = “invisible glue for display clarity”

    1. Driver IC Bonding and FPC Bonding: The Core Electrical Assembly

    This stage is the foundation of screen functionality. Any error here directly affects display performance and touch response.

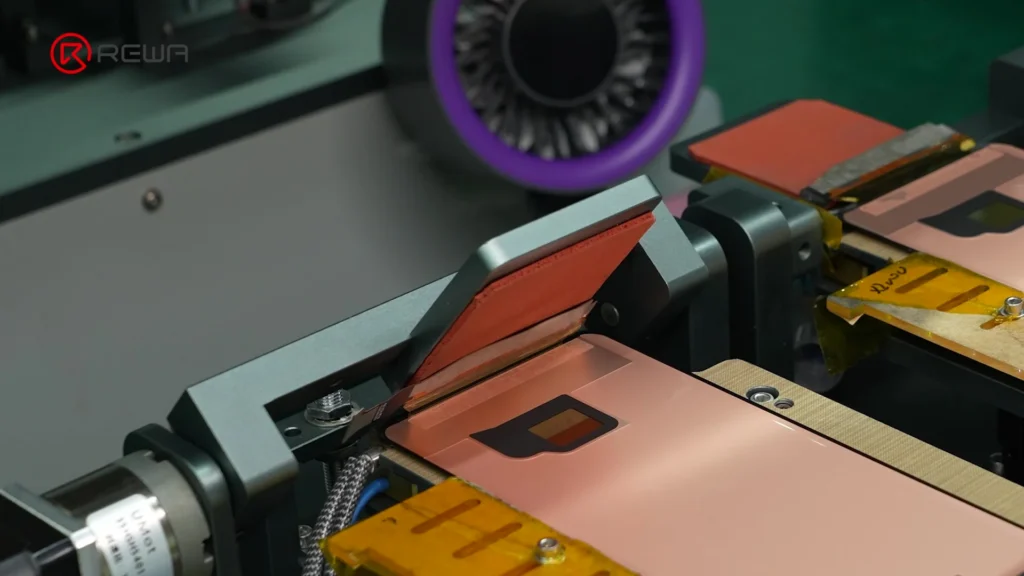
    The process begins with Polarisator lamination, where a polarizing layer is applied to the glass with precision tolerance controlled within 0.1mm. Then comes Driver IC bonding, a critical step where the chip is attached to the display panel using ACF (Anisotropic Conductive Film).

    To ensure reliability:

    • Plasma cleaning removes contaminants from bonding surfaces
    • Automated dispensers apply ACF with high precision
    • HD vision systems align components accurately
    • Controlled heat and pressure secure the bond
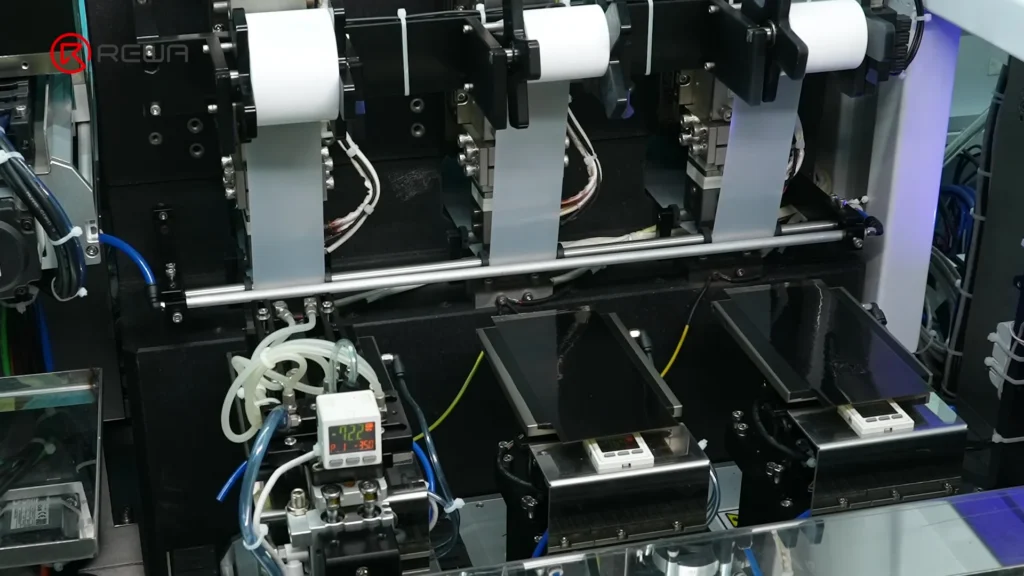
    screen driver ic bonding

    Next is FPC bonding, which connects the display to the device motherboard. Similar cleaning, alignment, and bonding processes are applied to ensure a stable electrical connection.

    After bonding:

    • Anti-oxidation adhesive protects connection points
    • Manual inspection ensures no defects
    • Power-on testing verifies touch responsiveness

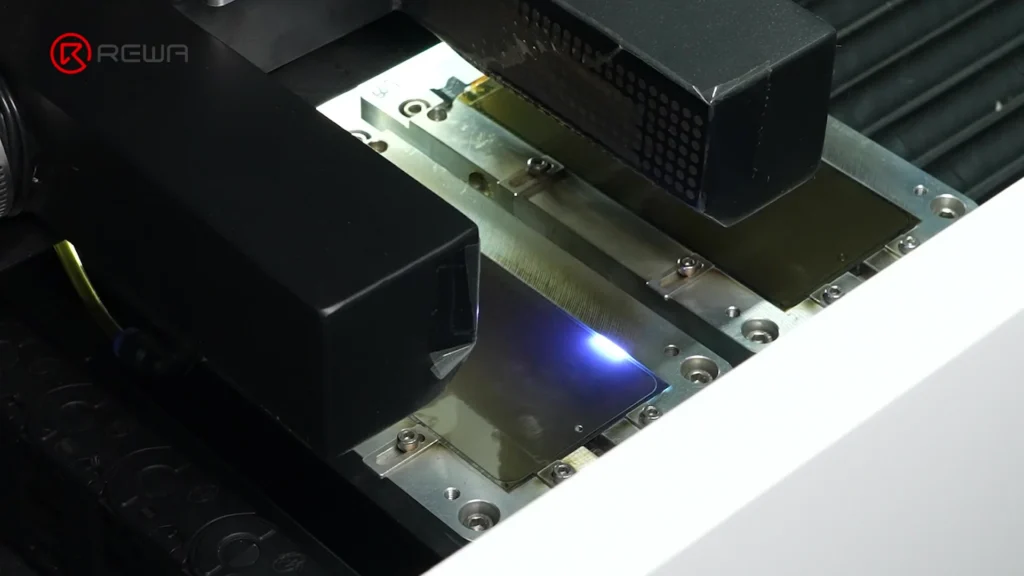
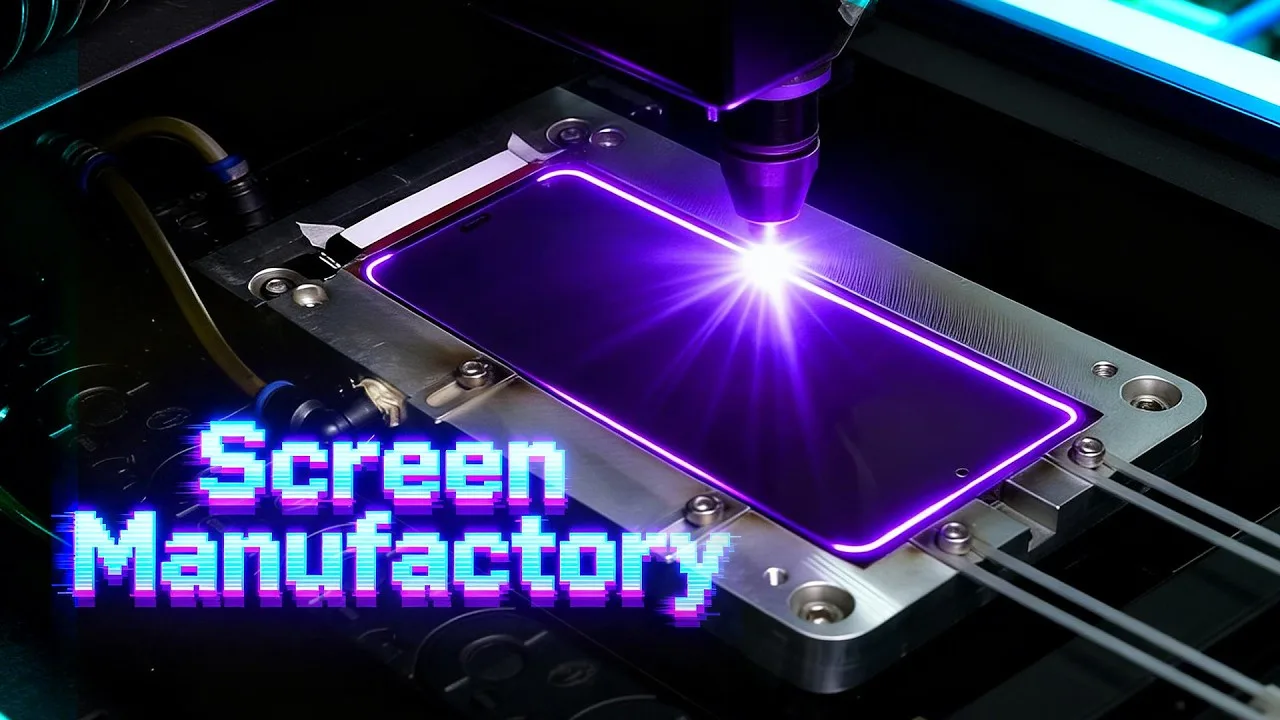
    Finally, laser cutting shapes the display with 1:1 accuracy, ensuring:

    • Perfect camera hole alignment
    • Correct corner curvature
    • Seamless fit into the phone frame
    screen laser cutting

    2. Glass–OCA–Display Lamination: Achieving Visual Clarity

    Diese lamination part determines the visual quality of the screen—clarity, brightness, and absence of defects.

    The process takes place in a dust-free cleanroom, because even microscopic particles can cause display issues.

    Steps include:

    1. Glass inspection under high-intensity light to detect scratches or contamination
    2. OCA application to ensure optical transparency
    3. Vacuum lamination, aligning glass and panel precisely
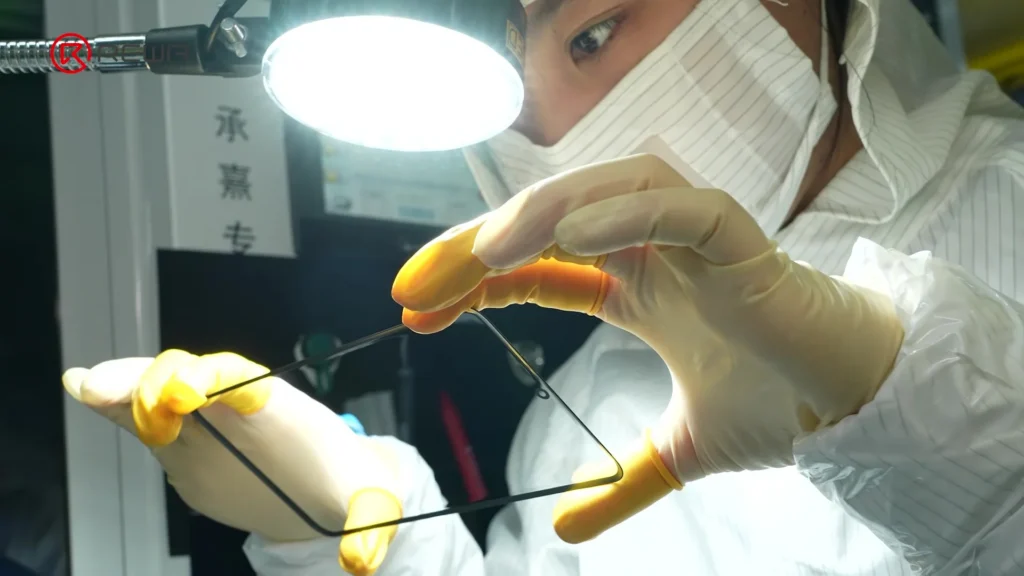
    wearing mask a worker is inspecting samsung aftermarket screen

    After lamination:

    • Screens undergo autoclaving (high pressure + heat) to eliminate micro-bubbles
    • Manual inspection ensures zero bubbles and perfect adhesion
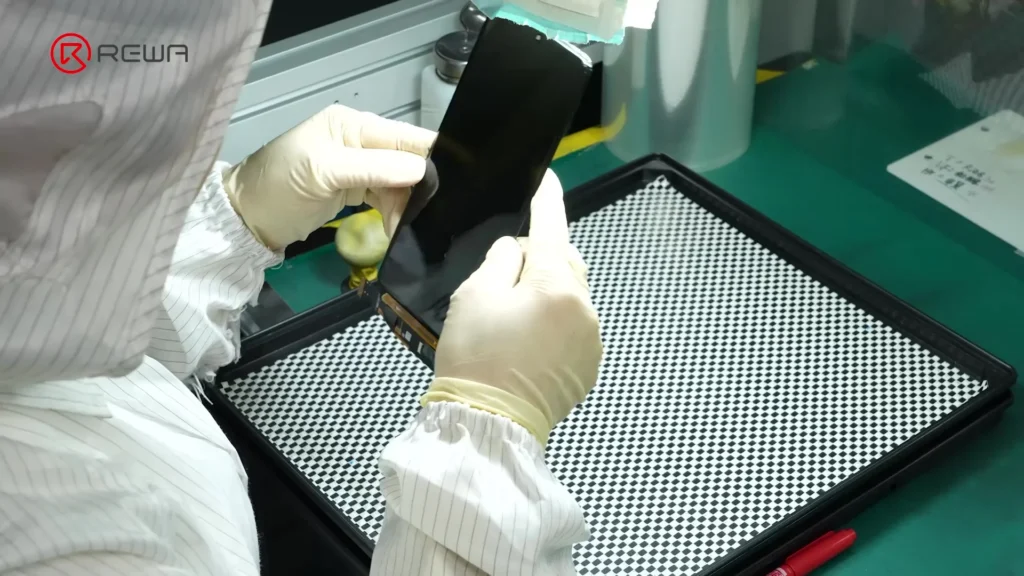
    a worker is inspecting samsung aftermarket screen

    Important note:
    “Bubbles” are not just cosmetic—they can affect touch sensitivity and display uniformity.

    Next steps:

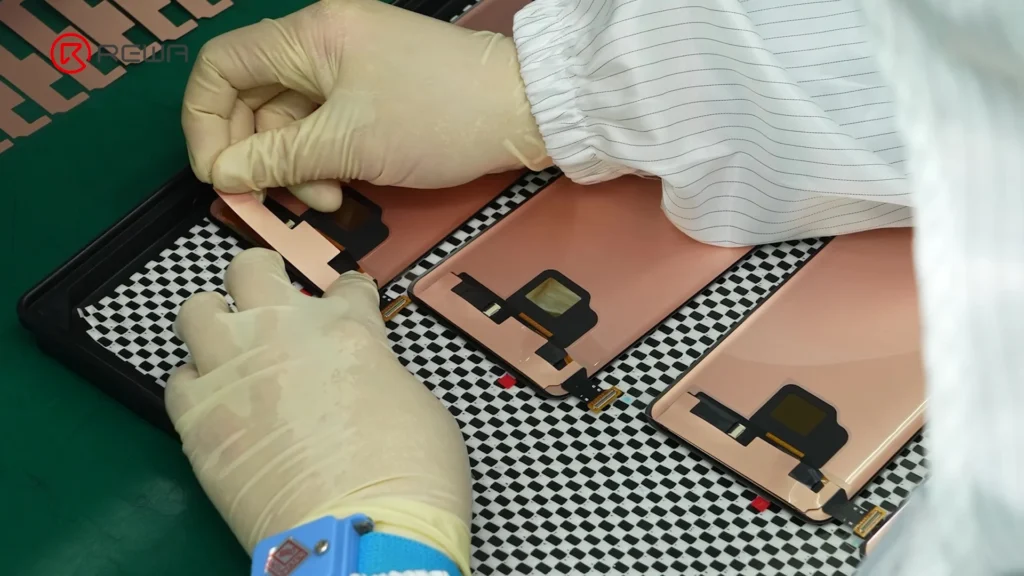
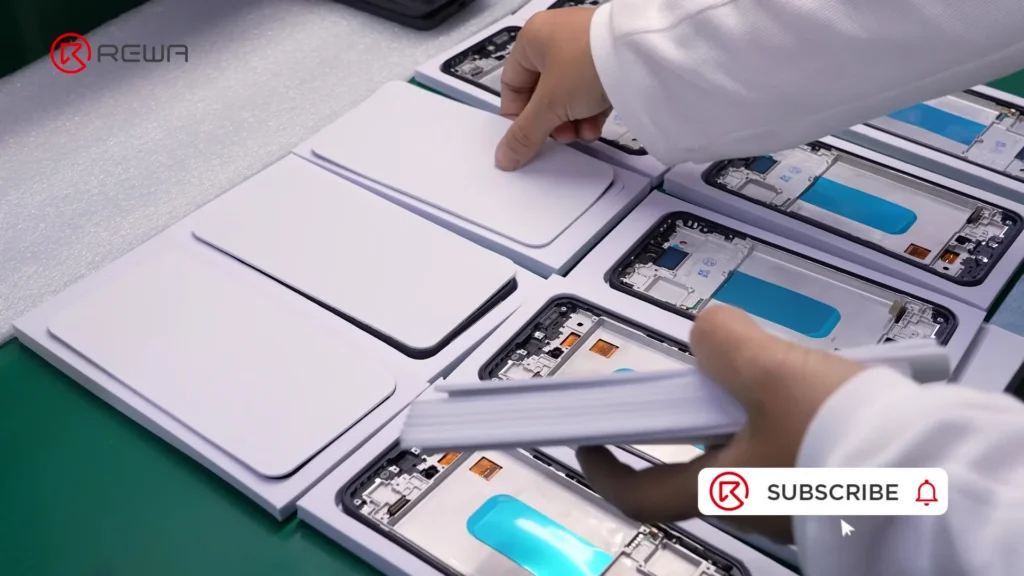
    • Back sticker is applied using robotic arms
    • FPC is secured and routed to avoid stress damage
    • Protective films are added

    A full touch-function test ensures: No dead zones + No “ghost touches”, setting the baseline for REWA’s high-quality screens. At this stage, only fully functional, bubble-free displays move forward.

    3. Module & Frame Assembly: Completing the Screen Structure

    This stage focuses on integrating functional modules and finalizing the physical structure.

    Samsung Galaxy S Series & Samsung Note Series and selected models of A Series feature intelligent under-display fingerprint sensor, thus biometric security is paramount. The fingerprint module is installed:

    • Optical adhesive ensures proper signal transmission
    • Precise OLED alignment guarantees accurate recognition

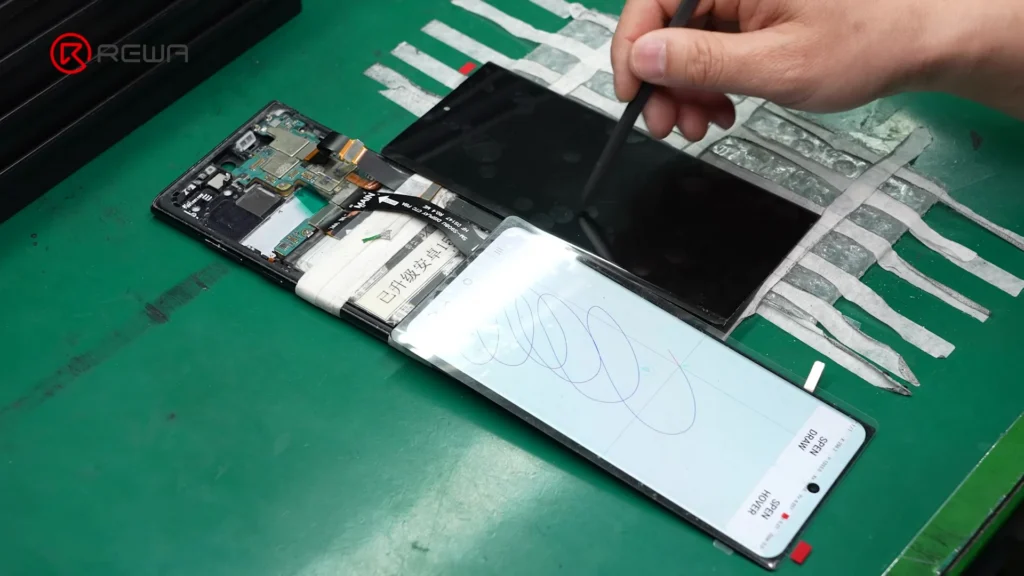
    Next comes fingerprint recognition and S Pen response test.
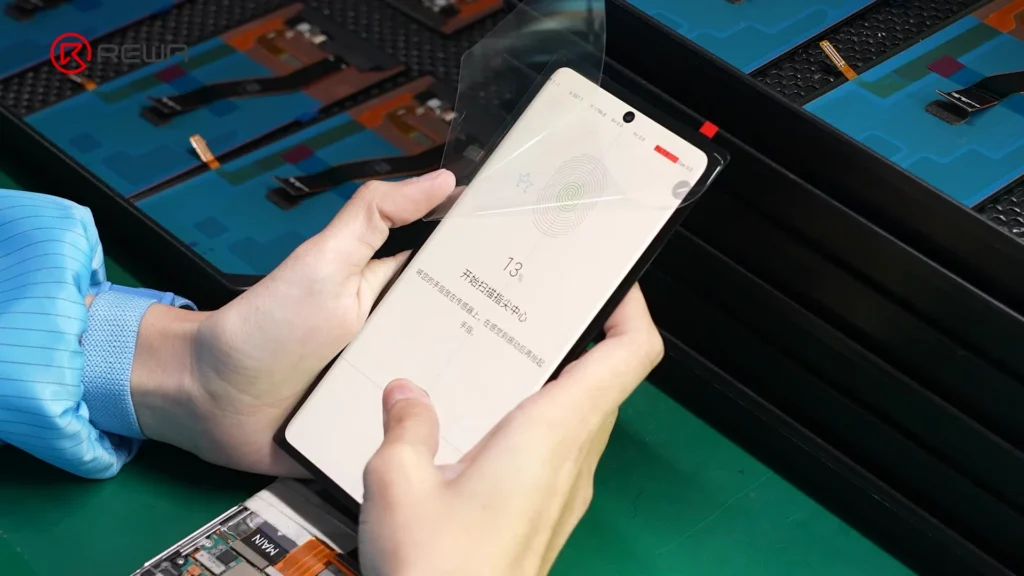
    Next is frame assembly:

    • Automated dispensing applies adhesive along original design paths
    • Ensures proper sealing and structural integrity
    • Guarantees a flush fit with the phone body

    The final protective film is applied to complete assembly, creating a fully finished, durable screen.

    4. Independent Quality Verification: What Makes REWA Selected Screens Different

    Production alone does not guarantee quality. This is where independent verification in REWA laboratory becomes critical.

    Each batch undergoes:

    • Secondary full-scale testing
    • Functional validation (display + touch + biometrics)
    • Strict defect screening

    Only screens that pass this rigorous verification can earn the REWA seal of approval.

    Key insight:
    The difference between “average” and “premium” third-party screens often lies in post-production quality control, not just manufacturing.
    Samsung Aftermarket OLED Screen

    Häufig gestellte Fragen

    Sind OLED-Bildschirme aus dem Zubehör genauso gut wie die Originalen?

    Hochwertige OLED-Ersatzdisplays können eine Leistung erzielen, die der von Originaldisplays nahekommt, insbesondere wenn sie mit präziser Verklebung und strenger Qualitätskontrolle hergestellt werden.

    Was ist ACF und warum ist es wichtig?

    ACF (Anisotropic Conductive Film) ist ein spezieller Klebstoff, der elektrische Verbindungen nur in bestimmten Richtungen ermöglicht und so eine stabile Signalübertragung zwischen Komponenten gewährleistet.

    Warum ist Staubkontrolle beim Laminieren wichtig?

    Selbst winzige Staubpartikel können Blasen, Displayfehler oder Berührungsprobleme verursachen. Reinraumumgebungen gewährleisten eine hohe visuelle Qualität.

    Was verursacht “Ghost Touch”-Probleme?

    Ghost-Touch wird in der Regel durch mangelhafte Verklebung, defekte FPC-Verbindungen oder minderwertige Materialien verursacht, die die Signalübertragung beeinträchtigen.

    Wie erkenne ich einen hochwertigen Samsung-Ersatzbildschirm?

    Suchen nach:
    Stabile Berührungsleistung
    Keine Blasen oder Displayfehler
    Passgenau (1:1 zum Original)
    Fingerabdruckerkennung unter dem Display
    Verifizierte Tests oder Zertifizierung

    Warum ist der Treiber-IC-Bonding-Prozess von entscheidender Bedeutung?

    It directly controls how the screen displays images. Poor bonding can lead to flickering, lines, or complete display failure.

    Do Samsung third-party screens support fingerprint functionality?

    Yes, but only if the fingerprint module is properly installed and calibrated during assembly.

    Schlussfolgerung:

    Understanding how Samsung aftermarket OLED screens are made reveals an important truth: quality depends on process precision and testing standards—not just cost.

    From IC bonding and cleanroom lamination to final assembly and independent verification, every step plays a role in determining performance and reliability.

    At REWA, there is a strict Quality Control Line to block products that do not meet 4S standards. Over the 18 years, we are committed to powering your repair business with reliable and premium products and tailored customer solutions. If you have any questions, feel free to Kontaktieren Sie uns.
  • Die neueste Lösung zur Aufarbeitung gebogener OLED-Bildschirme V5.0 (Galaxy S9 Demo)

    Die neueste Lösung zur Aufarbeitung gebogener OLED-Bildschirme V5.0 (Galaxy S9 Demo)

    With the emergence of more and more curved-screen mobile phones on the market, curved-screen technology becomes more and more complicated, adding the difficulty of curved-screen refurbishing. The release of Samsung S9 series also brings a new challenge since traditional curved-screen refurbishing solutions with freeze assistance cannot meet its need. That’s why we bring you this latest curved-screen refurbishing solution with heat assistance, which can meet the refurbishing needs of most curved-screen and flexible-screen mobile phones.

    Product used in this video

  • HUAWEI P9 Plus OLED Bildschirm Glas Reparaturanleitung

    HUAWEI P9 Plus OLED Bildschirm Glas Reparaturanleitung

    Huawei p9 plus oled Bildschirm Glas Reparaturanleitung

    In unserem vorherigen Artikel haben wir den Unterschied zwischen OLED und LCD kennengelernt. OLED kann in Zukunft ein wirklich großer Trend sein.

    HUAWEI, eine der beliebtesten chinesischen Smartphone-Marken, hat mit seinem 5,5-Zoll-Super-AMOLED-Display mit 1080p-Auflösung auf dem HUAWEI P9 Plus ebenfalls Nutzer in aller Welt beeindruckt.

    Diese Innovation verleiht dem HUAWEI P9 Plus nahezu perfekte Blickwinkel, was eine schöne große Leinwand für Filme und Spiele bedeutet.

    Die Verwendung eines AMOLED-Bildschirms garantiert außerdem einen hervorragenden Kontrast und sorgt dafür, dass die Helligkeit auch bei schrägem Blickwinkel nicht abnimmt.

    Wir können nicht leugnen, dass HUAWEI P9 Plus hat eine großzügige Portion Luxus mit dem AMOLED-Bildschirm.

    Daher ist es wirklich schade, wenn dieses erstaunliche Erlebnis durch eine zerbrochene Glaslinse beeinträchtigt wird.

    Deshalb hat REWA diese Anleitung für die Reparatur eines zerbrochenen Bildschirms erstellt, der nur aus Glas besteht.

    Ich hoffe, wir können Sie irgendwie aufklären.

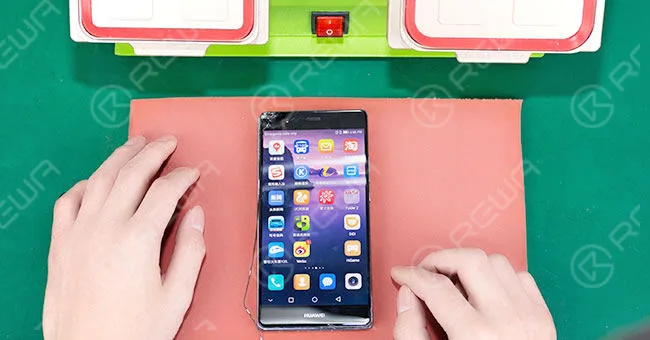
    Prüfung

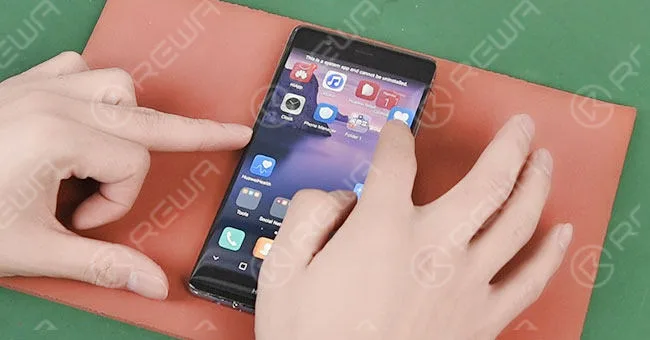
    Starten Sie Ihr Telefon und testen Sie, ob das Display und die Touch-Funktion auf dem zerbrochenen Bildschirm gut funktionieren.

    huawei p9 plus oled screen glass repair guide 2

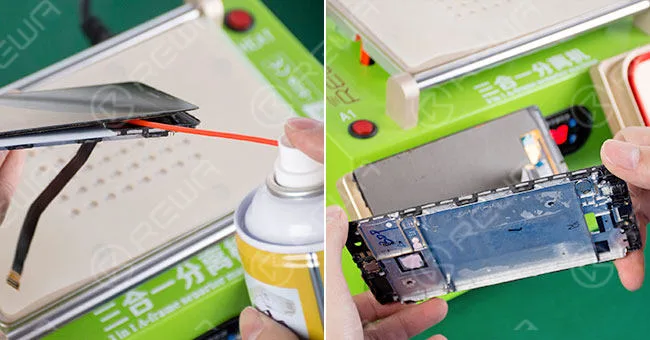
    Rahmen trennen

    Legen Sie die OLED auf die Wärmeplattform 30 Sekunden später heben Sie eine Ecke des Bildschirms mit einer Metallstange an und sprühen etwas 530er-Reiniger in den Spalt (achten Sie auf den 530er-Reiniger, damit er nicht in das Innere der OLED gelangt).

    Trennen Sie dann OLED und Rahmen zunächst mit einem Plastikstempel und dann mit einem Rahmentrenner.

    huawei p9 plus oled screen glass repair guide 3

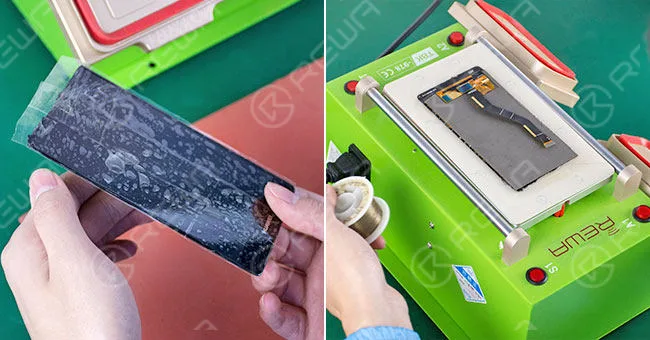
    Glas Trennen

    Kleben Sie eine Schicht Klebeband auf die gesamte Oberfläche des zerbrochenen Bildschirms, um weitere Schäden zu vermeiden.

    Legen Sie das Sieb mit der Oberseite nach unten auf die Wärmeplattform und erhitzen Sie es 30 Sekunden lang.

    Dann nehmen Sie ihn herunter und legen ihn verkehrt herum auf die Trennmaschine.

    Drücken Sie die Vakuumtaste und verwenden Sie Goldschneidedraht um das Glas von einem OLED-Bildschirm zu trennen

    huawei p9 plus oled screen glass repair guide 4

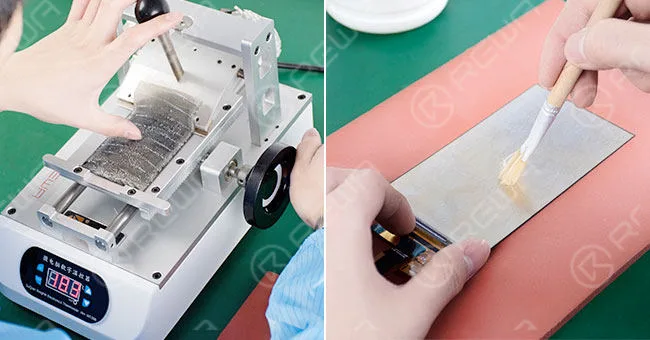
    Entfernen von Klebstoff

    Verwenden Sie die Leim/POL-Film-Entfernungsmaschine um das POL zu entfernen, und verwenden Sie dann die LCM-Leim-Reiniger um OCA-Rückstände zu entfernen. Reinigen Sie das Ganze anschließend mit N-Hexan.

    huawei p9 plus oled screen glass repair guide 5

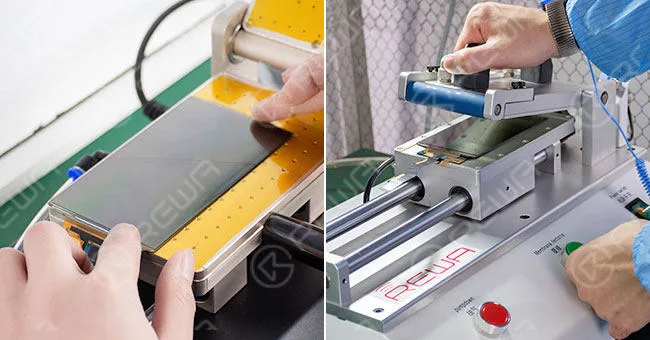
    Folie haftend

    Richten Sie die POL-Folie bzw. die OCA auf die OLED aus und laminieren Sie sie dann mit Hilfe der OCA-Laminiermaschine.

    huawei p9 plus oled screen glass repair guide 6

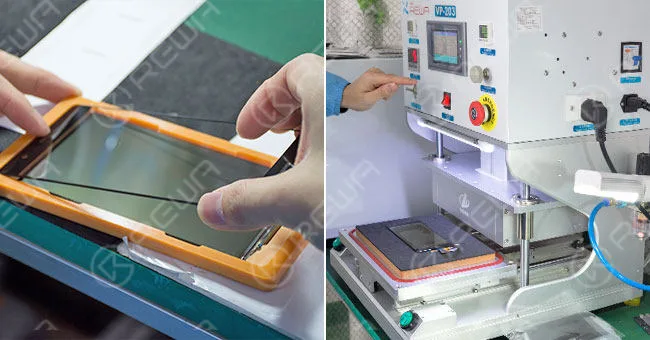
    Kaschieren

    Legen Sie die OLED in eine Ausrichtungsform, reißen Sie die Schutzfolie auf dem OCA-Kleber ab und richten Sie die Glaslinse darauf aus.

    Drehen Sie das Gerät auf den Kopf, nehmen Sie den OLED-Bildschirm heraus und legen Sie ihn in eine Glas-Laminiermaschine mit einem darunter liegenden Laminatkissen.

    huawei p9 plus oled screen glass repair guide 7

    Entfernen von Blasen

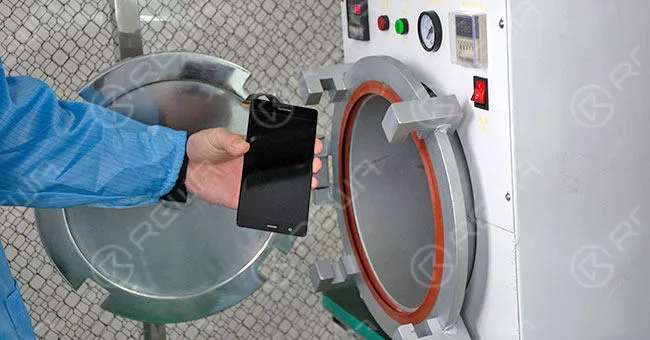
    Legen Sie es in die Maschine zum Entfernen von Luftblasen für 10 Minuten. Stellen Sie sicher, dass die OCA auf dem OLED blasenfrei ist.

    huawei p9 plus oled screen glass repair guide 8

    Reparierte Bildschirme testen

    Schließen Sie den Bildschirm an eine Hauptplatine an und testen Sie die Anzeige- und Touch-Funktionalität erneut, beides ist in Ordnung.

    huawei p9 plus oled screen glass repair guide 9

    Weitere Details zum Reparaturleitfaden finden Sie auf dem REWA YouTube-Kanal.

    Für überholte LCD-Maschinen, Materialien, Demo-Videos und technische Unterstützung können Sie uns gerne über  service@rewa.tech oder besuchen Sie den Online-Shop unter REWA Geschäft.

    Video-Anleitung