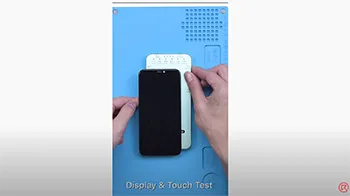
Der DL200 Multifunktionstester ist ab sofort im REWA SHOP erhältlich. Er bietet Display- und Touch-Tests sowie sogar eine True Tone-Reparatur. Das Modell unterstützt die iPhone 12-Serie (True Tone-Reparatur für die iPhone 12-Serie ist noch nicht verfügbar).
Schlagwort: iphone
-
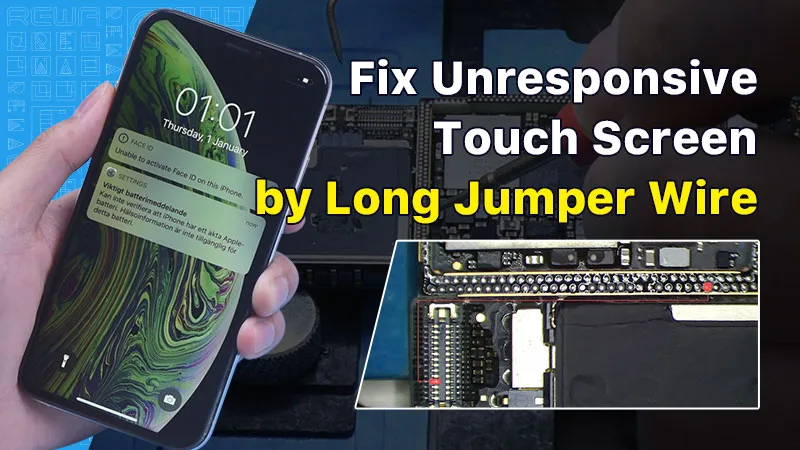
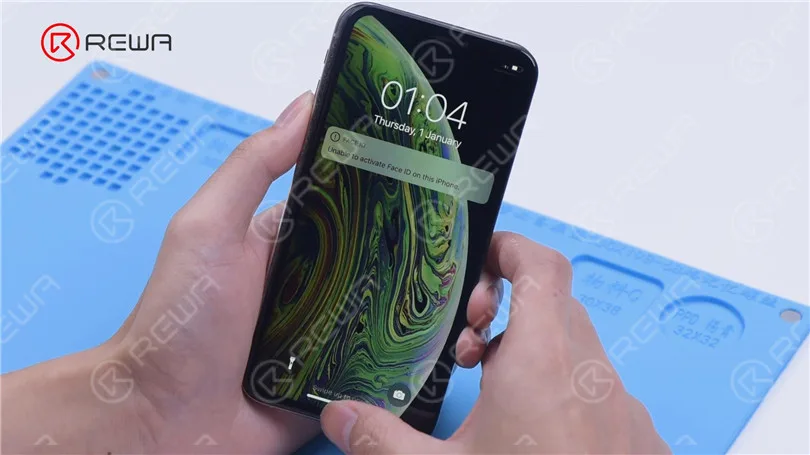
How to Fix iPhone XS Unresponsive Touch Screen
In this guide, we will explore how to diagnose and repair an iPhone XS with an unresponsive touch screen. An unresponsive touch screen can be a frustrating issue, but by following the steps below, you can potentially resolve the problem.
Erste Inspektion
The first step in diagnosing touch screen issues is to examine the iPhone’s motherboard. Check for any deformities or signs of water damage, as these can often be the root cause of touchscreen problems.
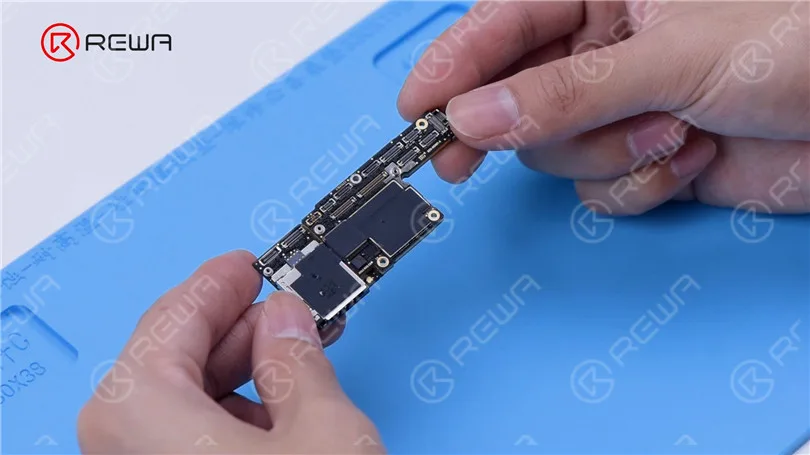
Initial Testing
After ensuring the motherboard is in good condition, install it and connect the display and battery. Power on the phone and check if the touch screen is still unresponsive.
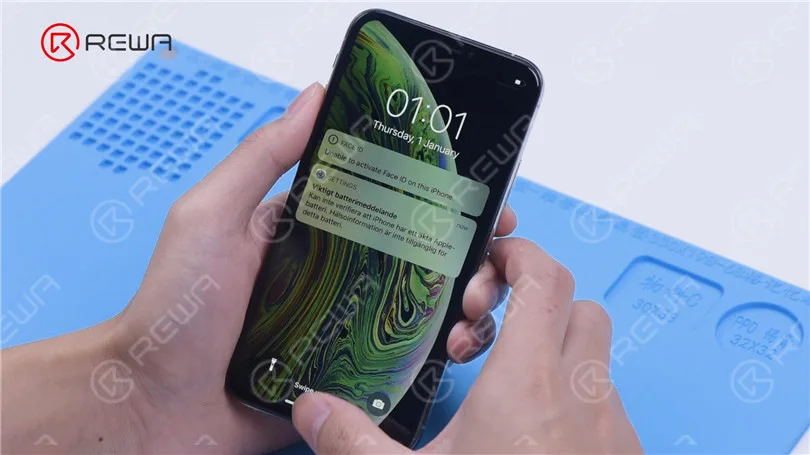
Pinpointing the Problem
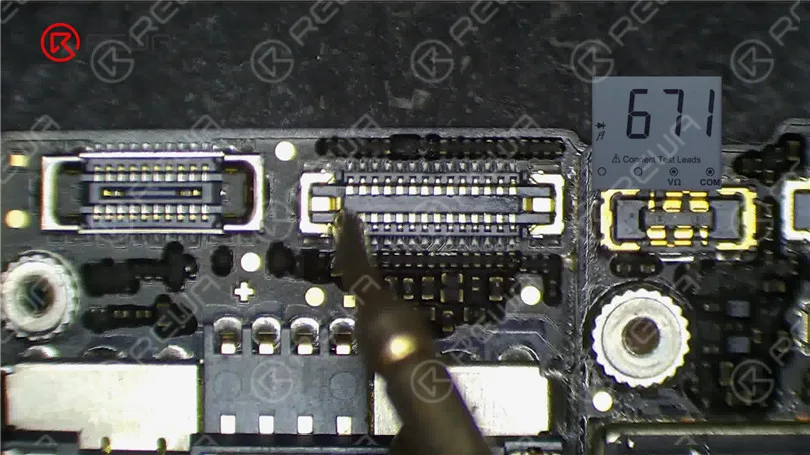
If the touch screen is still not working, proceed to measure the touch connector. Pin 21 of the connector might be open-circuited, indicating a potential issue in the circuit connected to this pin.
Resistor Examination
Pin 21 connects to resistor R5842, which is a safety resistor. Test the resistor’s integrity using a multimeter. If the resistor is intact, the fault likely lies within the middle layer circuit.
Separating the Motherboard
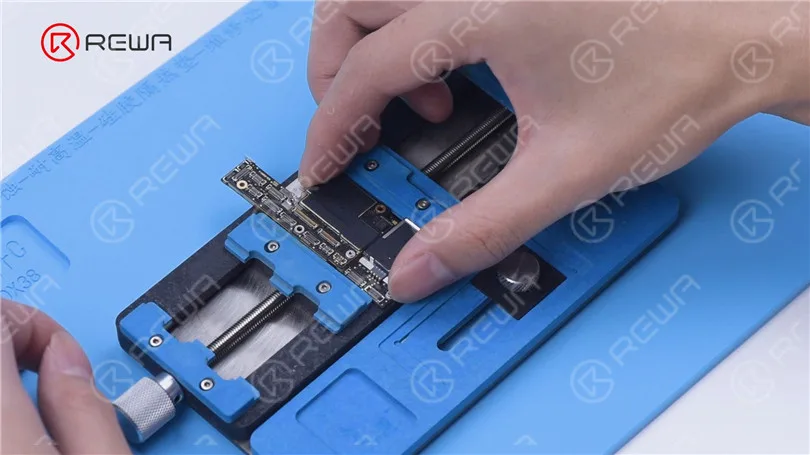
To access the middle layer circuit, carefully separate the motherboard. Use a heating platform at 160°C, and once the adhesive softens, remove the logic board and signal board with tweezers.
Circuit Assessment
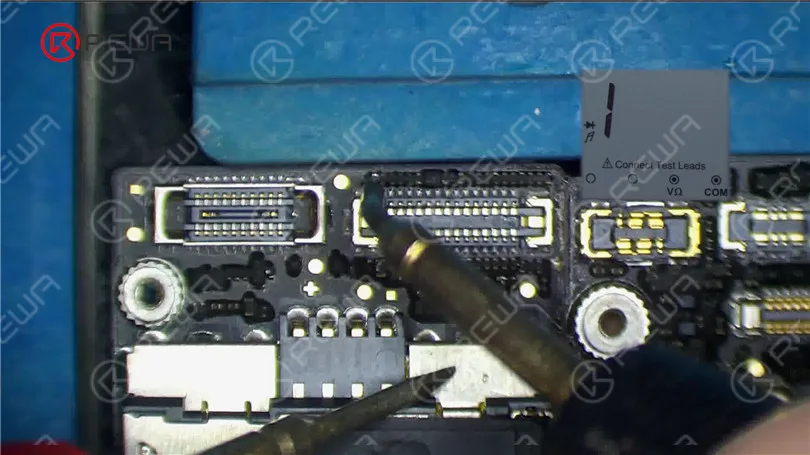
Since the other end of the resistor connects to the power IC through the middle layer, start by checking the circuit on the logic board. Ensure that the resistance value is within the normal range.
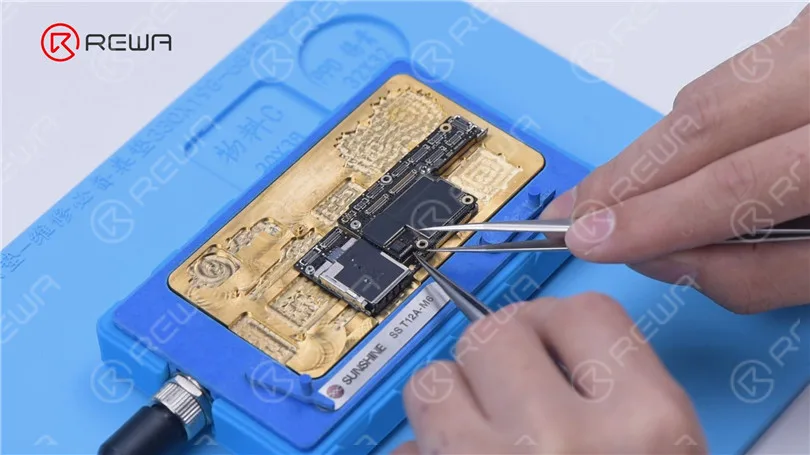
Then we separate the motherboard. Put the motherboard on the 160 °C Heating Platform to heat. After about one minute, remove the logic board and signal board with tweezers. It can be seen that the motherboard has been separated before.
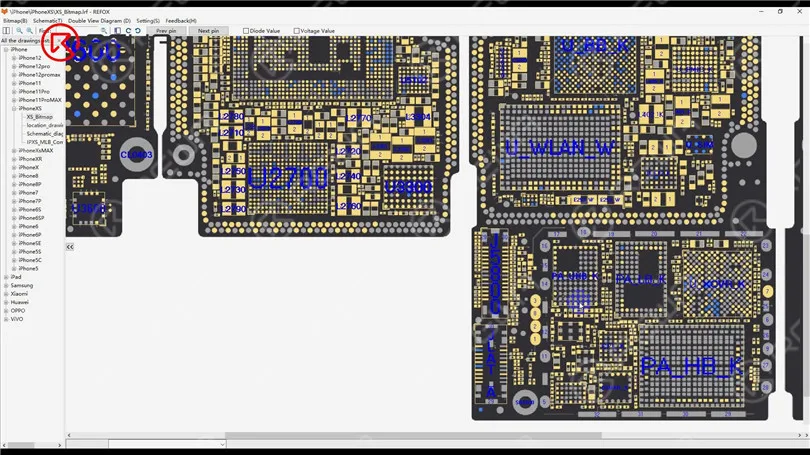
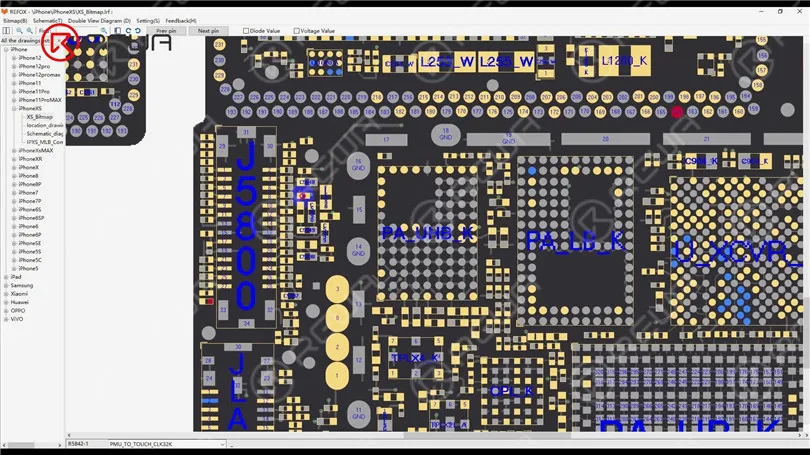
Open the bitmap. The other end of the resistor is connected to the power IC through the middle layer. Therefore we need to measure the circuit on the logic board firstly. The value of resistance is normal.
Identifying the Fault
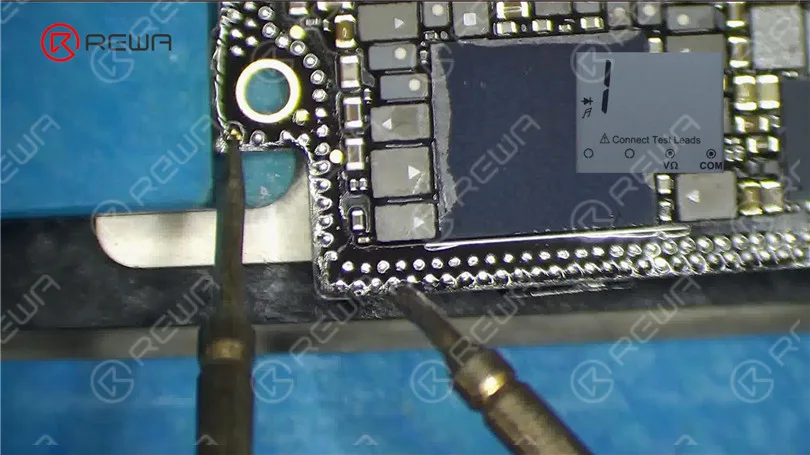
Measure the circuit between the signal board and the touch connector. An open-circuit condition indicates a problem. To resolve this, you’ll need to perform a jump wire repair.
Jump Wire Repair
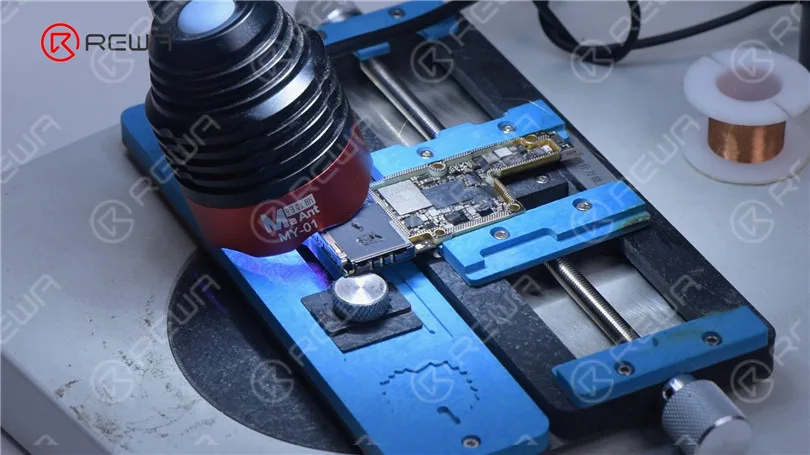
Apply Paste Flux to the resistor and solder a copper wire to it using a soldering iron at 360°C. If the two ends are too far apart, secure the copper wire in place with Solder Mask. Use a UV Lamp to solidify the solder mask and then check for its stability.
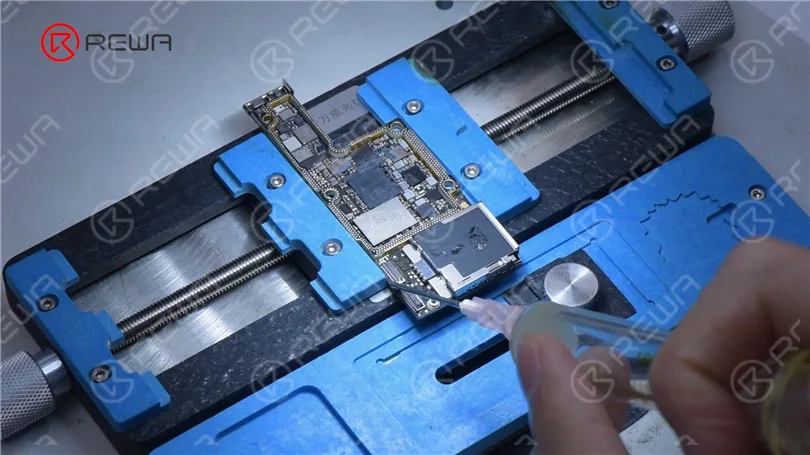
Because the two ends are too far apart, we need to fix the copper wire in the first place. Apply some Solder Mask. Solidify with UV Lamp. Check if the solder mask is solidified with tweezers. Next, fix the remaining copper wire with Solder Mask.
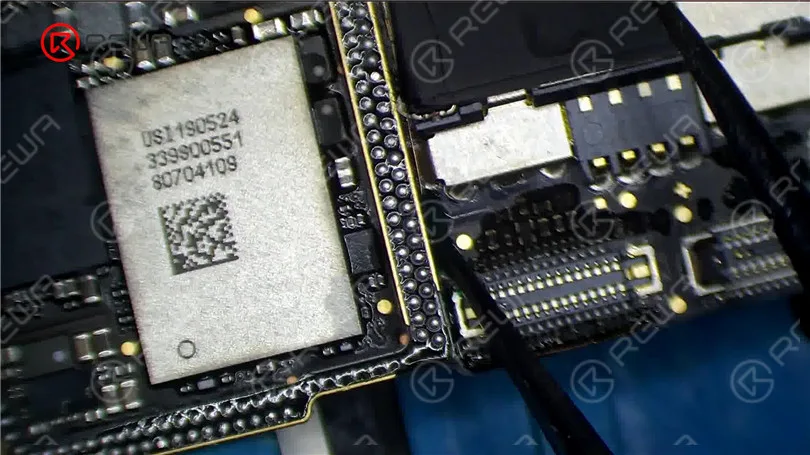
Cut the copper wire. Solder one end of the copper wire to the signal board. Measure with the multimeter. The value of resistance is 0, which indicates that the circuit between the touch connector and signal board is connected. Solidify pads on the signal board with Solder Mask. Scrape to show the pads. Clean the bonding pads with PCB Cleaner.
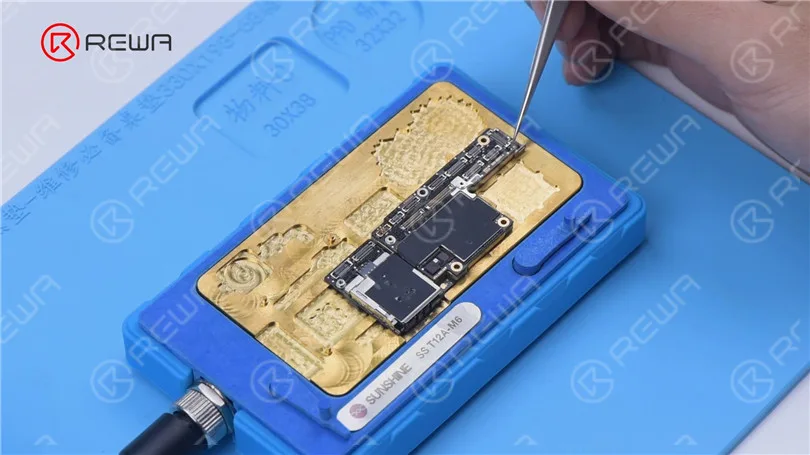
Then we recombine the signal board with the logic board in a direct way. Put the signal board on the 160 °C Heating Platform to heat. Apply some Paste Flux to the bonding pad. Put the logic board in position. Press gently with tweezers during heating. After about a minute, remove the motherboard.
Reassembly and Testing
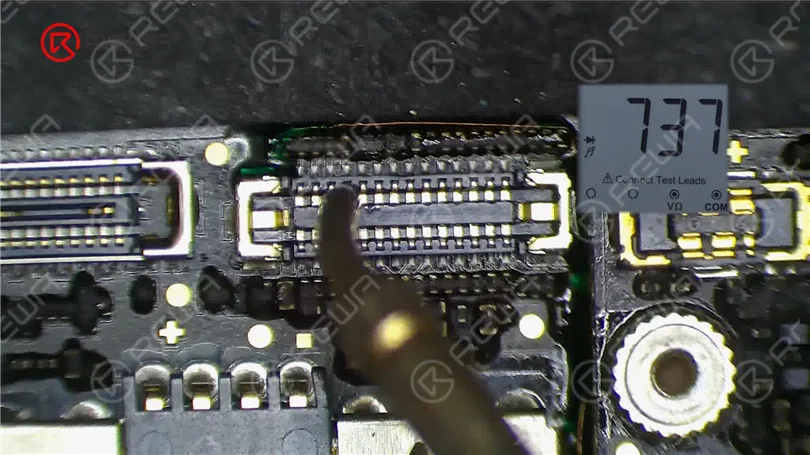
Carefully recombine the signal board with the logic board using a heating platform at 160°C. Once the motherboard has cooled, measure pin 21 of the connector. If the resistance value is back to normal, you can install the motherboard for a final test. If all went well, the touch screen should now be fully functional.
Schlussfolgerung:
Repairing an iPhone XS with an unresponsive touch screen can be a complex process, but with the right tools and techniques, it’s possible to identify and fix the issue. If you’re interested in learning more about motherboard repair troubleshooting, you can check out REWA Academy’s comprehensive course package. Additionally, they offer live online repair courses for those seeking face-to-face interaction with experienced technicians. Feel free to explore a variety of repair topics and leave comments on subjects that interest you.
For more repair techniques, visit REWA-Akademie. It offers a comprehensive motherboard repair troubleshooting course package to enhance your repair skills.
-
How to Fix iPhone XS Unresponsive Touch Screen/Touch Screen Not Working
We have received an iPhone XS motherboard from one of our fans. The touch screen of the iPhone XS is not working, which is a common problem of iPhone X series. Since the motherboard is double-layered, it is difficult to repair it. Through tests and troubleshooting, REWA Technicians finally found the fault and repaired the motherboard. Let’s check it out!
-
REWA 2019 Czech Republic Training Course Review – Edited by Pascal Nyffeler
Thanks for the cool video filmed and edited by our customer Pascal Nyffeler for REWA iPhone Logic Board Repair Training Course in Czech Republic. It’s really a wonderful time with all of you. If you haven’t seen it yet, we highly recommend this.
-
iPhone X/XS/ XS Max Screen Refurbishing Technique – Save The Bezel
REWA is the first company in the industry to participate in broken screen refurbishing solutions. In today’s video, REWA Lab will teach you how to easily remove the bezel without damaging it with the help of the specialized iPhone X/XS/XS Max glue remover and a new-type disassembling pry piece. As we all know, the bezel should generally be cut off during the screen refurbishing process. By using our new products, we can also protect the flex cable from damage caused when cutting off and pulling the bezel. What’s more, the detached bezel can also be reused. In this way, the safety, efficiency and economical efficiency of the refurbishing process can also be improved. Please click links below for purchasing of related products.
-
iPhone X/XS/XS Max Fehlerbehebung bei Wasserschäden
Ein Wasserschaden beim iPhone war schon immer ein frustrierendes und schwieriges Problem für Reparaturtechniker. Die Sache kann zudem viel schwieriger werden, wenn es sich um das iPhone X/XS/XS Max handelt. Was machen Sie normalerweise bei der Reparatur von iPhone-W Wasserschäden? Haben Sie Ihre eigenen Reparaturansätze? Nun, keine Panik! Unser heutigen Video zur Reparatur von iPhone X-Wasserschäden wird Sie definitiv aufklären.
-
HX 2nd Gen iPhone Universal Home Button – Better Than Previous Version?
Recently, a newly launched HX 2nd Gen Home Button for broken home button repair of iPhone 7/7P/8/8P appeared in the market. No more connecting cables. All you need to do is get the new home button installed and then connected with the phone via Bluetooth. Well, REWA LAB has conducted a series of tests on the product and we have found some design defects. Check it out now!
-
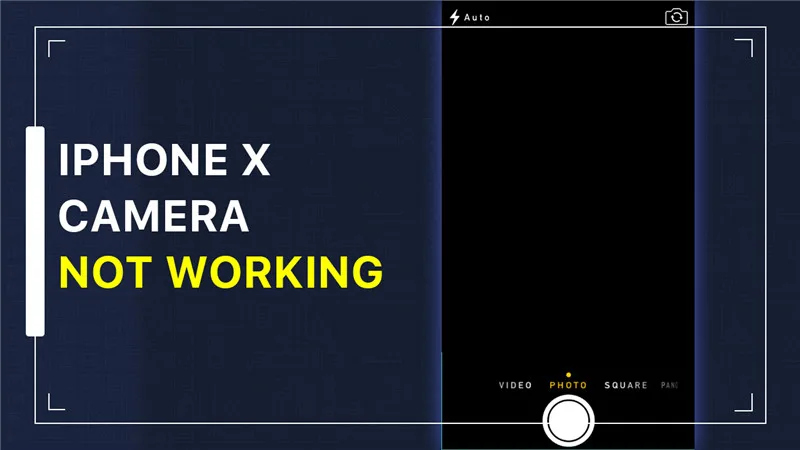
iPhone X Front Camera and Rear Camera Not Working Repair
The iPhone X is a remarkable device known for its camera capabilities. However, when the iPhone X front camera or rear cameras cease to function, it can be a real inconvenience. In this guide, we will explore how to diagnose and repair this issue, particularly when it stems from a motherboard problem.
Diagnose: The Camera Dilemma
Before diving into the repair process, it’s crucial to correctly diagnose the problem. If your iPhone X’s front and rear cameras are unresponsive, as well as the flashlight, this could indicate an issue with the rear camera circuit.
Step 1: Preliminary Inspection
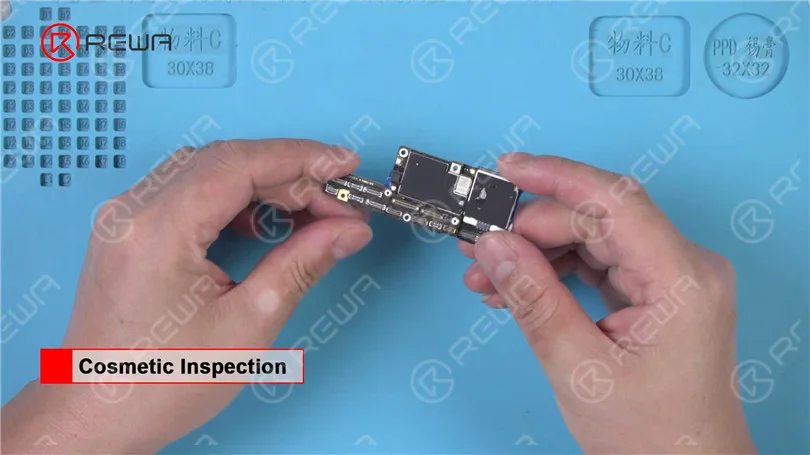
Cosmetic Inspection: Examine your iPhone X to ensure it hasn’t been subjected to water damage or physical impacts. If your device is free from these issues, you can proceed with confidence.
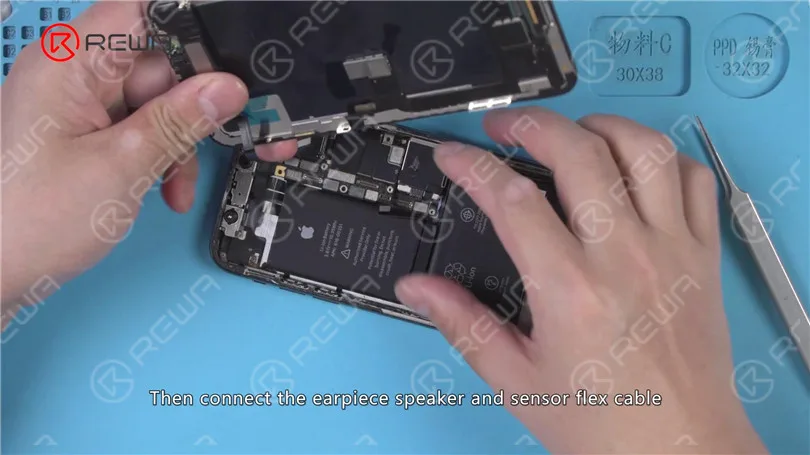
Step 2: Motherboard Installation
Getting Started: Begin by acquiring a known good iPhone X back glass assembly and install your motherboard securely.
Connecting Components: Carefully connect the power flex cable, charging port flex cable, front and rear cameras, and other necessary cables.
Earpiece and Sensor Flex Cable: Connect the earpiece speaker and sensor flex cable to prevent screen dimming after booting.
Digitizer and OLED Panel: Ensure you’ve connected the digitizer cable connector and the OLED panel cable connector.
Battery Connector: Finally, connect the battery connector and press the power button to turn on the device.
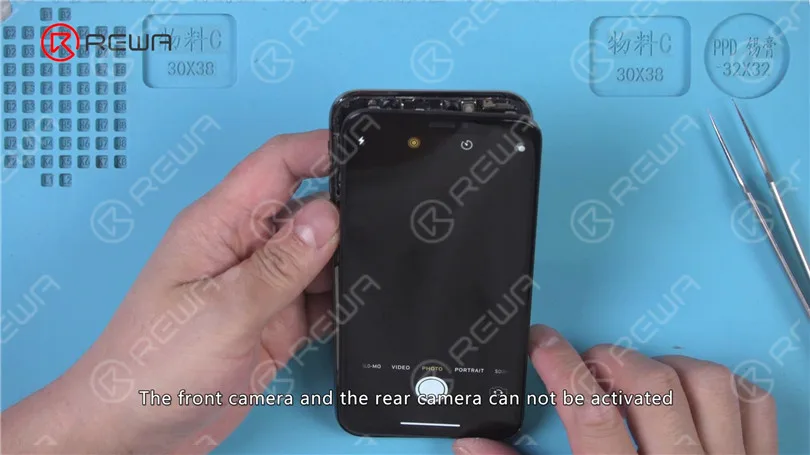
Step 3: Identifying the Problem
Camera Test: If your display is normal but the front and rear cameras remain unresponsive, the flashlight inactive, it’s time to focus on the rear camera circuit.
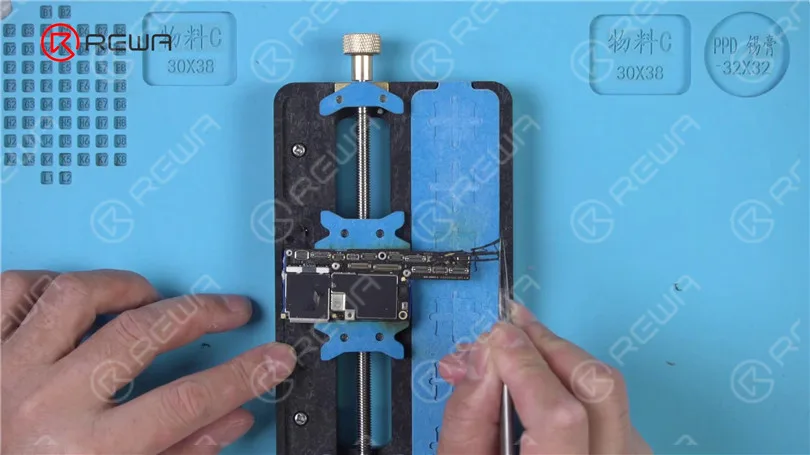
Step 4: Microscope Inspection
Disassembling the Phone: Begin by disconnecting the battery, removing the display assembly, and extracting the motherboard.
Use of PCB Holder: Secure the motherboard in a PCB Holder for a detailed inspection.
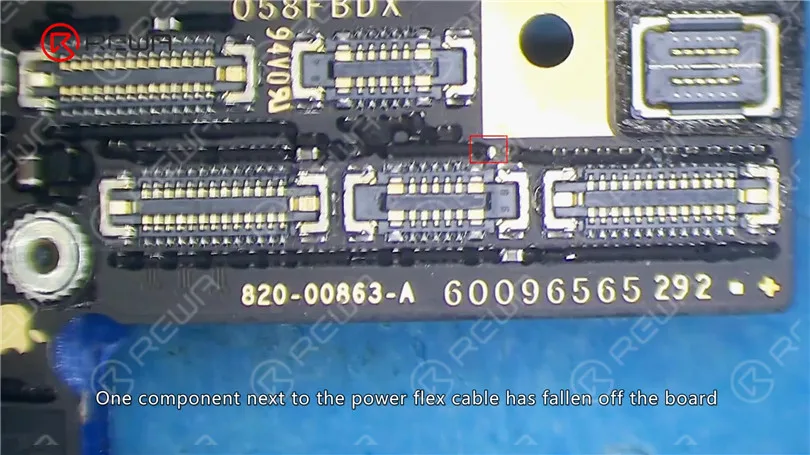
Microscope Examination: Examine the motherboard under a microscope. Look for any missing components or damage.
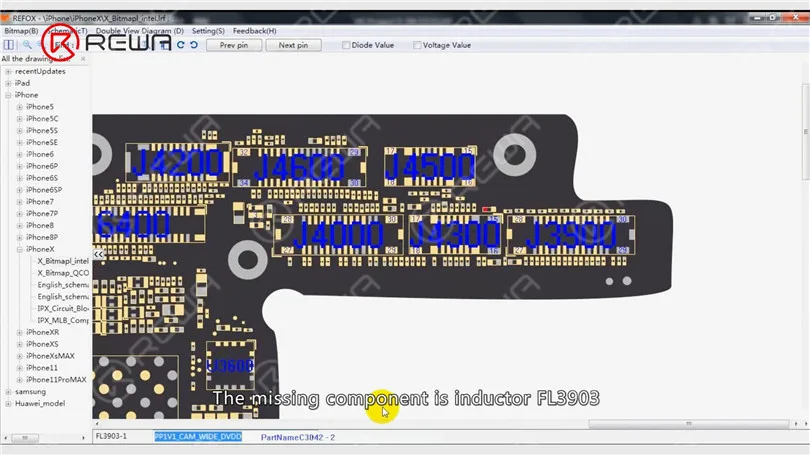
Locating the Issue: It’s crucial to identify the missing component. In this case, it’s “inductor FL3903,” which acts as a protective component for the 1V1 power supply line of the rear camera.
Step 5: Repairing the Missing Component
Bonding Pad Damage: If the bonding pad of FL3903 has been dislodged, you will need to reconnect it.
Reinigung: Use tweezers to remove any black adhesive around FL3903 and its nearby component, C3928. Clean the area with PCB Cleaner.
Solder Paste Application: For a secure connection, apply solder paste to the bonding pad with a soldering iron set at 360℃.
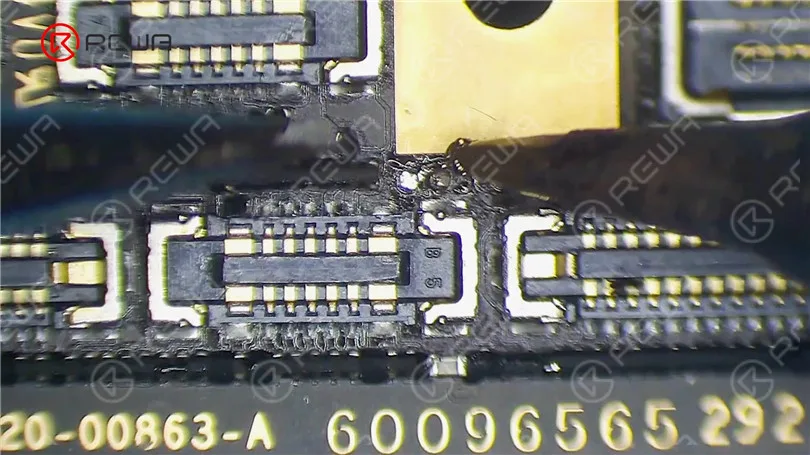
Wire Jumping: Use a 0.02mm diameter Enameled Copper Wire to jump a wire between the two pins of FL3903 and C3928. Remove excess wire with a Sculpture Knife.
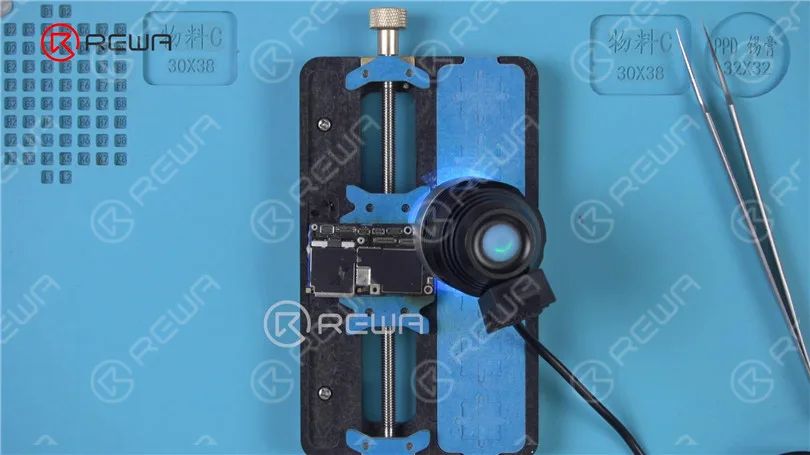
Insulation Protection: Apply UV Curable Solder Mask to the wire for insulation protection, then solidify the board under a UV Dryer Lamp for 5 minutes.
Schritt 6: Abschließende Prüfung
Wiederzusammenbau: Assemble the phone with the repaired motherboard and display assembly. Connect the battery and press the power button.
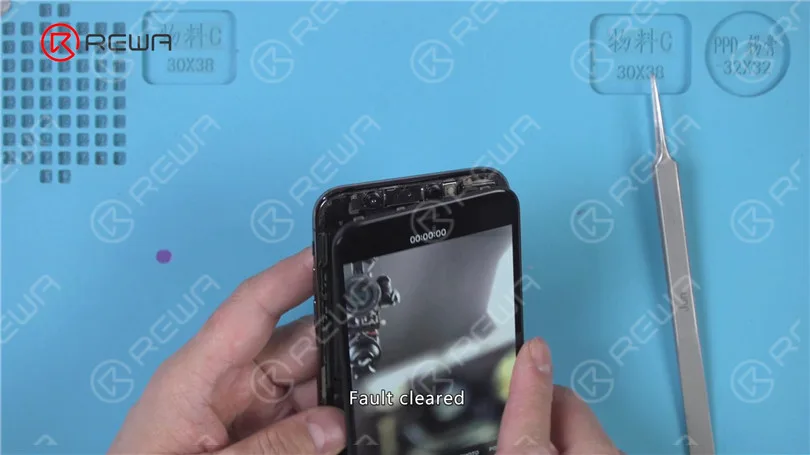
Testing: Once the device powers on, open the camera app. Both the front and rear cameras should function normally, and the issue is resolved.
Schlussfolgerung:
Repairing an iPhone X with non-functioning front and rear cameras can be a complex process, but with careful diagnosis and skilled repairs, it is possible to bring the device back to its full functionality. In this case, the missing component was a key factor in the camera issue, and by addressing it with precision, the problem was successfully resolved.
By following this step-by-step guide, you can save yourself the hassle of camera issues on your iPhone X and continue capturing memories without any hindrance.
-
REWA iPhone Logic Board Offline-Schulung in der Tschechischen Republik
Das REWA iPhone Logic Board Offline-Training in der Tschechischen Republik findet am 8. Juli 2019 statt. Dieses Training dauert 6 Tage, der Zeitplan umfasst die Reparatur von Hauptplatinen, Fehlerbehebung usw. Wir können es kaum erwarten, euch als Teil von uns zu sehen! Prost!
-
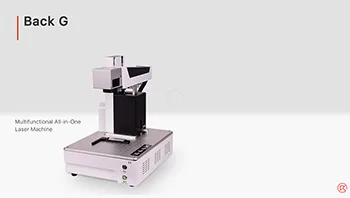
iPhone Samsung Huawei Xiaomi Rückglas/Gehäuse-Separator Lasermarkierungsmaschine
With the continuous upgrading of the manufacturing technology of glass back, together with the fast growing of 5G networks, the demand for back glass refurbishing is also increasing day by day. Therefore, a convenient and efficient back glass separating machine will definitely be a big boost to your repair business. In our video today, REWA brings you a multifunctional laser machine that can complete back glass refurbishing without disassembling the phone. The laser machine can be widely used in bezel/back glass separating and glass/metal back marking with stable running and long service life. Follow us and take a closer look at it now!
REWA is dedicated to providing products and services for business clients (repair shops, refurbishing factories, etc.) and data recovery services for individual clients. As for other repair demands of individual clients, repair shops nearby would be a good choice for you.
iPhone/ Samsung/ Huawei/ Xiaomi Back Glass/Bezel Separator Laser Marking Engraving Machine
-
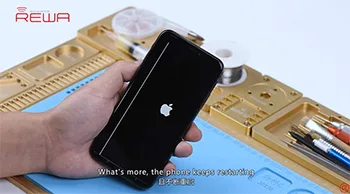
iPhone Keeps Restarting With Vertical Lines On The Screen Troubleshooting
Das iPhone X zeigt vertikale Linien auf dem Bildschirm und startet immer wieder neu? Wie kann man die Fehlermöglichkeiten eingrenzen, indem man eine nach der anderen ausschließt? Wie kann man den Fehler bestätigen und das Problem beheben? Sehen wir uns an, wie der REWA-Techniker damit umgeht.
-
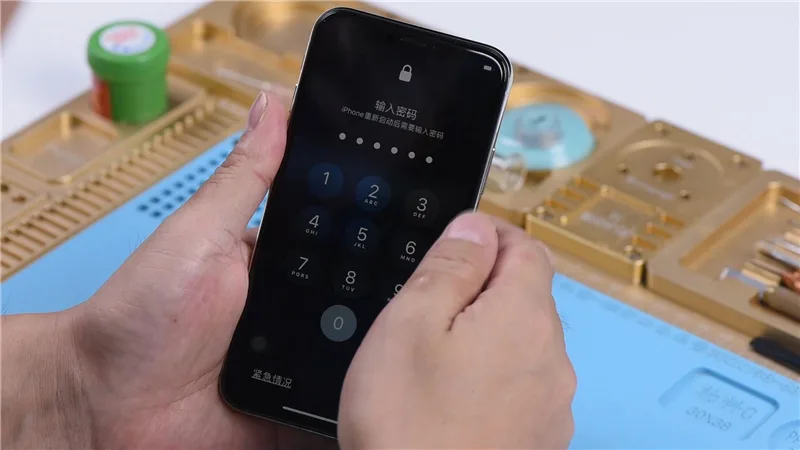
iPhone X keine Reaktion nach Passworteingabe
Heute geht es in unserem Reparaturkurs darum, ein iPhone X zu reparieren, das nach der Eingabe des Passcodes einfriert.
Das iPhone X friert nach Eingabe des Passcodes ein.Nach unseren Erfahrungen hängt das Problem wahrscheinlich mit dem NFC-Schaltkreis zusammen.
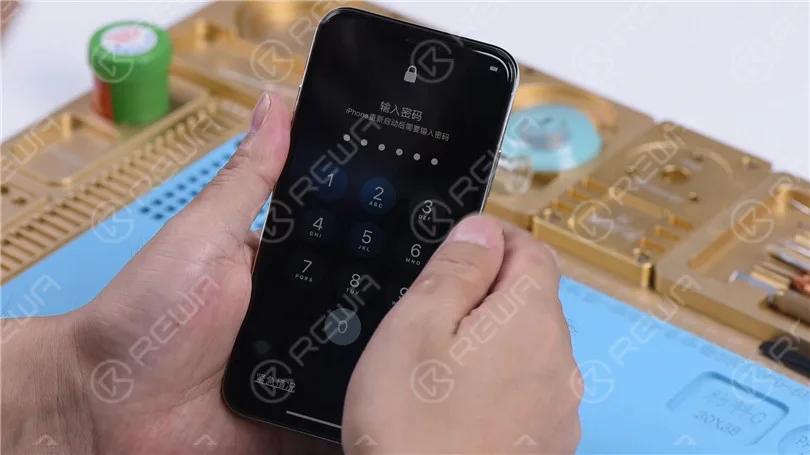
Nehmen Sie das Telefon auseinander und trennen Sie den Akku ab.
Entfernen Sie die Anzeigeeinheit. Nehmen Sie die Hauptplatine heraus.
Führen Sie eine kosmetische Inspektion der Hauptplatine durch. Die Hauptplatine ist nicht durch Wasser beschädigt.
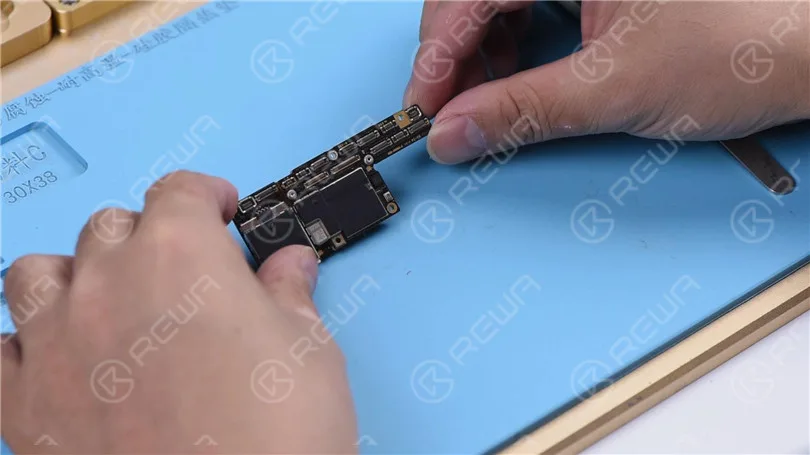
Als Erstes trennen wir die obere Schicht von der unteren Schicht.
Entfernen Sie den staubdichten Schwamm auf der Platte. Die Temperatur der Heizplatte auf 160℃ einstellen.
Legen Sie die Hauptplatine auf die Heizplattform.
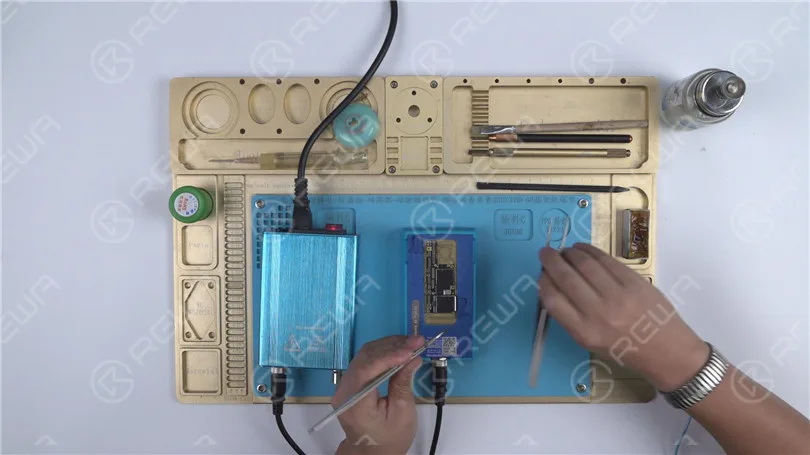
Wenn die Temperatur der Plattform 160℃ erreicht hat, nehmen Sie die obere Schicht mit einer Pinzette ab und dann die untere Schicht. Die obere Schicht und die untere Schicht sehen gut aus.
Zur weiteren Bestätigung testen wir die beiden Schichten mit der Testvorrichtung. Vor dem Test müssen wir die dritte Lage PCB reinigen. Befestigen Sie die untere Lage an der Leiterplattenhalterung.
Erhitzen Sie mit dem Lötkolben auf 365℃. Reinigen Sie die Pads am Rand der unteren Lage mit in Kolophonium getränktem Lötkolben. Fahren Sie anschließend mit dem Anbringen der oberen Lage an der Leiterplattenhalterung fort.
Erhitzen Sie mit dem Lötkolben auf 365℃. Reinigen Sie die Pads um den Rand der oberen Lage mit in Kolophonium getränktem Lötkolben. Anschließend mit PCB Cleaner reinigen.
Wir stellen fest, dass sich das S159-Pad auf der oberen Lage von der Platine gelöst hat.
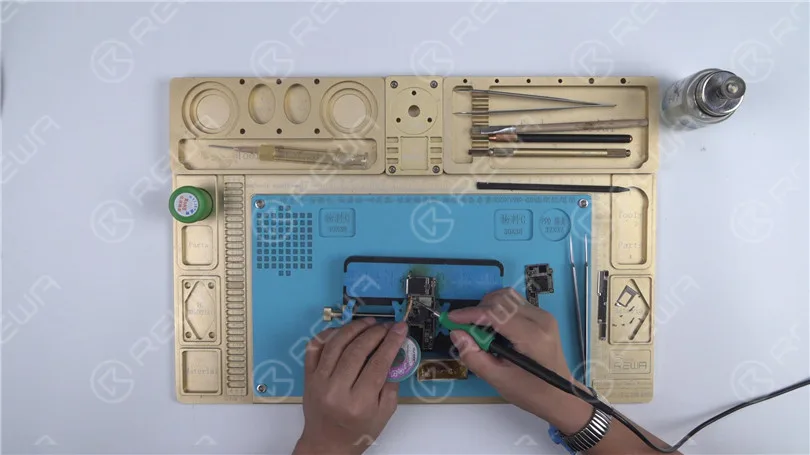
Das Pad S159 ist das Audiosignal des Audio-/Lautsprecherverstärker-IC U5000.
Das Ablösen des Pads bedeutet, dass die NFC-Verbindungspads in der Nähe möglicherweise pseudolotiert wurden und daher das Problem des eingefrorenen Bildschirms auftrat.
Kratzen Sie mit einem Plastikmesser, um den Schaltkreis unter dem S159-Pad freizulegen. Dann kleben Sie Hochtemperatur-Klebeband auf die umliegenden Komponenten.
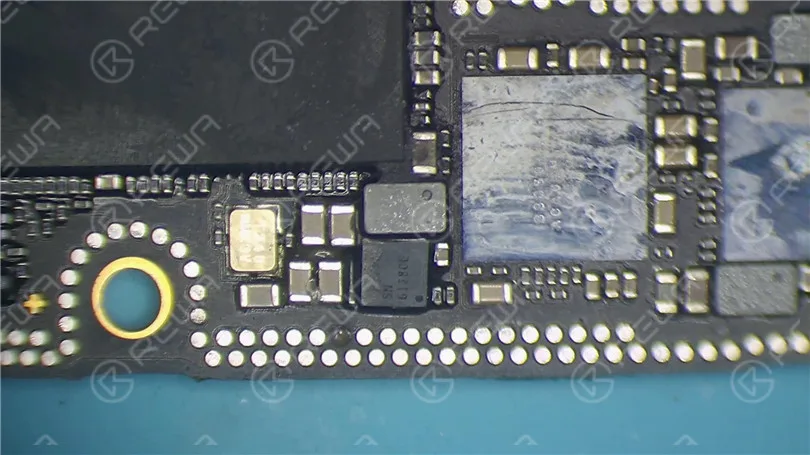
Tragen Sie etwas Lötpaste bei mittlerer Temperatur auf das fehlende Pad auf.
Erhitzen mit Heißluftpistole bei 300℃, Luftstrom 2.
Drücken Sie anschließend die Lötstelle mit einer Pinzette vorsichtig an.
Vergewissern Sie sich, dass die Lötstelle perfekt ausgeformt ist.
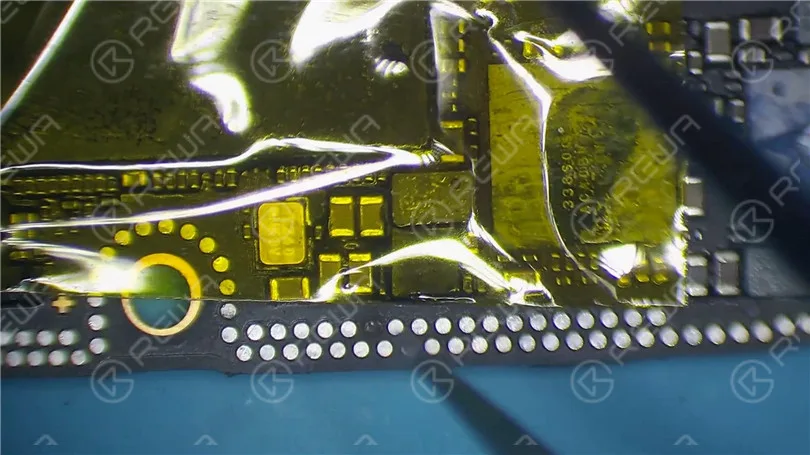
Entfernen Sie dann ein komplettes Pad aus einer iPhone X-Hauptplatine.
Decken Sie das Pad mit der Vorderseite nach unten auf die Lötstelle. Löten Sie mit einer Heißluftpistole bei 300℃, Luftstrom 2.
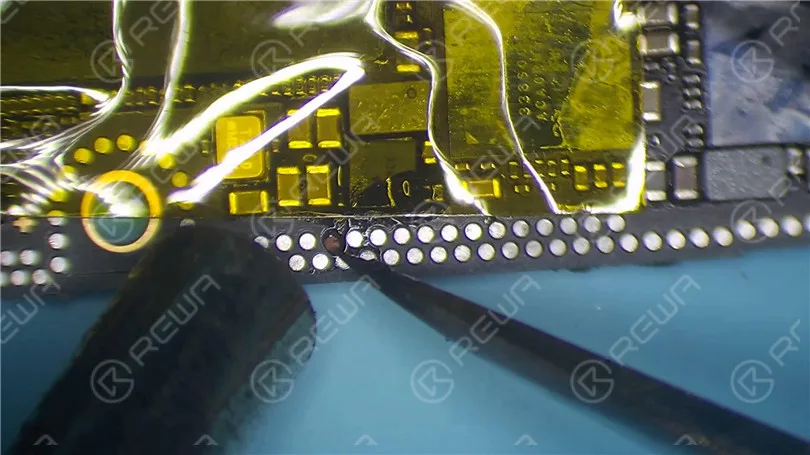
Tipps: Drücken Sie beim Löten vorsichtig mit einer Pinzette auf das Pad, um sicherzustellen, dass die Höhe des Pads mit der der benachbarten Pads übereinstimmt.
Tragen Sie anschließend eine UV-härtende Lötstoppmaske auf das Pad auf.
Dann unter der UV-Lampe 10 Minuten lang aushärten lassen.
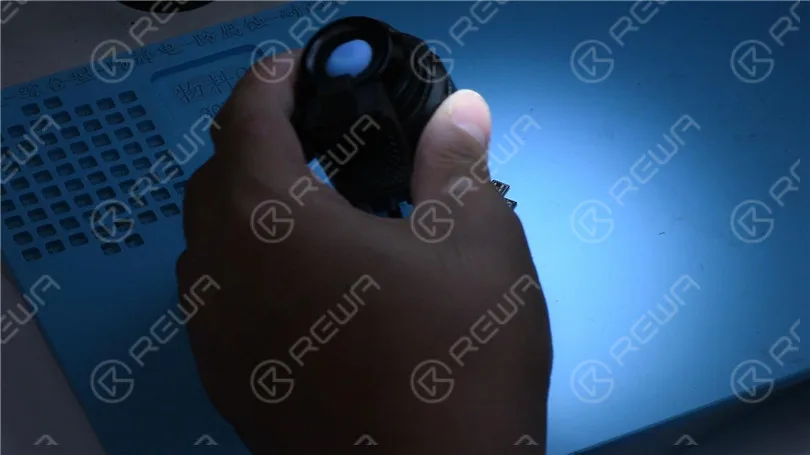
Kratzen Sie weiter mit dem Bildhauermesser, um das Polster freizulegen.
Reinigen Sie anschließend mit PCB Cleaner. Jetzt können wir die obere und die untere Lage mit der Prüfvorrichtung testen. Befestigen Sie die beiden Lagen an der Testhalterung.
Schließen Sie den Bildschirm an. Verbinden Sie den Batterieanschluss mit dem DC-Netzteil.
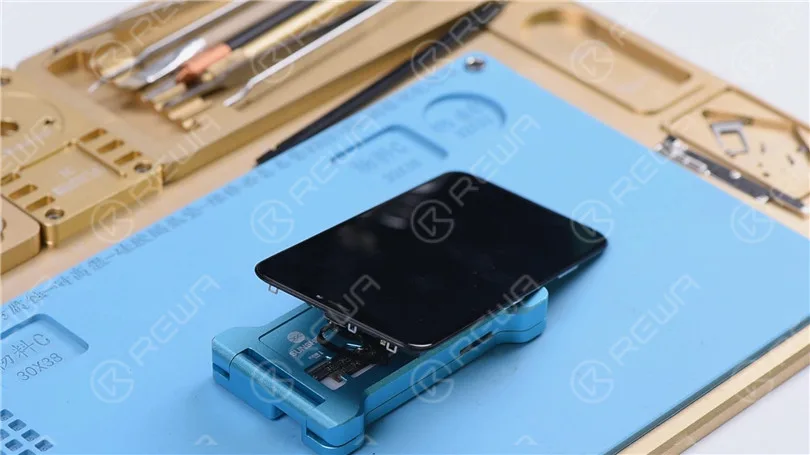
Schalten Sie die Hauptplatine mit einer Pinzette ein. Das Telefon schaltet sich normal ein. Geben Sie den Passcode ein. Das Telefon ruft den Startbildschirm normal auf.
Die Berührungsfunktion ist ebenfalls normal. Wir können jetzt bestätigen, dass der Fehler durch Pseudo-Lötung der Platine mit dem dritten Platz verursacht wird. Wir können das Problem beheben, indem wir die beiden Lagen wieder zusammenlöten.
Legen Sie die untere Schicht in die Reballingform. Bringen Sie die BGA-Reballing-Schablone in Position.
Legen Sie die Form auf die Unterlage. Die Schablone ist aufgrund der magnetischen Struktur der Basis fest mit der unteren Schicht verbunden. Streichen Sie etwas Niedertemperatur-Lotpaste auf die Schablone.
Wischen Sie überschüssige Lötpaste mit einem fusselfreien Wischtuch ab. Nehmen Sie dann die Form vom Sockel ab. Entfernen Sie die Reballing-Schablone.
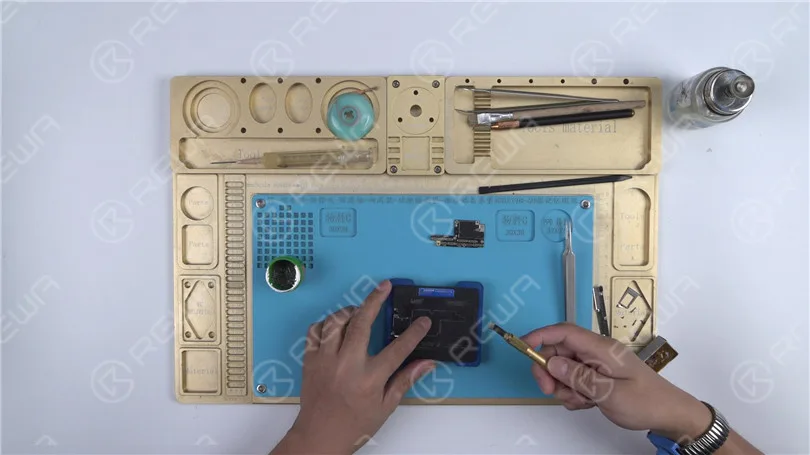
Erhitzen Sie die untere Schicht auf der Heizplatte auf 160℃.
Sobald die Lötkugeln vollständig ausgeformt sind. 5 Minuten abkühlen lassen. Tragen Sie etwas BGA Paste Flux auf die dritte Lücke der Leiterplatte auf.
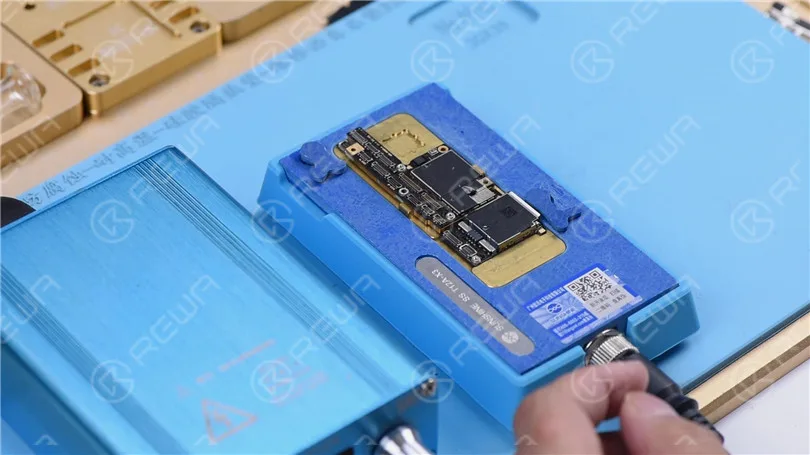
Und bringen Sie die obere Schicht in Position.
Schalten Sie die Heizplattform ein. Mit der Temperatur erreicht 160℃.
Schalten Sie den Netzschalter aus. 5 Minuten lang abkühlen lassen.
Nehmen Sie dann die Hauptplatine von der Heizplatte ab.
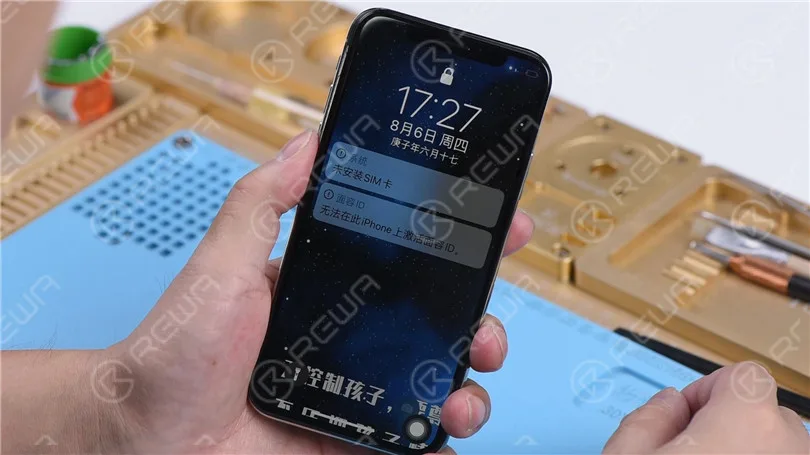
Lassen Sie uns das Telefon wieder zusammenbauen und testen. Störung behoben.
 English
 Español
 Français
 Deutsch
 Italiano