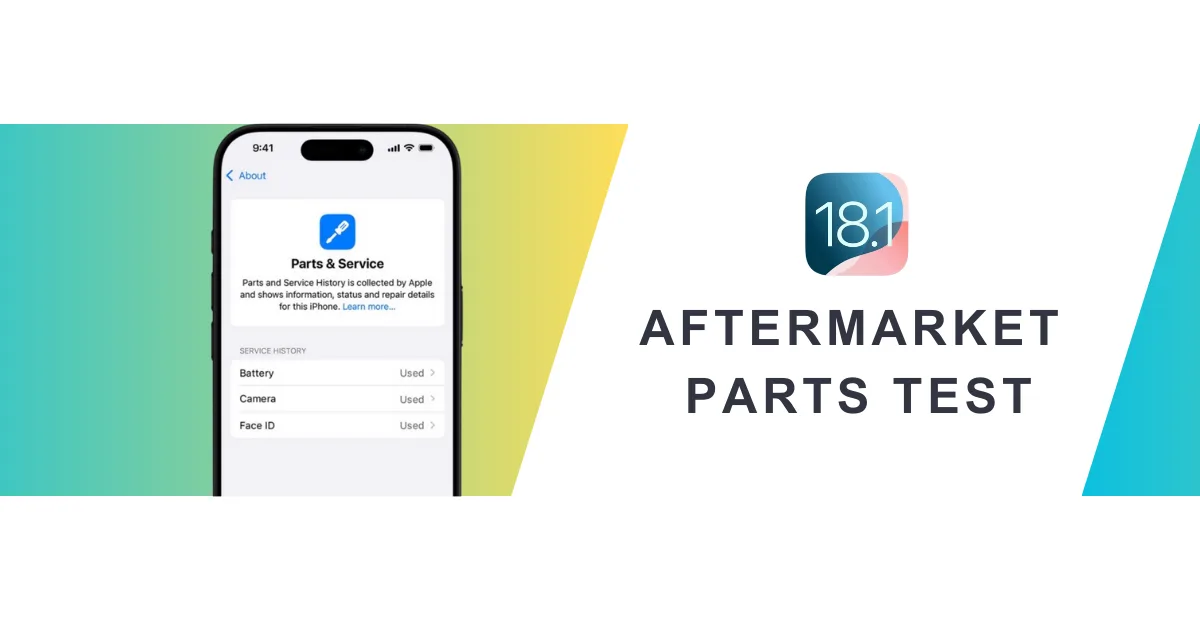
Seit Apple das Teile-Pairing eingeführt hat, haben Techniker von Drittanbietern diese Einschränkungen mit verschiedenen Lösungen umgangen. Jetzt, mit der Veröffentlichung von iOS 18.1, zielen Änderungen bei der Verfolgung des Reparaturverlaufs darauf ab, die Reparaturmöglichkeiten zu verbessern. Aber welche Auswirkungen hat dies auf iPhone-Reparaturen von Drittanbietern?
Eine breite Palette von Ersatzteilen, darunter iPhone-Bildschirme, Batterien, Kamerasund Gesichtserkennung Baugruppen, wurden vom REWA Tech Labor getestet, um die realen Auswirkungen von iOs 18.1 auf den Nachrüstungsmarkt zu ermitteln.
Ersetzen des Bildschirms Ersetzen
Vor iOS 18
Beim Ersetzen des iPhone-Bildschirms erscheint die Meldung "Unbekanntes Teil" und True Tone verschwindet; Probleme werden mit IC-Transfer und Reparaturprogrammierern gelöst.
Beispiel: 100% Behebung der Meldung "Unbekanntes Teil" für das iPhone 15 Pro nach dem Austausch des Bildschirms
Nach iOS 18.1
| Nein. | Bildschirmtyp | Übertragung Original IC | Übertragung des Original-Vordersensors | Passreparatur-Assistent | Teile & Service Geschichte | Echter Ton |
|---|---|---|---|---|---|---|
| 1 | OEM | Nein | Ja | Nein | Kann nicht konfiguriert werden | Ja |
| 2 | OEM | Ja | Ja | / | Nein | Ja |
| 3 | Aftermarket | Nein | Ja | Nein | Kann nicht konfiguriert werden | Ja |
| 4 | Aftermarket | Ja | Ja | / | Nein | Ja |
| 5 | OEM + gepaarter Front-Sensor | Nein | Nein | Ja | Gebraucht | Ja |
| 6 | Service Pack + Gekoppelter Frontsensor | Nein | Nein | Ja | Echtes | Ja |
Wichtigste Ergebnisse
- Solange der Bildschirm einen passenden IC und Sensor hat, gibt es keine Reparaturhistorie und keine Notwendigkeit für eine Diagnose durch den Reparaturassistenten.
- Alle Bildschirme von Drittanbietern unterstützen True Tone.
Ersetzen der Batterie Ersetzen der Batterie
Vor iOS 18
Meldung "Unbekanntes Teil", Batteriezustand wird nicht angezeigt; Abhilfe durch Lösungen wie keine Schweißbatterie, Batteriezelle + Tag-on-Flex, Batteriezelle + Reparaturkarte.
Beispiel: Aftermarket-Lösungen zur Kalibrierung der iPhone-Batterie unter iOS 17.4
Nach iOS 18.1
| Nein. | Akku-Typ | Passreparatur-Assistent | Teile & Service Geschichte | Gesundheitsdaten |
|---|---|---|---|---|
| 1 | OEM Neu | Ja | Echtes | 100% |
| 2 | OEM Gebraucht | Ja | Gebraucht | OEM Daten der verwendeten Batterie |
| 3 | Anschlussmarkt(TI ZY HF Lösungen) | Nein | Unverifiziert | 100% |
| 4 | Batteriezelle + Native BMS-Platine | / | / | Daten der einheimischen Batterie |
Wichtigste Ergebnisse
- Batterien von Drittanbietern bestehen den Reparaturassistenten immer noch nicht, und die Teilehistorie wird als ungeprüft aufgezeichnet.
- Neue Batterien von Drittanbietern, die in iPhones ausgetauscht werden, können alle Gesundheitsdaten anzeigen.
Wir haben auch Akkus von Drittanbietern unter iOS 18.0 getestet.
Sehen Sie sich das Video an:
Ersetzen der Rückfahrkamera Ersetzen
Vor iOS 18
Wird nur die Linse ausgetauscht, wird eine Meldung über ein unbekanntes Teil angezeigt. Ein Reparaturprogrammiergerät und Reparatur-Flexkabel sind erforderlich.
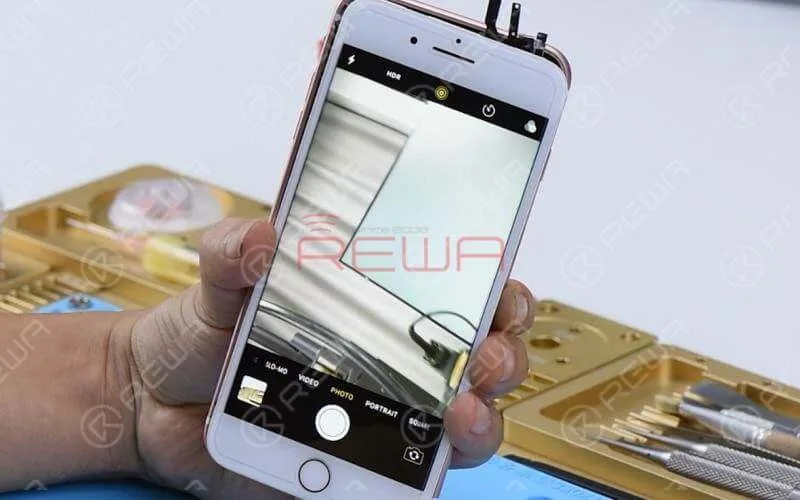
Beispiel: Entfernen der Meldung "Unbekanntes Teil" der Rückfahrkamera für das iPhone 15 PM
Nach iOS 18.1
| Nein. | Kamera-Modell | Passreparatur-Assistent | Kamera-Kalibrierung |
|---|---|---|---|
| 1 | iPhone 12 | Ja | Nein |
| 2 | iPhone 13 | Ja | Nein |
| 3 | iPhone 14 | Ja | Nein |
| 4 | iPhone 15 | Ja | Ja |
| 5 | iPhone 16 | Ja | Ja |
Wichtigste Ergebnisse
Die rückwärtigen Kameras des iPhone 12-16 können mit dem Reparaturassistenten diagnostiziert werden, aber die iPhone 15- und 16-Serie erfordern eine Kamerakalibrierung.
Frontkamera und Face ID-Baugruppe austauschen
Vor iOS 18
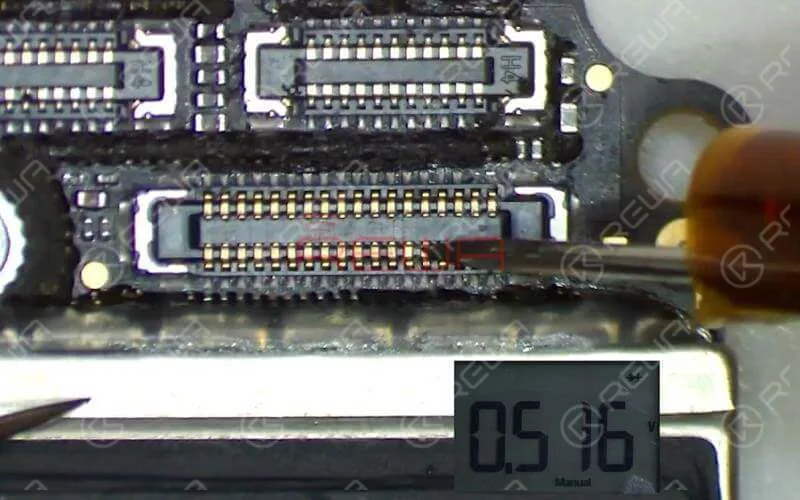
Der Austausch dieser Baugruppe führt zum Ausfall der Face ID-Funktion. Ein Reparaturprogrammiergerät und Reparatur-Flexkabel sind erforderlich.
Beispiel: Face ID (OHNE LÖTEN) funktioniert nicht mit REFOX RP30
Nach iOS 18.1
| Nein. | Montage Modell | Passreparatur-Assistent | Gesichtserkennung |
|---|---|---|---|
| 1 | iPhone 12 | Nein | Nein |
| 2 | iPhone 13 | Nein | Nein |
| 3 | iPhone 14 | Nein | Nein |
| 4 | iPhone 15 | Nein | Nein |
| 5 | iPhone 16 | Ja | Ja |
Wichtigste Ergebnisse
Die iPhone 12-15 Frontkamera + Face ID-Baugruppe kann vom Reparaturassistenten nicht diagnostiziert werden, nur das iPhone 16 kann dies.
Zusammenfassung
Von iOS 18.0 bis 18.1 sind iPhone-Reparaturen allmählich relativ einfach geworden, aber es gibt immer noch einige Probleme, die überprüft werden müssen. Achten Sie auf den REWA-Kanal, um mehr neue Technologien und Informationen zu erhalten.
Darüber hinaus bietet REWA eine Vielzahl von Reparaturwerkzeugen und Telefonteile, willkommen zu beraten oder besuchen Sie unseren Online-Shop!
Konsultieren Sie uns: https://rewawp.iamtareq.com/wholesale/
Besuchen Sie den Online-Store: https://shop.rewa.tech/
 English
 Español
 Français
 Deutsch
 Italiano