Schlagwort: desoldering

  • Mastering Desoldering & Soldering of iPhone X PMU

    Mastering Desoldering & Soldering of iPhone X PMU

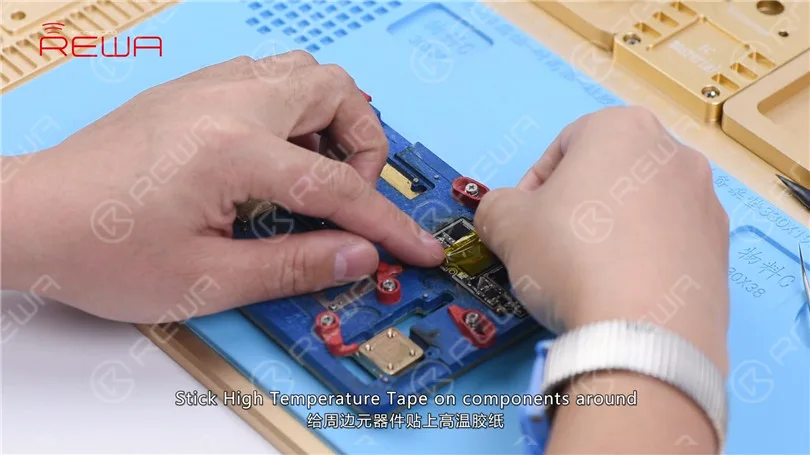
    Today’s handwork course will focus on a tutorial for desoldering and soldering the iPhone X PMU. Begin by attaching the upper layer of the motherboard to the PCB Holder, then proceed to apply High-temperature Tape on the surrounding components.
    mastering desoldering soldering iphone pmu h023 sol

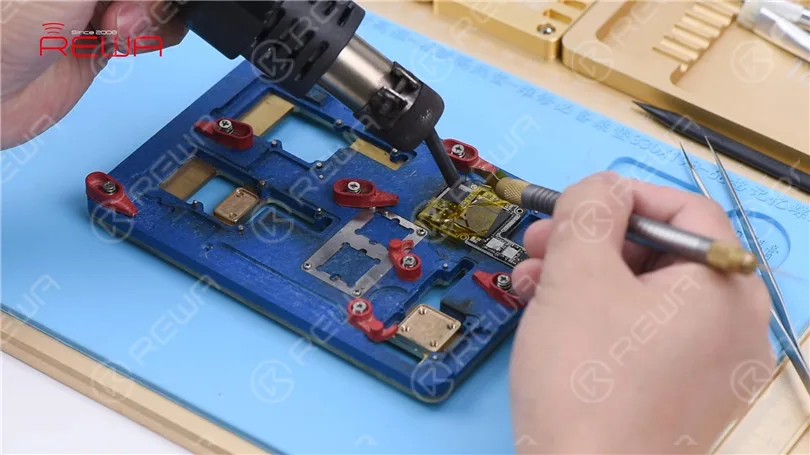
    Start by removing the black adhesive surrounding the PMU. Apply heat using a Hot Air Gun set at 280℃ with an air flow of 3. Then, use a specialized knife to get rid of the black adhesive around the chip.
    mastering desoldering soldering iphone pmu h023 sol 2

    Vorsicht! When removing the black adhesive near the PMU to prevent dislodging any nearby components.

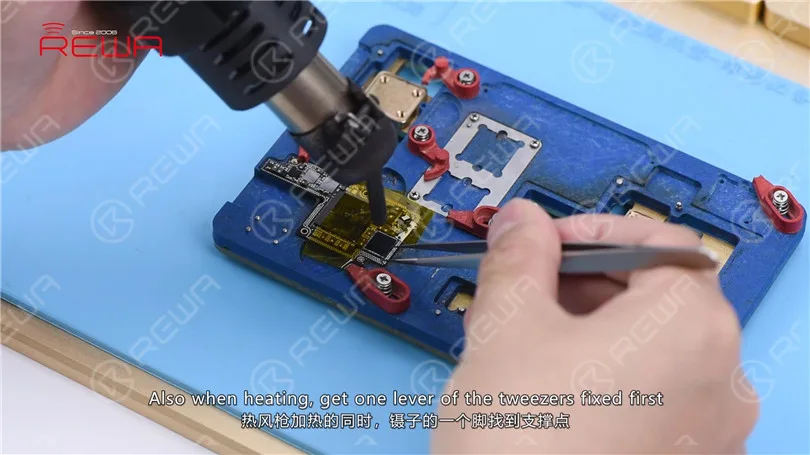
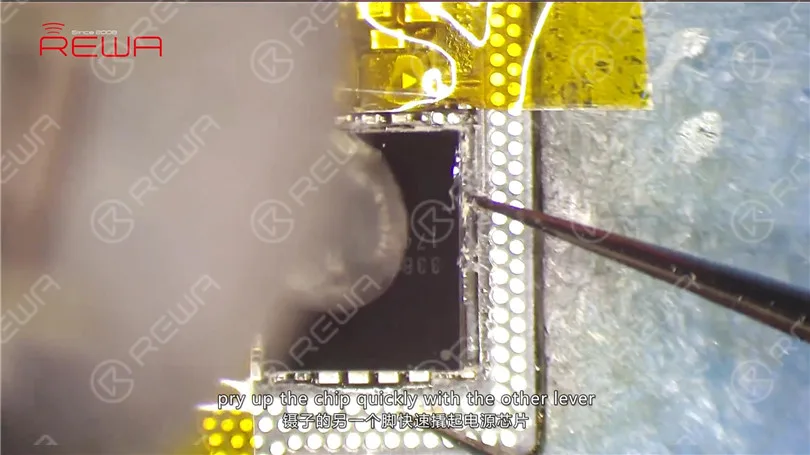
    Apply heat to the PMU using a Hot Air Gun set at 330℃ with an air flow of 5. Prior to heating, secure one end of the tweezers. After 15 seconds, when the solder begins to melt, swiftly lift the chip using the other end of the tweezers. Ensure that you lift the chip at the appropriate moment to avoid causing damage to the bonding pad.
    mastering desoldering soldering iphone pmu h023 sol 3
    mastering desoldering soldering iphone pmu h023 sol 4

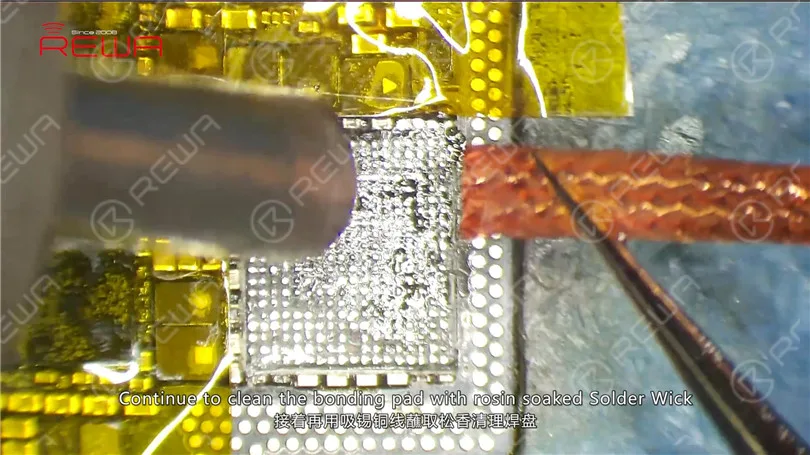
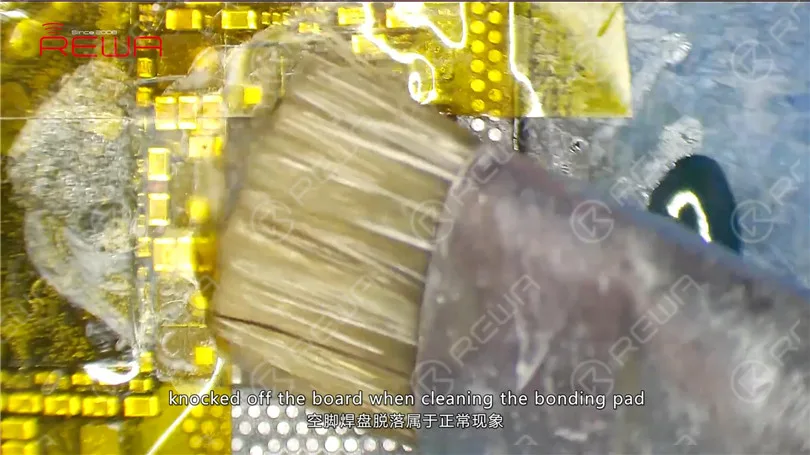
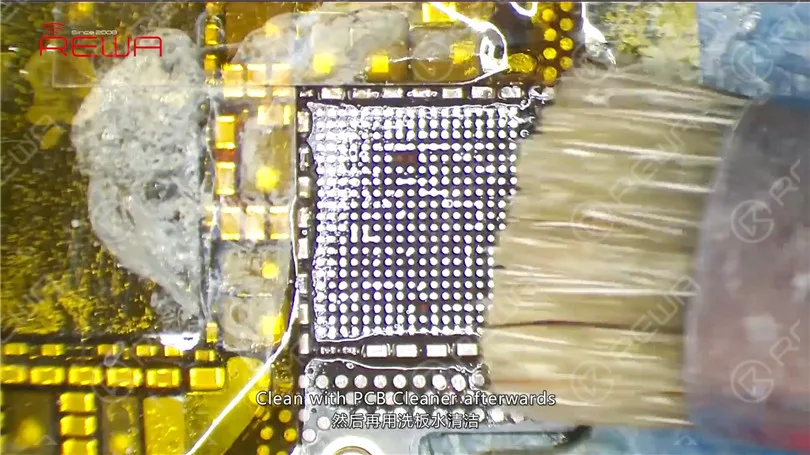
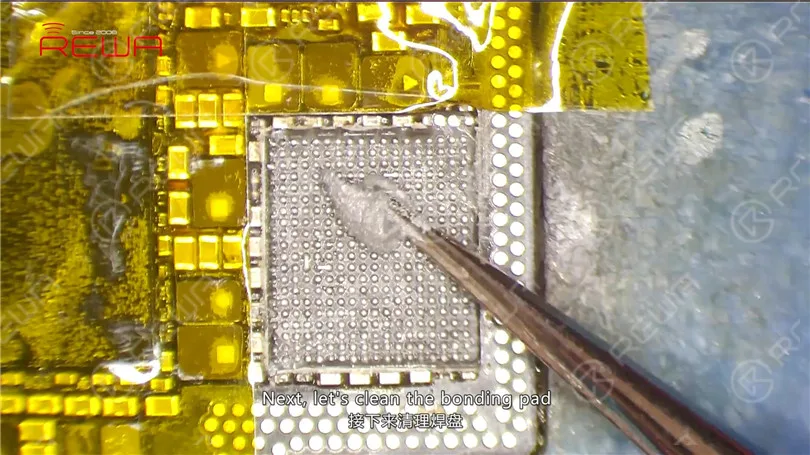
    Next, let’s clean the bonding pad. Apply some mid-temperature Solder Paste to the bonding pad. Heat with Hot Air Gun at 280℃. Meantime, clean the bonding pad with Soldering Iron at 360℃. Continue to clean the bonding pad with rosin soaked Solder Wick. Clean with PCB Cleaner afterwards. Tips: bonding pads of those empty pins might get knocked off the board when cleaning the bonding pad, which is normal. We can just leave them alone.
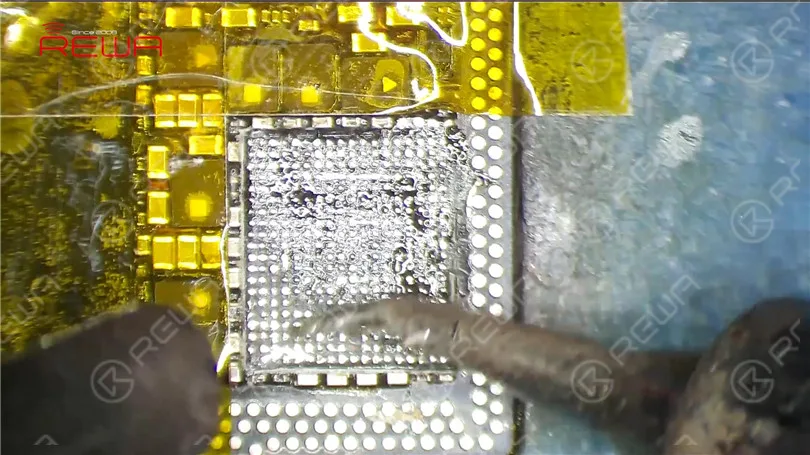
    desoldering&soldering of iPhone X PMU
    mastering desoldering soldering iphone pmu h023 sol 6
    mastering desoldering soldering iphone pmu h023 sol 7
    mastering desoldering soldering iphone pmu h023 sol 8

    Continue to remove black adhesive on/around the bonding pad. Also when we pry up the chip, components around get knocked off the board. So our next move is to re-solder these components. First, apply some Paste Flux to their bonding pads. Then, apply solders with Soldering Iron. Get these components in position. And then solder with Hot Air Gun at 330℃, air flow 3.
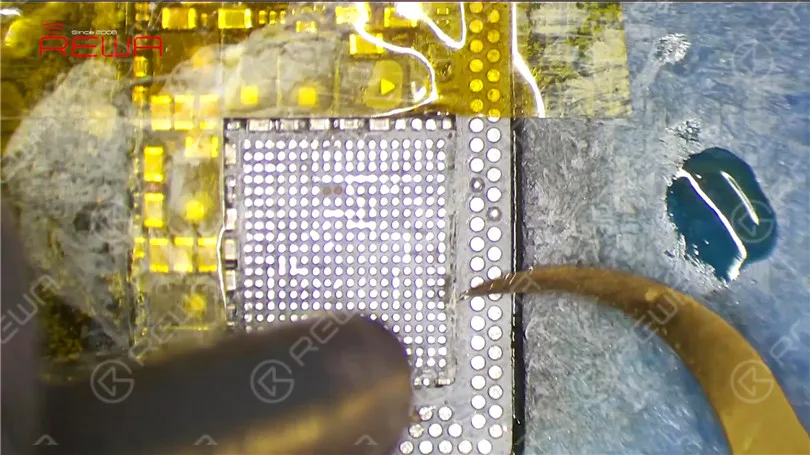
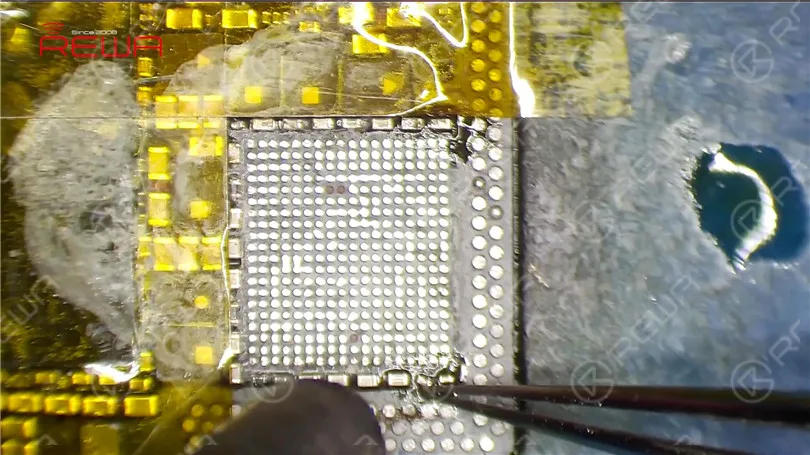
    mastering desoldering soldering iphone pmu h023 sol 9
    mastering desoldering soldering iphone pmu h023 sol 10

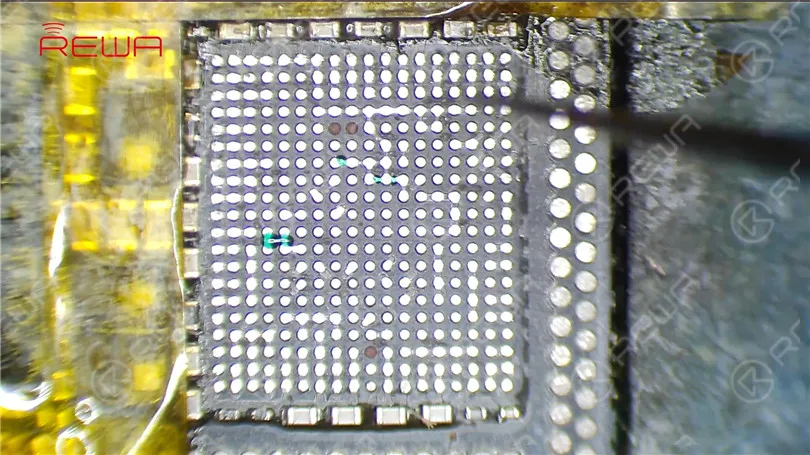
    Before soldering the chip, clean the bonding pad again. Clean with PCB Cleaner afterwards.
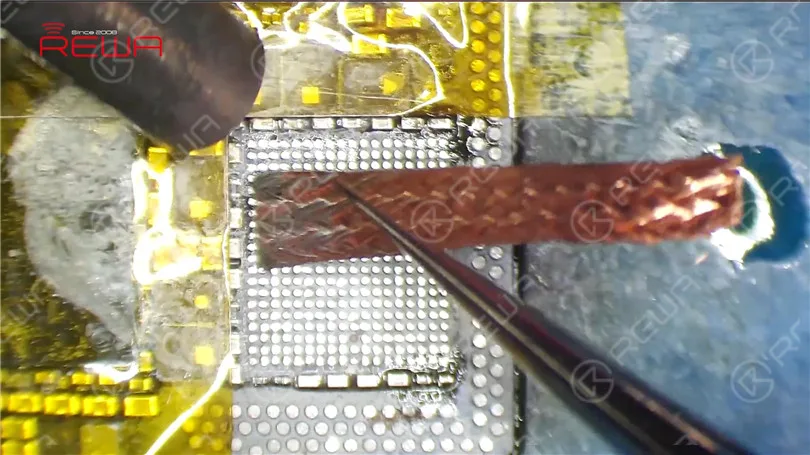
    mastering desoldering soldering iphone pmu h023 sol 11
    mastering desoldering soldering iphone pmu h023 sol 12

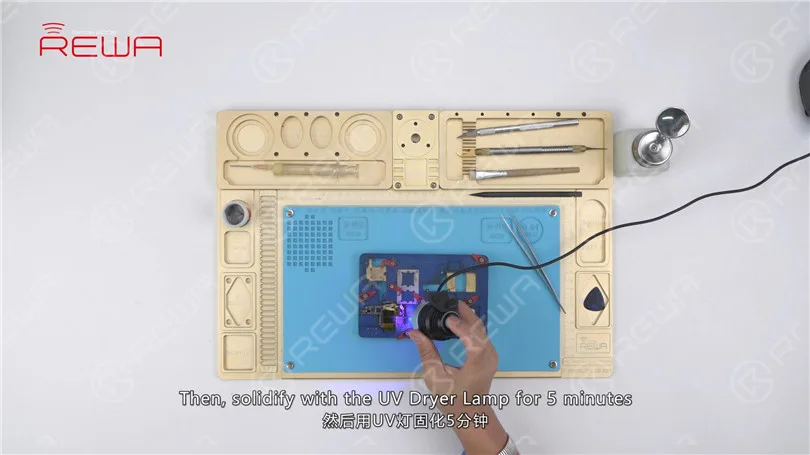
    Also when we remove the black adhesive, some of the insulation varnish on PCB has fallen off the board. So we need to remedy with the UV Curable Solder Mask. Dip some UV Curable Solder Mask with tweezers. And apply the solder mask to the exposed area. Then, solidify with the UV Dryer Lamp for 5 minutes.
    mastering desoldering soldering iphone pmu content 9ff202ff81dc
    mastering desoldering soldering iphone pmu h023 sol 13

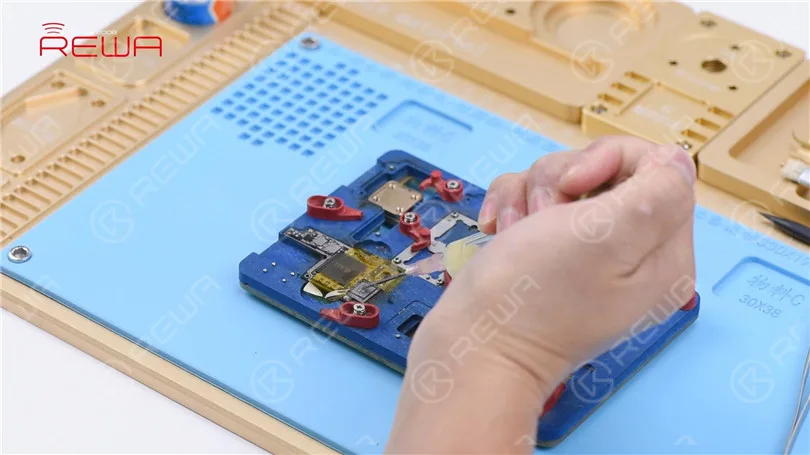
    Now we can solder the PMU. Apply some Paste Flux to the bonding pad. Get a new PMU in position. Make sure you put it in the right direction. Solder with Hot Air Gun at 330℃, air flow 3 for 20s.
    mastering desoldering soldering iphone pmu h023 sol 14

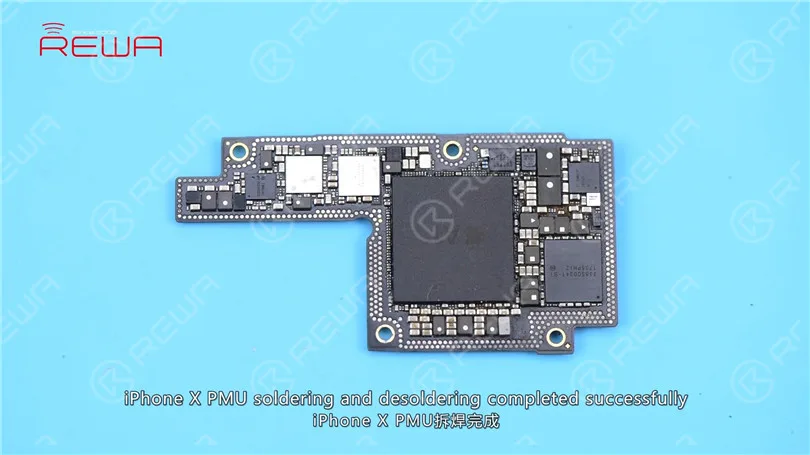
    With the chip sinking and Paste Flux flowing, continue heating for 10s. Wait for the upper layer to cool for 5 minutes. Tear off the High Temperature Tape. Clean with PCB Cleaner afterwards. iPhone X PMU soldering and desoldering completed successfully.
    mastering desoldering soldering iphone pmu h023 sol 15
  • Efficient Soldering/Desoldering Tool for iPhone X/XS/XS Max

    Efficient Soldering/Desoldering Tool for iPhone X/XS/XS Max

    The iPhone XS, with its stunning design and powerful features, has become a sensation among young tech enthusiasts. However, its intricate motherboard, comprising thousands of neatly soldered components in a compact space, presents a unique challenge for repair experts. This article introduces a game-changing solution that can make iPhone X/XS/XS Max motherboard repair a breeze, ensuring professional repairs with ease and precision.

    The Challenge of iPhone XS Logic Board Repair

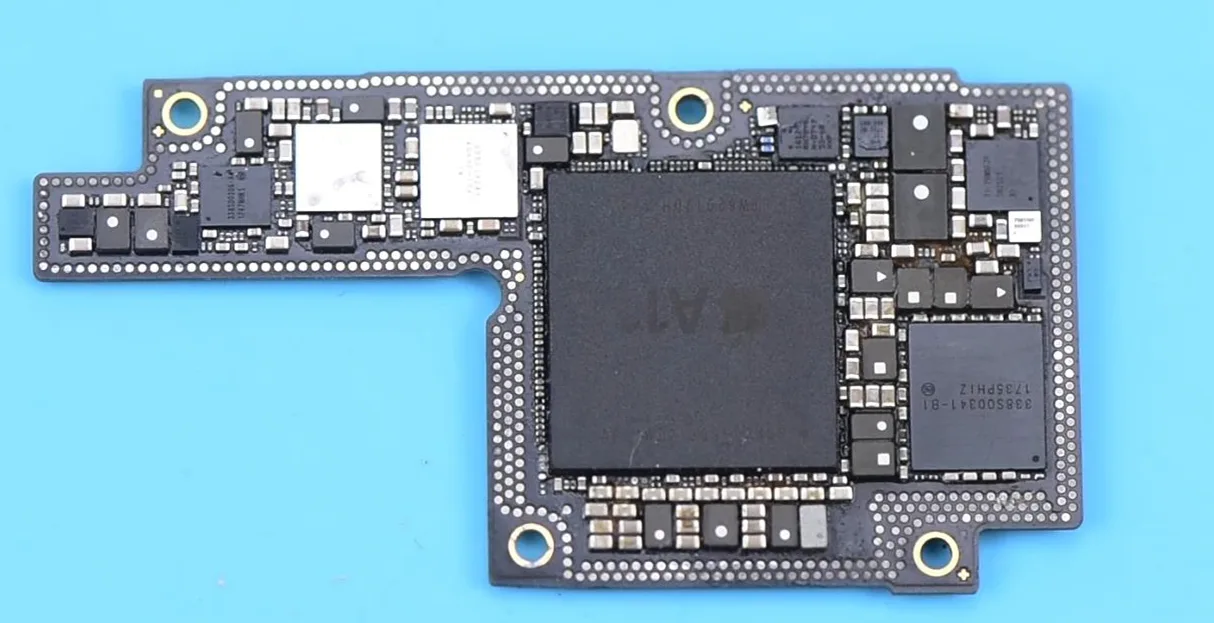
    The iPhone XS logic board is a marvel of engineering, designed as a double-stacked board soldered together with the help of a third-spaced PCB. Repairing it requires separating these two layers, a task that, until recently, was quite daunting. Traditional repair methods involve using a hot air gun to heat the upper and lower logic board, a process that can be challenging to control. Excessive heat can damage the motherboard, leading to hidden problems.

    Introducing the iPhone Motherboard Soldering/Desoldering Rework Station

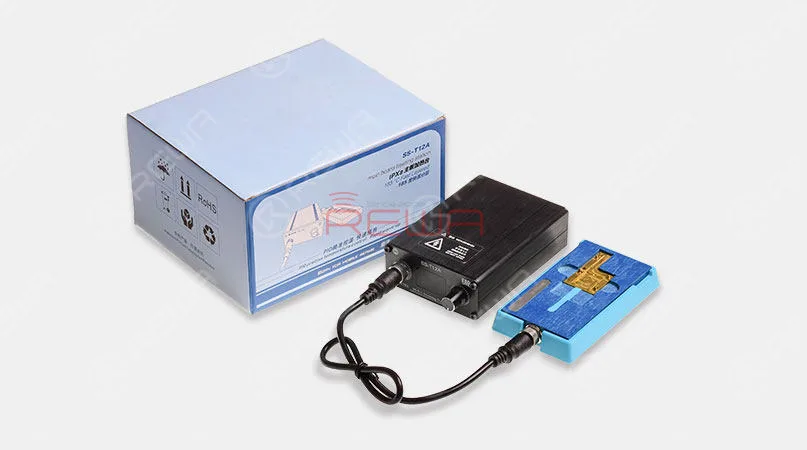
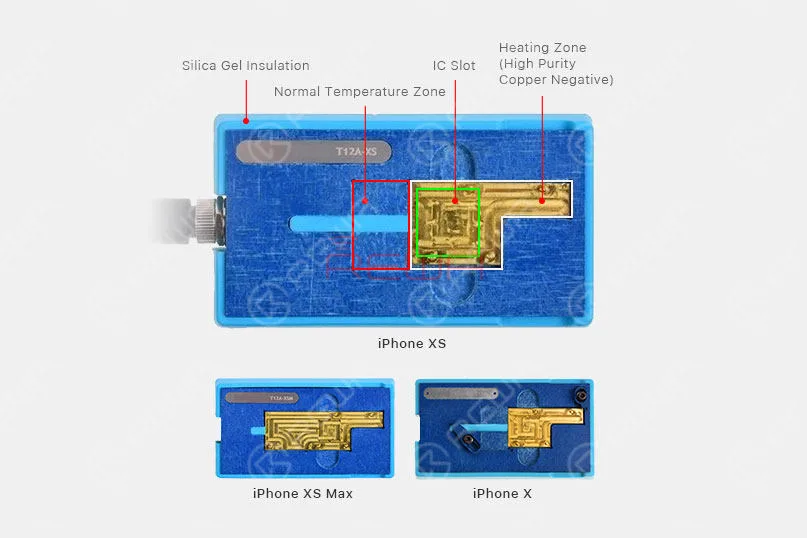
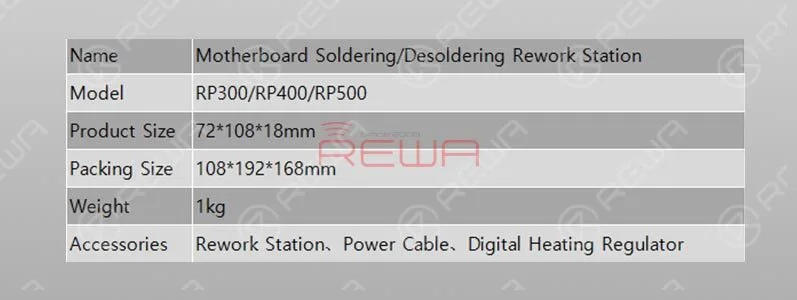
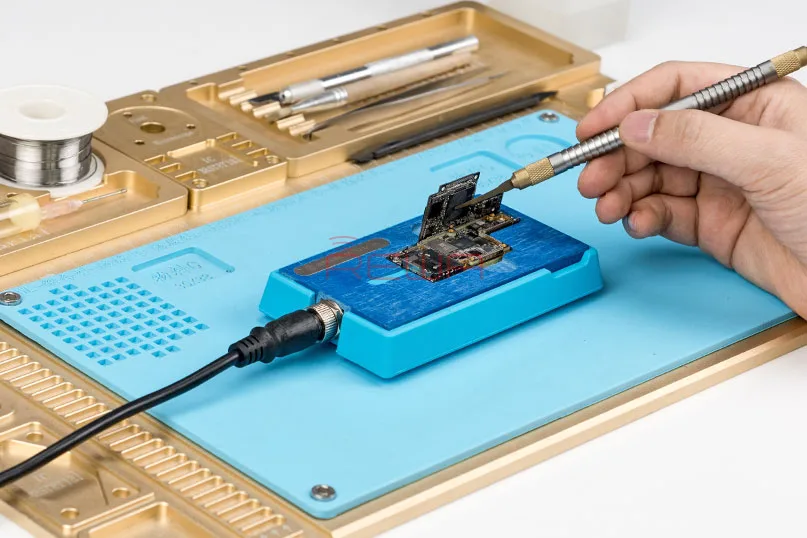
    To overcome these challenges, REWA has developed an innovative solution – the iPhone Motherboard Soldering/Desoldering Rework Station. This tool offers a range of features that simplify and streamline the repair process:

    Desoldering Tool for iPhone X/XS/XS Max

    Special Features:

    • Silica Gel Insulation: Provides optimal insulation to safeguard sensitive components.
    • Precise Temperature Control: Ensures the right amount of heat for successful repairs.
    • Fast Heating-up: Save time with quick, efficient heating.
    • LED Digital Display: Provides real-time temperature monitoring.
    • Threaded coupling: Ensures secure and stable connections.
    • Partial Heating: Allows precise targeting of components.
    Desoldering Tool for iPhone X/XS/XS Max

    How to Use the Rework Station

    Repairing an iPhone X/XS/XS Max logic board is now a straightforward process with the Rework Station. Here are three simple steps to achieve success:

    Schritt 1: Place the motherboard on the specialized Rework Station.

    Gently position the logic board on the station, ensuring it’s secure and ready for repair.

    Schritt 2: Wait for 1 minute after adjusting the heating temperature.

    Use the precise temperature control to set the desired heat level. After making the adjustment, wait for a minute to allow the station to reach the optimal temperature.

    Schritt 3: Motherboard soldering/desoldering completed.

    With the station ready, the motherboard can be efficiently repaired, ensuring a successful outcome without the risk of overheating.

    Product Details

    Desoldering Tool for iPhone X/XS/XS Max

    Witness the Magic in Action

    To see the Rework Station in action, we’ve prepared a special video showcasing the iPhone XS motherboard repair process using this incredible tool. Check it out now for a first-hand look at how this technology can transform your repair process and ensure professional results.

    Schlussfolgerung:

    By incorporating the iPhone Motherboard Soldering/Desoldering Rework Station into your repair toolkit, you’ll not only save time but also elevate the quality of your repairs.