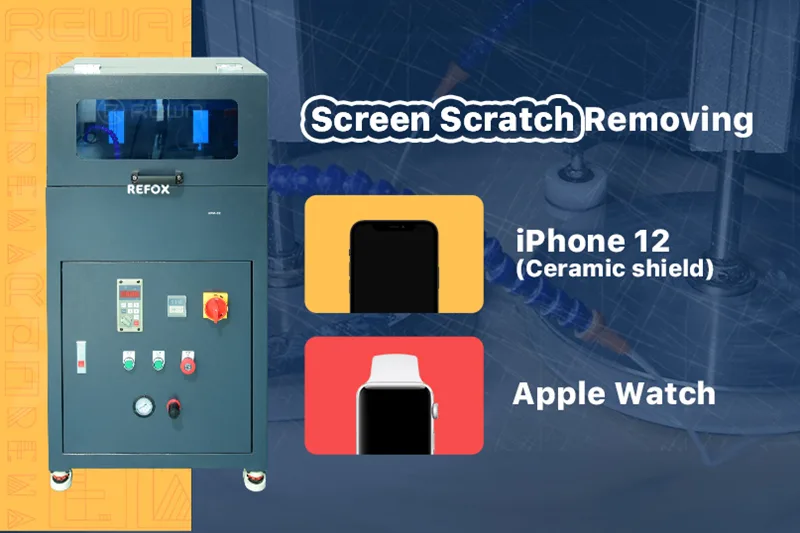
The REFOX Grinding and Polishing Machine, newly selected by REWA, has quickly become a favorite among phone refurbishers and repair technicians worldwide. Its powerful grinding capabilities and impressive efficiency make it the go-to tool for refurbishing devices like the iPhone 12 and Apple Watch. In this guide, we’ll walk you through how to use the REFOX machine to remove scratches and restore your devices to like-new condition.
Testing the Devices
Before starting the refurbishment process, it’s important to test the display and touch functionality of both the iPhone 12 and the Apple Watch.
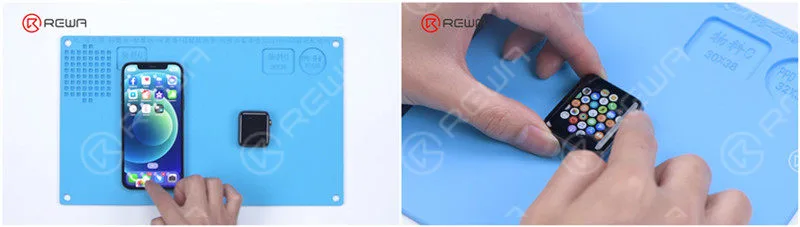
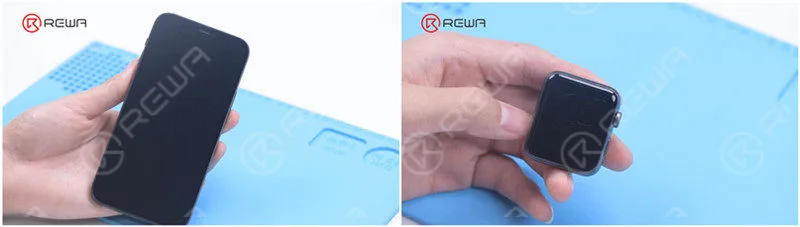
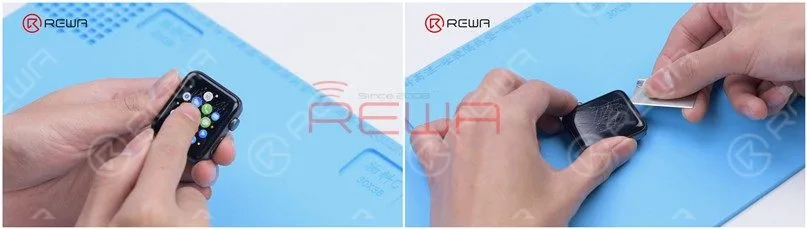
In our case, both devices were functioning properly, despite having obvious surface scratches.
Waterproofing
The first step in refurbishing these devices is waterproofing. This is crucial to avoid water damage during the grinding and polishing process.
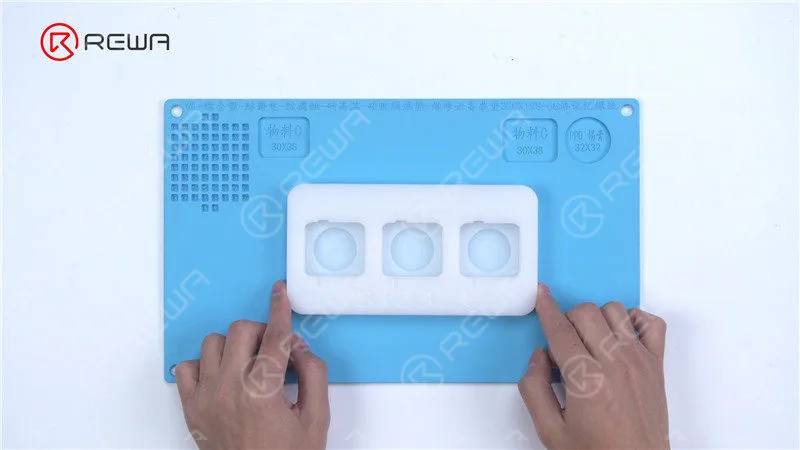
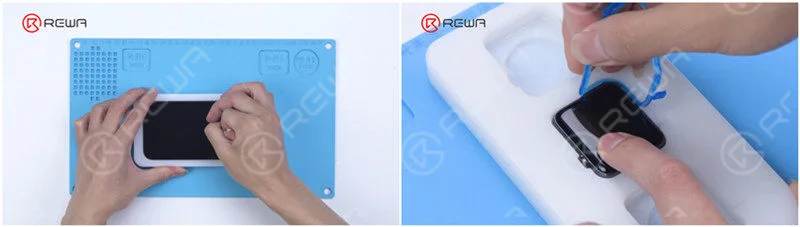
Apple Watch Mold: Use the special mold that can hold three Apple Watches at a time. The phone and watch should be securely placed in their respective molds.
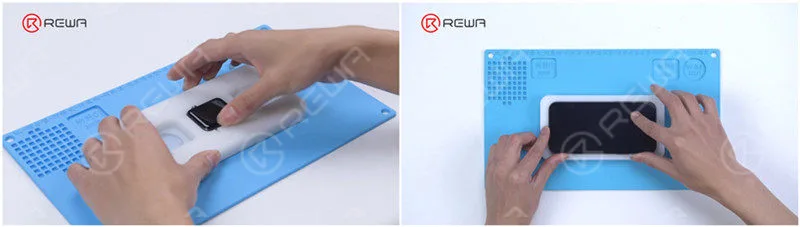
Automatic Adhesive Dispenser: Waterproofing is the most important step for refurbishing electronic devices with the grinding and polishing machine. If waterproofing is not done well, it may lead to water damage to the device. In the last article, our technicians were applying waterproof adhesive manually. To improve refurbishment efficiency and reduce operation difficulty, REWA recommends a fully automatic adhesive dispenser for you.
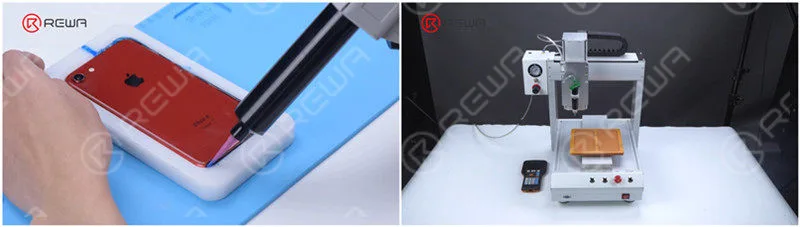
Attach the molds to the platform. The first time you use the dispenser, you need to draw the drawing of the corresponding mobile phone models.
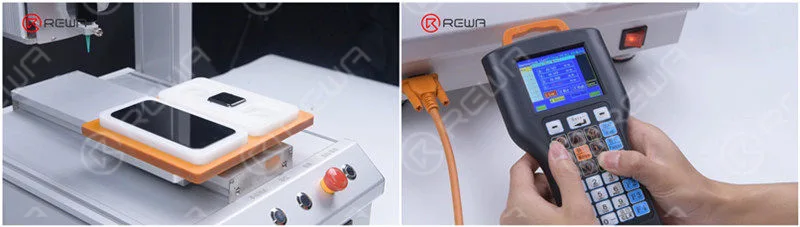
It is convenient that the drawing can be saved for direct usage. Click reset after the drawing has completed. The dispenser returns to the starting point. Then we press the start button and begin dispensing adhesive.
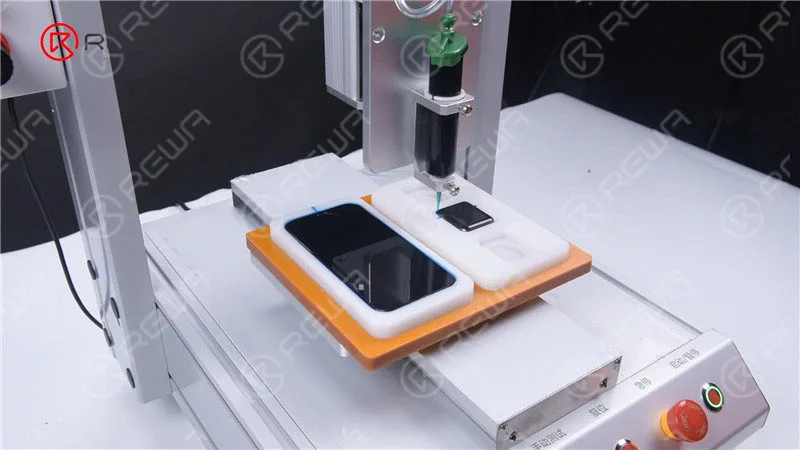
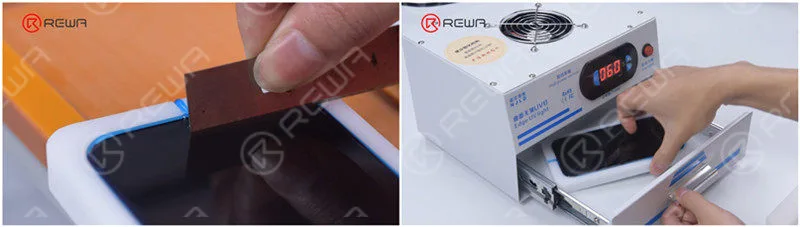
Please scrape the adhesive on the receiver with a blade. After the adhesive has been cured by a UV Lamp, we can put the mold plates into the grinding and polishing machine.
Grinding and Polishing
Now that the devices are waterproofed, it’s time to start the grinding and polishing process:
Since the scratches on the watch and phone are deep, we set the grinding and polishing time for 12 minutes. Press the start and reset button. The machine begins to work
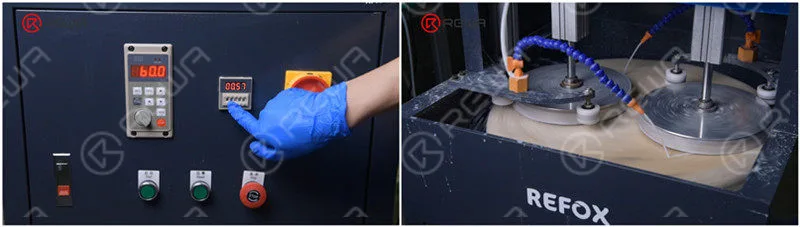
After the first grinding and polishing, the Apple Watch with deep scratches has been refurbished successfully but there are still some small scratches on the iPhone 12.
The scratches are completely gone after the second grinding and polishing. It can be seen that iPhone 12 takes longer to remove the same scratches than other iPhone series.
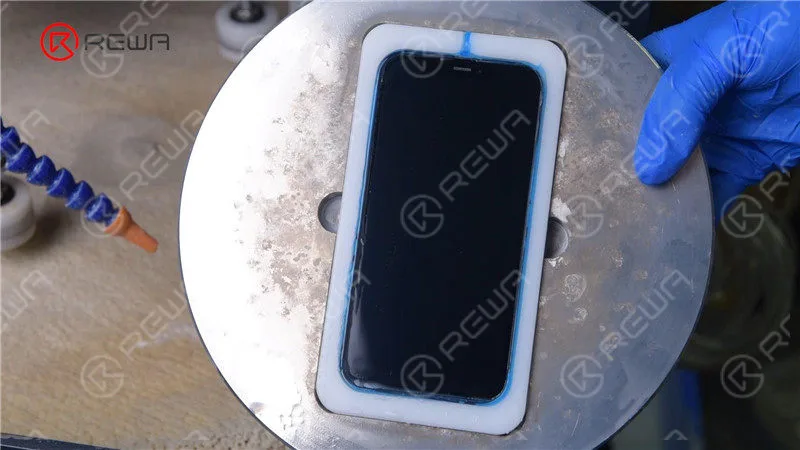
Then we peel off the waterproof adhesive of the phone. Since there are less adhesive on the receiver, we need to apply adhesive again and solidify it to make it fall.
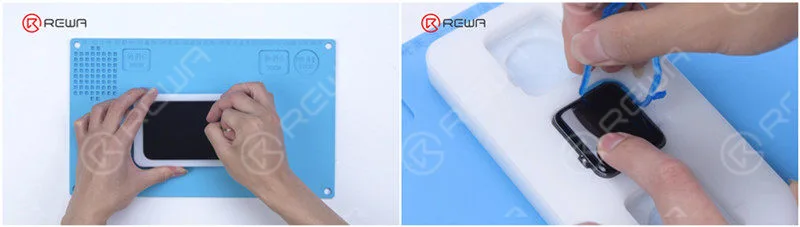
Take out the phone with a suction cup.Remove the waterproof adhesive of the Apple Watch. The scratches are gone.
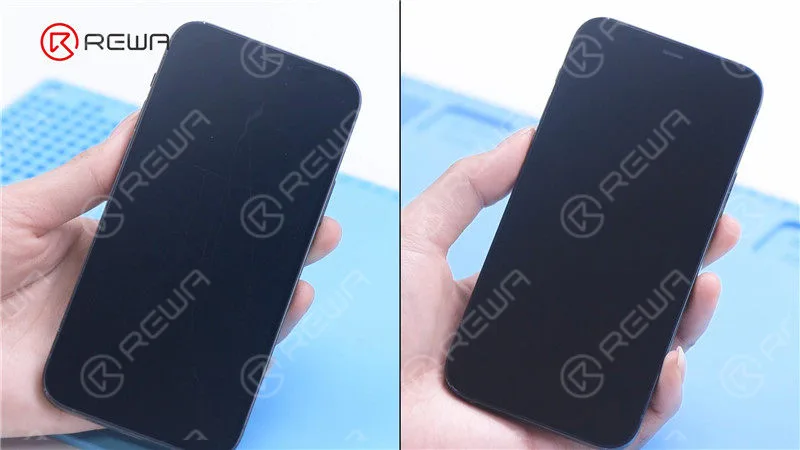
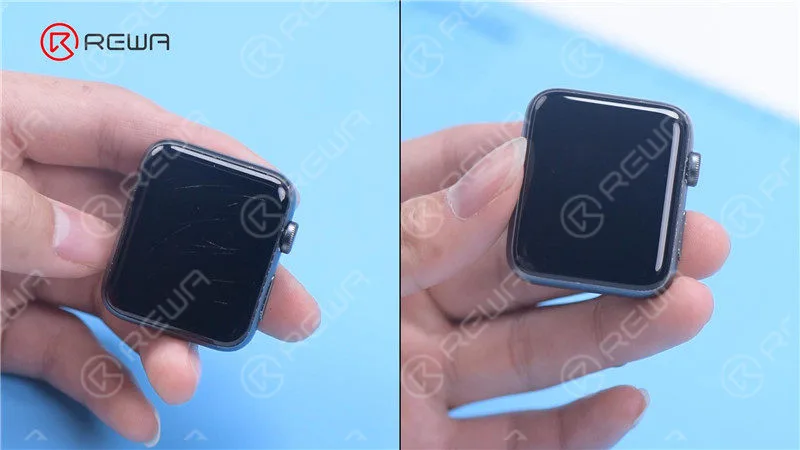
Prüfung
Turn on the phone and watch to test. The watch and the phone work fine.
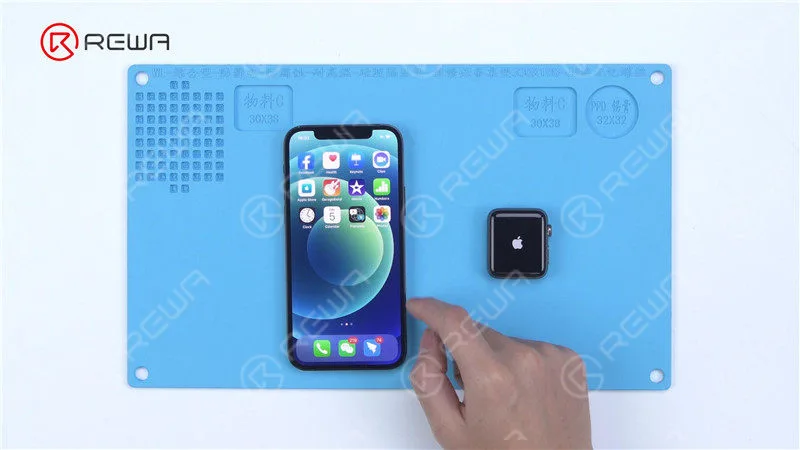
Hydrophobe Wirkung
Then we add hydrophobic effect to the screen. Coat the screen with Oleophobic Coating and apply evenly. Solidify with a UV-Lampe.
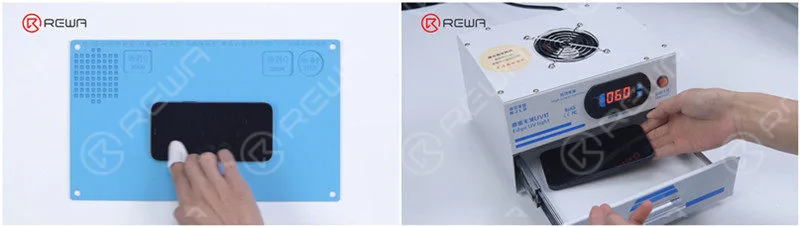
The screen of the watch and phone has now regained the hydrophobic effect.
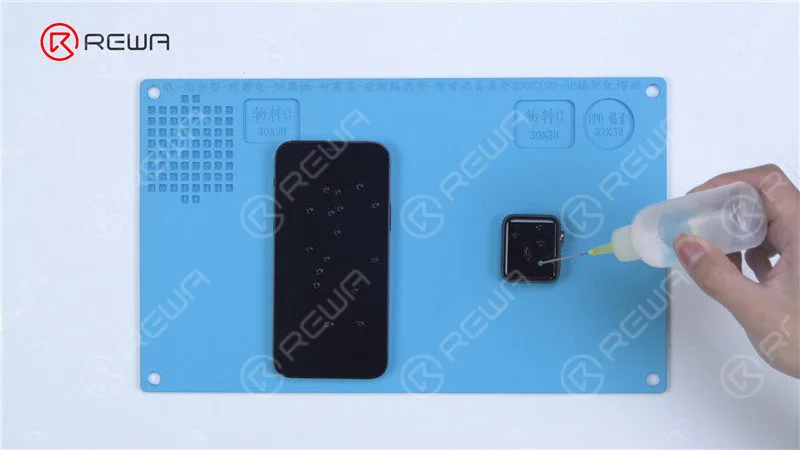
The iPhone 12 and Apple Watch have been refurbished successfully.
Zusammenfassung
The scratches on iPhone 12 have become more difficult to remove than previous models because of the ceramic shield. Nonetheless, the grinding and polishing machine managed to remove the scratches with high efficiency. Furthermore, the machine gave full of its talent by successfully removing scratches on an Apple Watch. Without a doubt, the grinding and polishing machine will be your first choice if you want to carve a place in the refurbishment industry.
To put in more specifically, the old way to refurbish the screen is to replace the front glass, which is not only difficult but also costly. Therefore, the emergence of the polishing and grinding machine can greatly improve the efficiency of refurbishment and reduce the refurbishment cost effectively. Moreover, the operation is relatively simple.
The efficiency of the grinding and polishing machine is of paramount concern. There are currently three kinds of hot-selling grinding and polishing machine. One is the machine from the video that can grind and polish four phones simultaneously. The other two can grind and polish two and eight phones at the same time. You can choose the right model according to your workload. REWA offers a complete screen and back glass refurbishment solution, which includes all tools and supplies. If you need the grinding and polishing machine, you can contact us to learn more about the details.
Watch the full video below to see how we remove iPhone 12 and Apple Watch scratches by grinding and polishing.
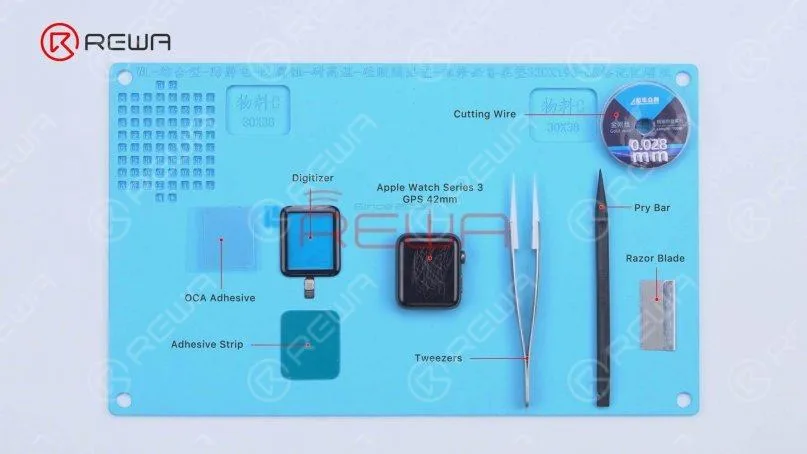
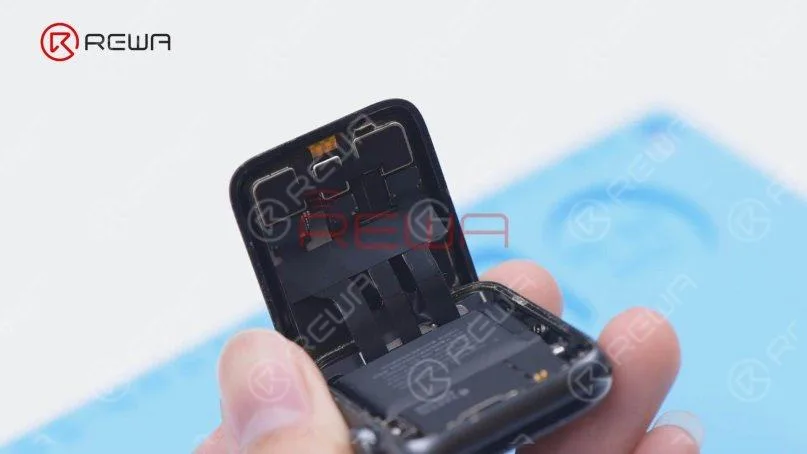
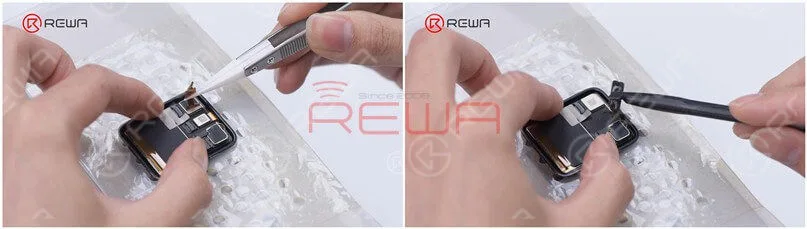
 Heben Sie den Bildschirm an. Bitte achten Sie auf die Flexkabel des Bildschirms, um Beschädigungen zu vermeiden. Es ist zu erkennen, dass drei Flexkabel mit der Hauptplatine verbunden sind.
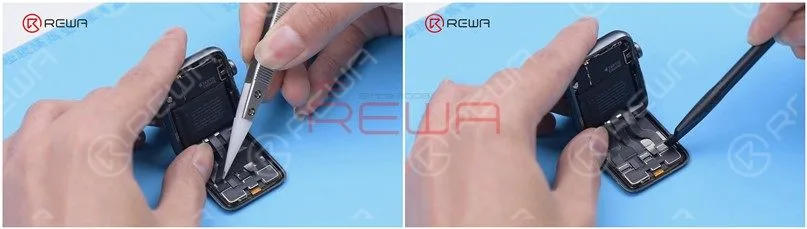
 Ziehen Sie das Klebeband, das die Display-Flexkabel bedeckt, mit einer Pinzette ab. Bitte beschädigen Sie die Flexkabel beim Abziehen nicht. Trennen Sie anschließend die Flexkabel ab.
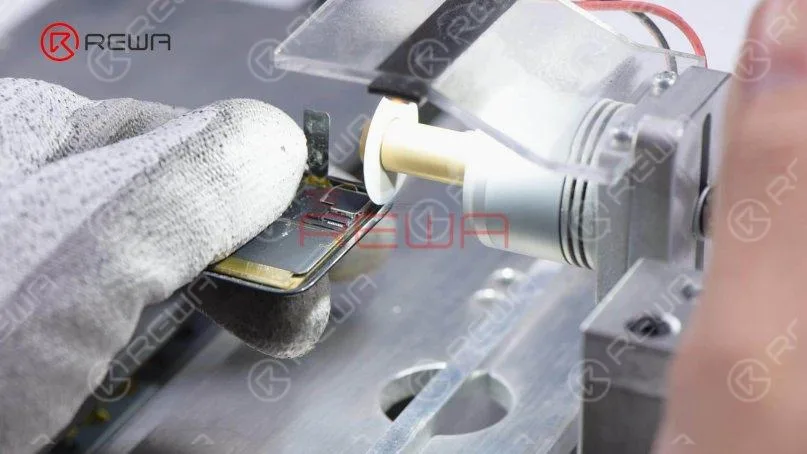 Wir können sehen, dass eine Seite des Glases abgeschnitten wurde und auch der Boden gebrochen ist.
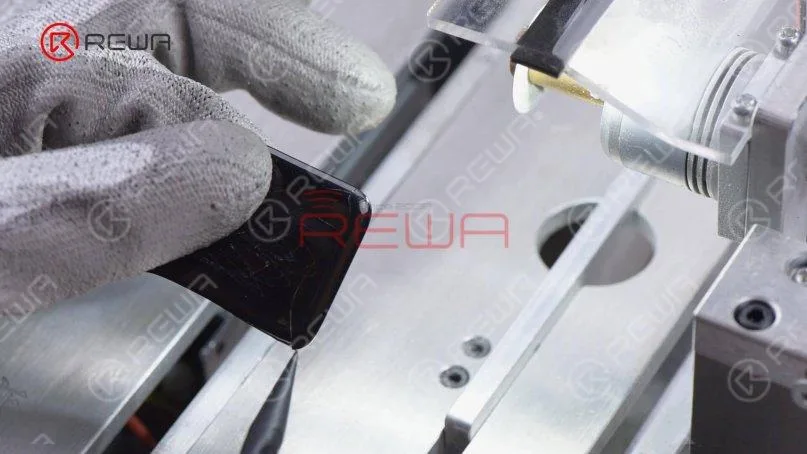 Dann schneiden wir die andere Seite. Zuletzt polieren Sie die Ecken. Ein erwähnenswerter Punkt ist, dass sich die Schwierigkeit des Austauschs verringert, wenn das Glas zerbrochen ist.
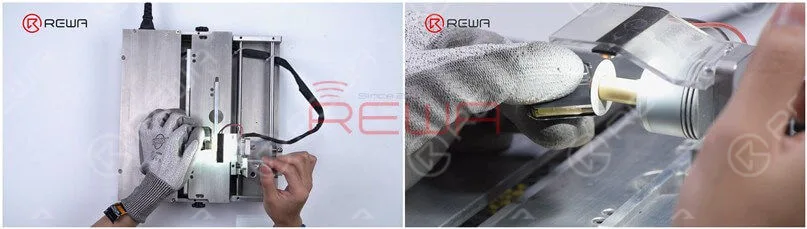
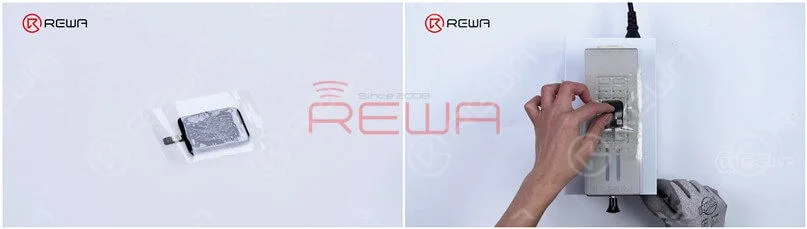 Als Nächstes trennen Sie das Glas mit
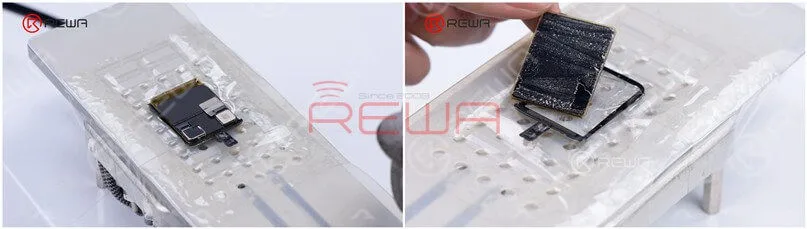
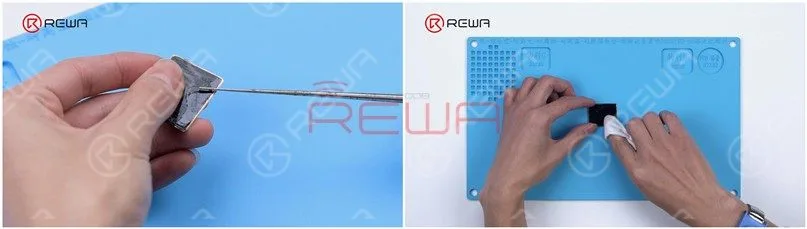 Installieren Sie das OLED zum Testen. Da das Touchpanel getrennt wurde, müssen wir nur die Display-Funktion testen. Die Display-Funktion ist normal. Reinigen Sie das OLED vollständig mit N-Hexan.
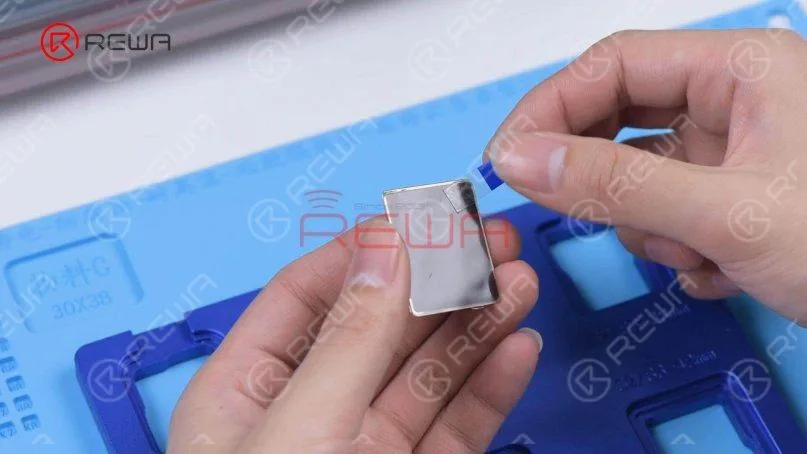
 Nehmen Sie das OLED heraus und legen Sie es in das
 Kleben Sie eine Ecke des OLEDs mit einem Easy-Tear-Aufkleber ab und ziehen Sie die OCA-Schutzfolie ab.
 Befestigen Sie das OLED an der Laminiermaschine. Kleben Sie eine Ecke der
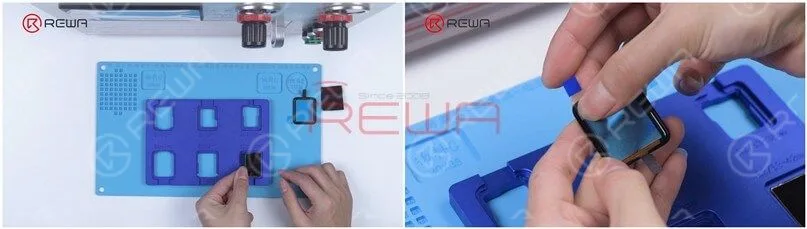 Richten Sie den Digitalisierer am OLED aus.
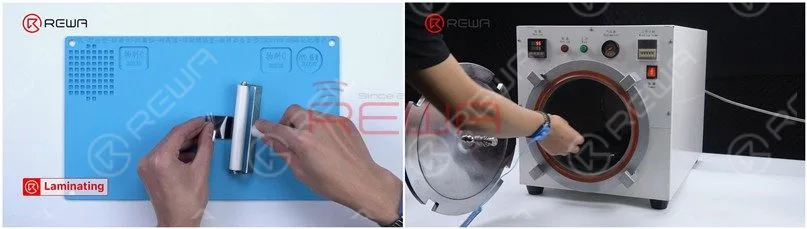
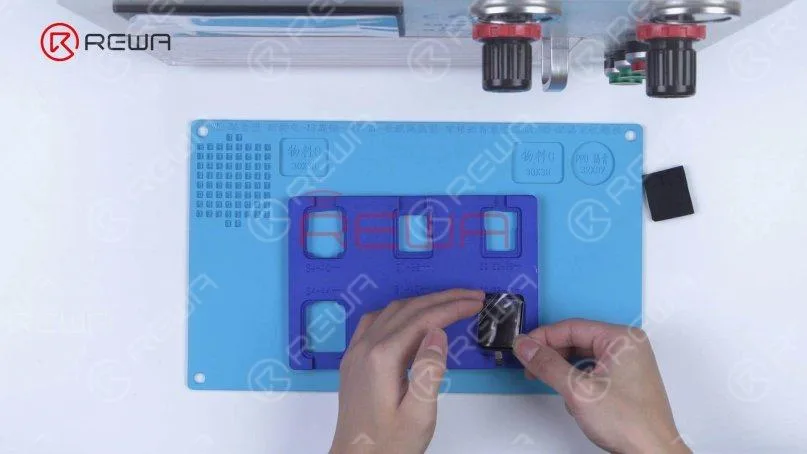 Lösen Sie den Bildschirm ab und legen Sie ihn auf den Laminierschwamm. Legen Sie den Bildschirm dann in den
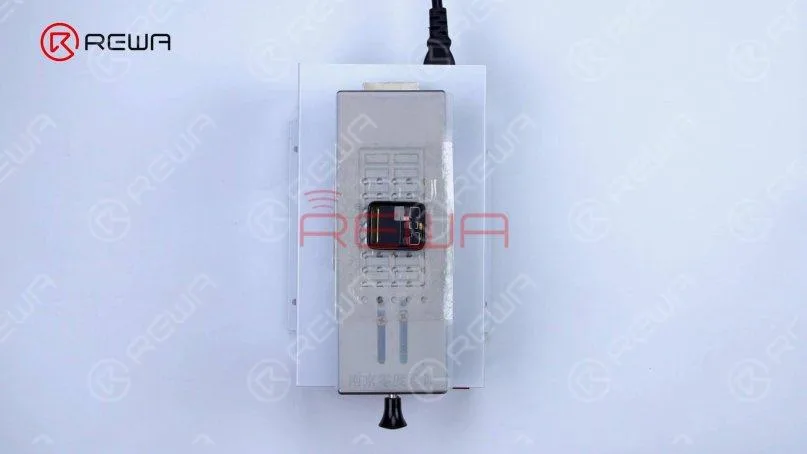
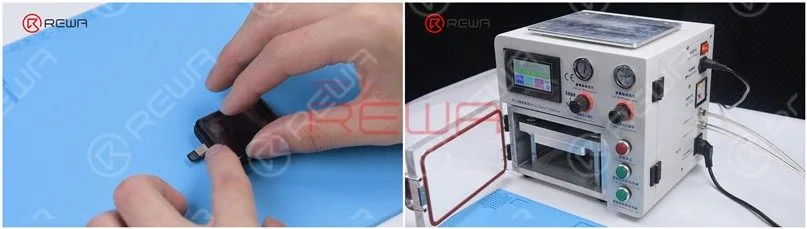 Nehmen Sie den Bildschirm heraus und es befinden sich immer noch Blasen auf dem Bildschirm. Legen Sie den Bildschirm für zehn Minuten wieder in die Blasenentfernungsmaschine und die Blasen sind verschwunden.
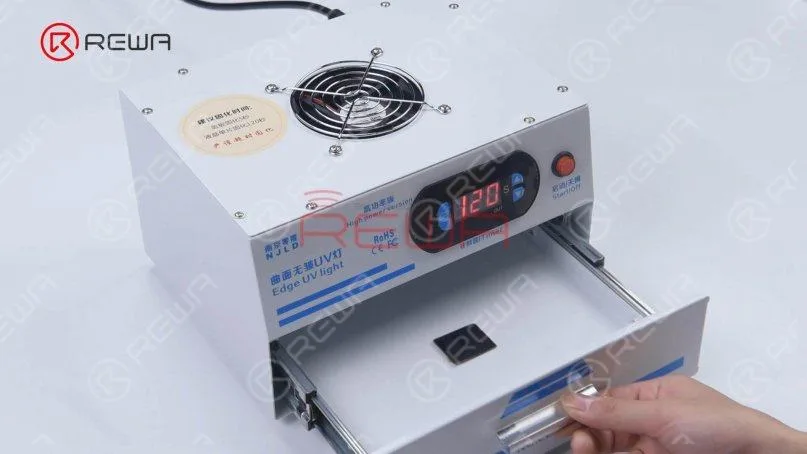
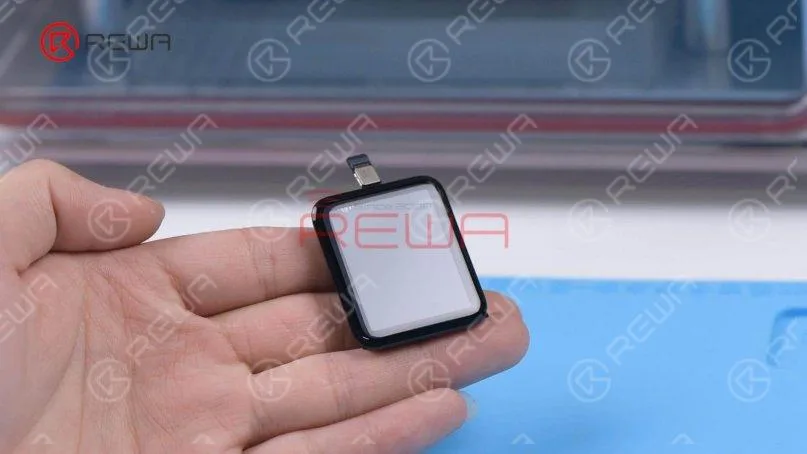 Legen Sie den Bildschirm für zwei Minuten zurück in die UV-Lampe. Dann schließen wir den Bildschirm zum Testen an. Die Funktion des Displays und des Touchscreens ist gut.
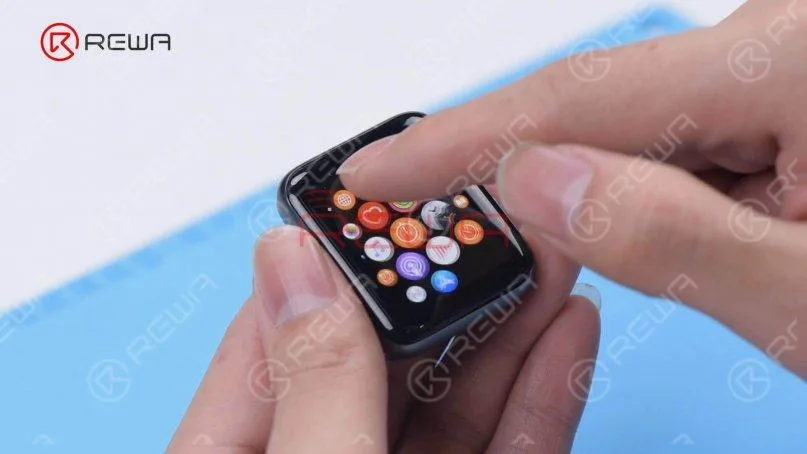 Schließlich montieren wir das Display auf der Uhr. Bringen Sie den Klebestreifen am Rahmen an und ziehen Sie die Schutzfolie ab.
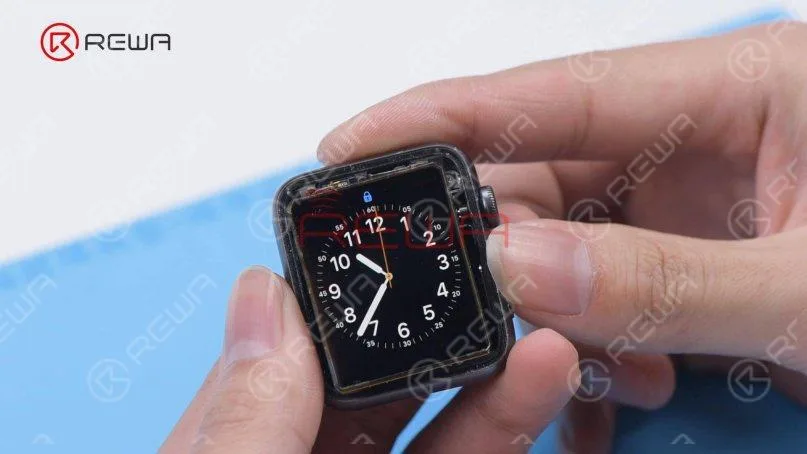
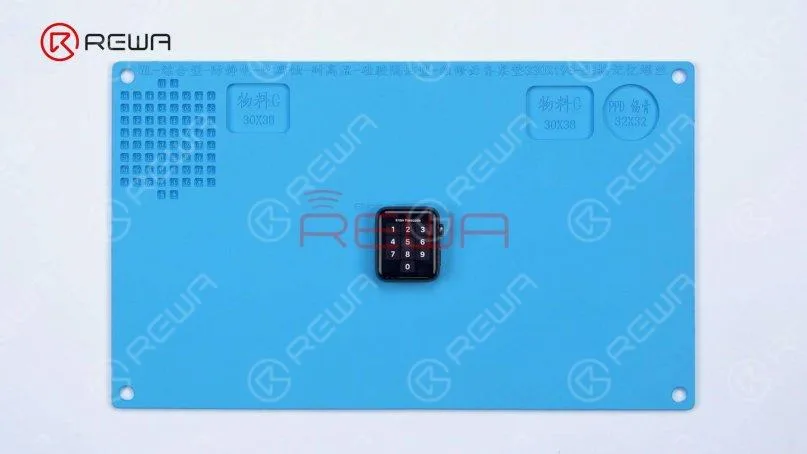
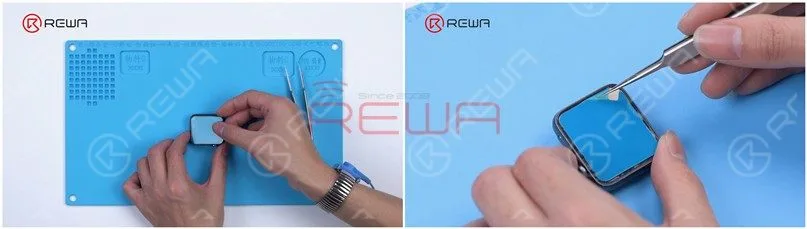 Verbinden Sie den Bildschirm und schalten Sie die Uhr ein. Die Uhr ist eingeschaltet und alle Funktionen funktionieren einwandfrei.
 Besuchen Sie gerne unseren Onlineshop für
 English
 Español
 Français
 Deutsch
 Italiano